 by
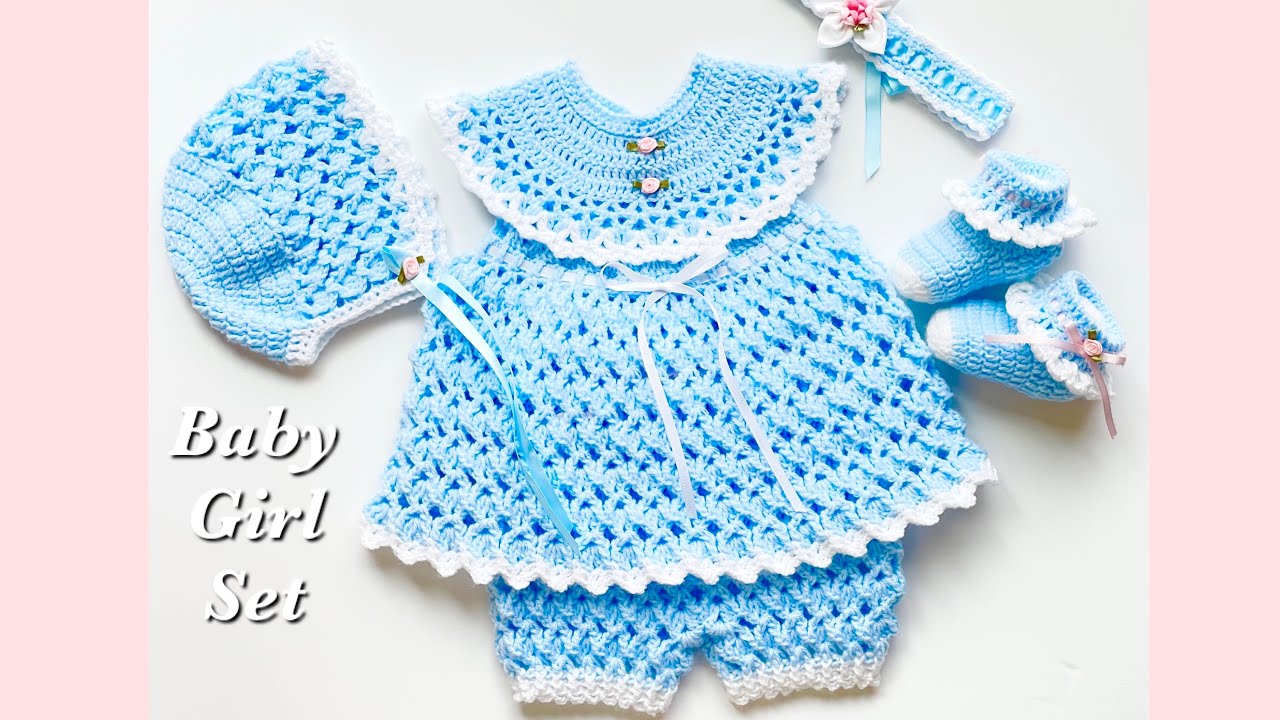
by A handmade crochet baby dress set is a beautiful and heartfelt gift, perfect for welcoming a new baby girl or celebrating a special occasion. This article will guide you through crocheting a charming baby frock set, complete with a matching hat and booties, that’s surprisingly easy to make. We’ll focus on a simple design that works up quickly and can be easily adjusted for various sizes, from newborn to 12 months.
This project is ideal for confident beginners and intermediate crocheters who want to create a treasured, heirloom-quality gift.
1. Planning Your Baby Frock Set: Key Decisions & Materials
Careful planning is the foundation of a beautiful handmade set. Before you begin, consider these important factors.
- Pattern & Sizing: A simple, top-down design is perfect for this project. Look for a pattern that provides clear instructions and measurements for different baby sizes (e.g., newborn, 3 months, 6 months, 12 months). This allows you to create a perfect fit.
- Yarn & Fiber: The yarn you choose will determine the feel, drape, and comfort of the set.
- Weight: A lightweight cotton or cotton blend yarn (DK or sport weight) is an excellent choice. It’s soft, breathable, and has a lovely drape, making it perfect for a flowing frock.
- Fiber: Cotton is soft, breathable, and easy to wash. It’s a great choice for sensitive baby skin. Acrylic is a good, budget-friendly option. It’s durable, hypoallergenic, and comes in a wide range of colors.
- Hook Size: Choose a hook size that is appropriate for your yarn. The yarn label will provide a recommendation.
- Gauge Swatch: Making a gauge swatch is crucial for any garment project. This ensures your finished set will be the correct size. The pattern you follow will specify a required gauge (e.g., “4 stitches and 4 rows = 1 inch”). Crochet a small swatch and measure it. Adjust your hook size accordingly (use a larger hook if your swatch is too small, or a smaller hook if it’s too large).
- Other Supplies: You will also need scissors, a tapestry needle for weaving in ends, stitch markers, and buttons or a ribbon for the closure.
2. The Step-by-Step Process (Yoke-First Construction)
This guide focuses on a popular and easy method where the frock is worked from the top down.
Part 1: The Yoke
The yoke is the top portion of the frock, which is often worked flat in rows before being joined to work in the round.
- Foundation Chain: Begin by chaining the required number of stitches for the neckline, as specified in your pattern.
- Increase Rounds: The pattern will instruct you on how to place increases in each round to create a flat, circular yoke. These increases are what will form the armholes and shape the top of the frock. You will continue to work in rows until the yoke reaches the correct size for the baby’s chest and armholes.
- Divide for Armholes: Once the yoke is the correct size, the pattern will instruct you to divide the stitches into four sections: two for the front panels, one for the back, and two armhole spaces. You will stop crocheting in the armhole stitches for the rest of the frock.
Part 2: The Skirt
The skirt is worked in the round, creating a seamless, flowing bottom.
- Join to Work in the Round: Once the yoke is divided, you’ll join the front and back sections with a slip stitch, closing the loop. You will now be working in continuous rounds.
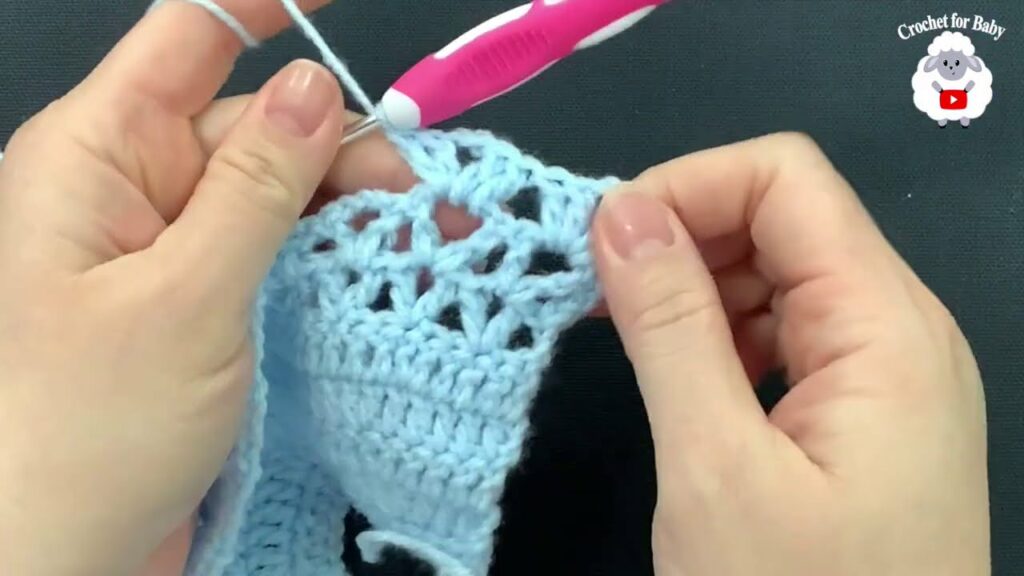
- Establish Skirt Pattern: The skirt can be worked in a simple stitch like double crochet (DC) or a more textured or lacy stitch like shell stitch or V-stitch. The lacy stitches are perfect for creating a beautiful, elegant look.
- Increase for Flare: To give the skirt a flowing, A-line shape, the pattern will instruct you to increase a certain number of stitches in each round or in every other round.
- Repeat: Continue working in the round, following the stitch pattern and increases, until the skirt reaches the desired length.
Part 3: The Hat
- Work in the Round: Start with a magic ring or a chain of 4 joined with a slip stitch. Work in the round, increasing in each round to create a flat circle for the top of the hat.
- Continue: Once the hat is the desired size for the baby’s head, you’ll stop increasing and work in rounds until the hat reaches the desired length.
- Finishing: A simple border of single crochet or a decorative border of ruffles can be added to the brim.
Part 4: The Booties
- Create the Sole: Start by chaining a small number of stitches. You will work in a circle, increasing at both ends to create an oval sole for the bootie.
- Create the Body: Once the sole is the correct size, you will begin working in rounds, without increasing, to create the sides of the bootie.
- Create the Toe: The pattern will instruct you on how to decrease stitches at the front of the bootie to create the toe.
- Finish: A simple border of single crochet or a decorative tie can be added for a finishing touch.

Part 5: Finishing Touches
- Buttons & Buttonholes: If you worked your yoke flat, you will need a button closure at the back. You can create buttonholes by chaining one and skipping a stitch in a row of your back panel. You will then sew the buttons onto the opposite side.
- Lace Edging: A delicate border of lace, shells, or ruffles around the sleeves and skirt hem adds a beautiful, professional touch.
- Weave in All Ends: Use your tapestry needle to carefully weave in every single loose end.
- Blocking: Blocking is highly recommended. It will even out your stitches, open up the lacy patterns, and give the set a beautiful, professional drape.
3. Final Thoughts
Crocheting a baby frock set is a labor of love that results in a gorgeous, one-of-a-kind garment. By breaking the process down into manageable parts and choosing a pattern that suits your skill level, you can create a treasured set that will be a joy to make and an even greater joy to see on a special little girl.
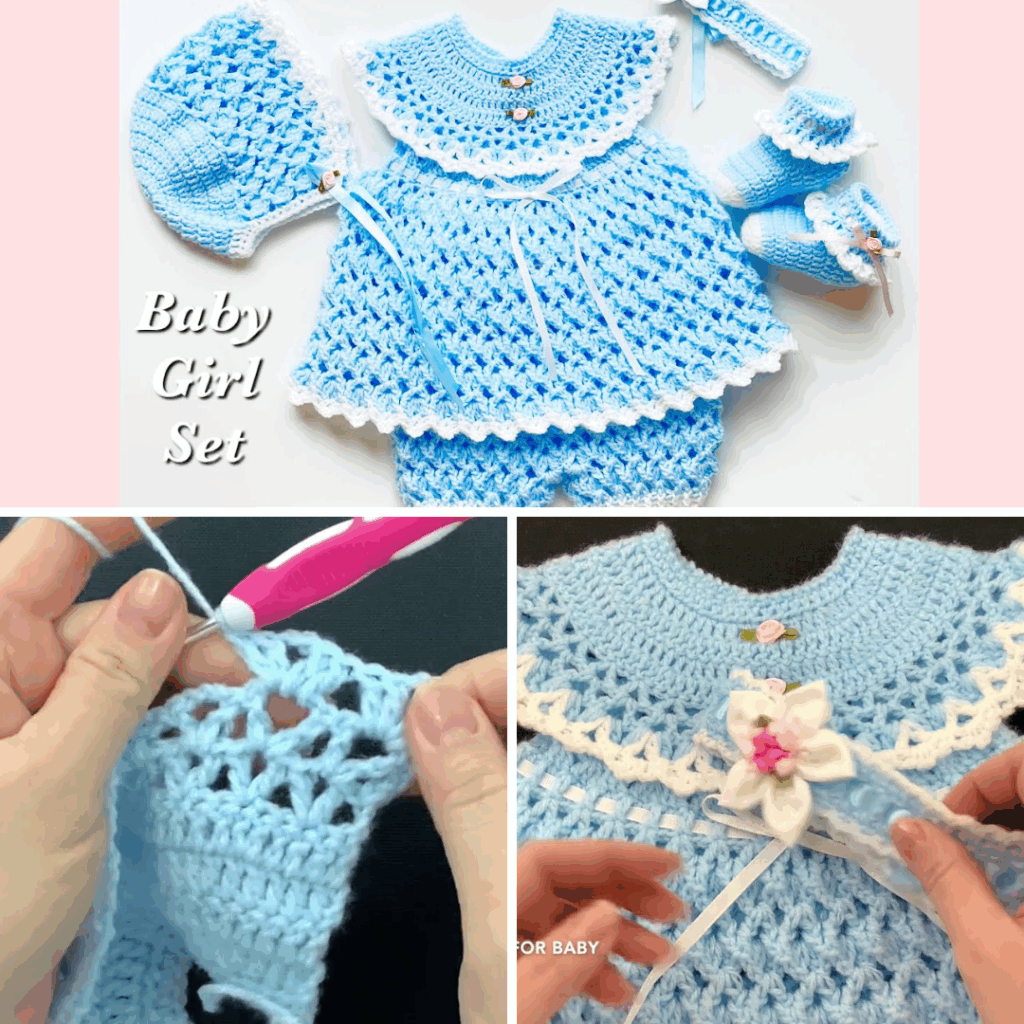
Video Tutorial: