 by
by A Step-by-Step Guide to Creating a Delightful Floral Crochet Dress
Introduction
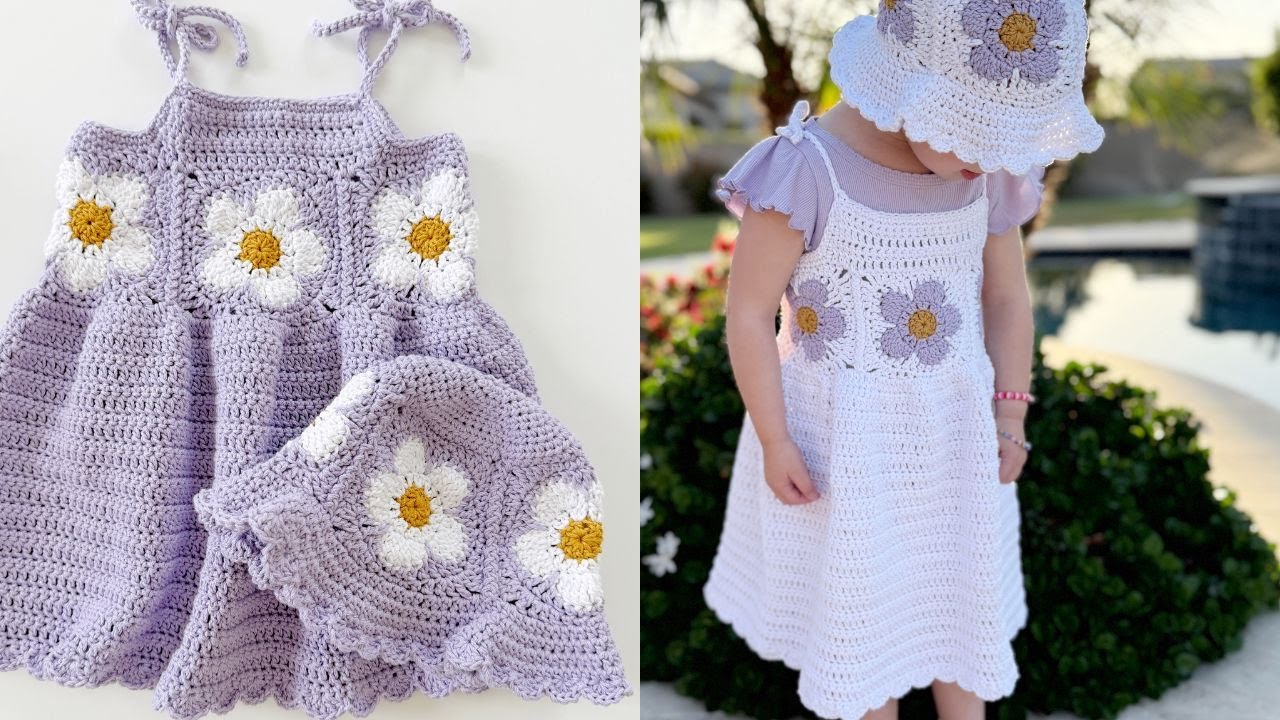
The Field of Daisies Sun Dress is a light, airy crochet dress that captures the cheerful essence of a sunny field blooming with daisies. This dress combines delicate daisy motifs with simple crochet techniques, making it perfect for spring and summer outings.
Ideal for intermediate crocheters, this dress incorporates floral appliqués, basic stitches, and shaping techniques to create a comfortable and stylish garment for girls.
Materials Needed
| Item | Description |
|---|---|
| Yarn | Lightweight cotton or cotton-blend yarn suitable for summer, sport or DK weight (size 2 or 3) in white, yellow, green, and optional accent colors |
| Crochet Hook | Size recommended for your yarn, usually between 3.5 mm (E) and 4.5 mm (7) |
| Stitch Markers | Optional, to mark pattern repeats or shaping points |
| Tapestry Needle | For weaving in ends and sewing motifs |
| Scissors | For cutting yarn |
| Measuring Tape | To check sizing |
Crochet Stitches & Techniques Used
- Chain (ch)
- Slip Stitch (sl st)
- Single Crochet (sc)
- Half Double Crochet (hdc)
- Double Crochet (dc)
- Treble Crochet (tr)
- Daisy motif (floral appliqué)
- Joining motifs
- Increasing and decreasing
- Working in rounds and rows
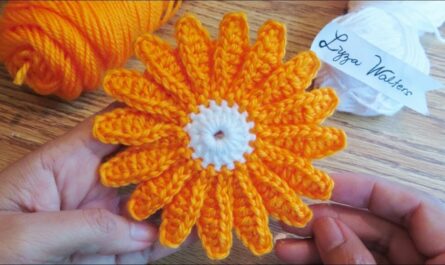
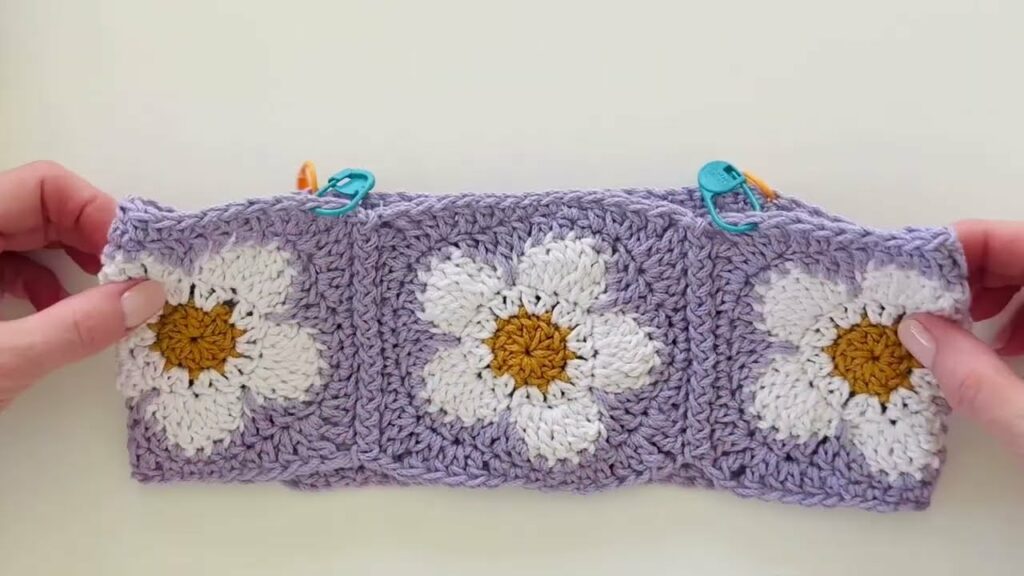
Step 1: Making the Daisy Motifs
The dress is made up of several crochet daisy motifs that are joined together to form the dress’s fabric.
Daisy Motif Pattern (Basic)
- Center: Make a magic ring, ch 3 (counts as first dc), work 11 dc into the ring, join with sl st to top of ch-3. (12 dc)
- Petals: Ch 4, skip next dc, sl st in next dc around (6 petals).
- Form Petals: In each ch-4 space, work (sc, hdc, 3 dc, hdc, sc) to form a petal.
- Fasten off and weave ends.
Make enough daisy motifs to cover the front and back panels of the dress and straps.
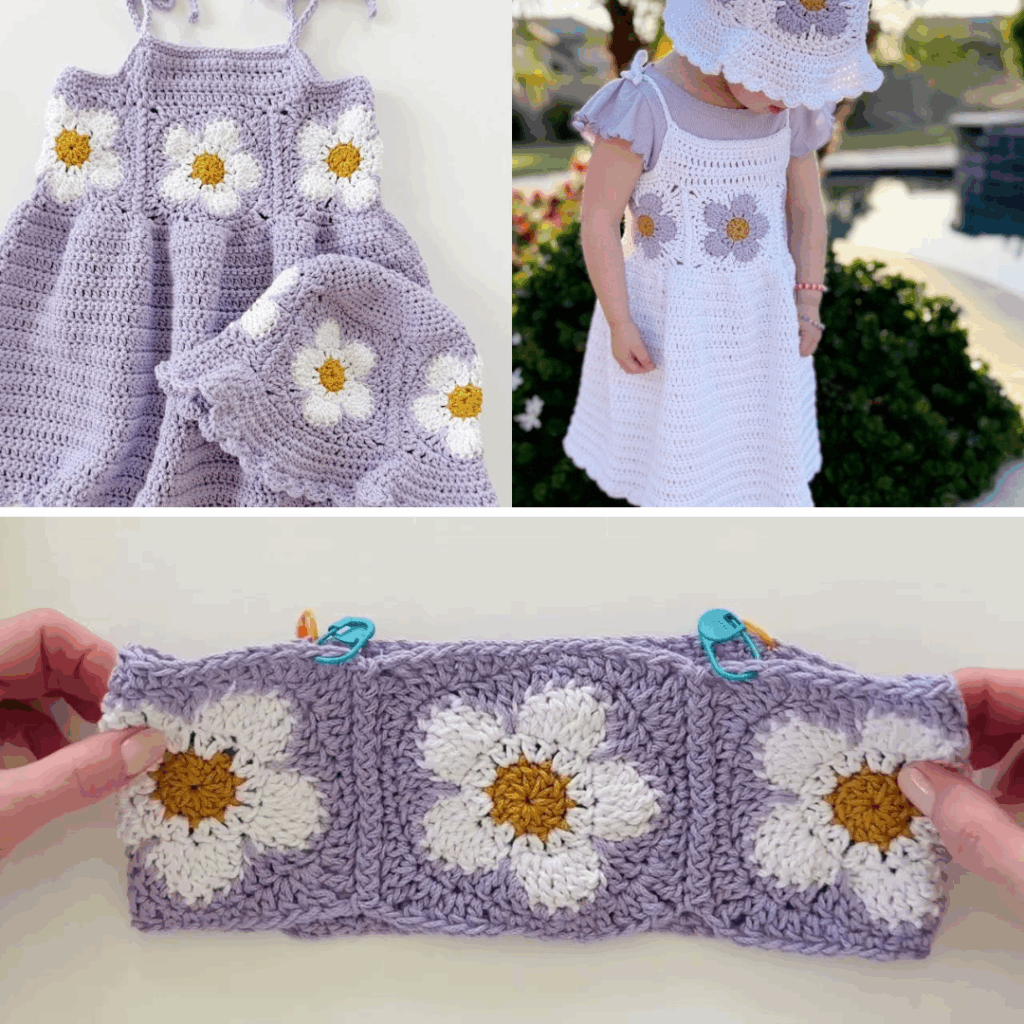
Step 2: Joining the Daisy Motifs
Lay out your daisy motifs in rows to match your desired dress width and length. Join the motifs as you go by slip stitching through the back loops of adjacent petals for a neat seam, or sew them together with yarn and a tapestry needle for a cleaner finish.
Step 3: Forming the Dress Panels
Join enough daisy motifs to create the front and back panels separately.
- Front Panel: Approximate width and length depending on the dress size.
- Back Panel: Same as front panel.
Make sure to leave space at the top for armholes and neck shaping.
Step 4: Adding the Straps
Crochet two strips wide enough and long enough to serve as straps. Attach them securely to the front and back panels at the shoulder points.
Step 5: Adding a Base for Comfort
If desired, crochet a simple lining or a skirt base under the daisy motif panels using single crochet or half double crochet stitches for added comfort and coverage.
Step 6: Edging and Finishing Touches
Add a delicate scalloped edge or picot edging around the hem, armholes, and neckline for a polished look.

Tips for Success
- Use soft, breathable yarns for baby or toddler comfort.
- Keep consistent tension to ensure even sizing.
- Block the motifs before joining to help them lay flat.
- Customize colors for unique looks — classic white daisies or colorful variations.
- Check sizing frequently as you join motifs to ensure a good fit.
Final Thoughts
The Field of Daisies Sun Dress is a fun and rewarding crochet project that brings floral charm to a wearable piece. It’s perfect for warm weather and makes an adorable outfit for little girls, whether for everyday wear or special occasions.
Video Tutorial: