 by
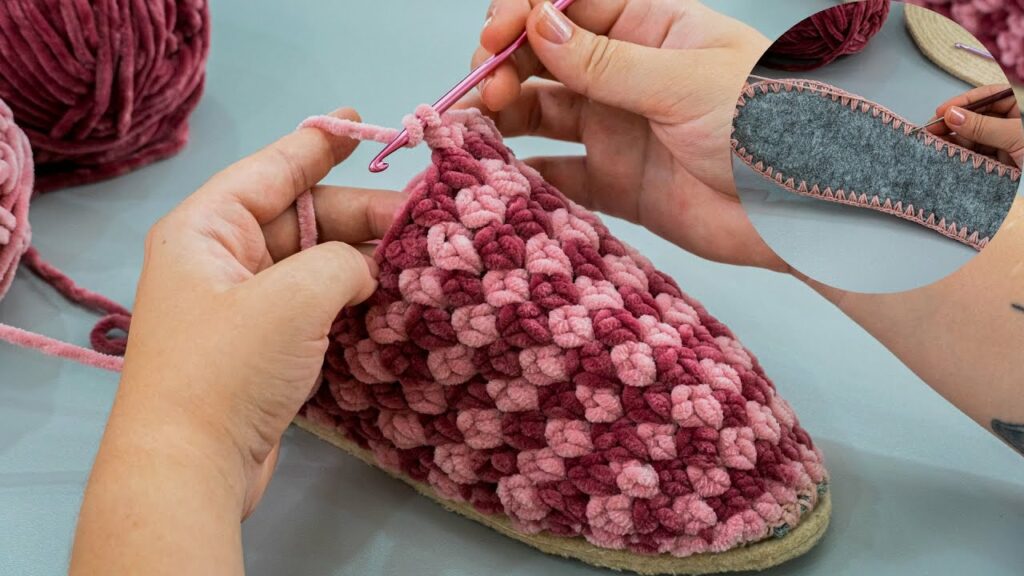
by Here is a detailed, step-by-step guide on how to make crochet slippers on a ready-made sole using plush yarn. This method creates super warm, soft, and comfortable slippers with a professional look.
How to Make Crochet Slippers on a Sole Using Plush Yarn
Warm • Cozy • Beginner-Friendly
Crocheting slippers on a sole combines the sturdiness of footwear with the softness of plush yarn. Below is a complete guide including materials, preparation, and instructions for shaping the slipper.
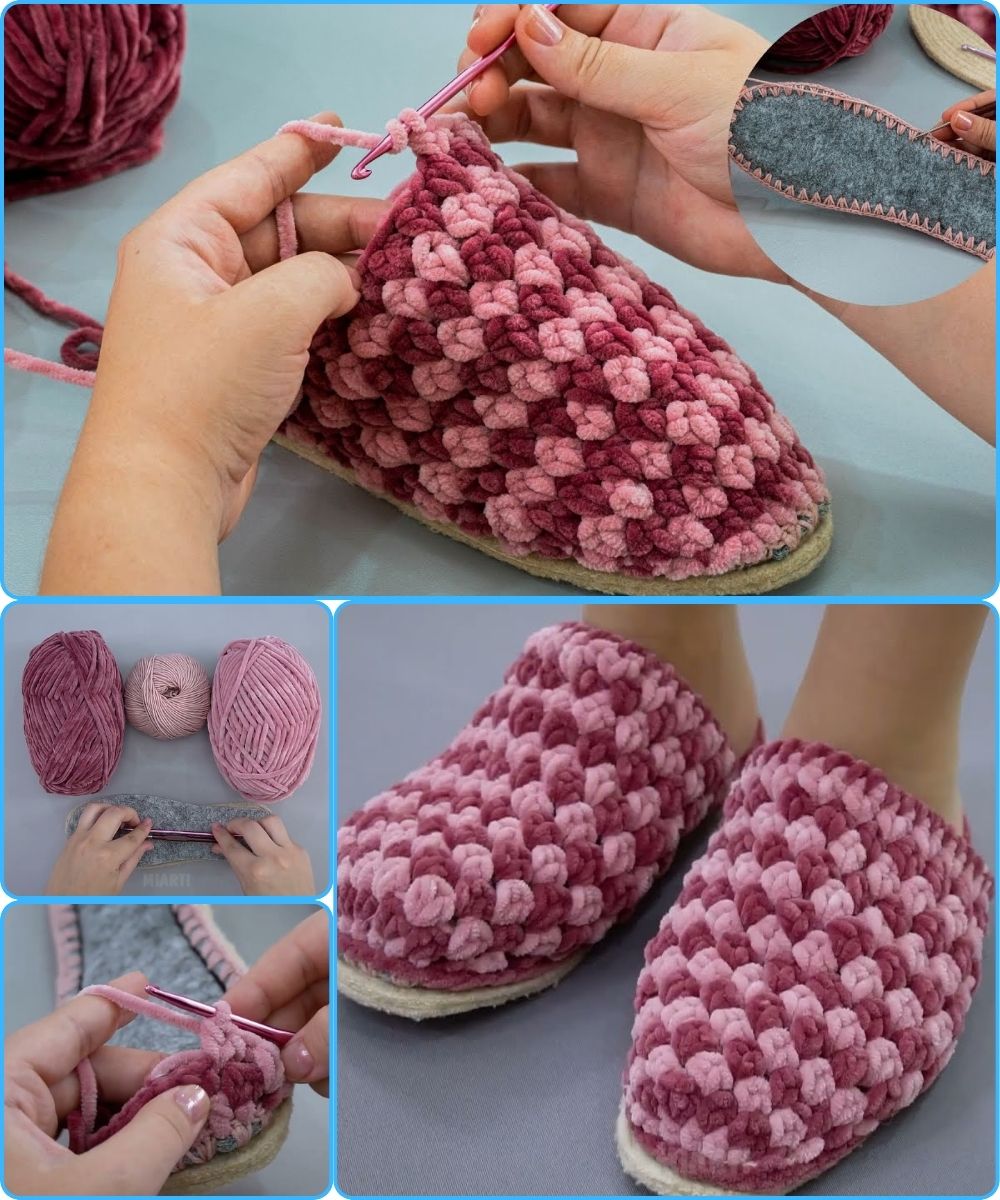
Materials You Will Need
- Plush yarn (e.g., Himalaya Dolphin Baby, Alize Softy, Bernat Blanket Mini) — approx. 1–1.5 skeins per pair
- Crochet hook
- Usually 6 mm–7 mm for plush yarn
- Ready-made slipper soles
- Leather, felt, silicone, cork, or flip-flop soles
- Yarn needle
- Stitch markers
- Awl or hole punch
- If the soles don’t already have holes
- Scissors
Step 1: Prepare the Sole
If the soles are not pre-punched:
- Mark holes around the edge of the sole:
- Distance from edge: approx. 5 mm
- Spacing: 0.8–1 cm
- Use an awl or hole punch to make small, clean holes.
- Repeat for both soles.
Tip: Even, consistent holes help the first round look neat.
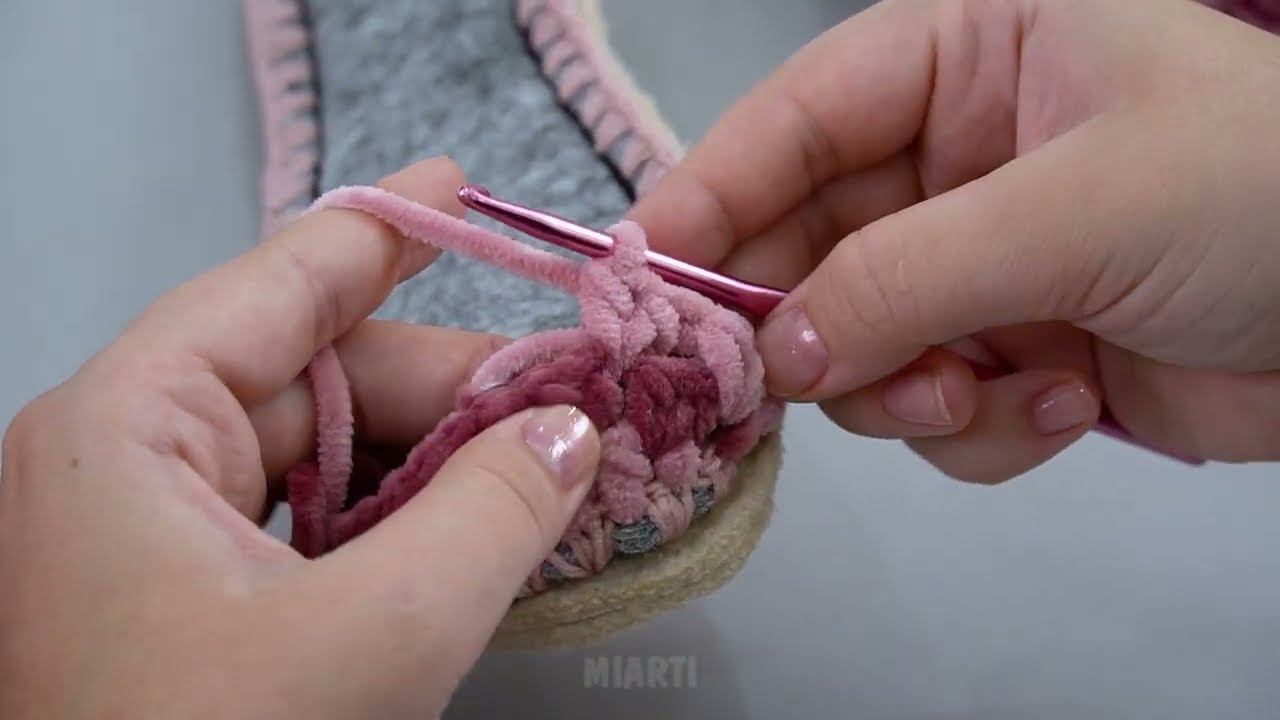
Step 2: Crochet the Foundation Round
This round attaches your yarn to the sole.
- Insert the hook into the first hole near the heel.
- Pull the plush yarn through and chain 1 to secure.
- Work single crochet (SC) into each hole around the entire sole.
- If the holes are spaced far apart, work 2 SC per hole to avoid gaps.
- Join with a slip stitch at the end of the round.
Your foundation row should be snug and even.

Step 3: Build the Sides of the Slipper
This section creates the “walls” around the foot.
- Work single crochet in each stitch all the way around.
- Continue for 4–7 rounds depending on how tall you want the sides.
- Plush yarn hides stitches, so use markers to track round beginnings.
The sides should rise evenly like a small bowl.
Step 4: Shape the Toe
You’ll now close the front of the slipper.
Option A: Simple Rounded Toe (Beginner-Friendly)
- Start the round at the center of the toe area.
- Place markers on the left and right sides (about 10–12 stitches apart).
- Work regular SC until you reach the first marker.
- Begin decreases (single crochet two together — SC2TOG):
- Make 6–10 decreases evenly across the toe area.
- Continue with regular SC to finish the round.
- Repeat toe-decrease rounds until the front curves inward and closes comfortably.
Option B: Closed Toe (More Snug)
- Work back and forth in rows (instead of rounds) across the toe section only.
- Decrease at the beginning and end of each row.
- When the toe becomes narrow, stitch the edges together with a yarn needle.
Step 5: Crochet the Instep and Heel
Once the toe is shaped:
- Continue crocheting in rounds (or rows for tighter shaping).
- Work 3–6 rounds without decreases to shape the top of the foot.
- For a more fitted heel, add two decrease stitches per round near the back.
Step 6: Finish the Cuff
You can choose the style:
Option A: Rolled Cuff
Work 2–3 rounds of SC and fold the edge outward.
Option B: Ribbed Cuff
Work:
- Front Post Half Double Crochet (FPHDC)
- Back Post Half Double Crochet (BPHDC)
Repeat for 3–6 rounds for stretch and grip.
Option C: Plush Border
Switch to a contrasting color or fuzzy yarn to add a luxurious finish.
Step 7: Weave In Ends
Use a yarn needle to securely hide all loose yarn tails inside the plush stitches.
Optional Add-Ons
- Decorative bow or pom-pom
- Leather patches for extra reinforcement
- Embellishments like appliqués or embroidered initials
- Slip-resistant paint dots for extra grip
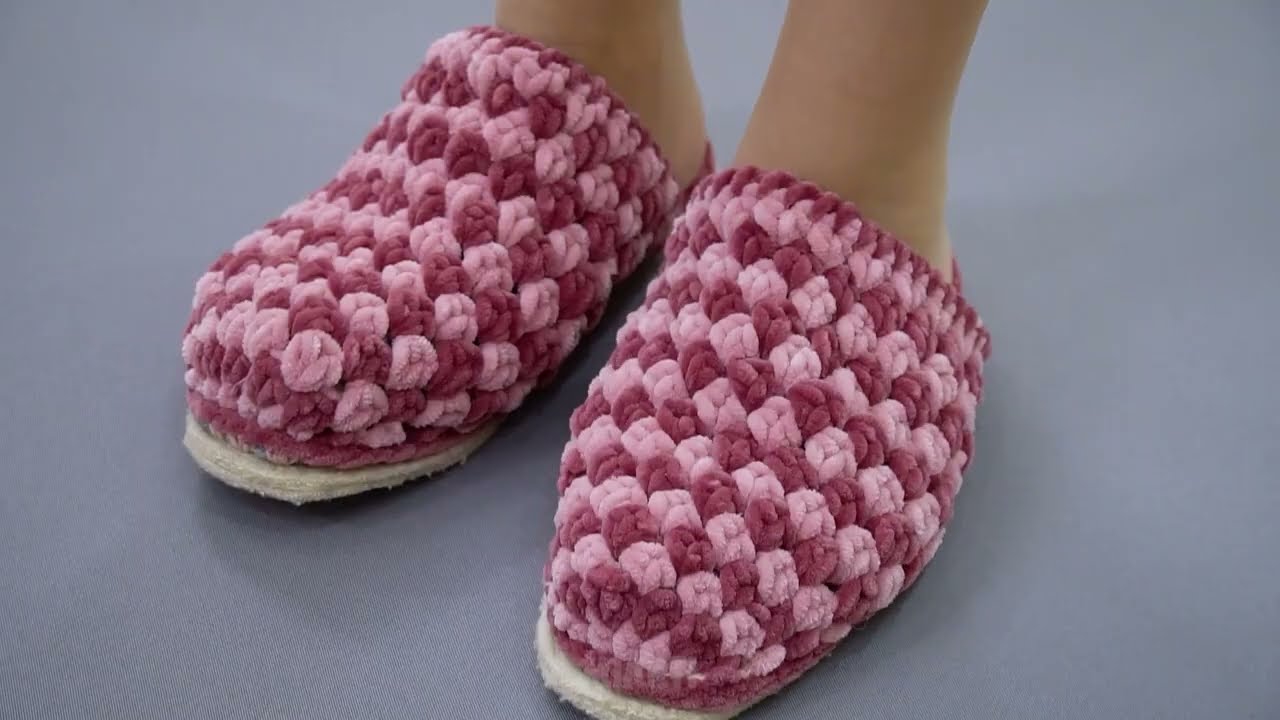
Final Result
You now have warm, soft, plush slippers that sit securely on a durable sole—perfect for cold seasons, gifts, or cozy nights at home!
If you want, I can also create:
a printable pattern,
a size chart for different foot lengths,
video-style step photos, or
a pattern written in standard crochet abbreviations.
Would you like any of those?
Watch video: