 by
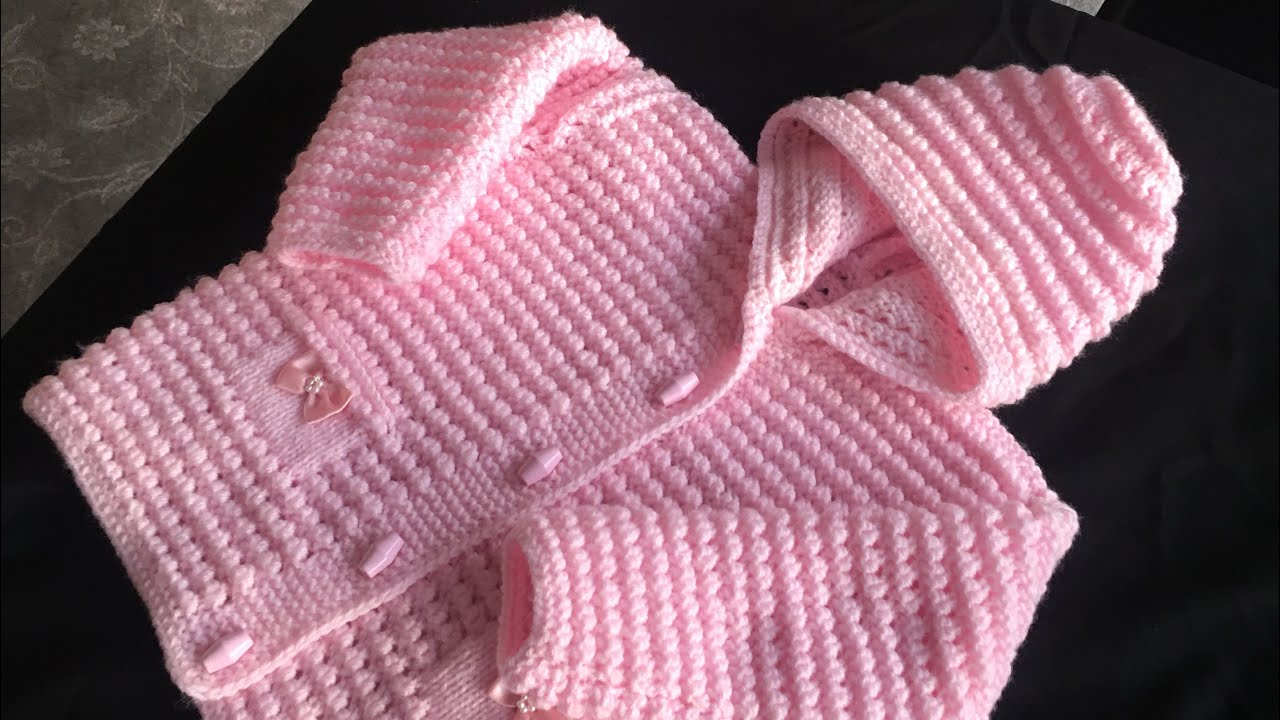
by As the weather turns crisp, or for those chilly indoor moments, there’s nothing quite as comforting and adorable as wrapping a tiny baby in a soft, hand-knitted hooded coat. For a baby aged 3-6 months, a hooded coat is the ultimate outerwear – providing warmth, protection from the elements, and an undeniable level of cuteness. It’s a substantial project that combines the charm of a hand-knitted garment with the practicality of a built-in head covering, making it a cherished item for new parents and a rewarding challenge for knitters.
This detailed article will guide you through the process of creating a beautiful hand-knitted hooded baby coat for a 3-6 month old, covering essential considerations, popular construction methods, key design elements, and invaluable tips for success.
Why Knit a Hooded Baby Coat for 3-6 Months?
- Superior Warmth & Protection: The integrated hood provides extra defense against cold winds, keeping delicate ears and heads snug without the need for a separate hat that might fall off.
- Practical Layering: A coat is perfect for adding significant warmth over a onesie or sweater, making it easy to regulate baby’s temperature indoors or out.
- Adorableness Factor: A baby bundled in a tiny, hand-knitted hooded coat is truly irresistible, making for precious memories and photographs.
- Heirloom Potential: Given its substantial nature and the effort involved, a hand-knitted coat is a beautiful piece to pass down through generations.
- Skill Building: Knitting a hooded coat typically involves combining various garment techniques – yoke shaping, body and sleeve construction, button bands, and the unique challenges of hood shaping and attachment.
- Heartfelt Gift: A handmade hooded coat is a profoundly thoughtful and practical gift for a baby shower or birth, demonstrating immense care and love.
Key Considerations for Design & Yarn (3-6 Month Specifics):
Selecting the right materials and planning the design are paramount for a functional, comfortable, and beautiful baby coat.
- The 3-6 Month Factor:
- Developing Mobility: At this age, babies are stretching, rolling, and reaching. The coat needs sufficient room (positive ease) to allow for comfortable movement without restricting them.
- Temperature Sensitivity: Babies in this age group are still highly susceptible to temperature fluctuations. A well-knitted coat provides crucial insulation.
- Frequent Dressing/Undressing: A full front opening with easy-to-use closures is essential for quick changes, especially when dealing with sleepy or squirming babies.
- Head Support: While a hood is cozy, ensure it’s well-shaped and not too heavy, allowing for comfortable head positioning.
- Growth: Account for growth spurts. A coat should be designed with ample positive ease (roominess) to accommodate layers underneath and last longer than a few weeks.
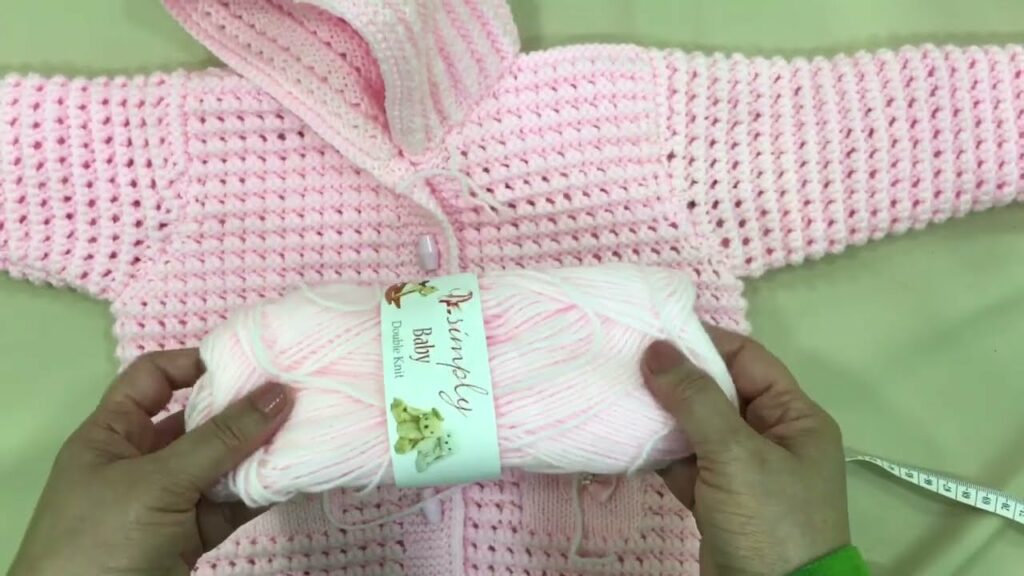
- Yarn Choice (Utmost Importance!):
- Fiber:
- Superwash Merino Wool: The gold standard for baby outerwear. It’s incredibly soft (non-itchy), warm, breathable, naturally elastic (helps retain shape), and, vitally, machine washable without felting or shrinking.
- Alpaca Blends: Offer luxurious softness and warmth, but often require more delicate hand-washing. Check care instructions thoroughly.
- Baby-Specific Acrylics / Blends: Modern, high-quality acrylics are very soft, durable, hypoallergenic, and extremely machine washable. Blends (e.g., acrylic with a percentage of merino for added softness/elasticity) offer a good balance of properties.
- Cotton Blends: Less common for a primary coat (as cotton isn’t as warm as wool), but suitable for milder climates or if you prefer plant-based fibers. Ensure the yarn has some elasticity to prevent stretching out.
- Weight:
- Worsted Weight (Aran) or DK (Double Knitting): These are the most popular and ideal choices. They work up at a reasonable pace, provide excellent stitch definition for texture, and create a cozy yet comfortable fabric with good warmth.
- Bulky (Chunky): For very quick knits and a substantial, extra-warm, chunky coat.
- Color Palette:
- Soft Neutrals: Cream, white, light grey, beige, soft taupe – elegant and versatile for gifting.
- Gentle Pastels: Traditional baby blues, pinks, mints, lavenders.
- Muted Jewel Tones: Soft berry, sage green, dusty blue, plum, muted yellows.
- Consider gender-neutral options if knitting as a gift.
- Safety: The yarn must be machine washable (or at least easy care for parents) and hypoallergenic. Look for yarns that are less prone to pilling.
- Sizing (3-6 Months):
- Patterns will provide specific finished garment measurements. A typical 3-6 month old’s chest circumference is around 18-20 inches (45-51 cm).
- Positive Ease: A coat needs ample positive ease. Aim for 3-6 inches (7.5-15 cm) of positive ease in the chest circumference to comfortably fit over other layers and allow for growth.
- The All-Important Gauge Swatch (Absolutely Non-Negotiable!): This is the single most critical step for any garment, especially a coat where fit and drape are important.
- Knit a generous swatch (at least 6×6 inches / 15×15 cm) in the main stitch pattern of your coat.
- Wash and block your swatch exactly as you plan to treat the finished coat. This is vital, as yarn can change after washing.
- Measure your stitches and rows per inch/cm precisely.
- Adjust your needle size (up if your knitting is too tight/too many stitches; down if too loose/too few stitches) and re-knit until your swatch matches the pattern’s specified gauge.
- Closure:
- Buttons: The most common and charming closure. Choose larger, flat buttons (at least 3/4 inch / 2 cm in diameter) that are easy for an adult to manipulate, and sew them on very, very securely. Wooden, toggle, or chunky plastic buttons are popular.
- Toggles: Offer a classic, rustic look.
- Zippers: Less common for hand-knitted items due to the complexity of insertion and potential bulk, usually reserved for advanced knitters.
- Hood Ties: If the hood has ties, ensure they are very short and sewn securely to the coat itself to prevent any strangulation hazard. Avoid long, loose ties around a baby’s neck.
Common Construction Methods for Hooded Coats:
Seamless knitting is highly recommended for baby garments due to comfort and ease of finishing.
- Top-Down Seamless (Raglan or Circular Yoke):
- How it works: You cast on at the neckline (often incorporating stitches for the front button bands) and knit downwards. Increases are made along diagonal “raglan” lines or evenly around a circular yoke to shape the shoulders and upper body. The body is then knit (usually flat to create the front opening), and the sleeves are knit last. The hood is typically picked up from the neckline and knit upwards.
- Pros: No seaming (a huge advantage and more comfortable for baby’s skin!), easy to try on for length adjustments, excellent for continuous stitch patterns from yoke to body. The hood can be knit directly from the neckline.
- Cons: Requires circular needles (and often DPNs or the Magic Loop method for sleeves and possibly the hood if knit in the round).
- Highly Recommended: Many modern baby coat patterns use this method for its clean finish, comfort, and flexibility.
- Bottom-Up (Seamed or Seamless):
- How it works: The back, two front panels, and two sleeves are knit as separate pieces (flat). These pieces are then sewn together (seamed) at the shoulders, sides, and underarms. The hood is knit separately and then sewn onto the neckline.
- Pros: Only requires straight needles (if seamed), can be easier for knitters more comfortable with flat knitting.
- Cons: Requires accurate and often time-consuming seaming, which can create bulk.
Basic Elements & Popular Stitch Patterns:
A good pattern will guide you through these fundamental techniques:
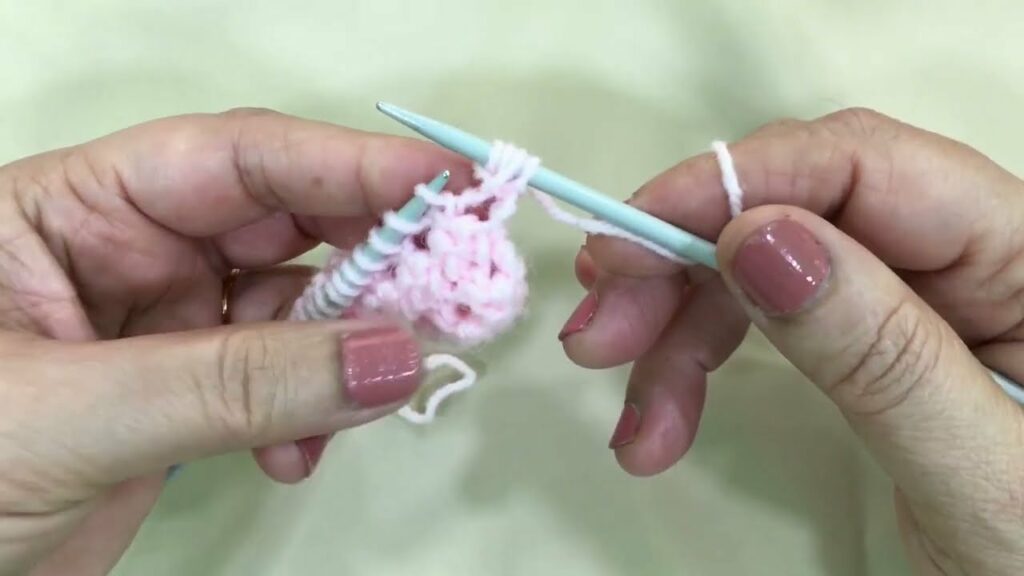
- Stitches to Know: Cast On, Knit (K), Purl (P), Ribbing (1×1 or 2×2), Bind Off.
- Shaping: Increases (KFB, M1L/R) for raglan lines, and simple decreases (K2tog, SSK) for neckline shaping or armholes.
- Buttonholes: Learning to create neat horizontal or vertical buttonholes on the front bands.
- Picking Up Stitches: Essential for creating button bands along the front opening and for picking up stitches around the neckline to knit the hood.
- Hood Construction: Usually involves picking up stitches around the neckline, then knitting the hood (either flat in two halves and seamed, or in the round) to the desired depth. Shaping is often incorporated to make the top of the hood round, and the final top edge is either grafted (Kitchener stitch) or seamed.
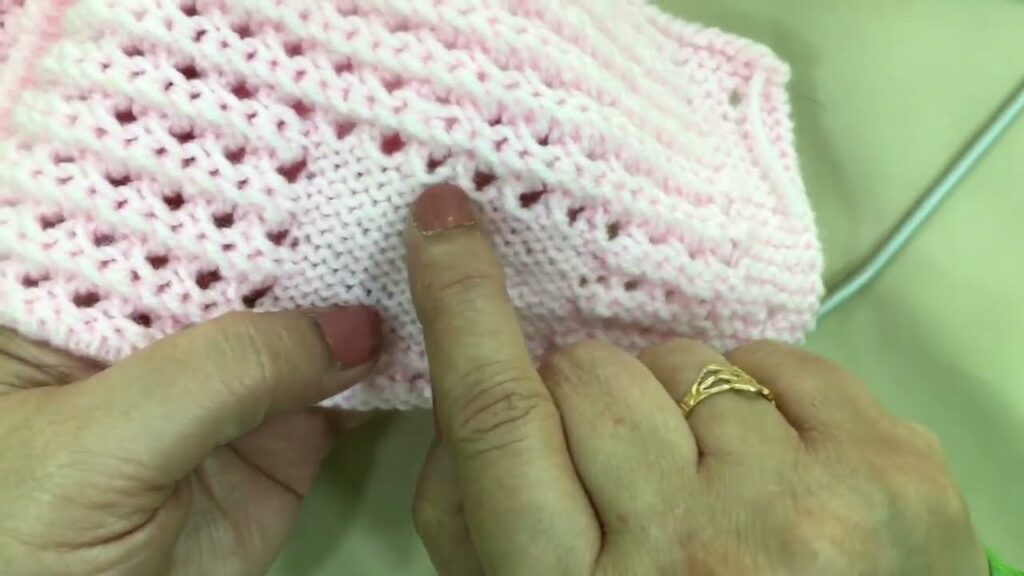
- Popular Stitch Patterns for Baby Coats:
- Garter Stitch: (Knit every row/round). Very squishy, warm, durable, reversible, and lays flat. Excellent for chunky coats or durable bands.
- Moss Stitch / Seed Stitch: (Alternating K and P stitches within the row). Creates a lovely, subtle texture that lies flat, adds substance, and prevents curling. Good for bands, collars, or the entire coat.
- Stockinette Stitch: (Knit right side, purl wrong side; or knit every round). Classic smooth fabric. Can be used for the main body, but ensure sturdy non-curling bands are incorporated.
- Ribbing (1×1 or 2×2): Essential for cuffs, bottom hems, and button bands for elasticity and neatness.
- Simple Cables: Adds beautiful texture and a classic look. Can be integrated into panels (e.g., up the fronts or back) or as a subtle all-over texture.
- Basketweave: Creates a thick, warm, and highly textured fabric.
- Textured Patterns: Combinations of knits and purls (e.g., mistake rib, slipped stitch patterns) for added depth, warmth, and visual interest.
Key Design Elements for a 3-6 Month Hooded Coat:
- Full Front Opening: Essential for easy dressing and undressing a baby.
- Button Bands: Sturdy, often ribbed or garter stitch, running along the front opening with evenly spaced buttonholes.
- Hood: The defining feature! It should be well-shaped, deep enough to fully cover the baby’s head, and not overly floppy. Some patterns include a contrasting lining for extra warmth or style.
- Sleeves: Full-length for maximum warmth, typically finished with ribbed cuffs.
- Body: Designed with ample ease to comfortably fit over layers.
- Collar (Optional): Some designs feature a small, ribbed collar that transitions seamlessly into the hood, adding a polished look.
- Pockets (Optional): Small patch pockets on the front are charming details, though not truly functional for a baby this age.
- Animal Ears (Optional): Knitted animal ears (bear, bunny, fox) sewn onto the hood are a popular and incredibly cute embellishment.

Step-by-Step (Simplified) Outline of a Top-Down Raglan Hooded Coat:
This is a general guide; your chosen pattern will provide exact stitch counts and specific instructions.
- Prepare: Gather your pattern, yarn, circular needles (and DPNs or long circular for Magic Loop for sleeves), stitch markers, tapestry needle, and scissors.
- Knit Your Gauge Swatch: This is crucial for accurate sizing. Wash, block, and measure it. Adjust needle size if needed.
- Cast On: Using a stretchy cast-on method, cast on the specified number of stitches for the neckline, often including stitches for the front button bands.
- Work Neckline/Front Bands: Knit in ribbing or garter stitch for a few rows, incorporating the first buttonhole(s) on one of the front bands.
- Establish Raglan Markers: On the first full round/row of the yoke, you’ll divide your stitches for the front bands, front panels, sleeves, and back panel, placing stitch markers at the four raglan “corners.”
- Knit Yoke (Increase Rounds/Rows): Continue knitting in your main stitch pattern. On designated “increase rounds/rows,” work increases around each of your raglan markers. This gradually expands the fabric to form the shoulders and upper chest. Continue working buttonholes on your front band at regular intervals. Repeat until the yoke reaches the desired depth.
- Separate for Body & Sleeves: Once the yoke is complete, put the stitches for the two sleeves onto scrap yarn or stitch holders. The remaining stitches for the front panels and back panel will be joined (often by casting on a few stitches under the armholes) to form the body.
- Knit Body: Continue knitting the body flat (to maintain the front opening) in your main stitch pattern until the coat reaches the desired length. Finish with a ribbed or garter stitch hem. Bind off all stitches.
- Knit Sleeves: Return to the held sleeve stitches. Pick up any stitches under the armholes. Knit each sleeve in the round (using DPNs or Magic Loop) to the desired length. Finish with a ribbed cuff. Bind off.
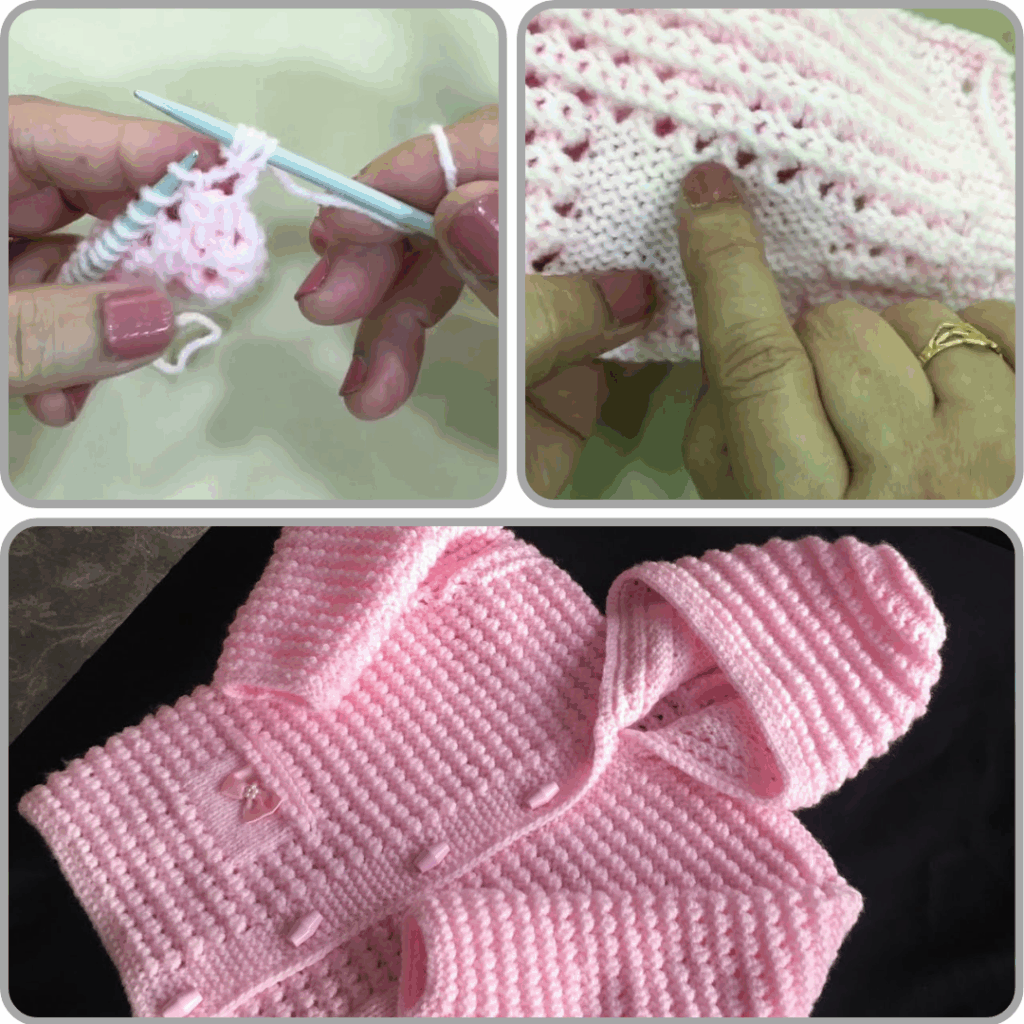
- Create Hood:
- Pick Up Stitches: Using your needles, pick up stitches evenly along the neckline/collar edge.
- Knit Hood: Knit the hood (either flat, then seamed, or in the round if pattern allows) to the desired depth. Shaping (decreases) may be worked to make the top of the hood rounded.
- Close Hood: The top of the hood is typically closed by grafting (using Kitchener stitch for a seamless finish) or by seaming the two halves together.
- Finishing:
- Weave in Ends: Neatly weave in all loose yarn tails using a tapestry needle.
- Sew on Buttons: Securely sew on all buttons, ensuring they are very tightly attached.
- Block: This is a crucial step! Gently wash your finished coat according to your yarn’s care instructions. Gently squeeze out excess water. Lay it flat on a towel or blocking mats, shaping it to the correct dimensions from the pattern. Let it air dry completely. Blocking truly transforms the garment, evening out stitches, setting the shape, and enhancing drape.

Tips for Intermediate Success:
- Read the Entire Pattern First: This is paramount for any complex garment. Understand the overall construction and anticipate any new techniques or tricky parts.
- Watch Video Tutorials: For any technique that’s new or unclear (e.g., specific cast-ons, complex increases/decreases, buttonholes, picking up stitches for the hood, grafting).
- Use Stitch Markers! They are invaluable for marking raglan lines, stitch pattern repeats, the beginning of rounds, and buttonhole placements.
- Don’t Fear Mistakes: Everyone makes them! A good stitch fixer or a seam ripper is your friend. It’s always better to correct an error than to be unhappy with the finished project.
- Baby Safety First: Ensure all buttons are sewn on extremely securely. Avoid any long ties on the hood or very small, loose embellishments that could pose a choking hazard.
Video Tutorial :
Knitting a hooded baby coat for a 3-6 month old is a truly rewarding endeavor. You’ll create a durable, practical, and beautiful garment that will be a cherished piece in any baby’s wardrobe, infused with the warmth and love of your hand-knitted stitches. Happy knitting!