by
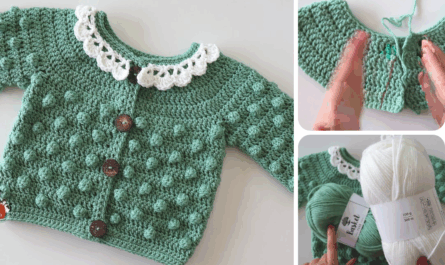
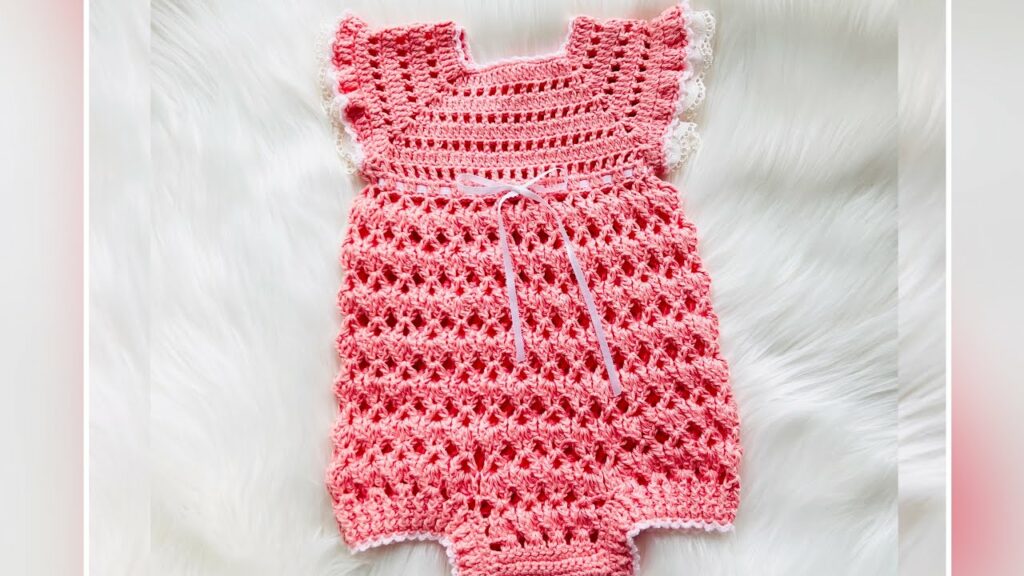
by A handmade crochet romper is one of the most charming and practical garments for a baby, and the Marshmallow Romper lives up to its name. With its soft, squishy texture and simple design, this romper is a perfect project for creating a cozy, everyday outfit that’s both adorable and comfortable. This detailed article will guide you through the process of crocheting this romper, covering all the essential techniques from start to finish.
This pattern is a fantastic choice for beginners and experienced crocheters alike because it’s super easy, quick to make, and is a great stash-buster for leftover yarn.

1. What Makes the Marshmallow Romper So Great?
The Marshmallow Romper’s appeal comes from its user-friendly design and beautiful, squishy texture:
- Super Easy: This romper is typically made with a simple, repetitive stitch pattern, often a variation of the single crochet (SC) or half double crochet (HDC). The shaping is minimal, making it an ideal first garment project.
- Quick to Make: The combination of a simple stitch and a chunky-weight yarn means you can whip up this romper in just a few hours. It’s a great last-minute gift idea!
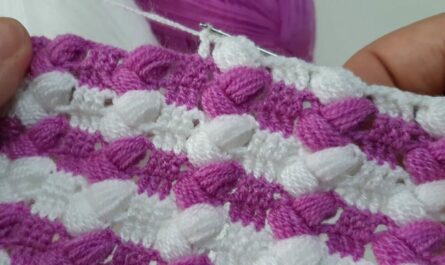
- Squishy Texture: The pattern uses a stitch that creates a dense, plush fabric, giving the romper a soft, “marshmallow-like” feel that is perfect for a baby’s delicate skin.
- Versatile Sizing: This pattern is designed for babies from 0 to 24 months, making it a project you can come back to as the baby grows.
Video Tutorial Part 1 :
2. Planning and Materials
Choosing the right materials is the first step toward a beautiful finished romper.
- Pattern: You will need a pattern for the “Marshmallow Romper” or a similar simple baby romper. Look for a pattern from a reputable designer on platforms like Ravelry or Etsy. The pattern should include a size chart for various baby sizes.
- Yarn: A chunky (Bulky) or super bulky yarn is the best choice for this project. The thicker yarn is what creates the “marshmallow” texture and makes the romper work up quickly. Soft acrylic or a cotton blend yarn is recommended for baby items as it is durable, easy to wash, and hypoallergenic.
- Crochet Hook: The pattern will specify the hook size. Make sure you use the recommended size to achieve the correct gauge.
- Gauge Swatch: Making a gauge swatch is crucial for any garment project. This ensures your finished romper will be the correct size.
- Other Supplies: You will also need scissors, a tapestry needle for weaving in ends, stitch markers, and buttons for the shoulder straps and crotch closure.
3. The Step-by-Step Construction
A typical Marshmallow Romper is made in a few simple sections that are then sewn together. This modular approach makes the project much more manageable.
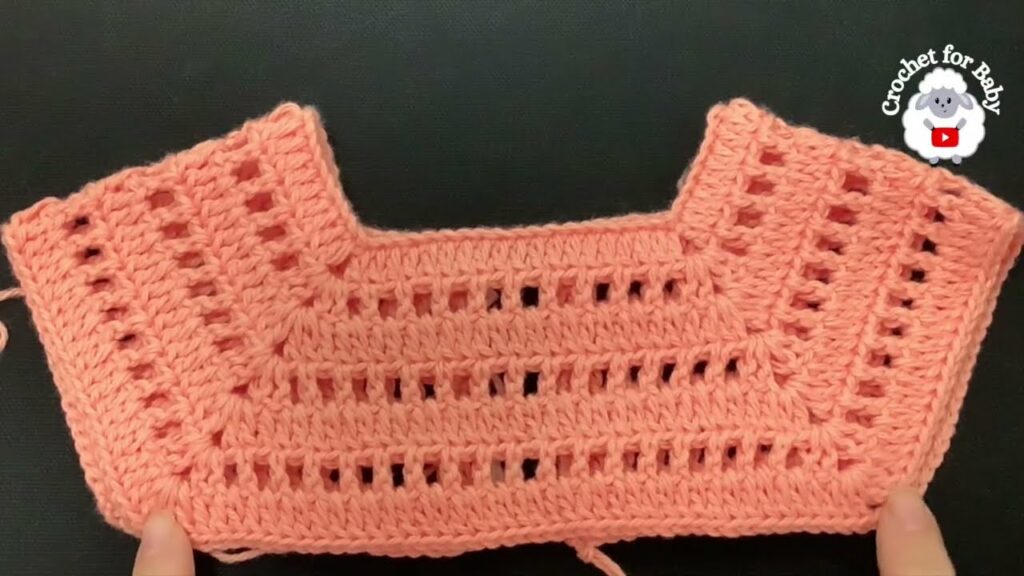
Part 1: The Body
The body of the romper is worked as a single piece, from the bottom up, to create a seamless finish.
- Foundation Chain: You’ll start by chaining the required number of stitches for the width of the back panel, as specified in your pattern.
- Stitch Pattern: Work in rows using a simple, repetitive stitch pattern. This is what creates the “marshmallow” texture. The pattern will instruct you on how to create the back and front panels with a seamless join at the sides.
- Create the Leg Openings: The pattern will instruct you on how to work a simple stitch around each leg opening to create a clean, finished edge.
- Create the Bib: Once the body is the correct size, you will create a bib for the front of the romper. This is a simple rectangle that is worked in rows and then sewn to the body.
Part 2: The Straps and Crotch Panel
The straps and crotch panel are worked separately and then attached to the romper.
- Straps: You’ll crochet two straps, which are simple rectangles that can be tied or buttoned at the back of the romper. The pattern will instruct you on how to create buttonholes at the end of the straps.
- Crotch Panel: The crotch panel is worked as a small rectangle. You will sew it to the back of the romper, and the front of the panel will have a buttonhole for a button closure.
Part 3: Finishing Touches
- Weave in All Ends: Use your tapestry needle to carefully weave in every single loose end.
- Attach Buttons: Sew the buttons onto the crotch panel and the back of the romper to secure the straps.
- Blocking: Blocking is highly recommended. It will even out your stitches and give the romper a beautiful, professional drape.
4. Final Thoughts
Crocheting the Marshmallow Romper is a delightful project that results in a gorgeous, one-of-a-kind garment. By breaking the process down into manageable parts and choosing a pattern that suits your skill level, you can create a treasured piece that will be a joy to make and an even greater joy to see on a special little one.
Video Tutorial Part 2 :