 by
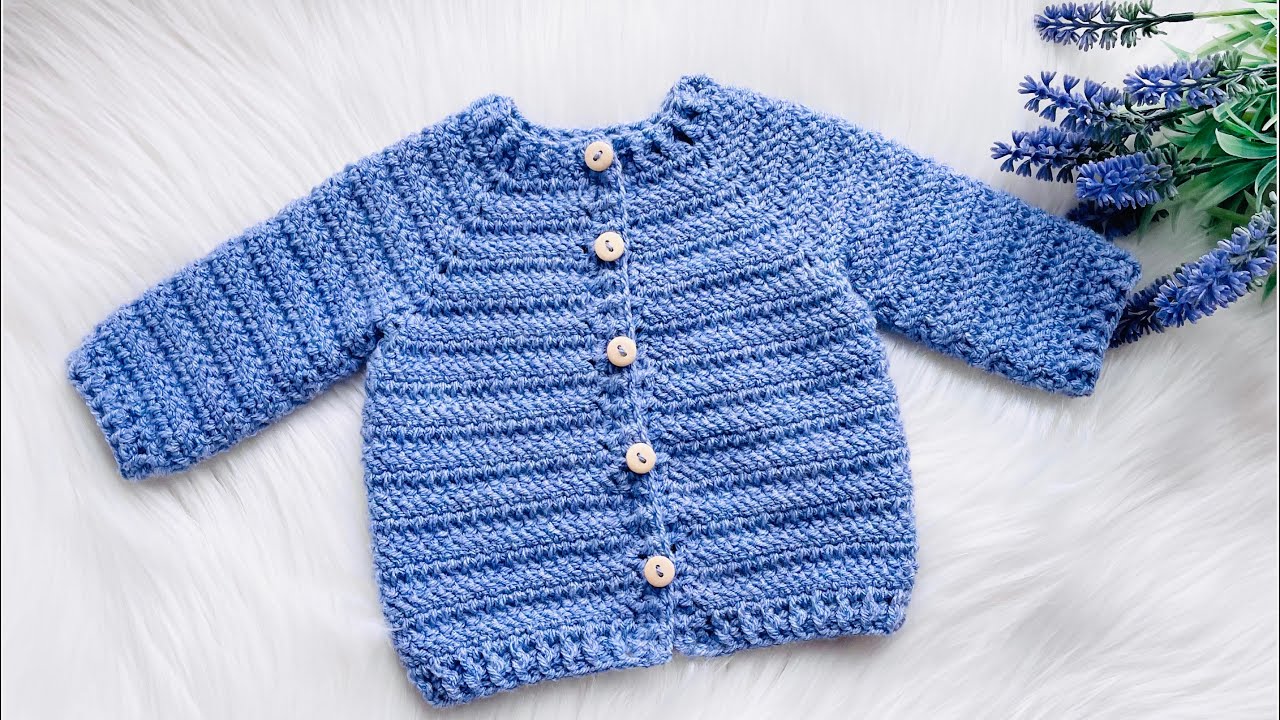
by A handmade crochet baby cardigan is a timeless and cherished item, perfect for keeping a little one cozy and stylish. This is a rewarding project for any crocheter, from confident beginners to intermediate makers, as it’s a great way to practice new skills and create a beautiful, custom-fit garment.
This detailed article will guide you through the process of crocheting a classic baby cardigan, covering the essential steps, from choosing the right materials to finishing the final details.
1. Planning Your Baby Cardigan: Key Decisions & Materials
Careful planning is the foundation of a beautiful handmade cardigan. Before you pick up your hook, consider these important factors.
- Choose a Pattern: There are countless patterns available for baby cardigans, from simple designs to more intricate styles. For a classic look, search for patterns that are worked from the top down. This is a popular method because it’s seamless and allows you to easily adjust the length of the body and sleeves.
- Yarn & Fiber: The yarn you choose will determine the feel, drape, and comfort of the cardigan.
- Weight: A DK (light worsted) or worsted weight yarn is an excellent choice. It works up quickly and creates a cozy, substantial fabric.
- Fiber: Soft acrylic or cotton yarn is a popular option for baby items as it’s durable, easy to wash, and hypoallergenic.
- Hook Size: Choose a hook size that is appropriate for your yarn. The yarn label will provide a recommendation.
- Gauge Swatch: Making a gauge swatch is crucial for any garment project. This ensures your finished cardigan will be the correct size. The pattern you follow will specify a required gauge (e.g., “4 stitches and 4 rows = 1 inch”). Crochet a small swatch and measure it. Adjust your hook size accordingly (use a larger hook if your swatch is too small, or a smaller hook if it’s too large).
- Other Supplies: You will also need scissors, a tapestry needle for weaving in ends, stitch markers, and buttons for the closure.
2. The Step-by-Step Process (Top-Down Construction)
This guide focuses on a popular and easy method where the cardigan is worked from the top down, creating a seamless piece with minimal sewing.
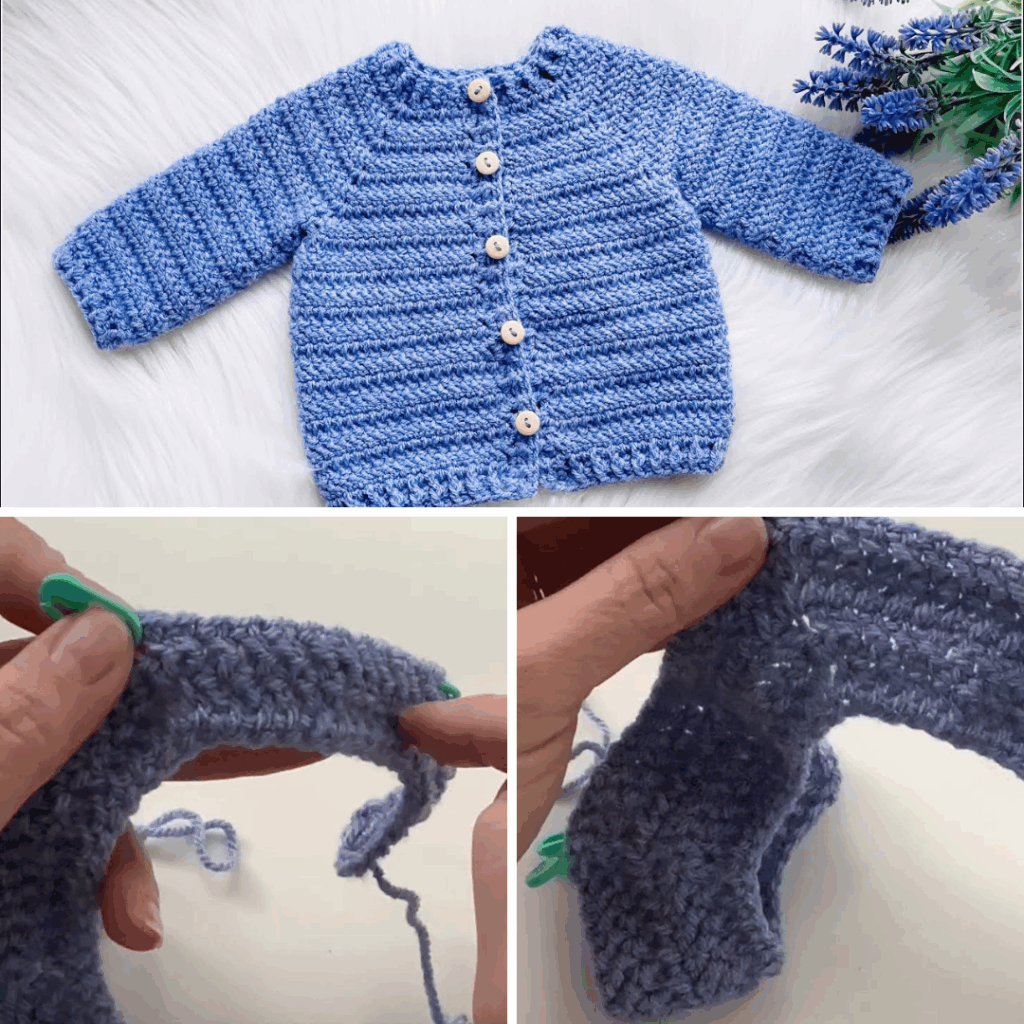
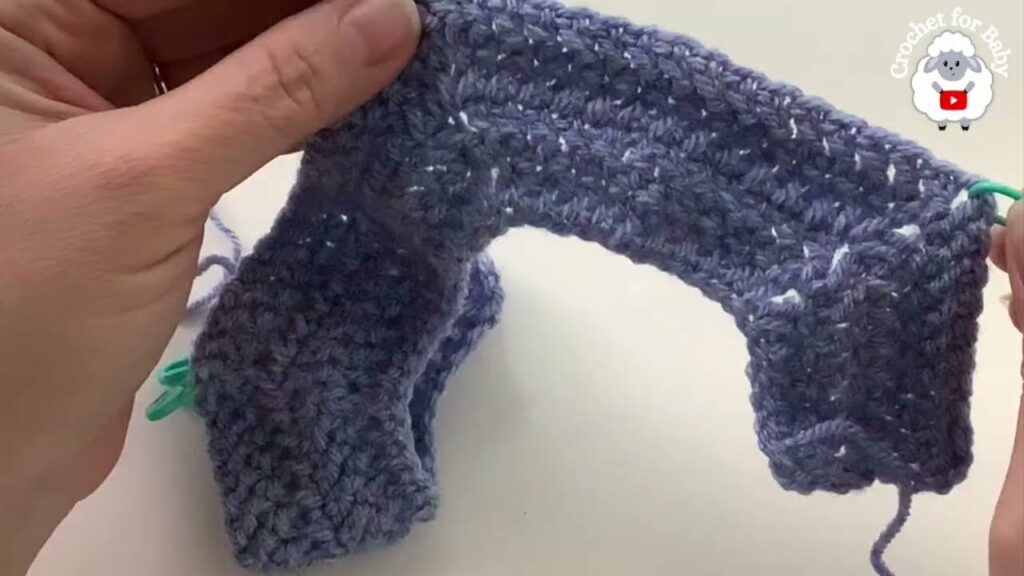
Part 1: The Yoke
The yoke is the top portion of the cardigan that covers the chest and shoulders.
- Foundation Chain: Begin by chaining the required number of stitches for the neckline, as specified in your pattern.
- Increase Rounds: The pattern will instruct you on how to place increases in each round to create a flat, circular yoke. You will work in rows, turning at the end of each row. These increases will form the armholes and shape the top of the cardigan. You will continue to work in rows until the yoke reaches the correct size for the baby’s chest and armholes.
- Divide for Armholes: Once the yoke is the correct size, the pattern will instruct you to divide the stitches into four sections: two for the front panels, one for the back, and two armhole spaces. You will stop crocheting in the armhole stitches for the rest of the body.
Video Tutorial Part 1:
Part 2: The Body
The body is worked in one piece, continuing from the yoke.
- Work in Rows: From this point on, you will work the body in one piece, continuing with your chosen stitch pattern, but you will only work across the front and back panels. You will skip the armhole sections.
- Create the Body: Continue working in rows until the body reaches the desired length.
- Add a Border: Once the body is the correct length, you can add a simple border (e.g., a few rows of single crochet or ribbing) to the bottom hem for a clean, professional finish.
Part 3: The Sleeves
The sleeves are worked off the armhole openings.
- Attach Yarn: Once the body is complete, you will join your yarn to one of the armhole openings.
- Work in the Round: Work in rounds, decreasing a few stitches every few rounds to create a tapered sleeve shape.
- Create the Cuff: When the sleeve reaches the desired length, you can add a simple ribbing for a clean, finished cuff.
- Repeat: Repeat for the second armhole.

Part 4: Finishing Touches
- Button Panel & Buttonholes: A button panel is typically made by working a few rows of single crochet up one of the front panels. You will create the buttonholes by chaining one and skipping a stitch in a row, creating a small hole for the button to pass through.
- Weave in All Ends: Use your tapestry needle to carefully weave in every single loose end.
- Attach Buttons: Sew the buttons onto the opposite front panel.
- Blocking: Blocking is highly recommended. It will even out your stitches, open up the lacy patterns, and give the cardigan a perfect, professional shape.
3. Final Thoughts
Crocheting a baby cardigan is a delightful project that results in a gorgeous, one-of-a-kind garment. By breaking the process down into manageable parts and choosing a pattern that suits your skill level, you can create a treasured piece that is both beautiful and a testament to your hard work.
Video Tutorial Part 2: