by
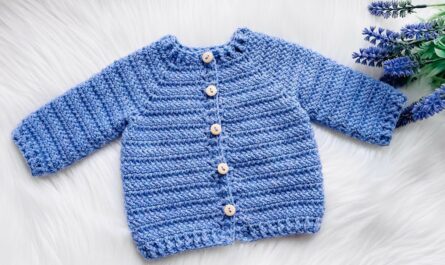
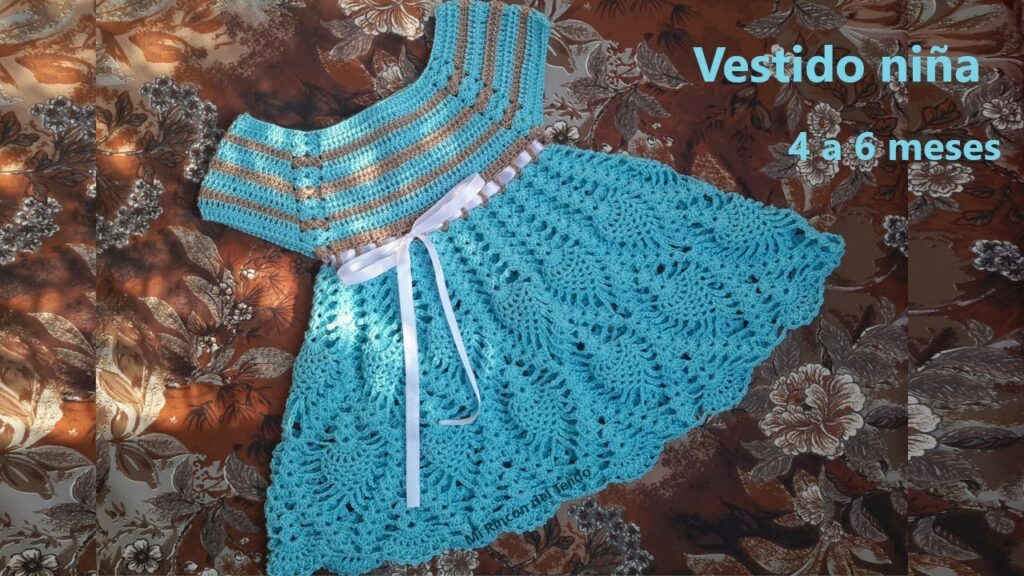
by A handmade crochet baby dress is a timeless gift that carries love, care, and tradition. Whether you’re crafting it for a baby shower, a newborn in your life, or as a cherished keepsake, this tutorial will guide you through each step to create a soft, delicate baby dress that’s perfect for a baby girl aged 0–6 months.
🪡 Materials Needed
Before you start, gather the following supplies:
- Yarn: Soft baby-weight yarn (also known as DK or light worsted). Cotton or cotton blends are ideal for breathability and softness. ~150g should suffice.
- Hook: Size 3.5 mm or 4 mm crochet hook (check yarn label for recommendations).
- Stitch markers
- Scissors
- Yarn needle
- Buttons or ribbon for the back closure (optional)
- Measuring tape
📏 Finished Size
This tutorial is designed for a 0–6 months baby size (chest circumference ~16 inches / 40.5 cm). You can adjust the size by changing yarn weight, hook size, or stitch count proportionally.
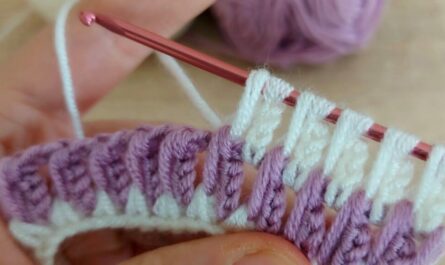
🧵 Crochet Techniques You’ll Use
- Chain (ch)
- Slip Stitch (sl st)
- Single Crochet (sc)
- Half Double Crochet (hdc)
- Double Crochet (dc)
- Shell Stitch (5 dc in one stitch)
- Increasing and joining in the round
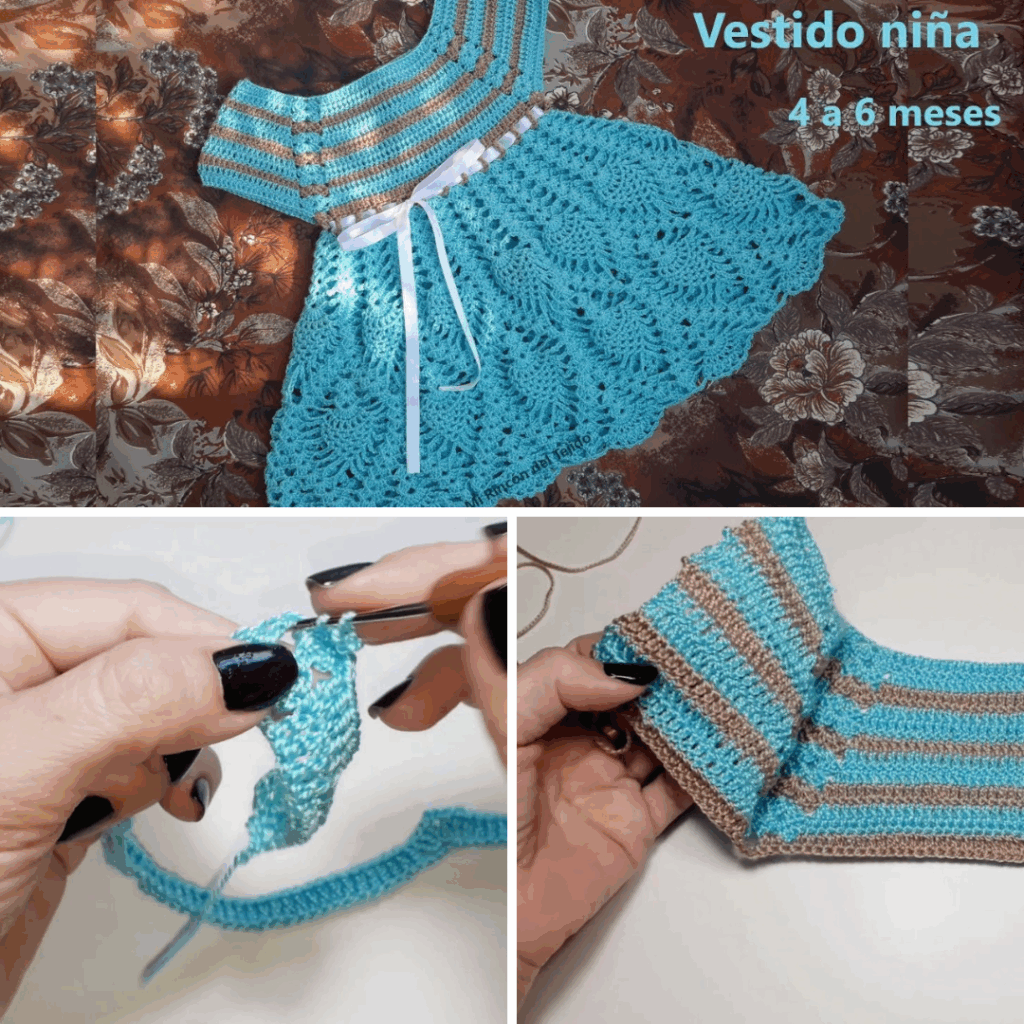
🧷 Step 1: Start with the Yoke (Top of the Dress)
We’ll begin crocheting from the top down, in rows.
Pattern:
- Ch 52. This will form the neckline.
- Row 1: Dc in 4th ch from hook and in each ch across (total 50 dc). Turn.
- Row 2: Ch 2, dc in next 6 sts, 2 dc in next st; repeat from * to * across. You should now have 57 sts. Turn.
- Row 3: Ch 2, dc in next 7 sts, 2 dc in next st; repeat from * to * across. (64 dc). Turn.
- Continue increasing this way (adding 1 more dc between increases in each row) until you have 80–88 dc, depending on how full or loose you want the yoke.
💡 Use stitch markers to indicate increases or divide into 4 sections for front, back, and armholes to track shaping.
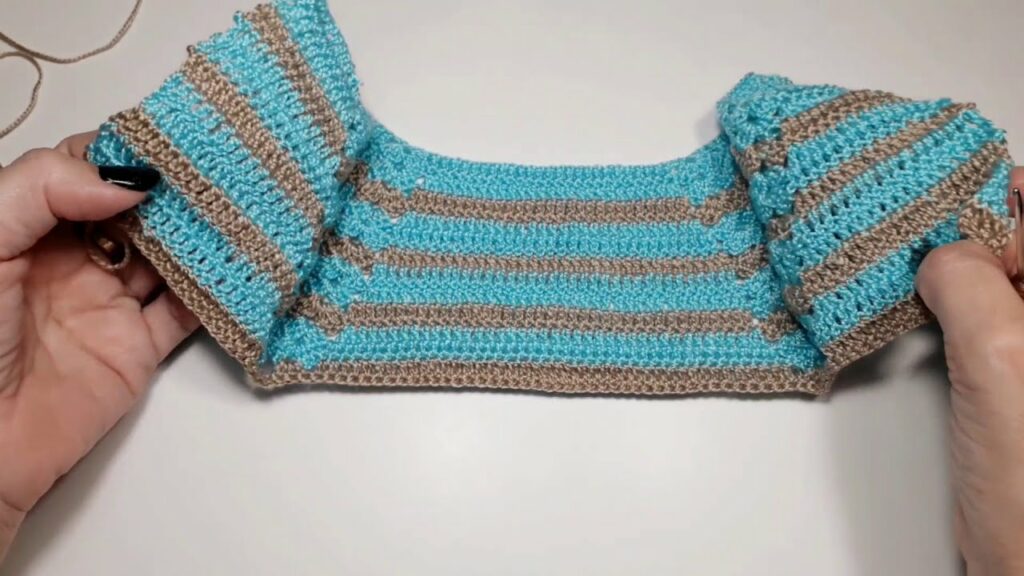
🧷 Step 2: Shaping the Armholes
- Divide the stitches into 4 parts: Front (20), Sleeve (10), Back (20), Sleeve (10)
- Next Row: Work dc across front, skip 10 sleeve stitches, chain 5–7 (underarm space), dc across back, skip next sleeve, chain 5–7, and continue to end of row.
- You now have a circular yoke with armholes.
🧷 Step 3: Begin the Skirt
From this point, you’ll be working in the round.
- Join with sl st to first dc. Ch 2.
- Start Shell Stitch pattern: Skip 2 sts, 5 dc in next st, skip 2 sts, sc in next st — repeat all around.
- End with sl st in the top of beginning chain or first shell.
Continue the Skirt:
Repeat shell stitch rounds until the skirt reaches your desired length. For a 0–6 month dress, 6–8 inches is a common skirt length (about 15–20 rounds).
For a flared skirt, you can increase by adding extra shells every 2–3 rounds.
🧷 Step 4: Edging & Finishing Touches
Neckline:
- Work a row of sc or picot edging around the neckline to neaten it.
Armholes:
- Work sc or shell edging around armholes for a clean finish.
Bottom Hem:
- Optional: Add lace edging or a fancy shell border at the skirt hem.
Back Closure:
- Leave a 1-inch gap at the back of the yoke if you want to add buttons.
- Attach a small button and crochet a chain loop as a buttonhole, or weave a satin ribbon through the neckline for a bow tie closure.
🧷 Step 5: Weave in Ends & Block
- Use a yarn needle to weave in all loose ends carefully.
- Gently block the dress by lightly steaming or dampening it and shaping it flat to dry. This helps even out stitches and shape the garment.
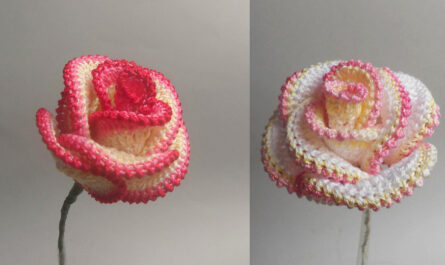
🎀 Optional Embellishments
- Add a satin ribbon around the waist.
- Sew on a crocheted flower or applique.
- Embroider tiny details like leaves, hearts, or initials using embroidery floss.
📝 Tips for Success
- Always check your gauge if you’re following a size-specific pattern.
- Use light-colored yarn for babies—it highlights the delicate stitch work.
- Make a matching headband or booties for a complete gift set.
- Avoid any materials that could irritate a baby’s skin—stick to hypoallergenic, washable yarns.
📸 Final Thoughts
A crochet baby dress is more than a garment—it’s a precious keepsake made with love. With a bit of patience and creativity, you can create a delicate, heirloom-quality dress that will be cherished for years. Whether you keep it simple or embellish it with extra flourishes, your handmade creation will surely be treasured.
Video Tutorial :