 by
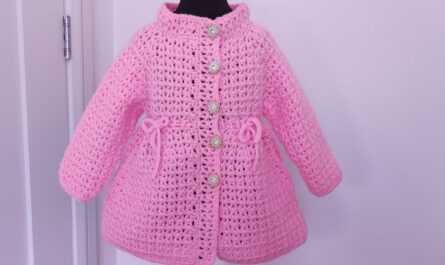
by Crocheting a sweater cardigan is a satisfying project that combines creativity, skill, and functionality. Whether you want a lightweight spring cardigan or a cozy winter garment, making your own allows for full customization in style, color, fit, and texture. Plus, a handmade cardigan offers something store-bought garments often lack: character and personal touch.
In this detailed guide, you’ll learn how to crochet a sweater cardigan, from choosing materials and taking measurements to assembling and finishing your piece.
📏 1. Planning: Choose Your Style and Fit
Before picking up your hook, decide on:
🔹 Cardigan Style
- Open-front or buttoned
- Short, waist-length, or long and flowing
- With or without sleeves
- Hooded or collarless
- Chunky or lightweight
🔹 Fit Preference
- Fitted: Sits snugly on the body
- Oversized: Loose and roomy for layering
- Boxy/straight: Minimal shaping for a relaxed look
🧶 2. Gather Materials and Tools
🧵 Yarn
Your yarn choice affects the texture, drape, and warmth of your cardigan.
| Yarn Weight | Best For | Examples |
|---|---|---|
| DK (3) | Lightweight cardigans | Cotton, bamboo |
| Worsted (4) | Medium warmth, good drape | Wool, acrylic blends |
| Bulky (5) | Cozy winter cardigans | Chunky yarns, roving wool |
Choose a soft, durable yarn with good stitch definition.
🧷 Tools
- Crochet hook (check your yarn label for recommended size)
- Tapestry needle for sewing and weaving ends
- Stitch markers
- Measuring tape
- Buttons or toggles (optional)
🧶 3. Take Measurements or Use a Size Chart
To ensure a good fit, take the following measurements:
- Bust
- Waist
- Hips
- Arm length
- Torso length
Or use a standard size chart (XS–5XL). Many patterns will include both sizing types.
📐 4. Choose or Create a Pattern
🔹 Beginner-Friendly Construction
The easiest way to construct a cardigan is the “5-panel method”:
- Back panel
- 2 front panels
- 2 sleeves
All pieces are crocheted flat and sewn together.
Alternatively, many modern cardigans are worked in one piece (top-down or bottom-up) to minimize seaming.
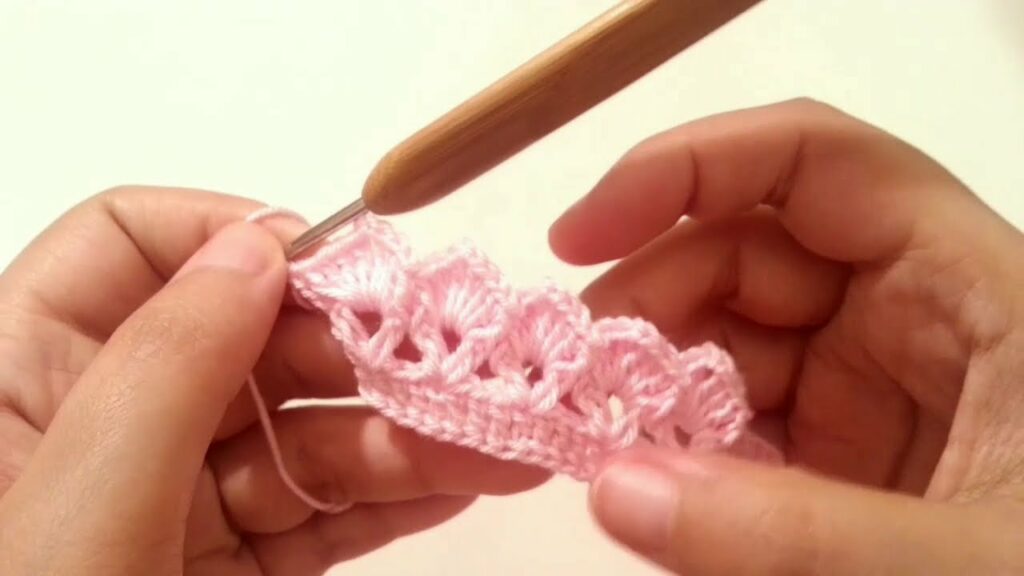
🔹 Recommended Stitches
- Double Crochet (dc): Great for airy and quick builds
- Half Double Crochet (hdc): Dense but soft texture
- Single Crochet (sc): Tighter stitch, great for borders
- Granny stitch: Vintage style, perfect for cardigans
- V-stitch or Mesh stitch: Light and lacy for warm-weather garments
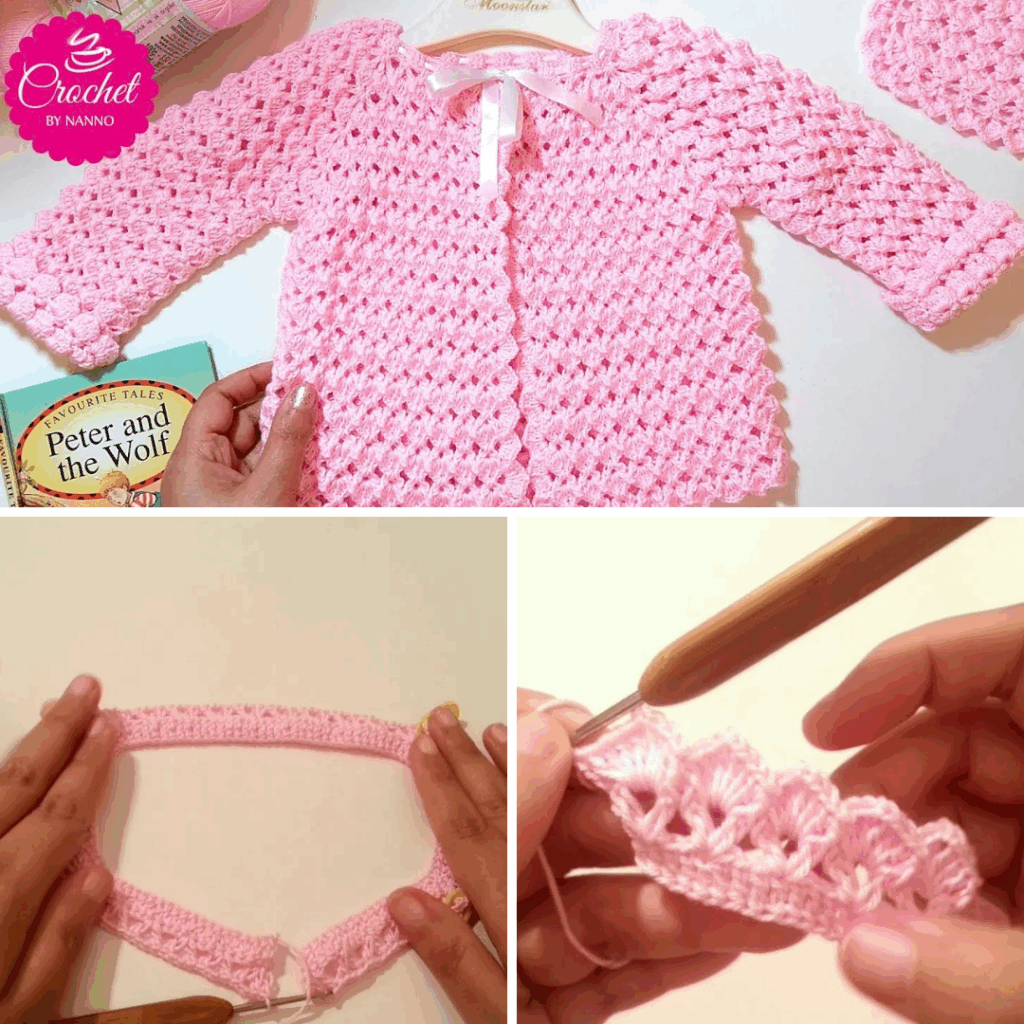
🔨 5. Basic Construction Steps
✅ Step 1: Crochet the Back Panel
- Chain to your desired width (e.g., 18–24 inches for a small adult size).
- Work in rows using your chosen stitch until it reaches your desired length (e.g., 20–26 inches).
✅ Step 2: Crochet the Front Panels (Left & Right)
- Make two smaller panels (usually half the width of the back panel).
- Length should match the back panel.
- Add shaping if you want a V-neck or neckline slope.
✅ Step 3: Crochet the Sleeves
- Start with a chain matching the upper arm circumference.
- Work rows or rounds to the desired sleeve length.
- Taper if needed (for fitted sleeves) or keep straight for a relaxed style.
✅ Step 4: Assemble the Pieces
- Use whip stitch or mattress stitch to join:
- Shoulder seams (front panels to back)
- Side seams (from bottom hem to underarm)
- Sleeves (sew lengthwise, then attach to armholes)
✅ Step 5: Add Edging and Finishing
- Collar & Button Band: Work single or half double crochet evenly up the front edges and around the neckline.
- Bottom hem & sleeve cuffs: Add ribbing or a simple border.
- Optional buttons: Use single crochet buttonholes or attach toggles/snaps.
🎨 6. Customizations and Style Ideas
- Color blocking or striped yarns
- Add a hood (using simple shaping on the back panel)
- Crochet pockets and sew them onto the front
- Shell or lace stitches for feminine styles
- Cable patterns (for intermediate crocheters)
🧼 7. Finishing and Care
- Weave in ends securely
- Block your cardigan to smooth seams and enhance drape (especially for natural fibers)
- Wash by hand or as instructed by your yarn label
📌 Helpful Tips for Beginners
- Start with a chunky yarn and large hook—progress is faster and stitches are easier to see.
- Use stitch markers to track your rows and increases.
- Count your stitches frequently to avoid lopsided panels.
- Try a shrug or short vest first to build confidence before moving to long cardigans.
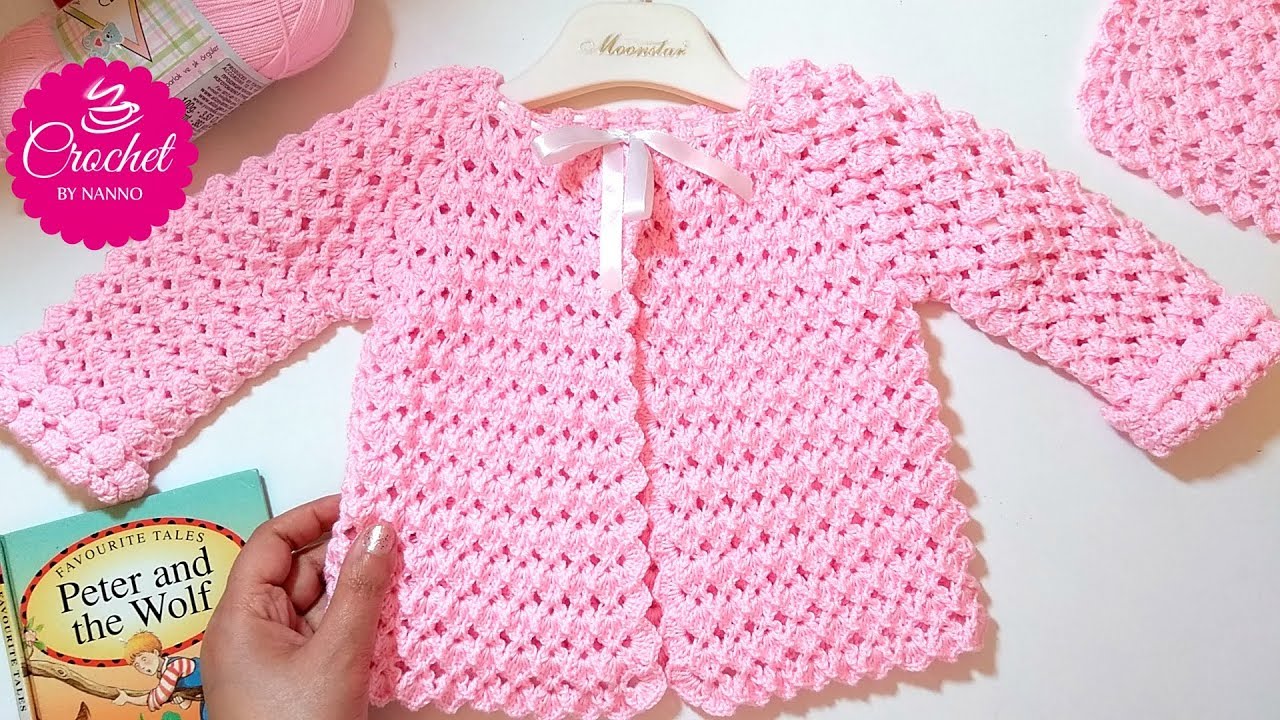
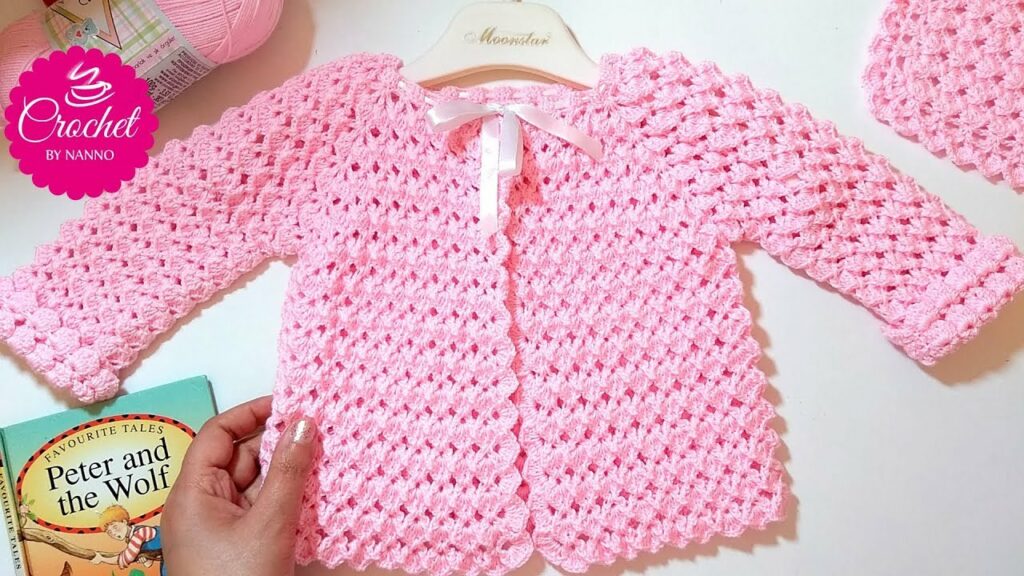
👚 Conclusion
Learning how to crochet a sweater cardigan is a creative and rewarding journey. Whether you’re crafting a cozy winter warmer or a breezy summer layer, the process allows you to explore stitches, textures, and personal style. With a bit of patience and the right guidance, you’ll soon have a custom-made cardigan that’s as unique as you are—and warm in more ways than one.
Video Tutorial: