 by
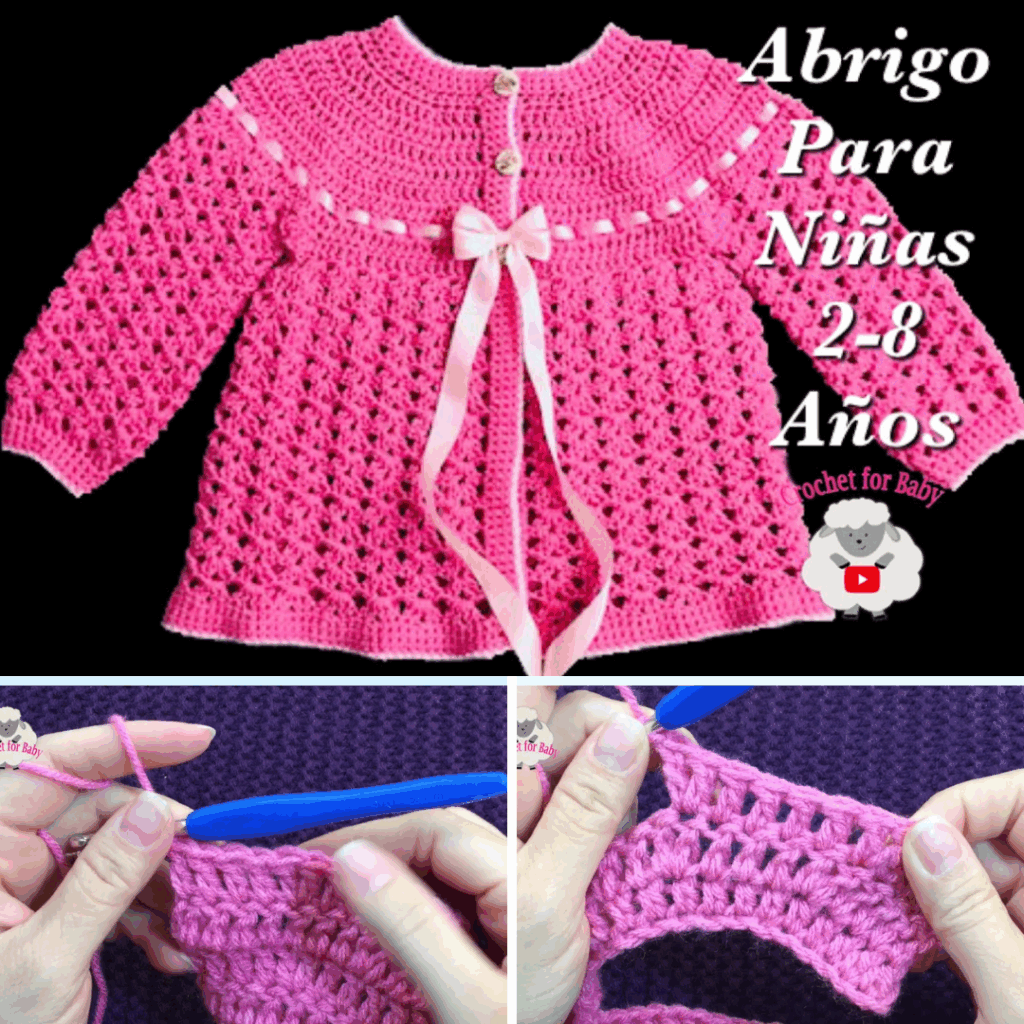
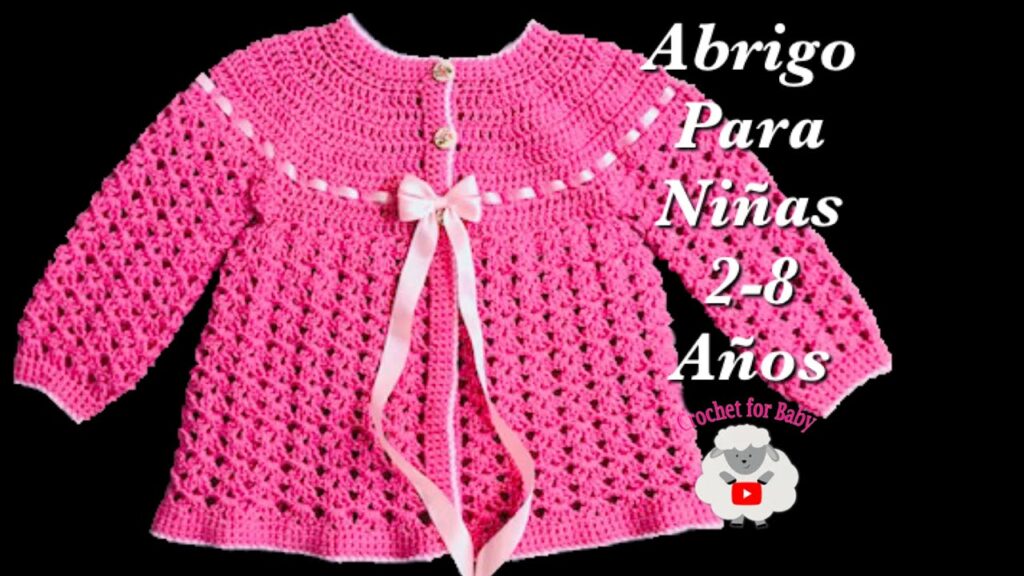
by A crochet cardigan is a must-have for any handmade wardrobe. It’s stylish, cozy, and completely customizable. Whether you’re layering it over a dress in spring or snuggling into it during cooler months, a cardigan is one of the most versatile crochet garments you can make.
This step-by-step guide will walk you through the entire process of making your own crochet cardigan, from choosing the right yarn to finishing and styling your final piece.
🧥 Why Make a Crochet Cardigan?
- Wearable Art: Turn your creativity into a functional piece of clothing.
- Custom Fit: Make it in your perfect size, shape, and color.
- Beginner-Friendly Options: Many simple patterns use only basic stitches.
- Handmade Quality: Durable and unique—something store-bought cardigans can’t match.
- Perfect Gift: Thoughtful and stylish, a crochet cardigan makes an excellent handmade gift.
🧶 Materials You’ll Need
Before starting your cardigan project, gather the following supplies:
1. Yarn
- Type: Choose based on the season and your desired finish:
- Cotton – breathable for spring/summer
- Acrylic – affordable and easy to care for
- Wool or blends – warm and cozy for fall/winter
- Weight:
- DK or Worsted Weight yarn is most common
- Chunky yarn for fast, warm projects
- Amount: 1000–1800 yards depending on size and pattern
2. Hook
- Check the yarn label or pattern, usually between 4.0 mm to 6.5 mm.
3. Other Supplies
- Stitch markers
- Yarn needle
- Measuring tape
- Scissors
- Buttons or toggles (optional)
📏 Taking Measurements
To ensure a proper fit, take your measurements or use a standard sizing chart. Focus on:
- Bust width
- Sleeve length
- Shoulder to hem (desired cardigan length)
- Upper arm circumference
Compare these with the pattern or create a custom fit based on your numbers.
🧵 Basic Cardigan Construction Methods
There are several ways to construct a cardigan, but the most beginner-friendly is the panel method.
Panel Construction Overview:
- Back Panel – One large rectangle
- Front Panels (2) – Two rectangles (usually half the width of the back)
- Sleeves (2) – Shaped tubes or rectangles
- Seaming – Sew together at shoulders, then attach sleeves, and seam sides
- Edging – Add ribbing, button bands, or decorative edging
Alternative Constructions:
- Top-Down Raglan: Seamless, worked in one piece
- Side-to-Side: Horizontal striping and texture
- Modular: Built from motifs like granny squares
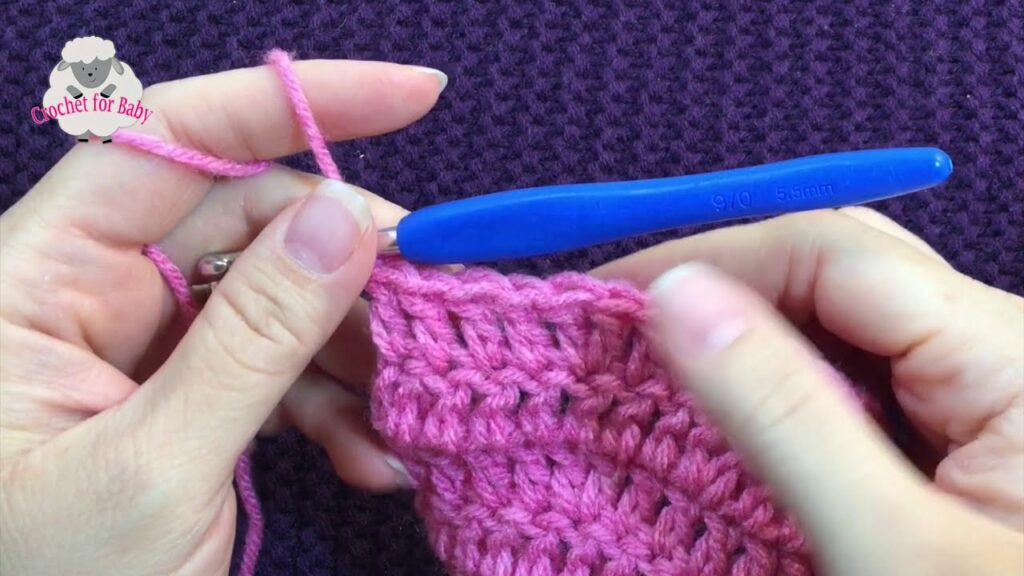
🔁 Common Stitches Used
Most cardigan patterns are made with simple crochet stitches like:
- Chain stitch (ch)
- Slip stitch (sl st)
- Single crochet (sc)
- Half-double crochet (hdc)
- Double crochet (dc)
- Front/Back Post stitches (used in ribbing)
- Granny stitch, shell stitch, or v-stitch (for decorative textures)
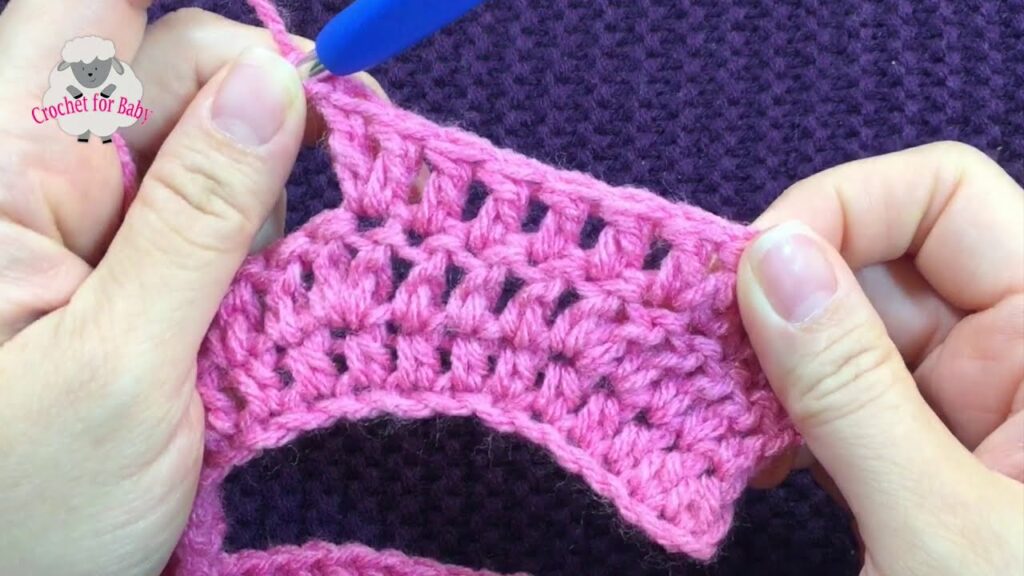
🪡 How to Make a Basic Crochet Cardigan (Beginner-Friendly)
This is a simplified walkthrough of how to make a basic crochet cardigan in panels using double crochet.
✂️ Step 1: Make the Back Panel
- Chain enough stitches to match the desired width (e.g., 18–24 inches depending on size).
- Row 1: Dc in 4th chain from hook and across.
- Continue rows of dc until piece measures from shoulder to desired hem (e.g., 24 inches).
- Fasten off and weave in ends.
✂️ Step 2: Make Two Front Panels
- Chain half the width of the back panel.
- Row 1: Dc in 4th chain from hook and across.
- Repeat rows until the length matches the back panel.
- Make two identical pieces.
✂️ Step 3: Join Shoulders
- Place front panels over back panel (right sides together).
- Sew shoulder seams using whip stitch or slip stitch.
✂️ Step 4: Make Sleeves
- Chain to the desired sleeve width (e.g., 12 inches).
- Work rows of dc or hdc until the sleeve reaches the right length.
- Optionally decrease slightly at the end for shaping.
- Make two sleeves.
✂️ Step 5: Assemble the Cardigan
- Attach sleeves to armholes and sew around the edges.
- Sew sides from sleeve cuff to bottom hem in one long seam.
✂️ Step 6: Add Edging and Finishing Touches
- Work sc or ribbing around the front opening and neckline.
- Add buttonholes if desired (skip stitches and chain spaces).
- Weave in all ends.
- Block if necessary to improve shape and drape.
🎨 Customization Ideas
- Add Pockets: Crochet squares and sew them onto the front panels.
- Textured Stitches: Use puff stitch, bobble stitch, or basket weave.
- Color Blocking: Change yarn colors mid-panel for modern designs.
- Granny Squares: Join motifs together for a retro look.
- Lacy Yoke or Hem: Add elegance with shell or fan stitches.
📌 Tips for Success
- ✅ Swatch First: Always check gauge before beginning.
- ✅ Use Stitch Markers: Especially when shaping or joining.
- ✅ Measure as You Go: Try it on for fit before finishing.
- ✅ Choose the Right Yarn: Softer yarns work best for wearable comfort.
- ✅ Take Breaks: Cardigans can be large projects—stay relaxed and enjoy the process.
🧼 How to Wash and Care for Your Cardigan
- Read the Yarn Label: Follow specific care instructions.
- Hand Wash or Gentle Cycle: Use cold water and mild detergent.
- Dry Flat: To avoid stretching or warping.
- Store Properly: Fold rather than hang to keep its shape.
🧥 Final Thoughts
Making a crochet cardigan is a fulfilling project that lets you blend craftsmanship with fashion. Whether you’re making your very first garment or adding another piece to your handmade collection, a cardigan offers endless possibilities for design and personalization.
So grab your yarn, pick your favorite pattern, and start stitching—because few things feel better than wearing something you made with your own two hands.
Video Toturial: