 by
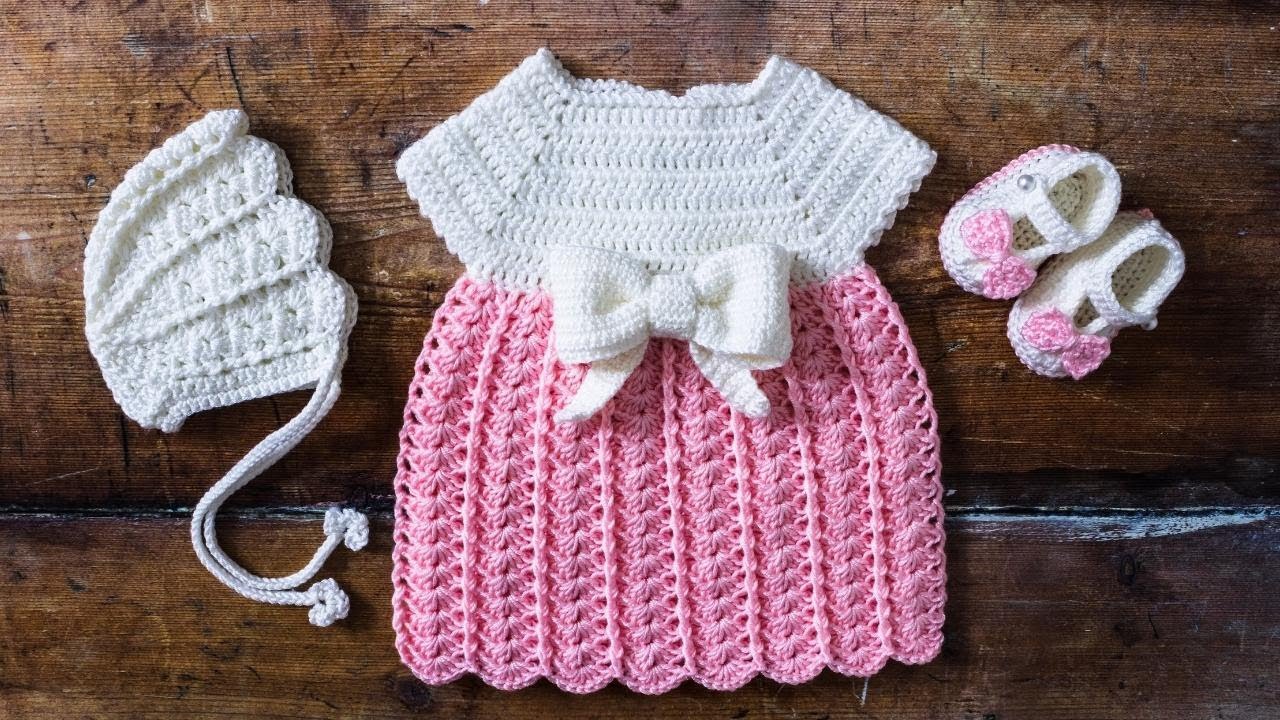
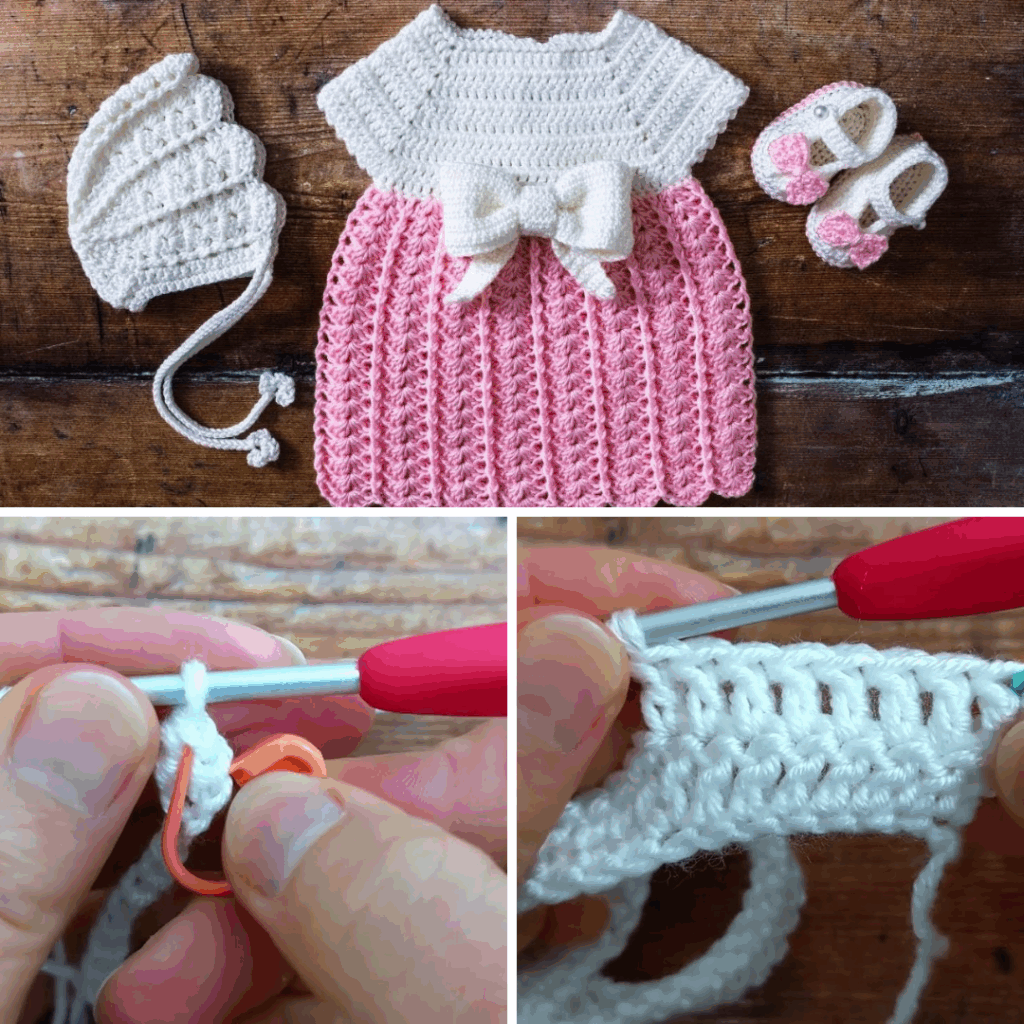
by Crocheting a baby dress is one of the most rewarding projects for any crafter. Whether you’re expecting, gifting, or just love making tiny outfits, a crochet baby dress is an adorable and relatively simple project that you can complete in just a few sessions — even as a beginner!
In this guide, you’ll learn how to crochet a beautiful baby dress from scratch, using basic stitches and a top-down method that’s easy to follow and customize.
🧵 What You’ll Need (Materials)
Basic Supplies:
- Yarn: Baby-friendly yarn is a must! Choose:
- Light/DK weight (Category 3) or Worsted weight (Category 4)
- Acrylic, cotton, or bamboo blends (soft & washable)
- Approx. 250–350 yards depending on size
- Crochet Hook:
- Typically 4.0 mm (G) or 4.5 mm (7) for DK yarn
- Check yarn label for the exact hook size
- Tapestry Needle – for weaving in ends
- Scissors
- Stitch Markers (optional but helpful)
- Buttons (optional, for back closure or decoration)
📏 Sizing Reference
The following pattern is for 0–6 months, but it’s easily adjustable. Here’s a basic size guide:
| Size | Chest Width | Dress Length |
|---|---|---|
| 0–6 months | ~16″ (41 cm) | 11–13” (28–33 cm) |
| 6–12 months | ~18″ (46 cm) | 13–15” (33–38 cm) |
| 1–2 years | ~20″ (51 cm) | 15–18” (38–46 cm) |
🔤 Basic Stitches You Should Know
- ch – chain
- sl st – slip stitch
- sc – single crochet
- hdc – half double crochet
- dc – double crochet
- V-stitch – (dc, ch 1, dc) in same stitch
- Shell stitch – 5 dc in the same stitch
These basic stitches will be used throughout the pattern. If you’re unsure about any of them, take a few minutes to practice before starting the dress.
🧶 Construction Method
This baby dress is worked from the top down, starting with the yoke, then separating the sleeves, and continuing downward to the skirt. This method is great for avoiding seams and allows for easy size customization.
🪡 Step-by-Step: Easy Crochet Baby Dress Pattern (0–6 Months)
👚 Step 1: Yoke (Top of the Dress)
- Foundation Chain:
- Ch 52
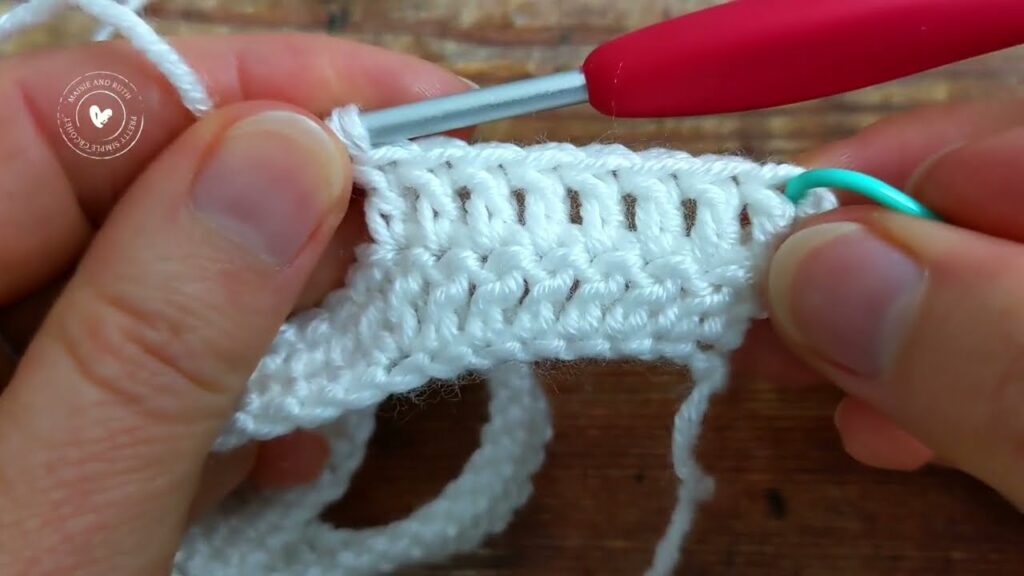
- Row 1 (DC Row):
- Dc in 4th ch from hook and each ch across
- You should have 50 dc
- Row 2 (Set up Raglan Increases):
- Ch 2, turn
- Dc in next 7 sts, 2 dc in next st (increase)
- Repeat until the end
- Mark the increase stitches (these form the shoulders)
- Continue Raglan Increases:
- Repeat this increase pattern for 8–10 rows, depending on your desired yoke depth
- Your piece should form a semi-circular shape
- When the chest width is about 16–17”, you’re ready to separate sleeves
✂️ Step 2: Separate for Armholes
- Ch 2, dc across the front
- Skip sleeve stitches, ch 6 (for underarm space)
- Continue dc across the back
- Ch 6 again, skip other sleeve, finish row
You now have one large piece – the bodice and start of the skirt.
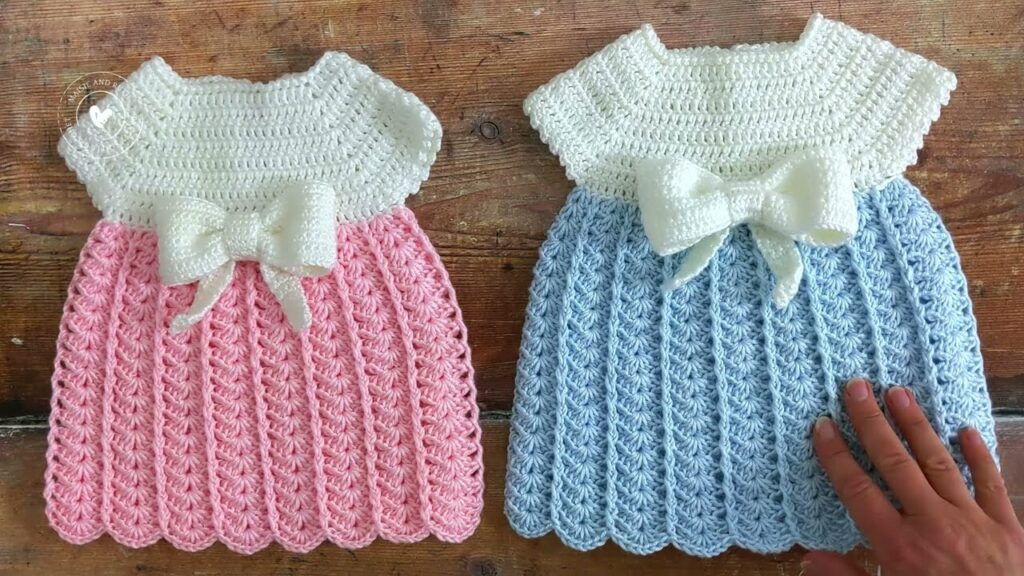
👗 Step 3: Skirt
Here’s where the fun begins — time to add flare!
Option A: V-Stitch Skirt (Simple & Elegant)
- Ch 3, turn
- In the next st: (dc, ch 1, dc) — this is a V-stitch
- Skip 1 st, make V-stitch in next
- Repeat V-stitches across the row
Continue this pattern for 10–15 rows, or until the skirt reaches your desired length.
Option B: Shell Skirt (Frilly & Fancy)
- Ch 3, turn
- (5 dc) in same stitch – shell stitch
- Skip 2, shell in next
- Repeat across the row
You can alternate between shell and V-stitch rows for a lacy look!

🧤 Step 4: Sleeves (Optional)
If you want sleeves:
- Attach yarn at underarm
- Dc or hdc evenly around the armhole
- Work in rounds for 5–7 rows
- You can decrease 1 stitch every 2 rows for a tapered sleeve
Or leave sleeveless for a summer dress look.
🪡 Step 5: Edging & Finishing
- Neckline & Armhole Edging:
- Sc evenly around for a clean look
- Optionally add a shell stitch or picot trim for a decorative edge
- Back Closure (Optional):
- If dress is snug, leave a 2” slit at the back neckline
- Crochet 1–2 button loops and sew on small buttons
- Weave in all ends securely with a tapestry needle
- Steam or lightly block the dress to shape it nicely
🧼 Care Instructions
Most baby-friendly yarns are machine washable, but always check the label. General care tips:
- Wash in cold or warm water
- Gentle cycle
- Lay flat to dry (or low heat tumble if yarn allows)
🧁 Customization Tips
Make it your own with these simple tweaks:
- 🎨 Color Changes: Add stripes, ombré effects, or alternate color skirts
- 💐 Appliqués: Sew on crocheted flowers, hearts, or animal motifs
- 🎀 Bows & Ribbons: Add a satin ribbon at the waistline or back
- 💎 Buttons: Use cute buttons as decoration or for back closure
- 🧵 Texture Play: Alternate stitches like bobbles, puff stitches, or mesh for flair
📸 Show Off Your Creation!
Once you finish your baby dress:
- Take a photo and share your handmade piece on:
- Instagram #CrochetBabyDress
- Facebook groups for crochet
- Etsy (if you’re selling)
- Your work may inspire other makers!
🎉 Final Thoughts
Crocheting a baby dress is more than just crafting—it’s about creating a handmade treasure filled with love. Once you’ve made one, you’ll find it hard to stop. They’re perfect for birthdays, baby showers, holidays, and heirloom keepsakes.
This easy crochet baby dress pattern is ideal for beginners and still customizable for more advanced crocheters. With just a hook, yarn, and a little patience, you can create something absolutely magical. 💕
VIDEO TUTORIAL: