 by
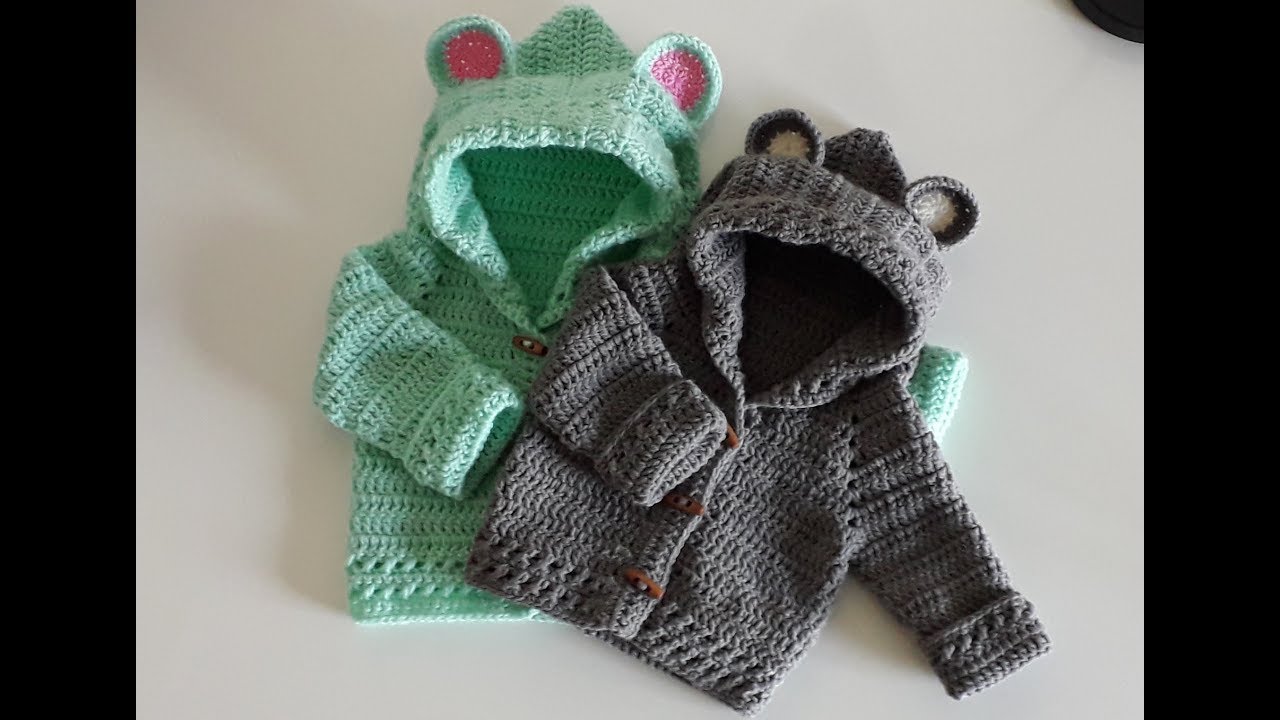
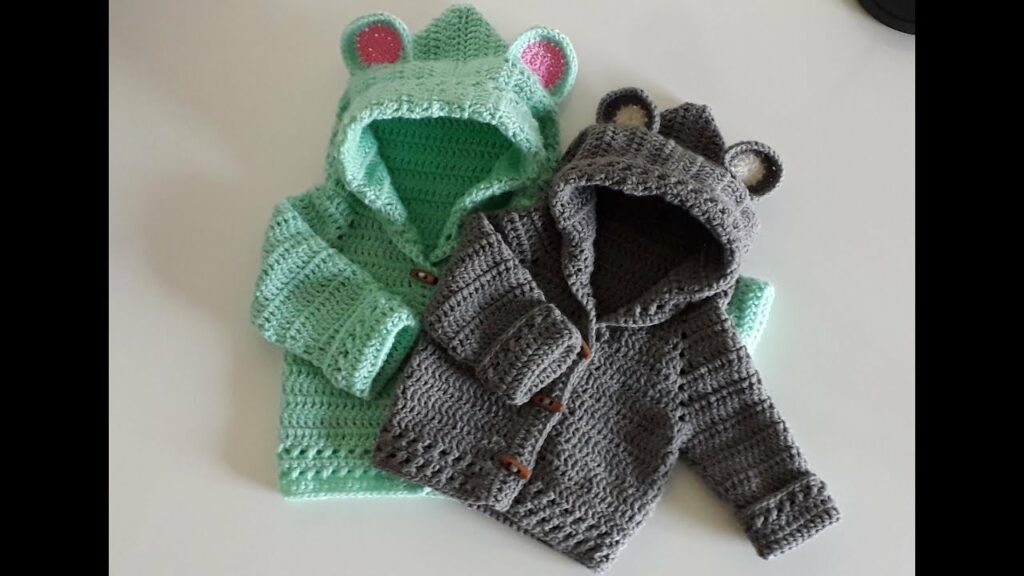
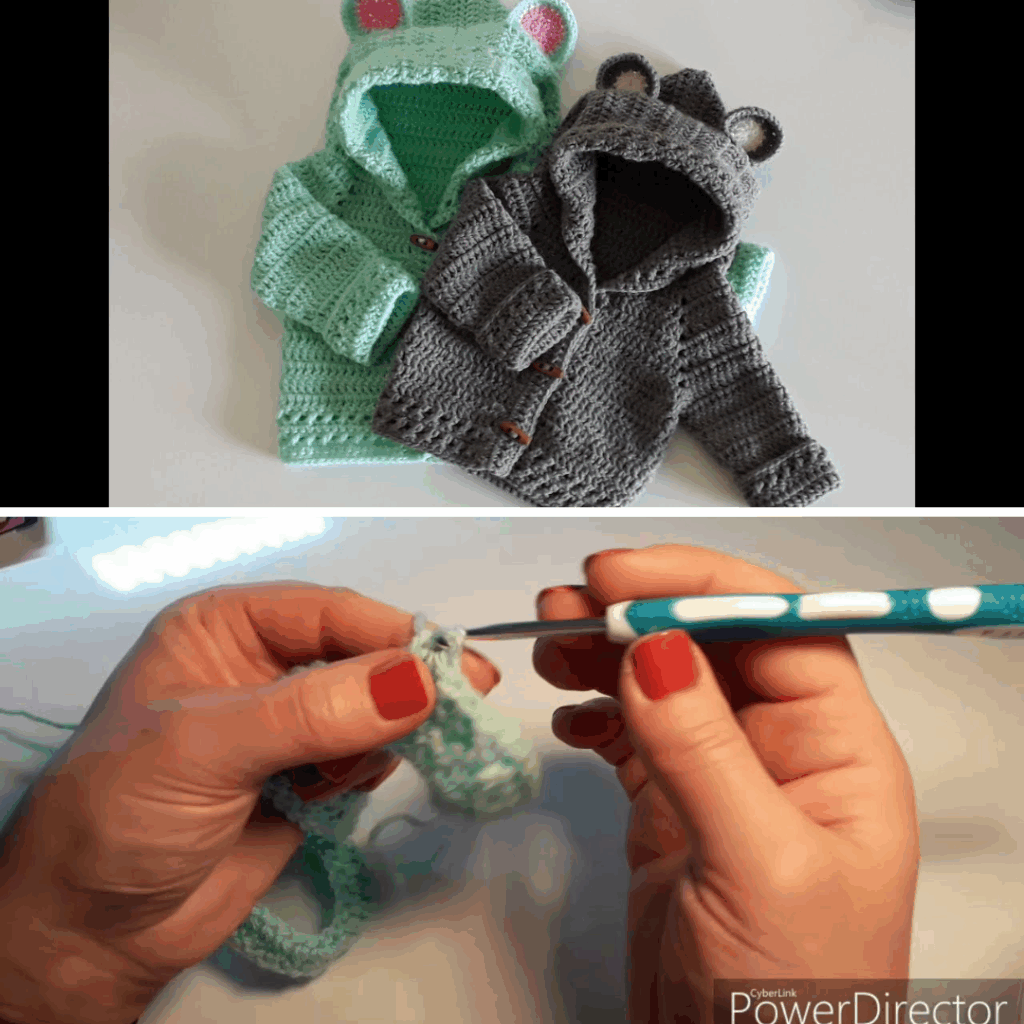
by A crochet hooded baby jacket is one of the most cherished handmade gifts you can give. It’s warm, stylish, and wonderfully functional for cooler weather. This project is great for beginners and makes for a lovely baby shower gift, newborn outfit, or keepsake.
In this article, we’ll guide you through everything—from choosing materials to stitching and finishing your hoodie jacket with love.
🌟 Project Highlights

- ✅ Beginner-friendly (uses basic stitches)
- 🧶 Made in panels for easy shaping and seaming
- 🧥 Includes a warm, cozy hood
- 🧵 Button or toggle closure
- 👶 Fits babies aged 0–12 months
🧵 Materials You’ll Need
| Item | Details |
|---|---|
| Yarn | Worsted weight (Category 4), soft baby yarn – ~350–400 yards |
| Hook | 4.5 mm or hook to match gauge |
| Yarn needle | For seaming and weaving in ends |
| Stitch markers | Optional but helpful for shaping |
| Buttons or toggles | 3–4, for front closure |
| Scissors | For cutting yarn |
| Measuring tape | To ensure correct sizing |
📐 Sizing Guide
This pattern is designed to fit babies 0–12 months. For a larger size, simply increase your starting chains and rows, or use a larger hook and heavier yarn.
| Size | Chest Width | Jacket Length | Sleeve Length |
|---|---|---|---|
| 0–6 mo | 16″ | 10″ | 6″ |
| 6–12 mo | 18″ | 11.5″ | 7″ |
🔁 Stitches & Abbreviations
- ch – chain
- sc – single crochet
- hdc – half double crochet
- dc – double crochet
- sl st – slip stitch
- inc – increase (2 sts in same st)
- dec – decrease (sc2tog or hdc2tog)
🧥 Construction Overview
This jacket is made from five flat panels:
- Back Panel
- Two Front Panels
- Two Sleeves
- Hood (added last)
You’ll sew the pieces together, add a hood and front edging, and finish with buttons.
🧣 Step-by-Step Pattern: Crochet Hooded Baby Jacket
🔹 Step 1: Back Panel
Foundation Row:
Ch 41 (for newborn–6 months) or ch 45 (for 6–12 months)
Row 1:
Hdc in 2nd ch from hook and across.
(40 or 44 hdc)
Ch 1, turn.
Rows 2–24:
Hdc across each row. Ch 1, turn.
(Stop when the panel measures approx. 10–11” tall)
Fasten off and weave in ends.
🔹 Step 2: Front Panels (Make 2)
Foundation Row:
Ch 21 (for 0–6 mo) or ch 23 (for 6–12 mo)
Row 1:
Hdc in 2nd ch from hook and across.
(20 or 22 hdc)
Ch 1, turn.
Rows 2–24:
Hdc across each row.
Fasten off.
Optional: Leave off 1–2 stitches at the neck edge in the last few rows to create a subtle neckline curve.
🔹 Step 3: Sleeves (Make 2)
Foundation Row:
Ch 26
Row 1:
Hdc in 2nd ch from hook and across (25 hdc)
Ch 1, turn.
Rows 2–12:
Hdc across. Ch 1, turn.
(Optional: Add 1 increase on each side every 3 rows for a flared sleeve.)
Fasten off and weave in ends.
🔹 Step 4: Seaming Panels
- Lay the back panel flat, right side facing up.
- Place front panels on top, matching shoulder edges.
Seam shoulders: Whip stitch or slip stitch 6–8 sts at the top of each front panel to the back panel.
Attach sleeves: Center each sleeve along the armhole and seam to body.
Seam sleeves and sides: Fold jacket and seam sleeves and sides closed.
🔹 Step 5: Crochet the Hood
Attach yarn to neckline, starting at the corner of one front panel.
Row 1:
Sc evenly along the neck opening (approx. 36–40 sts).
Ch 1, turn.
Rows 2–12:
Hdc in each st across, ch 1, turn.
Row 13:
Fold hood piece in half (right sides together) and slip stitch or whip stitch along the top edge to form the hood.
Fasten off.
🔹 Step 6: Add Edging & Button Band
Edging (Optional but polished):
Attach yarn at bottom right front edge.
- Work sc evenly up front panel, around the hood, and down the other front panel.
- Ch 1 and turn.
- Work 2–3 rows for a thick, ribbed look.
Buttonholes (Optional):
- On the second row of edging, ch 2 and skip 2 sts every 1.5–2” to make buttonholes.
Sew on buttons to the opposite front edge.
🧷 Optional Add-Ons
| Feature | How-To |
|---|---|
| 🐻 Ears | Crochet small circles and attach to the top of the hood |
| 🎨 Color blocking | Use a contrasting color for sleeves or hood |
| 🧵 Pockets | Small 3×3″ squares stitched to the front |
| 🌈 Stripes | Change color every 2–3 rows for fun stripes |
🧼 Care Instructions
- Use machine-washable baby yarn (cotton or acrylic)
- Wash in cold water on gentle cycle
- Lay flat to dry or tumble dry low
- Avoid bleach or fabric softener
🎁 Matching Set Idea
Make a full outfit by adding:
- 👶 Baby beanie or bonnet
- 👣 Booties or moccasins
- 🧣 Matching mittens
- 🧺 Baby blanket
Perfect for a newborn gift basket!
🧶 Final Thoughts
A handmade crochet hooded baby jacket is not just clothing—it’s a warm hug stitched with love. This project is perfect for beginners and works up quickly, yet it looks like a boutique-quality gift. With simple shaping and endless customization options, you’ll want to make one in every color!
Video Tutorial: