 by
by Woww! 🥰 Transform Yarn into Everlasting Blooms
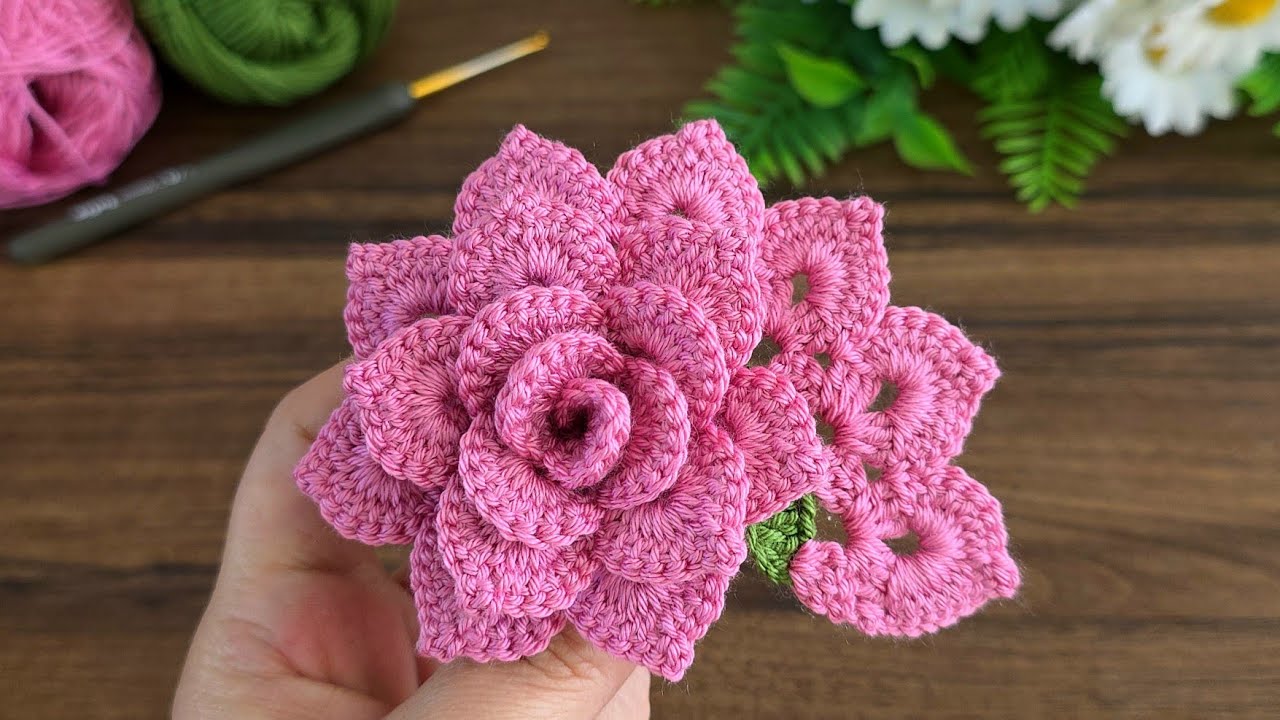
There is something truly magical about a hand-crocheted flower. Unlike their natural counterparts, they never fade, never wilt, and they carry the warmth and love of the maker in every stitch. Whether you’re looking to create a stunning bouquet, a beautiful brooch, or an everlasting accent for a gift, the crocheted rose is the ultimate classic.

Inspired by the brilliant, beginner-friendly tutorial from Knitting Life (check out their video here for a visual guide!), we’re breaking down the process into simple, manageable steps. You’ll be surprised how quickly you can turn a simple chain into a gorgeously layered rose.
🌹 Part 1: Gathering Your Garden Tools (Materials)
Before we dive into the stitches, let’s make sure your crafting station is fully equipped. Choosing the right materials makes all the difference in achieving that lovely, realistic texture.
| Item | Description | Pro Tip |
|---|---|---|
| Yarn | Worsted weight (Size 4) cotton or acrylic yarn. | Cotton gives a stiff, structured look, while acrylic is softer and squishier. |
| Hook | A hook size appropriate for your yarn (e.g., 3.5mm to 4.5mm). | Go down half a size to make the stitches tight and the rose stand up well. |
| Scissors | For snipping yarn tails. | |
| Tapestry Needle | For weaving in ends and assembling the rose. | Choose one with a large eye for easy threading. |
| Wire/Stem (Optional) | Floral wire and green floral tape for a realistic stem. | Green yarn can be used for a soft, unstiffened stem. |
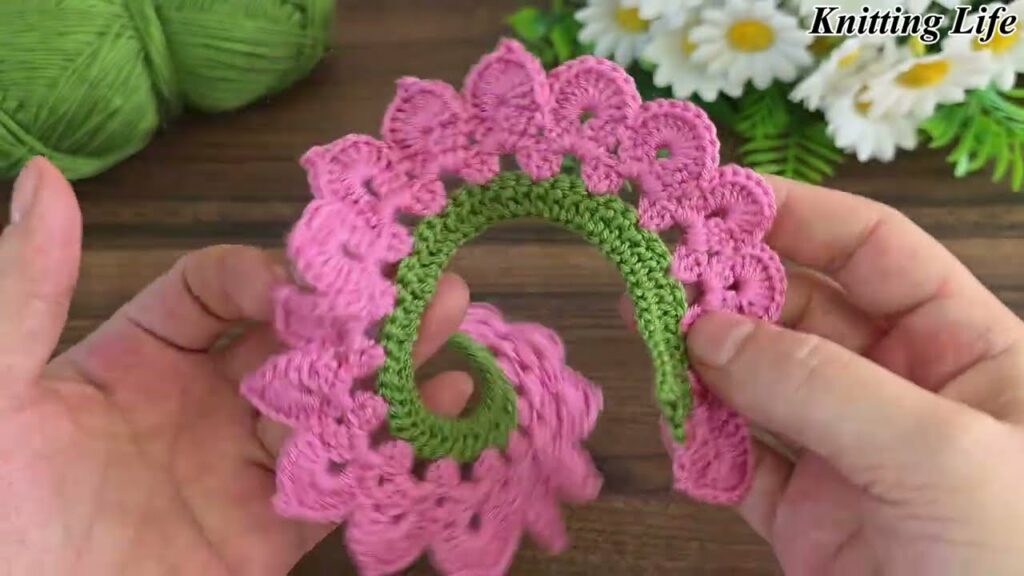
🌸 Part 2: The Core of the Bloom – The Petal Strip Pattern
The secret to this quick-and-easy rose is that we don’t crochet individual petals. Instead, we create a long strip of varying heights that naturally coils into a beautiful bloom when rolled up.
Key Stitches Used:
- Ch: Chain
- SC: Single Crochet
- HDC: Half Double Crochet
- DC: Double Crochet
- SL ST: Slip Stitch
Step 1: The Foundation Chain
Start by making a long foundation chain. The length of this chain determines the size and fullness of your finished rose.
- Instruction: Chain 40 for a small, tight bud, or Chain 60-70 for a full, open bloom. (We will use 65 for this tutorial.)
Step 2: Row 1 – Establishing the Base
This row establishes the foundation upon which your petals will grow. It’s crucial for setting the shape.
- Instruction: Starting in the 2nd chain from the hook, work 1 SC in each chain across. (You should have 64 SCs.)
- Turn your work.
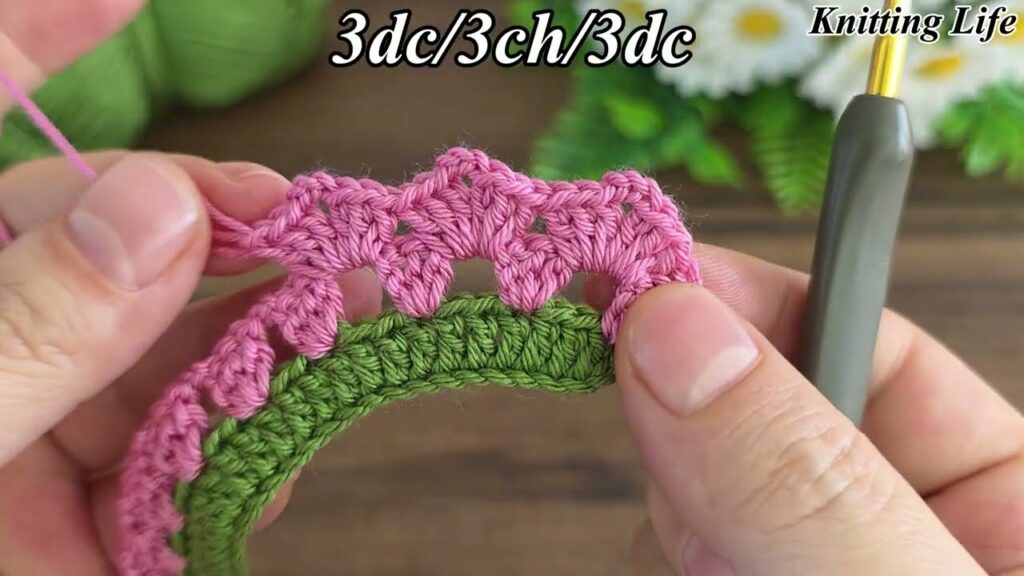
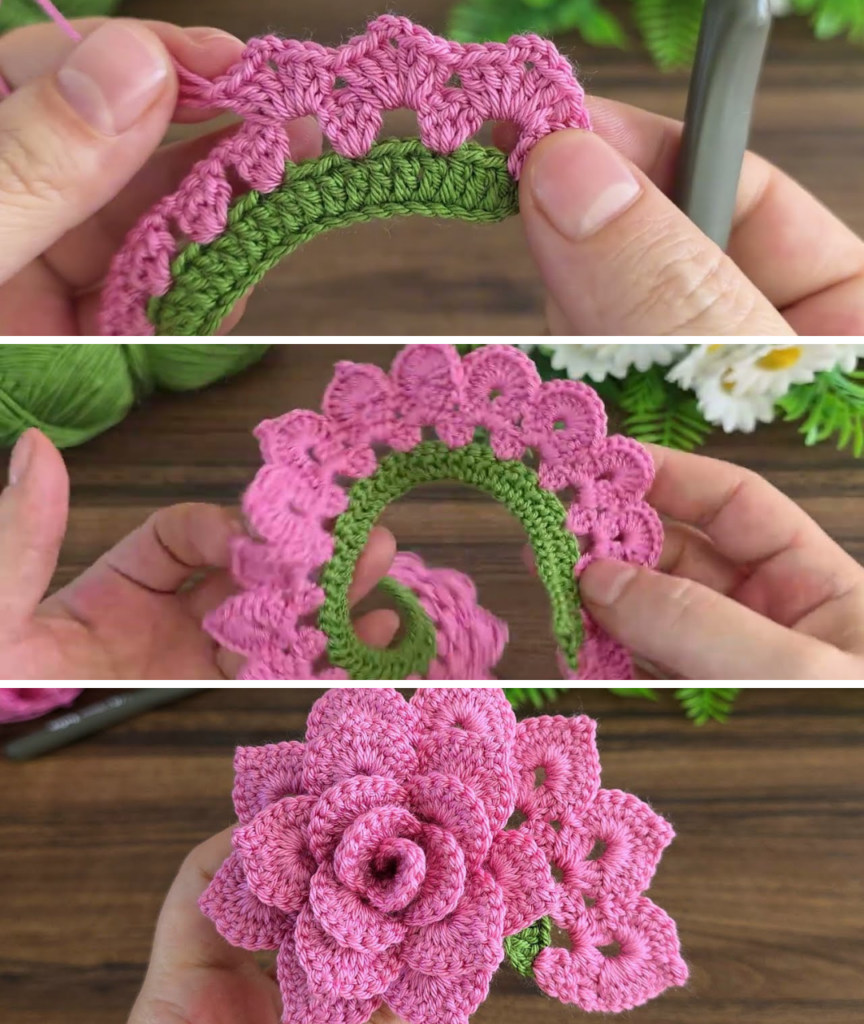
Step 3: Row 2 – The Magic Petal Row (The ‘Ridge’)
This row is where the dimension is created. We use increasing stitch heights (HDC, DC) to build up the petal curves.
- Repeat the following sequence 16 times across the row:
- Work (1 SC, 1 HDC) in the first stitch.
- Work (2 DC) in the next stitch.
- Work (1 HDC, 1 SC) in the next stitch.
- SL ST into the next stitch.
- Repeat Sequence: (SC, HDC in one stitch), (2 DC in one stitch), (HDC, SC in one stitch), SL ST in next stitch.
- Result: This creates 16 distinct “petal bumps” along the strip.
Tip: Don’t worry if the strip starts to curl a bit—that’s exactly what it should do!
🍃 Part 3: Adding Greenery – The Calyx (Sepals)
A rose is incomplete without its supporting green structure, the calyx (or sepals), which cups the base of the flower.
Pattern for the Calyx
- Foundation: Using green yarn, Chain 10.
- Row 1: SL ST in the 2nd chain from the hook, then SC in the next 3 chains.
- Create the Pointed Tip: Work (HDC, DC, Ch 1, SL ST into the Ch 1 space for a tiny picot, DC, HDC) all into the 5th chain from the hook. This creates the pointed leaf shape.
- Finish the Sepal: SC in the next 3 chains, SL ST in the last chain.
- Repeat: Cut the yarn, leaving a long tail. Repeat this entire process 4-5 times to create individual sepals.
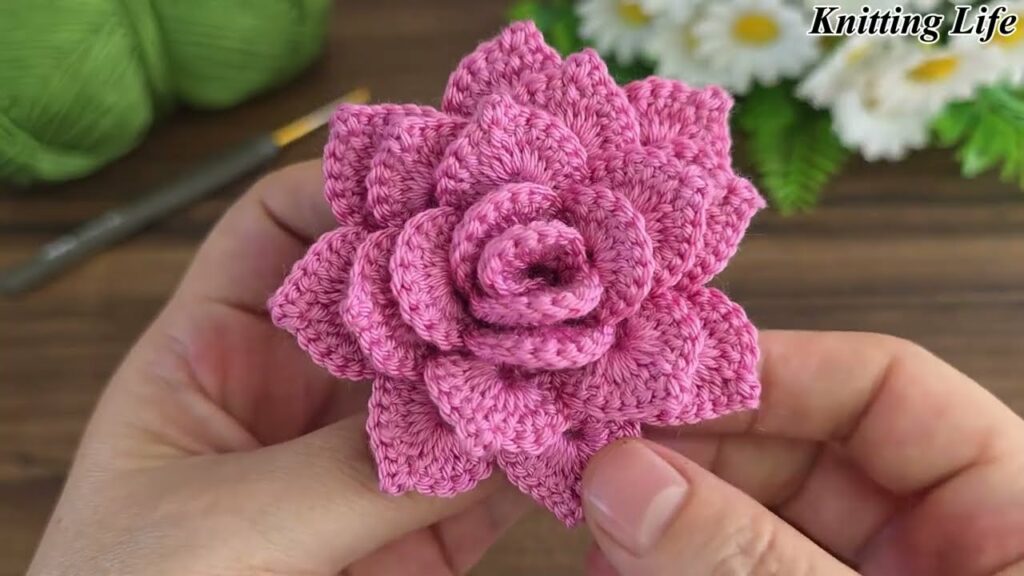
🎀 Part 4: The Grand Finale – Assembly and Finishing
This is the most satisfying part! Watching the flat strip transform into a three-dimensional rose is truly a “wow” moment.
Step 1: Rolling the Rose
- Take the petal strip and, starting from the SC-end (the tighter, narrower end), begin tightly rolling the strip around itself. This forms the tight center of the bud.
- As you roll, slightly rotate the strip and allow the taller DC stitches to curve outward, creating the natural layered look of the petals.
- Continue rolling until the entire strip is coiled.
Step 2: Securing the Base
- Use the tapestry needle and the long tail of yarn from your petal strip.
- Thread the needle and begin stitching back and forth through all layers of the rolled strip at the very bottom edge. This essentially “sews” the coil together, preventing it from unraveling. Stitch securely and weave in the end.
Step 3: Attaching the Calyx
- Position the 4-5 green sepals around the base of the rose, arranging them evenly so the points peek out from underneath the lowest petals.
- Use the tails from the green sepals to stitch them firmly to the base of the rose, hiding all the loose ends in the process.
Step 4: Adding a Stem (If Desired)
- If you are using floral wire, push a length of wire gently through the base of the rose and bend the end over to secure it inside the flower’s bottom.
- Wrap the wire tightly with green floral tape, working your way down the length of the wire to create a finished stem. Alternatively, crochet a simple tube around a dowel or wire for a softer look.
Final Thoughts and Your Next Steps!
Congratulations! You’ve just crocheted a beautiful, timeless rose that will last forever. This is a wonderfully meditative project, perfect for gifting or decorating your own space.
This pattern is easily customizable. Want a two-toned rose? Change the color of your yarn mid-way through Row 2! Want a more ruffled look? Experiment with adding triple crochet (TR) stitches to your petal row.
I’d love to see your finished blooms! Let me know if you’d like to dive deeper into making leaves for your rose stem, or perhaps if you want to explore the pattern for a different type of flower, like a sunflower or a tulip! Happy crocheting!
Video tutorial: