by
by Materials and Preparation
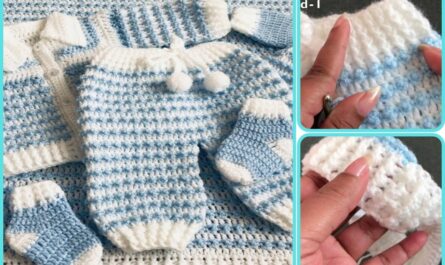
- Yarn: DK weight (Lightweight #3). Approximately 200g for sizes 0–6 months and 250g for 6–12 months .
- Hooks: 4mm for the foundation and 4.5mm for the body (to keep the post stitches soft) .
- Notions: 4 stitch markers, measuring tape, buttons (18–20mm), and a shoelace (used as a guide for the ruffles).
- Optional: Pom-poms and small decorative bows.
1. The Foundation and Yoke
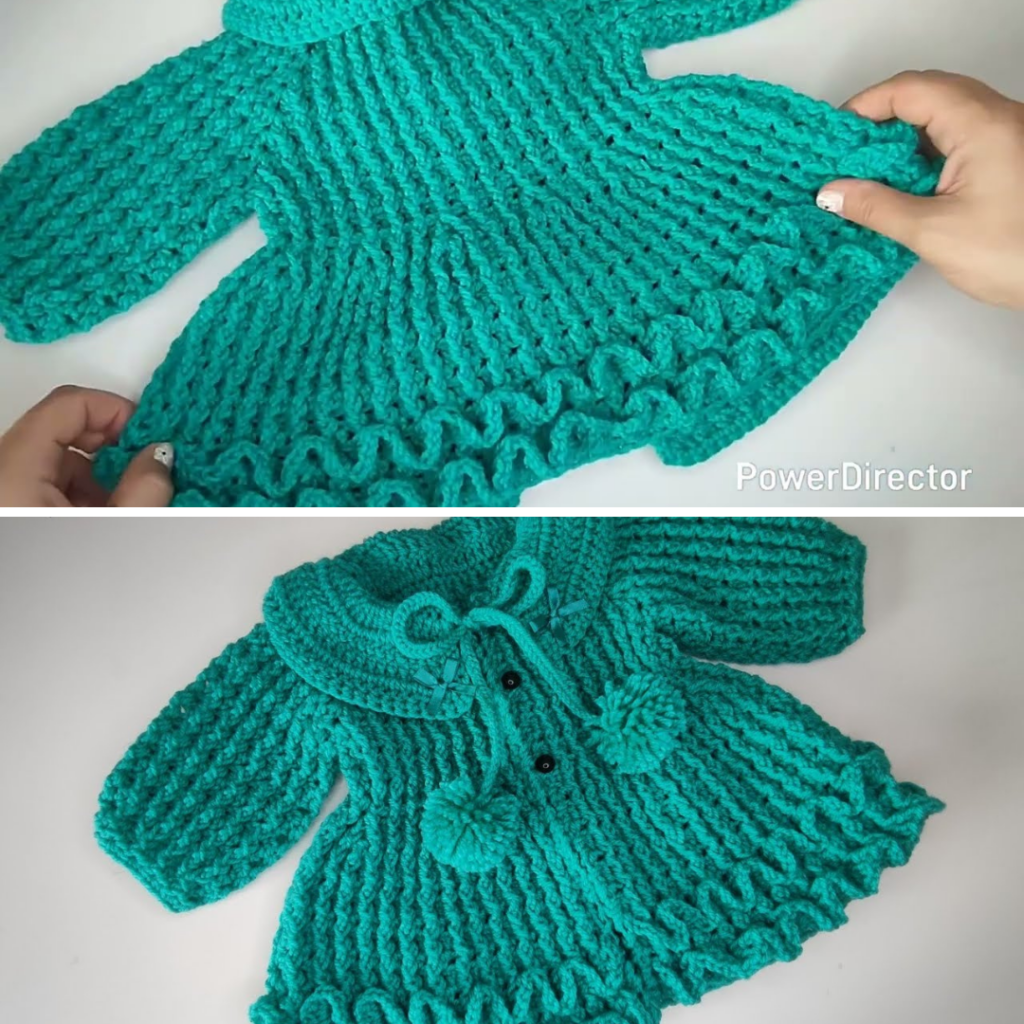
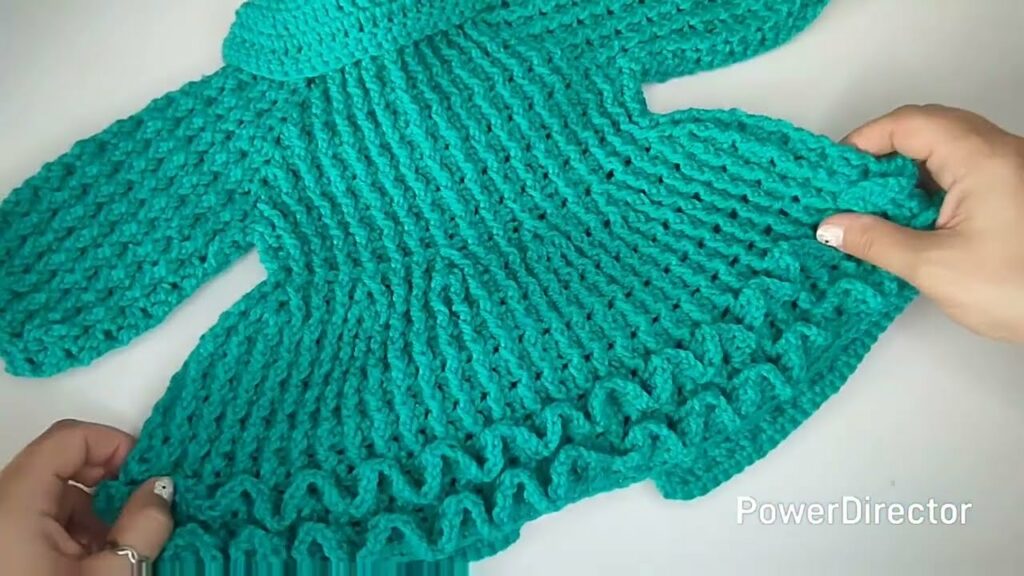
The coat is worked top-down, starting with the neckline.
- Starting Chain:
- 0–6 Months: 51 + 1 chains.
- 6–12 Months: 57 + 1 chains .
- Row 1: Work single crochets across the chain.
- Row 2 (Setup): Work double crochets (dc) while creating four corners for the raglan increases. Each corner consists of (1 dc, ch 1, 1 dc) in a single stitch.
- The Main Pattern: The body uses a two-row repeat:
- Row 1 (Right Side): Alternate Front Post Double Crochet (FPDC) and Half Double Crochet (HDC).
- Row 2 (Wrong Side): Alternate Back Post Double Crochet (BPDC) and HDC .
- Yoke Length: Continue increases until the yoke measures approximately 12 cm or until the back width matches the chest measurement for your size.
2. Armhole Connection and Body
- Separation: Crochet to the first corner, chain an odd number of stitches (e.g., 3 or 5) to create the underarm, skip the sleeve stitches, and join to the next corner.
- Waist Shaping: Continue the pattern straight down until you reach the waist (approx. 19.5 cm from the shoulder for 9–12 months) .
- The Flare (Skirt): To create the ruffle effect for the coat’s bottom, perform a massive increase row at the waist. Work 3 dc into every HDC space between the post stitches.
- Finish Length: Continue the post-stitch pattern until the coat reaches your desired length (approx. 23 cm from the underarm).
3. The Sleeves
- Work the sleeves in rounds, turning after every round to maintain the texture.
- Join at the underarm and bring the new underarm stitches into the FPDC/BPDC pattern .
- Cuffs: Decrease the stitch count in the final row by skipping every third stitch to cinch the wrist, then finish with 1–2 rows of single crochet.
4. Edging and Buttonholes
- Buttonhole Side: Work single crochets along the front edge. Create buttonholes by chaining 2 and skipping a space at regular intervals.
- Button Side: Work simple rows of single crochet to provide a sturdy base for sewing the buttons .
- Waist Cord (Optional): Crochet a long chain and weave it through the waistline (where the increases started) to cinch the coat slightly and give it a “doll” shape.
5. The Decorative Collar
- Lift Row: Add one row of dc across the back of the neck only; this helps the collar sit higher and frame the face .
- Collar Body: Attach yarn to the front and work dc across the entire neckline. Increase at the front corners and the very ends of each row to create a wide, flared look.
- Finishing: Work a single crochet border around the entire collar for a clean edge.
6. Adding the Ruffles

This unique technique uses the “shoelace method”:
- Thread a shoelace through the row where you want the ruffle to sit (usually 2 rows from the bottom)
- Work into the posts of the stitches along that marked row.
- In each post, work (HDC, ch 1, HDC, ch 1, HDC, ch 1).
- Repeat this for as many tiers as you like (e.g., three tiers spaced 2 rows apart).
Final Touches
- Sew on buttons.
- Attach pom-poms to the neck drawstring. Safety Note: Sew the pom-poms or drawstring ends to the coat fabric so they cannot be pulled into the baby’s mouth
Video Tutorial: