by
by Of course! Below is a clear, detailed, and beginner-friendly tutorial for making a simple crochet cap with 3D cable texture using a hook. This guide explains everything step by step and keeps the cable design easy but beautiful.
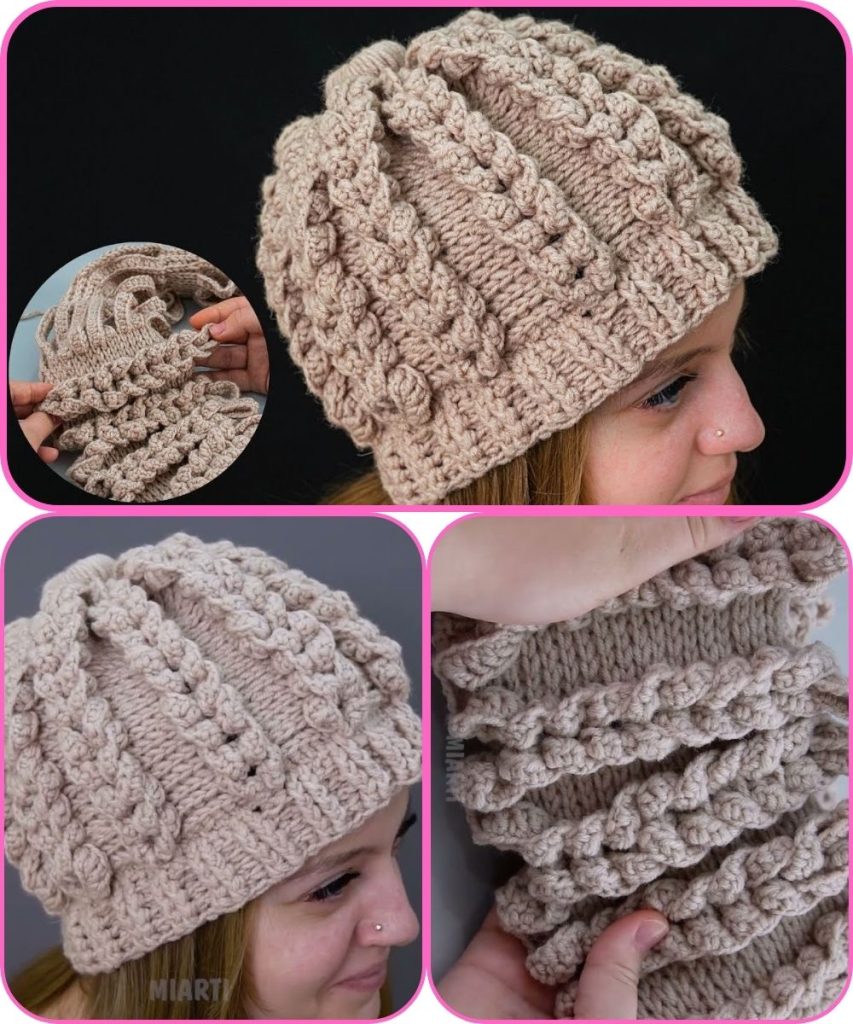
How to Make a Simple Crochet Cap with 3D Cables (Hook Tutorial)
A 3D cable crochet cap looks rich and stylish, but it’s easier than it looks! This tutorial uses front-post stitches to create raised cable patterns while keeping the hat construction simple.
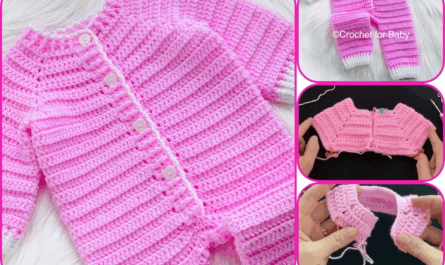
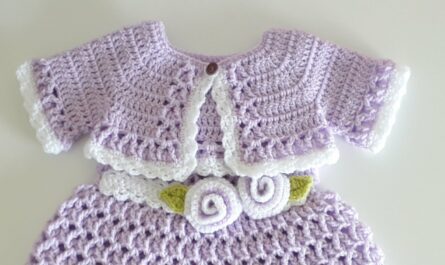
Headwear
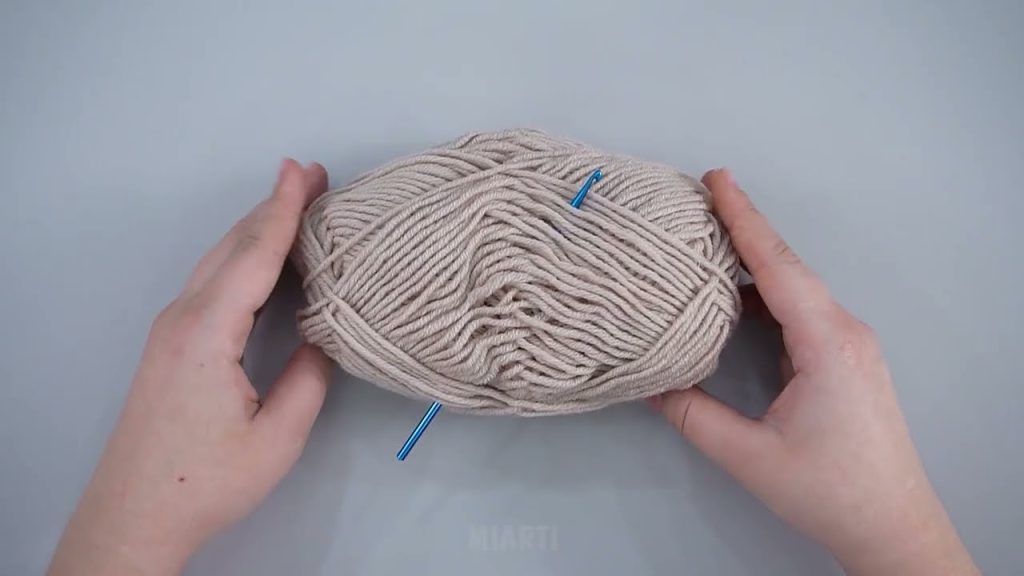
Materials You’ll Need
- Yarn: Medium or bulky weight (worsted / size 4 or bulky / size 5)
Choose wool or acrylic for warmth - Crochet hook:
- 5 mm (H) for worsted yarn
- 6 mm (J) for bulky yarn
- Scissors
- Yarn needle
- Stitch marker (optional)
Size Guide (Adult – Adjustable)
- Head circumference: 54–58 cm (21–23 inches)
- Hat height: approx. 22 cm (8.5 inches)
You can easily adjust by adding or removing rows.

Crochet Stitches Used
- ch – chain
- sl st – slip stitch
- sc – single crochet
- dc – double crochet
- fpdc – front post double crochet
- bpdc – back post double crochet
These post stitches create the 3D cable effect.
Step 1: Crochet the Ribbed Band
- Chain 11
- Row 1:
- sc in 2nd chain from hook
- sc across
- ch 1, turn
- Rows 2–60 (or until it fits around head):
- sc in back loop only across
- ch 1, turn
- Join ends with sl st or sew together to form a ring
This creates a stretchy brim.
Step 2: Build the Hat Body
- Round 1:
- Attach yarn to the brim edge
- ch 2 (counts as dc)
- dc evenly around (place about 1 dc per row of brim)
- Join with sl st
- Round 2:
- ch 2
- fpdc around next stitch, bpdc around next stitch
- Repeat around
- Join
This forms a ribbed base for the cables.
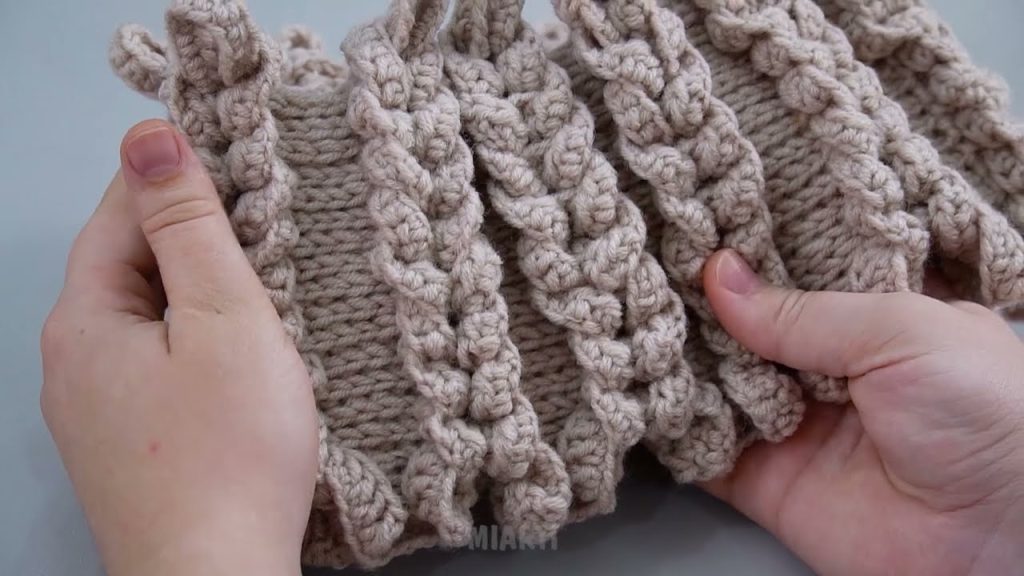
Step 3: Create the 3D Cable Pattern
Cable Pattern (4-stitch cable)
- Round 3:
- ch 2
- Skip 2 stitches
- fpdc around the next 2 stitches
- Now fpdc around the 2 skipped stitches (working in front)
- bpdc in next 2 stitches
- Repeat around
- Join
This crossing creates the raised 3D cable.
- Rounds 4–8:
- Repeat the cable pattern
- Keep cables stacked for a bold look
You should see twisted cable columns forming.
Step 4: Shape the Crown
- Decrease Round:
- ch 2
- dc2tog between cable sections
- Keep fpdc for cables where possible
- Join
- Repeat decrease rounds until the top closes
- Fasten off, leaving a long tail
- Pull tail through remaining stitches and tighten
Step 5: Finish the Hat
- Weave in all loose ends
- Add optional pom-pom or fur ball
- Lightly block the hat if needed
Tips for Perfect 3D Cables
- Keep even tension for neat cables
- Use lighter colors to highlight texture
- Practice cable stitches on a swatch first
- Bulky yarn = bolder 3D effect
Final Thoughts
This crochet cable cap is:
Elegant and modern
Warm and stretchy
Easier than knitted cables
Perfect for gifts or personal wear
Watch tutorial: