 by
by 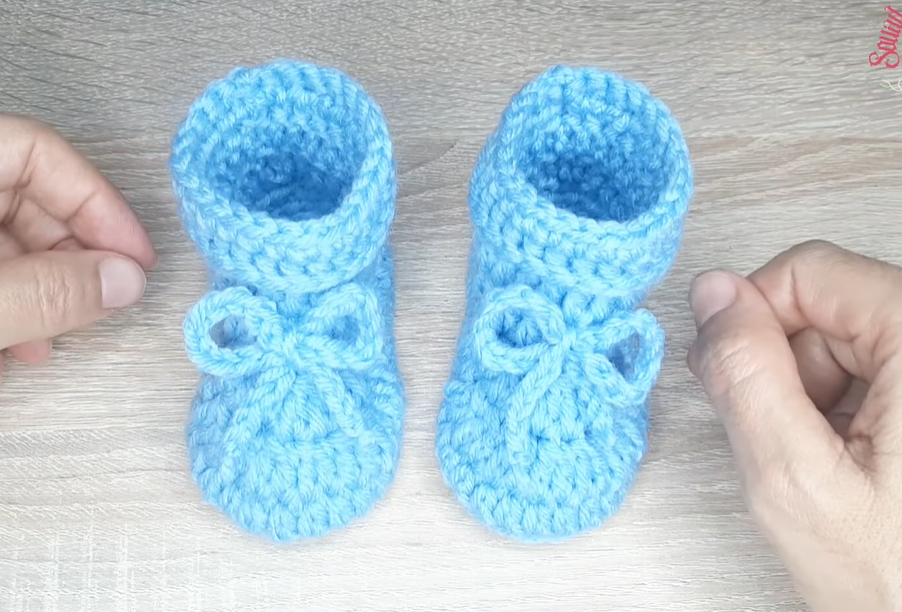
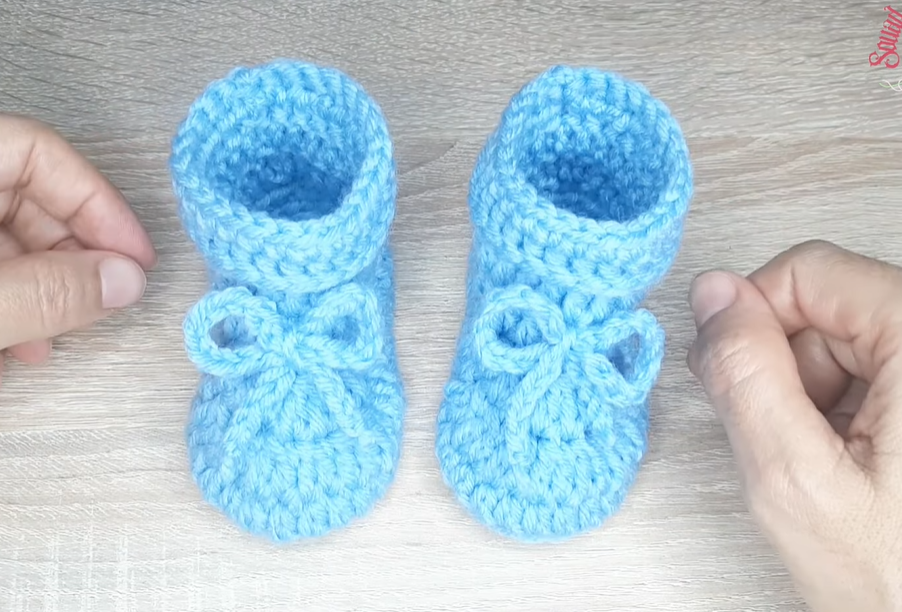
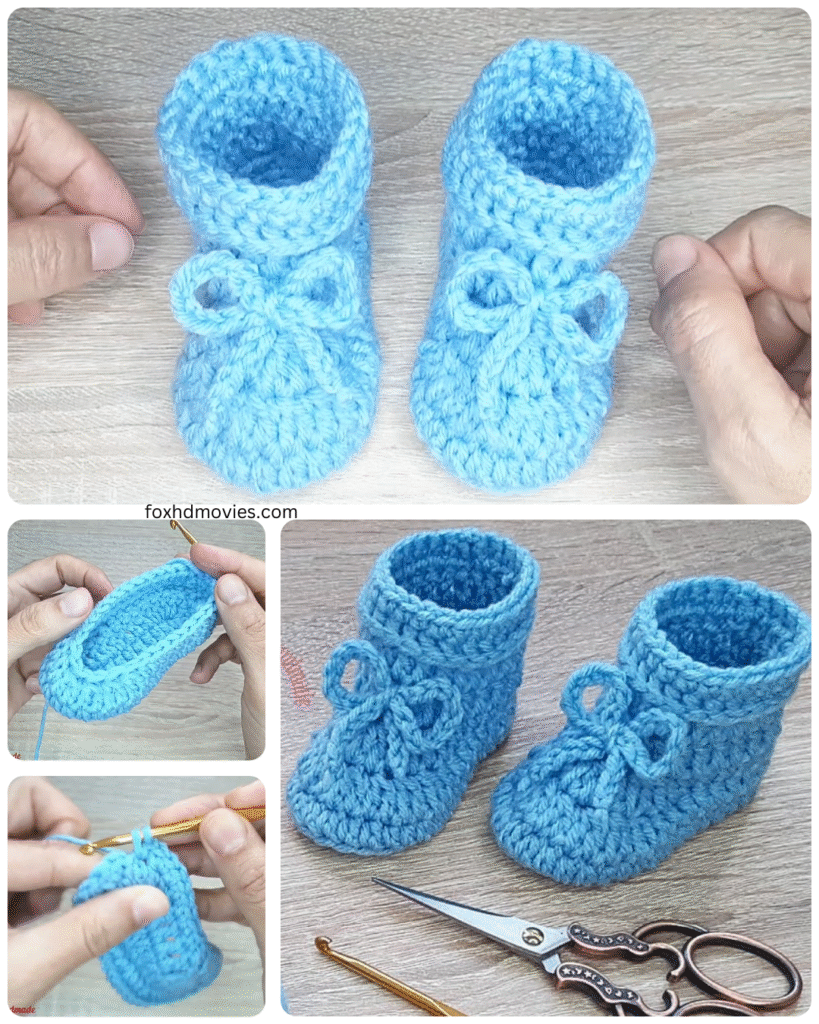
There’s something incredibly special about handmade items for a new arrival, and a pair of soft, cozy crochet baby booties is a perfect project for anyone, even if you’re new to the hook! This pattern is designed to be simple and quick, making it ideal for a last-minute gift or just a sweet afternoon project. We’ll be making a basic bootie perfect for little feet aged 3 to 6 months.
Why Crochet Baby Booties?
- Quick to Make: Most simple patterns can be completed in just a few hours.
- Great for Beginners: Uses fundamental crochet stitches.
- Adorable and Practical: Keeps tiny toes warm and adds a touch of handmade charm to any outfit.
- Heartfelt Gift: A handmade gift shows extra love and effort.
What You’ll Need:
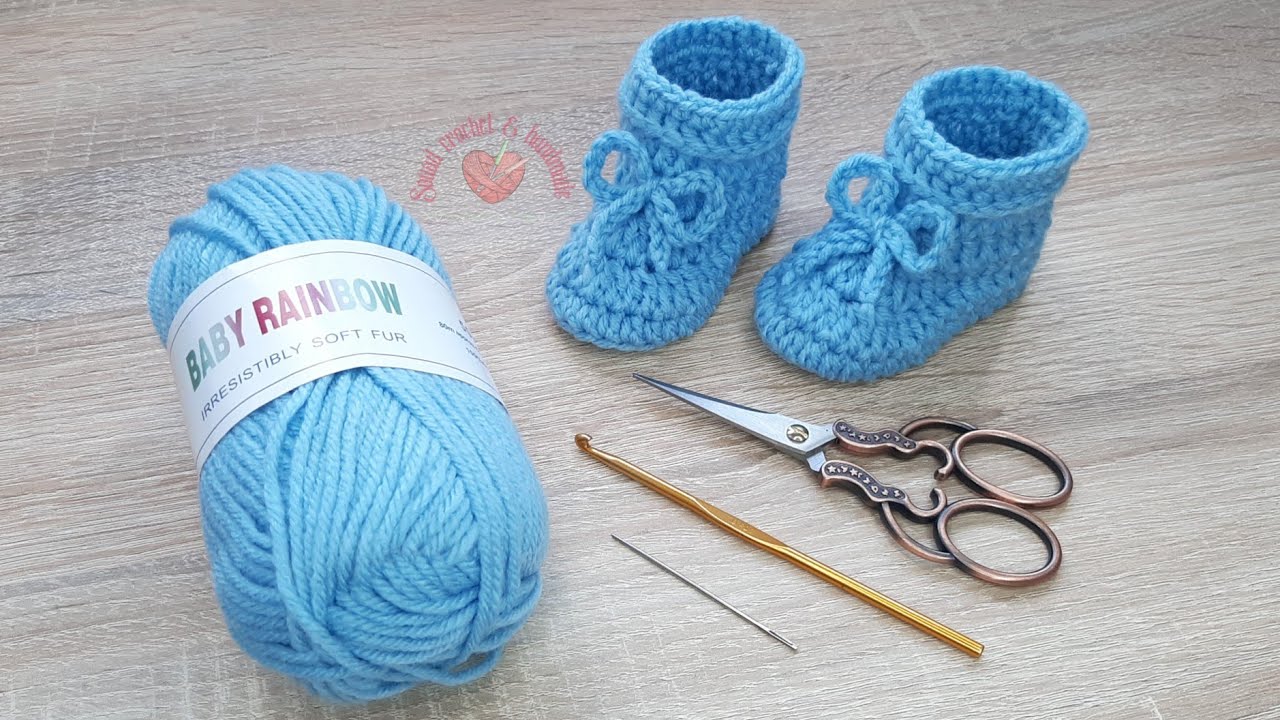
- Yarn: Approximately 50-80 yards of DK (double knitting) or light worsted weight yarn. Look for soft, baby-friendly fibers like acrylic, cotton, or a blend. Avoid scratchy materials.
- Hook: A crochet hook in a size appropriate for your yarn. A 3.5mm or 4mm hook is commonly used with DK weight yarn to create a firm-enough fabric that holds its shape but is still soft. Check your yarn label for a recommended hook size.
- Yarn Needle: For weaving in ends.
- Scissors: To cut your yarn.
- Stitch Marker (optional but helpful): To mark the beginning of your rounds.
Understanding the Basics: Stitches We’ll Use
- Chain (ch): The foundation of your work.
- Slip Stitch (sl st): Used to join rounds and move across stitches discreetly.
- Single Crochet (sc): A basic, compact stitch.
- Half Double Crochet (hdc): Slightly taller than a single crochet.
- Double Crochet (dc): Taller than a half double crochet, creates a looser fabric.
- Increase: Working more than one stitch into a single stitch from the previous row/round to make your work wider.
- Decrease: Working two or more stitches together to make your work narrower. We’ll likely use sc2tog (single crochet two together) or hdc2tog (half double crochet two together).
Video tutorial:
Let’s Get Crocheting! (Simplified Pattern)
This pattern starts by creating an oval for the sole, then building up the sides of the bootie.
Size: Approximately 3-6 Months (bootie length around 3.5 – 4 inches / 9-10 cm)
Gauge: (Optional but recommended for size accuracy) Work 8 hdc stitches across 4 rows with your chosen yarn and hook, it should measure approximately 1 inch by 1 inch. Adjust hook size if needed.

The Sole:
- Chain: Chain 11.
- Round 1: Work 2 hdc in the 2nd chain from the hook. Hdc in the next 8 chains. Work 4 hdc in the last chain. Now, working along the other side of the starting chain, hdc in the next 8 chains. Work 2 hdc in the very first chain you worked into (the one that already has 2 hdc). Join with a sl st to the first hdc of the round. (24 stitches)
- Round 2: Chain 1 (does NOT count as a stitch here and throughout). 2 hdc in the same stitch as the join. 2 hdc in the next stitch. Hdc in the next 8 stitches. 2 hdc in the next stitch repeated 4 times. Hdc in the next 8 stitches. 2 hdc in the next stitch repeated 2 times. Join with a sl st to the first hdc of the round. (34 stitches)
- Round 3: Chain 1. Hdc in each stitch around. Join with a sl st to the first hdc. (34 stitches)

Building the Sides:
- Round 4: Chain 1. Working in the back loop only for this round, sc in each stitch around. Join with a sl st to the first sc. This creates a defined edge for the sole. (34 stitches)
- Round 5: Chain 1. Sc in the first 10 stitches. Hdc2tog repeated 5 times. Sc in the last 14 stitches. Join with a sl st to the first sc. (29 stitches)
- Round 6: Chain 1. Sc in the first 9 stitches. Hdc2tog repeated 3 times. Sc in the last 14 stitches. Join with a sl st to the first sc. (26 stitches)
- Rounds 7-9: Chain 1. Hdc in each stitch around. Join with a sl st to the first hdc. (26 stitches)
Finishing:
- Fasten off and weave in all your loose ends securely with your yarn needle.
- Repeat for the second bootie!
Tips for Success:
- Keep your tension consistent: This will ensure your booties are the same size and shape.
- Use a stitch marker: This is especially helpful when working in rounds to avoid losing your place.
- Don’t worry about perfection: Handmade items have character!
- Have fun! Enjoy the process of creating something lovely.
Once you’ve made your first pair, you can experiment with different colors, adding a simple tie or ribbon through the stitches in Round 8 for decoration and a more secure fit, or even adding a cute button!