 by
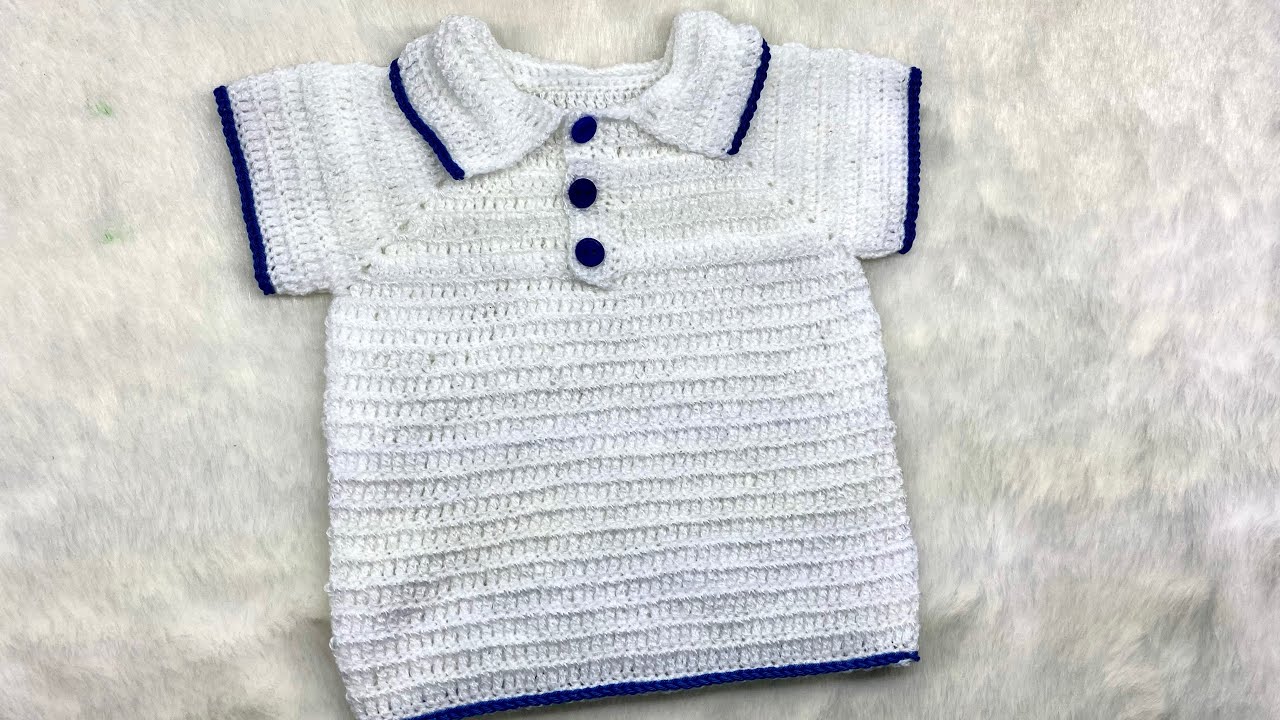
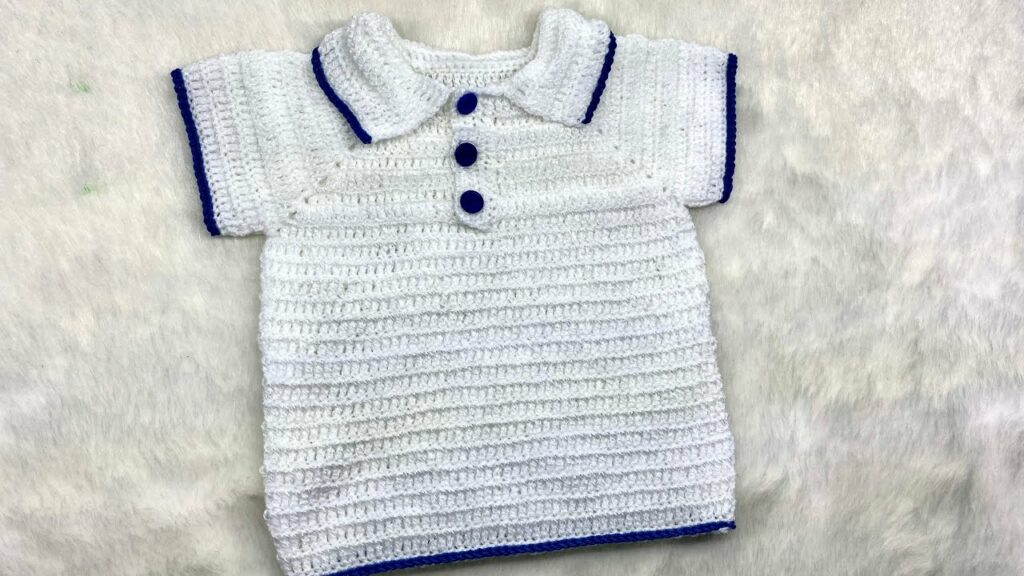
by There’s nothing quite as charming as a tiny, perfectly formed garment for a baby, and a handmade shirt or polo is a classic choice. While the description might playfully hint at “knitted baby polo shirt,” this detailed article will focus on the versatile and rewarding craft of crocheting a baby shirt, with a special emphasis on achieving that smart, collared polo shirt look. The emojis 🐬👔👕🐳👶🏻 evoke a sense of playful elegance, perhaps a nautical theme, or simply the fresh, clean lines of a well-made baby garment.
Crocheting a baby shirt offers the perfect blend of practicality, style, and the undeniable warmth of a handmade gift. It allows for beautiful texture, custom fit, and the immense satisfaction of creating something truly special for a little one.
Why Crochet a Baby Shirt (and a Polo Style!)?
- Practical Elegance: A baby shirt, especially with a collar, offers a step up in formality from a simple onesie, perfect for family gatherings or special outings.
- Layering Versatility: It can be worn on its own in warmer weather or layered under overalls, cardigans, or sweaters when it’s cooler.
- Customization: You control the yarn, color, stitch pattern, and precise fit, ensuring it’s exactly what you envision.
- Skill Building: Learn or refine techniques for shaping armholes, necklines, working button bands, and attaching collars – all invaluable for future garment projects.
- Heirloom Potential: A beautifully crocheted shirt can become a cherished keepsake, passed down through the family.
Design Elements of a Crocheted Baby Shirt & Polo
When embarking on this project, consider these key features:
- The “Shirt” Base:
- Fit: Generally designed with positive ease (extra room) to accommodate a diaper and allow for comfortable movement.
- Construction: Can be worked in panels (front, back, sleeves) and seamed, or top-down (seamless body) for quicker assembly.
- Stitches: Typically uses relatively solid stitches like single crochet (SC), half double crochet (HDC), or double crochet (DC) for warmth and structure, but can incorporate subtle textures like moss stitch or simple shell patterns.
- The “Polo” Touch 👔:
- The Collar: This is the defining feature. It can be a classic pointed collar, a softer Peter Pan style, or a simple band. It’s often crocheted separately and then sewn on, or worked by picking up stitches around the neckline.
- Placket & Buttons: A distinguishing characteristic of a polo. This is a short opening at the front neckline, typically secured with 2-3 buttons, allowing for easier dressing over the head.
- Aesthetic Inspiration 🐬🐳👶🏻:
- The aquatic emojis might inspire a nautical theme (navy, white, red stripes), cool blues and greens, or simply evoke a sense of freshness and playfulness.
- Consider subtle textures that resemble tiny waves or scales.
- Emphasize softness and comfort for the baby.
Addressing the “Knitted” Term
It’s common for terms like “knit” and “crochet” to be used interchangeably by those outside the crafting world, or even as shorthand for “handmade yarn garment.” However, for this article, we are firmly focused on crochet techniques. While a polo shirt can absolutely be knitted, we’ll explore how to achieve this charming style using your crochet hook! The principles of shaping and garment construction are similar, but the actual stitch formation is distinct.
Materials: Gathering Your Essentials
- Yarn:
- Fiber:Softness, breathability, and washability are paramount for baby garments.
- Superwash Merino Wool: Excellent for warmth, elasticity, and machine washability.
- Cotton or Cotton Blends: Breathable, durable, great stitch definition, ideal for warmer climates.
- High-Quality Baby Acrylics: Hypoallergenic, affordable, vast color range, easy-care, but choose a very soft, non-scratchy variety.
- Weight: DK (Double Knitting, Category 3) or Sport (Category 2) are common for baby garments, creating a lovely drape and manageable fabric. Worsted (Category 4) can also work for a quicker knit, resulting in a slightly denser garment.
- Colors: Embrace the 🐬🐳 theme with blues, greens, whites, or use classic polo colors like primary hues, pastels, or simple stripes.
- Quantity: Check your specific pattern, but a baby shirt typically requires 200-400 yards (180-365 meters).
- Fiber:Softness, breathability, and washability are paramount for baby garments.
- Crochet Hook: The size recommended by your pattern to achieve gauge.
- Stitch Markers: Indispensable for marking rounds (if working seamlessly), stitch counts, and shaping points.
- Tapestry Needle (or Blunt Yarn Needle): For weaving in ends and seaming.
- Scissors.
- Measuring Tape: Crucial for checking gauge and garment dimensions.
- Small Buttons (2-3): For the polo placket. Choose flat, baby-safe buttons that are securely sewn and too large to be a choking hazard.
- Blocking Mats & T-pins: Essential for shaping and finishing.
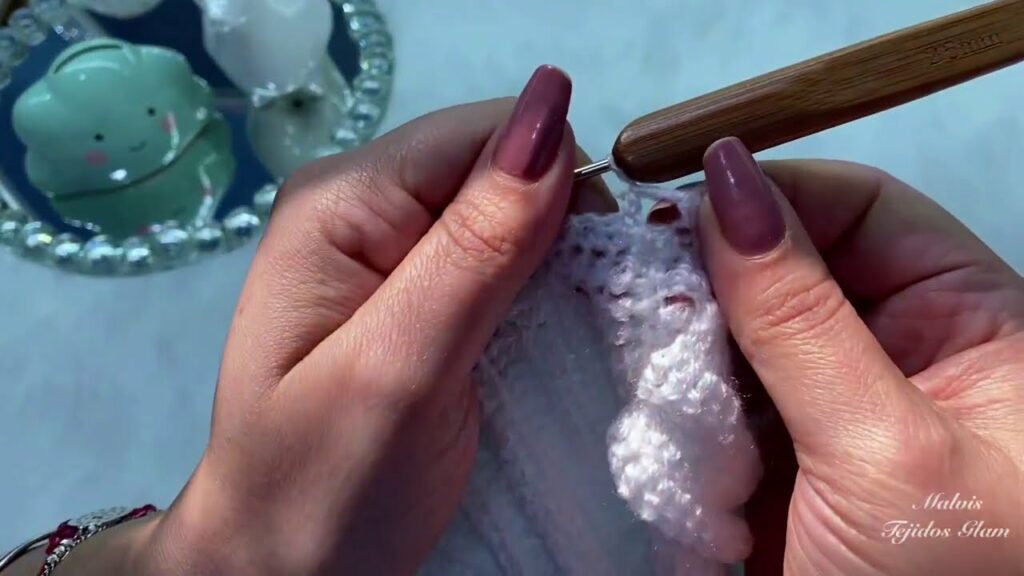
Essential Crochet Techniques for a Baby Shirt
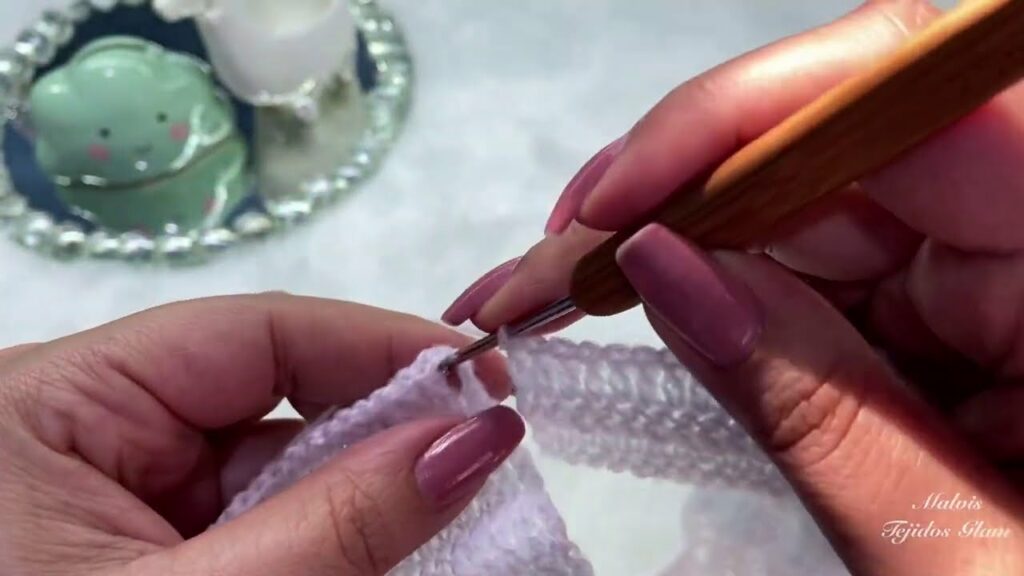
You’ll utilize a blend of fundamental and garment-specific techniques:
- Basic Stitches: Chain (ch), Slip Stitch (sl st), Single Crochet (sc), Half Double Crochet (hdc), Double Crochet (dc).
- Foundation Chains/Foundation Single Crochet (FSC)/Foundation Half Double Crochet (FHDC): FSC/FHDC are great for starting edges with more elasticity, especially for a neckline or hem.
- Working in Rounds vs. Rows: Depends on your chosen construction method.
- Increasing Stitches: For shaping the body, sleeves, and especially the collar.
- Decreasing Stitches: For shaping armholes, necklines, and shoulders.
- Ribbing/Edging: For hems, cuffs, and the placket, often achieved by working in the back loop only (BLO) or using post stitches.
- Buttonholes: Creating small chain spaces for buttons on the placket.
- Picking Up Stitches: Crucial for neckbands, armbands, and especially for adding a crocheted collar by working along the raw edge of the neckline.
- Seaming (if applicable):
- Mattress Stitch: The gold standard for virtually invisible vertical seams, creating a professional finish.
- Slip Stitch Seam: Creates a defined, raised seam, can be decorative.
- Blocking: Absolutely transformative! It evens out stitches, relaxes the fabric, and sets the final shape and drape of your garment.
Planning Your Project: Laying the Foundation for Success
- Sizing:
- Consult your chosen pattern’s size chart. Baby sizing can vary significantly, so it’s best to measure the baby (chest circumference, shoulder-to-hip length) or a well-fitting garment they already own.
- Gauge Swatch (The Golden Rule!):
- This is the single most important step for garment knitting.
- Crochet a swatch at least 6×6 inches (15×15 cm) using your chosen yarn and hook in the main stitch pattern of the shirt.
- Crucial Step: Wash and block your swatch exactly as you plan to wash and block the finished garment. Yarn and stitch patterns can change significantly after laundering and blocking.
- Measure your stitches and rows per inch/cm accurately. If your gauge doesn’t match the pattern’s, adjust your hook size (go up a size if you have too many stitches per inch, down if you have too few) and crochet another swatch until it matches.
- Yarn Quantity: Ensure you have enough yarn of the same dye lot.
Construction Journey: Bringing Your Baby Shirt to Life (Conceptual Guides)
A baby shirt can be constructed in a few common ways:
Method 1: Panels & Seams (Work Flat)
- Front Panel: Cast on for the bottom hem, work ribbing, then work the body in rows, shaping for armholes, neckline, and shoulders with increases/decreases. Create the placket opening in the upper front (working in two halves for a few rows).
- Back Panel: Similar to the front, but typically with a higher, simpler neckline.
- Sleeves (if applicable): Work each sleeve flat from cuff to cap, shaping with increases/decreases.
- Assembly: Join shoulder seams. Sew sleeves into armholes. Join side seams and under-sleeve seams using Mattress Stitch.
- Placket & Collar: Pick up stitches around the placket opening to create neat button bands (one with buttonholes, one without). Pick up stitches around the neckline to work the collar (often worked in rows, increasing for flare, then sewn to the neckline or integrated directly).
- Finishing: Weave in ends. Block. Attach buttons.
Method 2: Top-Down (Seamless Body)
- Yoke: Start with a foundation chain/FSC for the neckline. This will likely be worked flat in rows initially to create the placket opening. Increase stitches in specific increments to form the yoke (raglan or circular shaping) until it reaches below the armpits.
- Separate for Body & Sleeves: At the armholes, put sleeve stitches on hold (waste yarn), and join the body stitches to work the main body of the shirt in the round.
- Body: Continue working the body in the round to the desired length. Finish with a hem.
- Sleeves: Join yarn to one armhole, pick up any needed stitches, and work the sleeve in the round down to the cuff, decreasing as needed. Repeat for the second sleeve.
- Placket & Collar: Work button bands along the placket opening. Create the collar by picking up stitches around the neckline and working it in rows, shaping for the lay-flat.
- Finishing: Weave in ends. Block. Attach buttons.
Finishing Touches: The Polish of a Pro
- Weave in All Ends: Meticulously weave in every single yarn tail using your tapestry needle. For baby items, secure them extremely well to prevent unraveling and discomfort.
- Edgings: Neatly finish all raw edges (neckline, cuffs, hems). This adds a professional, polished look.
- Blocking (Don’t Skip It!): This step is transformative. Gently wet your finished shirt (or steam it), carefully lay it out on blocking mats, shaping it to the correct dimensions (pinning firmly with T-pins if needed). Allow to dry completely. Blocking evens out stitches, relaxes the fabric, enhances drape, and sets the final size and shape, making your collar lay perfectly.
- Add Closures: Sew on buttons securely. Use strong thread.
Tips for Baby Shirt Success
- Gauge is King: Especially for garments, matching gauge is vital for a correct fit.
- Softness First: Always prioritize soft, non-irritating yarns for delicate baby skin.
- Ease of Dressing: Ensure necklines and plackets are wide enough for easy on/off.
- Neat Seaming (if applicable): If working in panels, mastering the Mattress Stitch will make your shirt look professional and seamless.
- Don’t Fear the Collar: It might seem intimidating, but collars are often simpler than they look, usually involving basic stitches and strategic increases.
- Blocking for Perfection: For collars in particular, blocking is essential to ensure they lie flat and beautifully.
Customization Ideas 🐬👔👕🐳👶🏻
Beyond the basic, personalize your baby shirt:
- Stripes: Classic nautical stripes (blue/white, red/white) are perfect for the 🐬🐳 theme.
- Color Blocking: Use different colors for the body, sleeves, or collar.
- Subtle Textures: Incorporate textured stitches like moss stitch, seed stitch, or simple shell rows for added interest without bulk.
- Embellishments: Embroider a tiny anchor, a whale, or a sailboat. Add a small crocheted appliqué.
- Collar Style: Experiment with a rounded Peter Pan collar instead of a pointed polo collar.
- Button Choice: Choose fun, themed buttons (e.g., small anchor buttons) to tie into the aesthetic.
Caring for Your Crocheted Baby Shirt
- Follow Yarn Label Instructions: Always refer to your specific yarn’s care guidelines for washing and drying.
- Machine Wash (if superwash): If your yarn is superwash, machine wash on a gentle cycle with cool water. Place in a mesh laundry bag for extra protection.
- Hand Wash (Recommended for Delicates): For non-superwash yarns or very delicate stitches/embellishments, hand wash gently in cool water with a mild detergent.
- Reshape and Lay Flat to Dry: Never wring, twist, or hang a wet crocheted garment. Gently squeeze out excess water (rolling in a towel helps), reshape the shirt to its original dimensions, and lay it flat on a clean towel or a mesh drying rack to air dry completely.
Crocheting a baby shirt, especially with a neat polo collar, is a rewarding project that combines practical design with the joy of handmade craftsmanship. It’s a versatile garment that will be well-loved and cherished, a testament to your skill and affection. So pick up your hook and dive into creating this adorable little luxury!
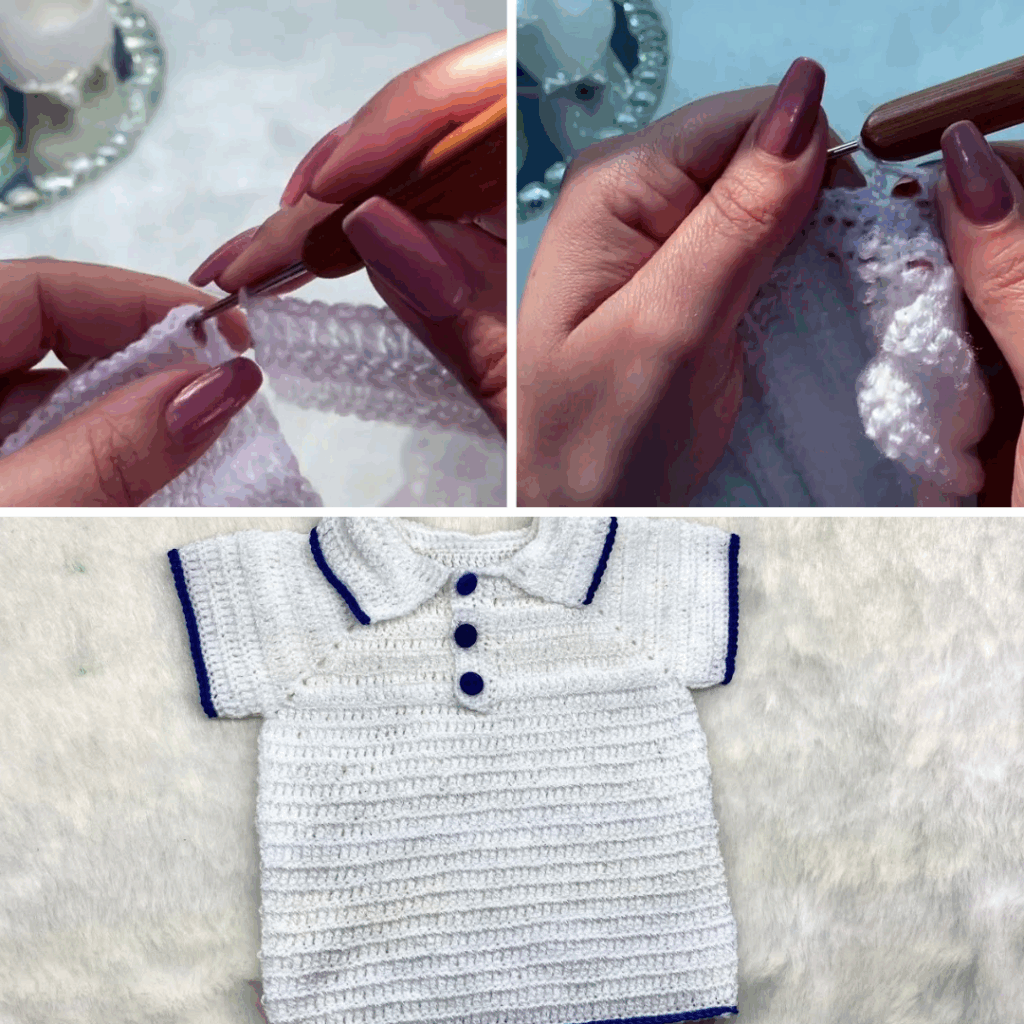
Video Tutorial ;