 by
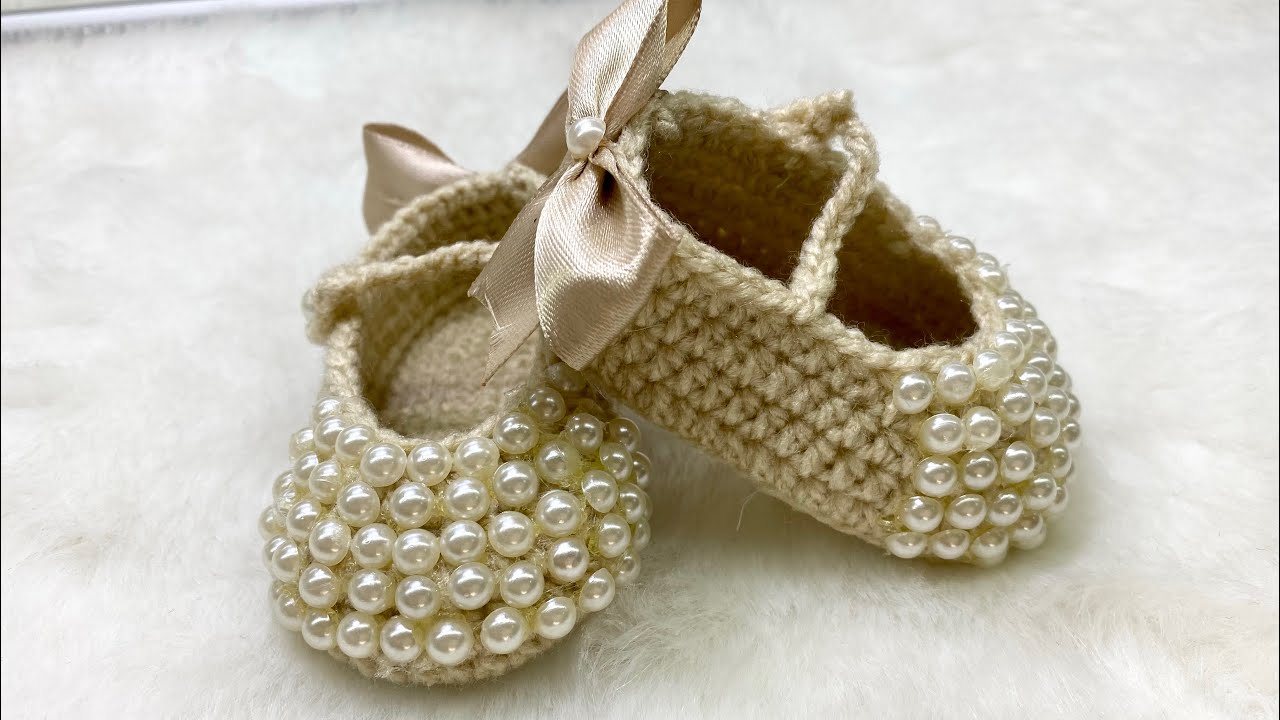
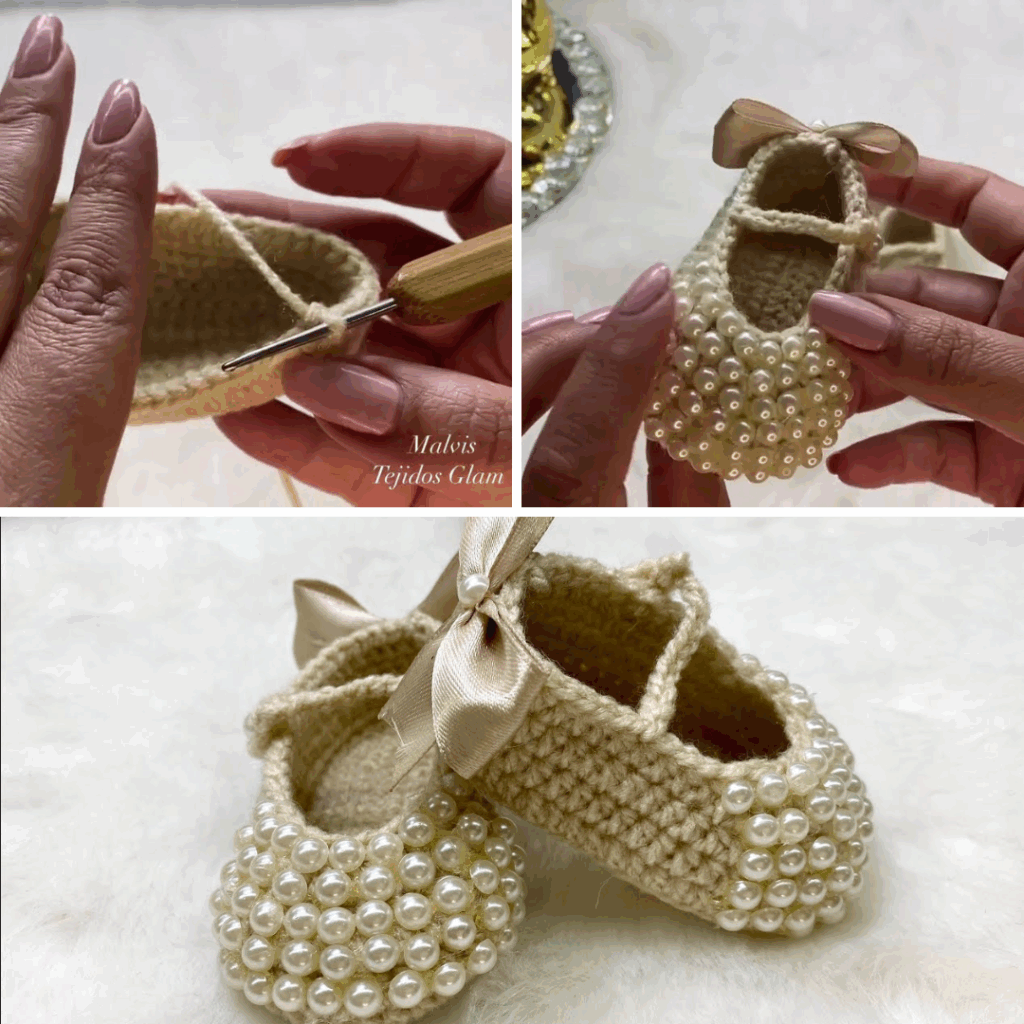
by here’s a special kind of magic in tiny, handmade items for babies, and among the most enchanting are little shoes. The term “Perlita Crochet Shoes” immediately evokes an image of exquisite delicacy and charm. “Perlita,” meaning “little pearl” in Spanish, perfectly encapsulates the essence of these creations: they are tiny treasures, often adorned with subtle textures or finishes that resemble precious pearls, designed to cradle the most precious of feet.
This detailed article delves into the delightful world of crocheting Perlita shoes, exploring their unique design philosophy, the essential techniques required, and the immense joy of crafting such delicate and beloved baby footwear.
Unveiling “Perlita Crochet Shoes”: Design Philosophy
The allure of Perlita Crochet Shoes lies in their blend of elegance, comfort, and intricate, yet often simple, details.
- The Name’s Inspiration: “Perlita” suggests a focus on refined beauty. This translates into designs that are:
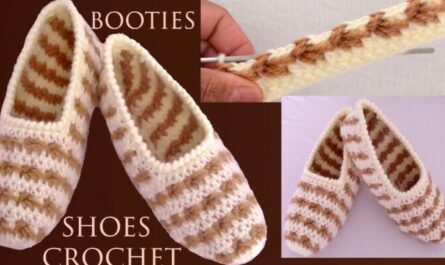
- Subtly Textured: Often featuring stitches like bobbles, puff stitches, or cluster stitches that create small, rounded bumps resembling pearls scattered across the fabric.
- Delicate & Dreamy: Achieved through the choice of fine yarns and gentle, often openwork, stitch patterns that give an ethereal quality.
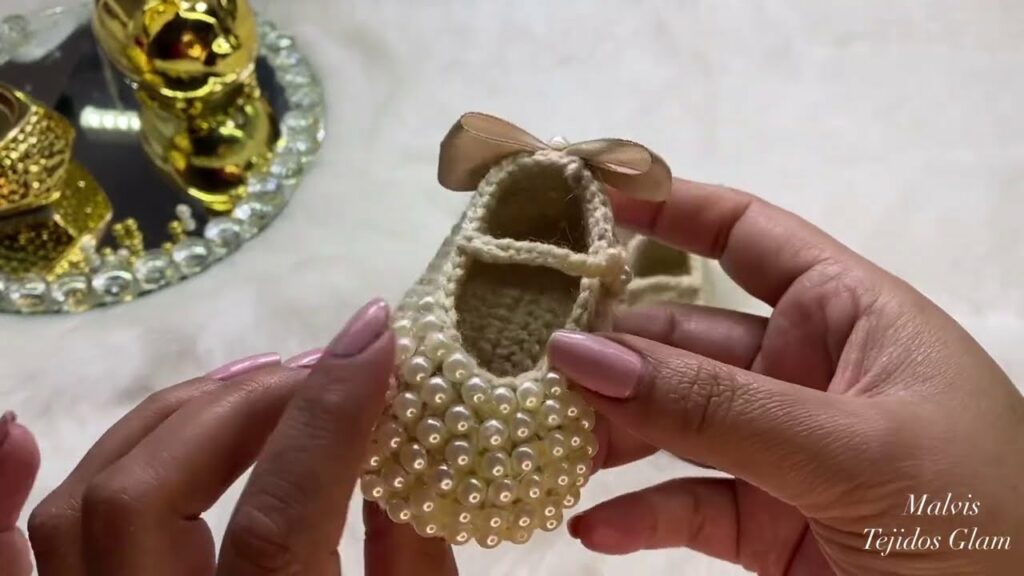
- Classic Elegance: Frequently inspired by timeless styles such as Mary Janes, simple booties, or ballet flats, providing a sophisticated touch to any baby outfit.
- Aesthetic Characteristics: Imagine soft, muted colors like creamy whites, ivories, blush pinks, and sky blues, or even a hint of shimmer if using a yarn with a subtle metallic thread. The beauty lies in the understated grace rather than overwhelming embellishment.
- Comfort & Practicality: Despite their delicate appearance, Perlita shoes are designed with baby’s comfort in mind. They are:
- Supremely Soft: Gentle against sensitive skin, with no irritating internal seams.
- Flexible: Allowing tiny feet to move freely and develop naturally.
- Breathable: Especially when made with natural fibers, promoting air circulation.
- Designed to Stay On: A crucial feature for active babies, often incorporating ties, straps, or elastic for a secure fit.
Why Crochet Perlita Shoes?
- Adorable & Unique: Each pair is a unique work of art, far surpassing the charm of mass-produced alternatives.
- Heartfelt Gift: Handmade baby shoes are treasured gifts for baby showers, christenings, or birthdays, symbolizing love and care.
- Skill Development: Even though they are small, crocheting shoes involves mastering important garment-shaping techniques like working in the round, increasing, and decreasing for precise fit.
- Practical Heirloom: They are not just decorative; they offer comfort and warmth, and can later become a cherished keepsake.
- Quick Project: Being small, they work up relatively quickly, offering immense satisfaction without a huge time commitment.
Materials: Your Toolkit for Tiny Treasures
Crafting Perlita shoes requires carefully selected materials to achieve that delicate, pearl-like quality.
- Yarn (The “Perlita” Touch):
- Fiber:Exquisite softness is non-negotiable.
- Superwash Merino Wool: Incredibly soft, provides warmth without bulk, and is often machine washable.
- High-Quality Cotton or Cotton Blends: Breathable, absorbent, great stitch definition, and soft against the skin.
- Bamboo Blends: Known for their silky softness and excellent drape.
- Premium Baby Acrylics: Hypoallergenic, easy to care for, and can be remarkably soft.
- Weight: Fingering (Category 1) or Sport (Category 2) are often preferred for their delicate drape and ability to create intricate stitch patterns. DK (Category 3) can also be used for a slightly quicker and cozier shoe.
- Colors: Pearl-like whites, soft creams, pale grays, gentle pastels (blush pink, baby blue, mint green), or even a subtle shimmer if you find a yarn with a delicate metallic strand.
- Fiber:Exquisite softness is non-negotiable.
- Crochet Hook: The size recommended by your pattern for your chosen yarn. Sometimes a slightly smaller hook is used to create a denser, sturdier fabric that helps the shoe hold its shape.
- Notions:
- Stitch Markers: Essential for marking the beginning of rounds (especially for the sole) and shaping points.
- Tapestry Needle (or Blunt Yarn Needle): Crucial for weaving in ends neatly and seamlessly.
- Scissors.
- Measuring Tape/Ruler: For checking gauge and foot measurements.
- Small Buttons (Optional): For Mary Jane straps or simple closures. Choose flat, baby-safe buttons that are securely sewn and too large to be a choking hazard.
- Ribbon or Cord (Optional): For ties or decorative accents.
- Elastic Thread/Thin Elastic (Optional): Can be crocheted in or threaded through the ankle cuff to help shoes stay on.
- Small Beads (Optional, with Caution): If you truly want a “pearl” effect, ensure beads are securely sewn onto the fabric and are large enough not to be a choking hazard. For safety, many prefer using bobble or puff stitches instead.
- Non-Slip Sole Material (Optional): For walking babies, a small piece of felt, leatherette, or rubberized fabric can be sewn to the bottom for grip.
Essential Crochet Techniques for Shoes
Crafting Perlita shoes involves mastering several key techniques:
- Foundation Chain: The starting point, often created as an oval shape for the sole.
- Basic Stitches: Chain (ch), Slip Stitch (sl st), Single Crochet (sc), Half Double Crochet (hdc), Double Crochet (dc). These form the base fabric.
- Working in the Round (Oval Shape): Fundamental for creating the sole, which is worked in continuous rounds with increases at the ends to form the oval.
- Working Flat: For straps, cuffs, or specific parts of the upper.
- Increasing Stitches: Used extensively to shape the sole and to expand parts of the upper.
- Decreasing Stitches: Crucial for shaping the toe and sometimes the heel, creating the foot’s curve.
- Textured Stitches (for the “Pearl” effect):
- Puff Stitch: Creates a soft, rounded puff.
- Bobble Stitch: Similar to a puff, but often denser and more pronounced.
- Cluster Stitch: Groupings of stitches worked together to form a textured bobble.
- Buttonholes: Small chain spaces created on straps or the shoe’s upper for button closures.
- Edging/Finishing Stitches: Simple slip stitch, single crochet, or shell stitch borders for a neat, refined finish around the ankle or opening.
- Seamless Joining: Techniques like slip stitching or invisible joins for a clean look, particularly important for the delicate aesthetic of Perlita shoes.
Construction Journey: Step-by-Step (Conceptual Guide)
Most crocheted baby shoes follow a similar sequence of construction:
- Preparation:
- Sizing: Measure the baby’s foot length from heel to longest toe. Add 0.5 to 1 cm (0.2 to 0.4 inches) for growth room. This measurement will determine the length of your sole.
- Gauge Swatch: Crucial! Crochet a small swatch in your chosen main stitch pattern and compare it to the pattern’s gauge. This ensures the shoes will fit correctly.
- Step 1: Crocheting the Sole:
- Begin with a foundation chain that is slightly shorter than your desired sole length (as increases will add to the length).
- Work around this chain in an oval shape, placing multiple increases at each end to create the rounded heel and toe. Continue working rounds of increases until the sole reaches the correct length and width.
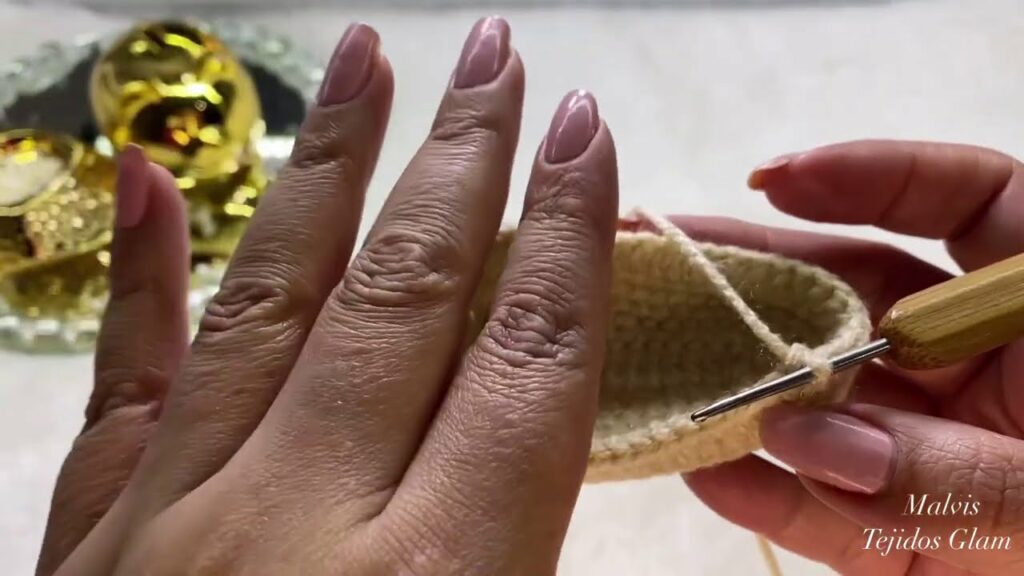
- Step 2: Building the Sides (Upper):
- Once the sole is complete, you’ll start working up the sides of the shoe. This is often done by working a round of slip stitches or single crochets into the back loop only or third loop of the previous sole round. This creates a neat ridge that defines the edge of the sole and makes the sides stand upright.
- Continue working rounds evenly (without increases or decreases) in your chosen stitch pattern until the sides reach the desired height before the toe/ankle shaping begins. This is where you might incorporate your “Perlita” bobble or puff stitches.
- Step 3: Shaping the Toe:
- At the front of the shoe (toe area), you’ll begin a series of decreases over several rounds. These decreases are usually concentrated at the very center front to create the rounded toe shape of the shoe.
- Step 4: Shaping the Heel/Ankle:
- Once the toe is shaped, you’ll continue working towards the back. You might continue working in the round for a simple slip-on bootie, or start working flat in rows for a Mary Jane style opening or a taller bootie cuff.
- For a Mary Jane, you’ll often stop working in the round and work two separate sections for the sides of the ankle, then create a strap.
- Step 5: Adding Closures/Straps:
- Mary Jane Strap: Crochet a short strip of fabric with a buttonhole at one end. Attach it to one side of the shoe near the ankle opening.
- Ties: Crochet two long chains (or narrow cords) and thread them through a lacy row around the ankle.
- Elastic Casing: Work a few rows for the ankle cuff, then create a casing (e.g., by working stitches into the previous row’s back loops, leaving the front loops for threading). Thread elastic through this casing.
- Step 6: Finishing Touches:
- Edging: Work a neat border of slip stitches or single crochets around all raw edges (e.g., ankle opening, strap).
- Embellishments: Securely sew on any small buttons or beads (if using). If using non-slip sole material, carefully hand-stitch or glue it to the bottom.
- Weave in Ends: Meticulously weave in all yarn tails using your tapestry needle. For baby items, ensure all ends are completely secured to prevent unraveling and discomfort.
Tips for “Perlita” Perfection
- Gauge is King for Fit: Even slight variations in gauge can make shoes too big or too small. Always swatch and adjust your hook.
- Softness First: Always prioritize the softest, most comfortable yarns for delicate baby feet.
- Security of Embellishments: If using beads or buttons, ensure they are sewn on with multiple stitches and very securely. For ultimate safety, consider crocheted bobbles/puffs instead of loose beads.
- Neatness is Key: For the “Perlita” elegance, strive for consistent tension, invisible joins, and meticulously woven-in ends.
- No Bulky Seams: If seaming is necessary, use a flat, invisible seam method like the mattress stitch. The inside of the shoe should be smooth.
- Making Them Stay On: This is the eternal challenge with baby shoes! Good design (high ankle, straps, elastic) and a snug but comfortable fit are vital.
- Block Your Shoes: Gently wet and reshape your finished shoes, stuffing them lightly with paper towels or plastic bags to help them hold their shape as they dry. This evens out stitches and gives them a polished look.
Customization Ideas
- Color Palette: Experiment with ombre effects, subtle stripes, or two-tone designs (e.g., a contrasting sole or strap).
- Strap Styles: Beyond Mary Janes, try a simple tie closure, a single button strap, or a t-strap design.
- Embellishments: Add tiny crocheted flowers, bows, or even miniature leaves. For safety, sew these on very securely.
- Sole Variations: Use a contrasting color for the sole, or add simple embroidered details to the bottom.

Caring for Your Perlita Shoes
- Follow Yarn Label Instructions: Always refer to your specific yarn’s care guidelines.
- Hand Wash Recommended: Given their delicate nature and small size, hand washing in cool water with a mild, baby-friendly detergent is often best.
- Reshape and Air Dry: Gently squeeze out excess water (do not wring), reshape the shoes, and stuff them lightly to maintain their form while air drying completely. Lay them flat on a clean towel.
Crocheting Perlita shoes is a truly rewarding endeavor. Each tiny pair is a testament to skill, patience, and love, transforming humble yarn into a precious adornment for little feet – a “little pearl” of crochet artistry.
Video Tutorial ;;