 by
by A Sweet, Lacy Dress for Girls Aged 1–6 Years – Step-by-Step Guide
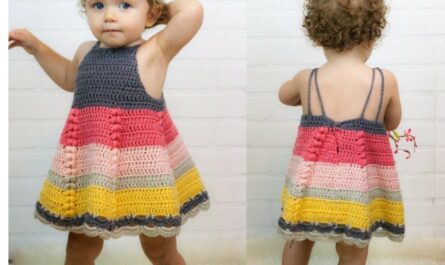
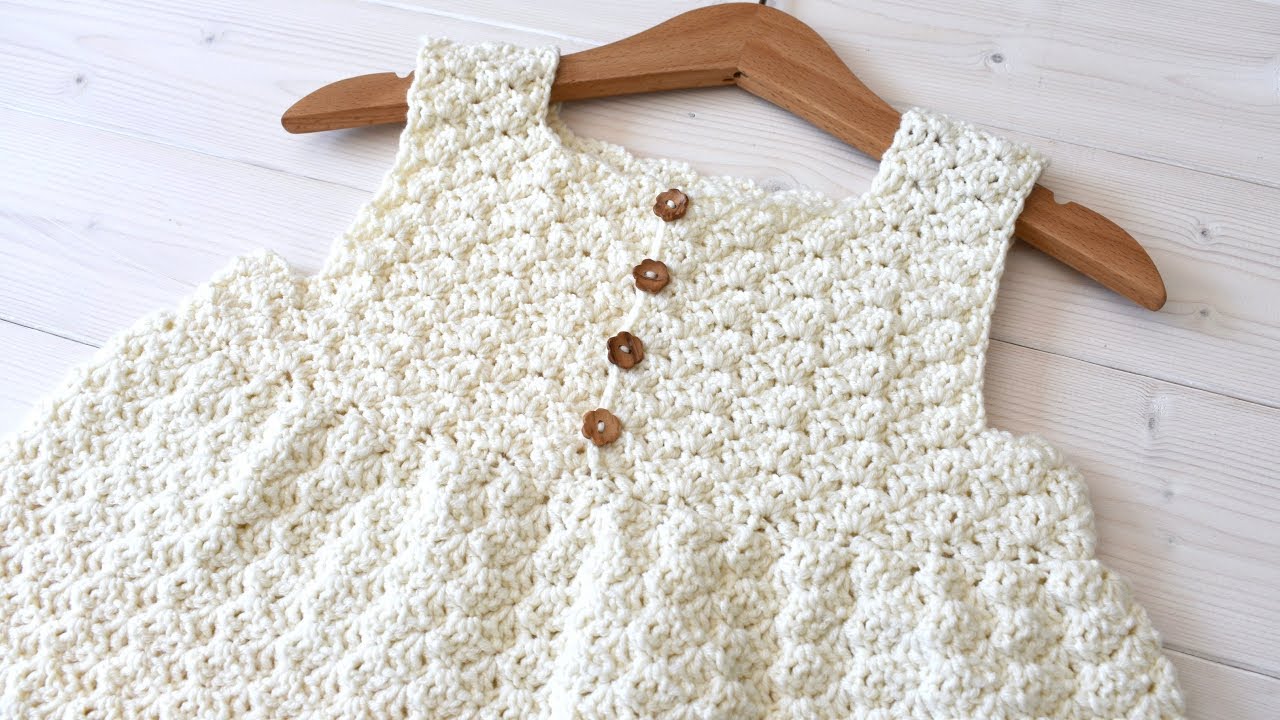
Crocheting a little girl’s dress is one of the most rewarding projects you can take on. It’s delicate, functional, and endlessly customizable. One of the most elegant and beginner-friendly stitches for a dress is the shell stitch — soft, scalloped, and perfect for feminine garments.
In this article, we’ll walk you through how to crochet a girl’s pretty shell stitch dress, step by step. This pattern is ideal for special occasions, birthdays, or even everyday wear with a handmade twist.
✨ Why the Shell Stitch?
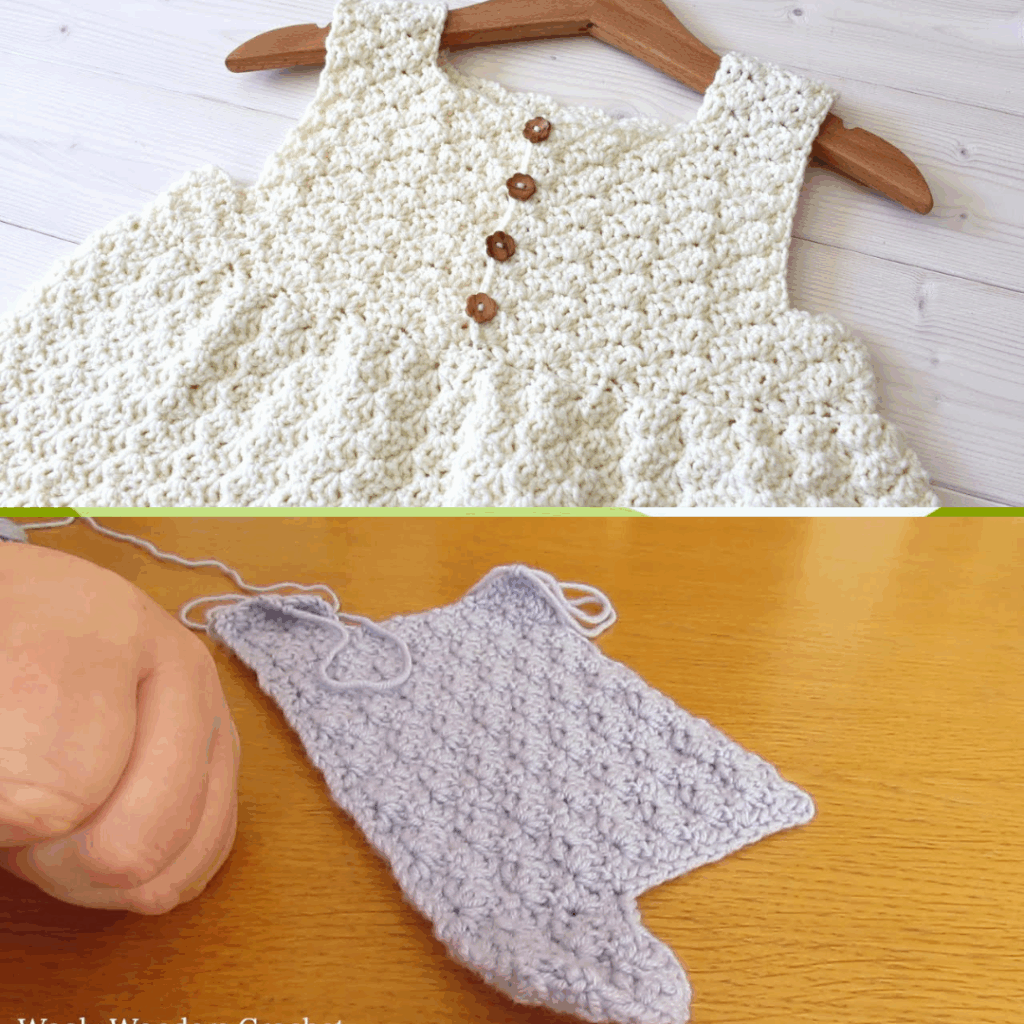
The shell stitch is simple to crochet yet creates a lovely, lacy texture. It’s formed by placing multiple double crochets (typically 5) into one stitch to create a fan or “shell.” When stacked and offset in rows, it gives a gentle wave-like appearance.
📏 Sizing & Fit
This pattern is written for sizes 1T to 6T (approximately ages 12 months to 6 years). It is worked top-down in one piece with a shell stitch skirt and optional sleeves or straps. You can make it knee-length, tunic-length, or even full-length for a formal dress.
🧶 Materials You’ll Need
Yarn:
- DK or Light Worsted Weight Yarn (#3 or #4)
- Cotton blends for summer, acrylic or wool blends for colder months
- Approximate yardage:
- Size 1–2T: 350–400 yards
- Size 3–4T: 450–500 yards
- Size 5–6T: 550–600 yards
Tools:
- Crochet hook: 4.0 mm (G) or 4.5 mm (7) depending on gauge
- Yarn needle
- Scissors
- Stitch markers
- Measuring tape
- Optional: 1–2 small buttons (for back closure)
🔁 Stitches Used (US Terms)
- CH – Chain
- SL ST – Slip Stitch
- SC – Single Crochet
- DC – Double Crochet
- Shell – 5 DC in same stitch
- V-Stitch – (DC, CH 1, DC) in same stitch (used in bodice shaping)
🧵 Gauge
- 16 DC and 8 rows = 4” x 4”
Check your gauge before starting to ensure correct sizing.
👗 Construction Overview
- Top-down construction
- Bodice: Worked in rows or rounds with shaping
- Skirt: Switched to shell stitch, worked in rounds
- Sleeves: Optional cap sleeves or straps
- Back opening: A small buttoned opening at the back of the neck for easy wear
✏️ Step-by-Step Instructions: Shell Stitch Dress
🔹 Step 1: Bodice – Yoke (Top)
- Foundation Chain
CH 60 (for 2T size). Adjust in multiples of 4 + 4 for other sizes.
Join to work in the round (or leave opening for back closure). - Round 1:
DC in each chain around (60 DC), SL ST to join. - Round 2 (Set Raglan):
Work (DC, CH 1, DC) in every 15th st (place marker). These are your increase points.
Continue working DCs between these points. - Rounds 3–7 (or until desired yoke depth):
Increase at each marked stitch every round (V-stitch in CH-1 space), DC in all others.
👉 Tip: Check yoke size across shoulders and chest before continuing.
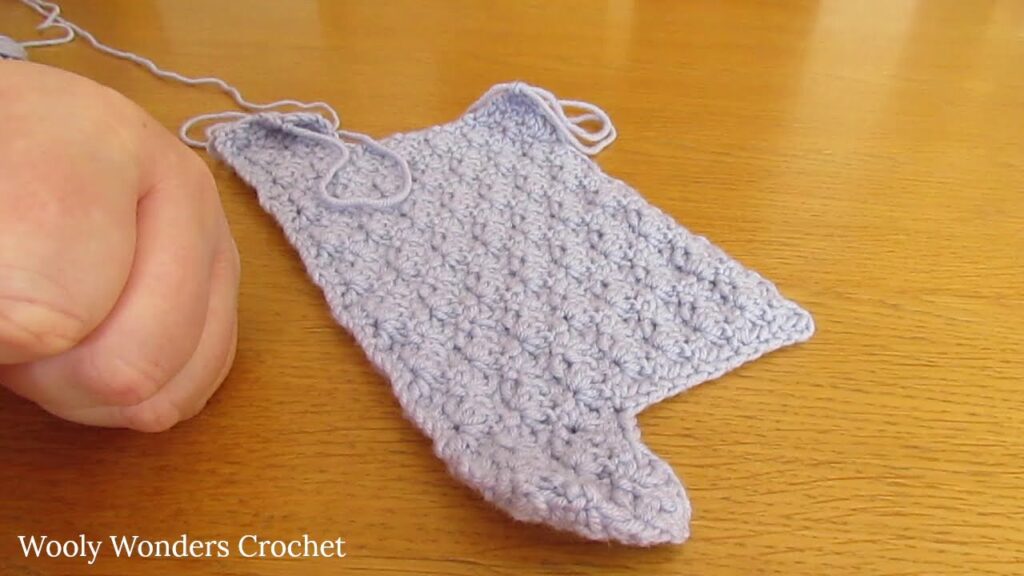
🔹 Step 2: Divide for Body
Once the yoke is wide enough to reach under the arms:
- Separate for sleeves and body:
- Work across front
- Skip sleeve stitches
- CH 4–6 for underarm
- Work back
- Skip second sleeve
- CH 4–6 again and SL ST to join round.
- From here, you’ll be working only on the body/skirt in the round.
🔹 Step 3: Start the Shell Stitch Skirt
- Transition Row:
DC around entire body round to create a smooth base for shells. - Shell Stitch Pattern:Round A:
- Skip 2 stitches, Shell (5 DC) in next stitch, skip 2 stitches, SC in next stitch, repeat around.
- SL ST to top of first DC in shell.
- Shell into center SC between shells, SC into center DC of shell below.
- Repeat this “staggered” placement.
- Repeat shell stitch rounds until the skirt reaches desired length:
- Tunic: 6–8″
- Knee-length: 10–14″
- Maxi: 18–20″
🔹 Step 4: Optional Sleeves or Straps
Short Sleeves (Cap):
- Attach yarn at underarm
- Work a few rounds of DC or shell stitch
- End with a SC edging
Straps (for summer dress):
- Attach yarn at front shoulder
- CH enough to reach the back
- SC back down
- Repeat for second strap and sew to back
🔹 Step 5: Finishing Touches
- Neckline Edging:
- Work 1 round of SC or picot edging around the neckline.
- Back Button Loop (if needed):
- Leave 2″ gap in back of yoke
- Add a chain loop on one side and sew button on the other
- Hem Edging:
- Optional final row of shells or scallops at bottom hem
- Weave in ends
- Gently block if desired
🎀 Customization Ideas
- Use multiple colors for stripes
- Add a tulle lining underneath for a party dress
- Crochet a small flower or bow to attach at the waist
- Add a ribbon tie at the back for shaping
🧼 Care Instructions
- Use gentle detergent
- Hand wash or machine wash on delicate
- Lay flat to dry
- Block gently if needed
💡 Tips for Success
- Mark your increase points clearly during the yoke
- Keep your shell stitch rows aligned by always placing shells into SCs
- If your fabric is puckering or flaring, adjust tension or hook size
- Try on the dress as you go (if possible) to ensure fit
🎉 Final Thoughts
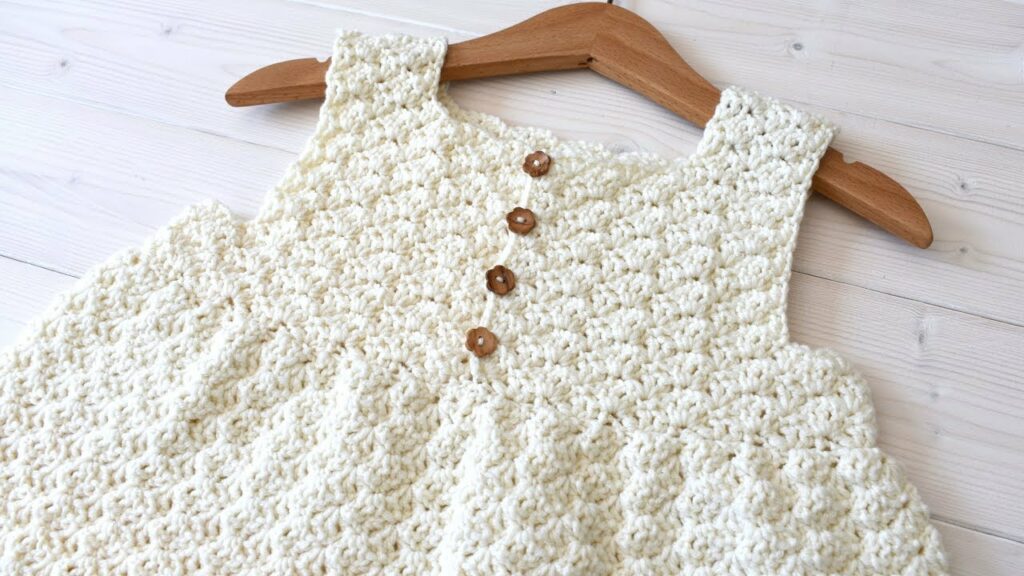
Crocheting a pretty shell stitch dress for a girl is a creative and meaningful way to craft something beautiful and wearable. The shell stitch gives the dress a light, delicate drape — perfect for special occasions or warm days.
Whether you’re making it as a gift or for a special event, this dress is sure to be treasured!
Video Tutorial: