 by
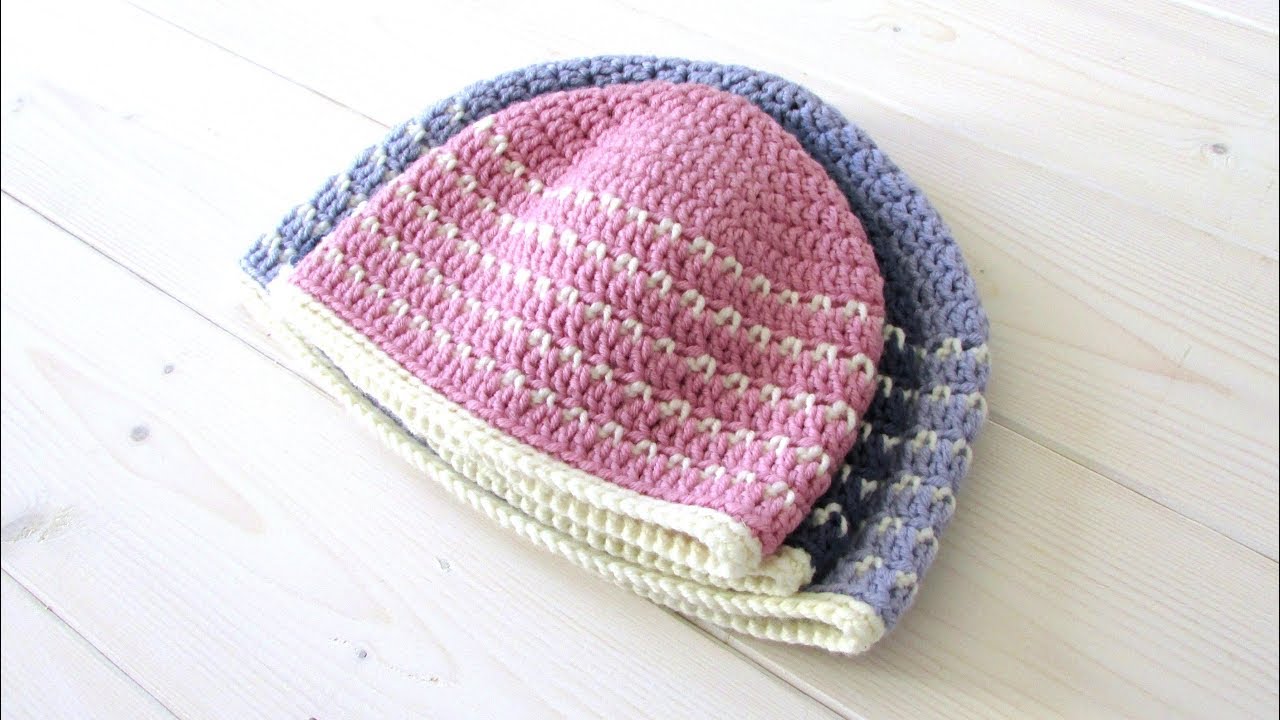
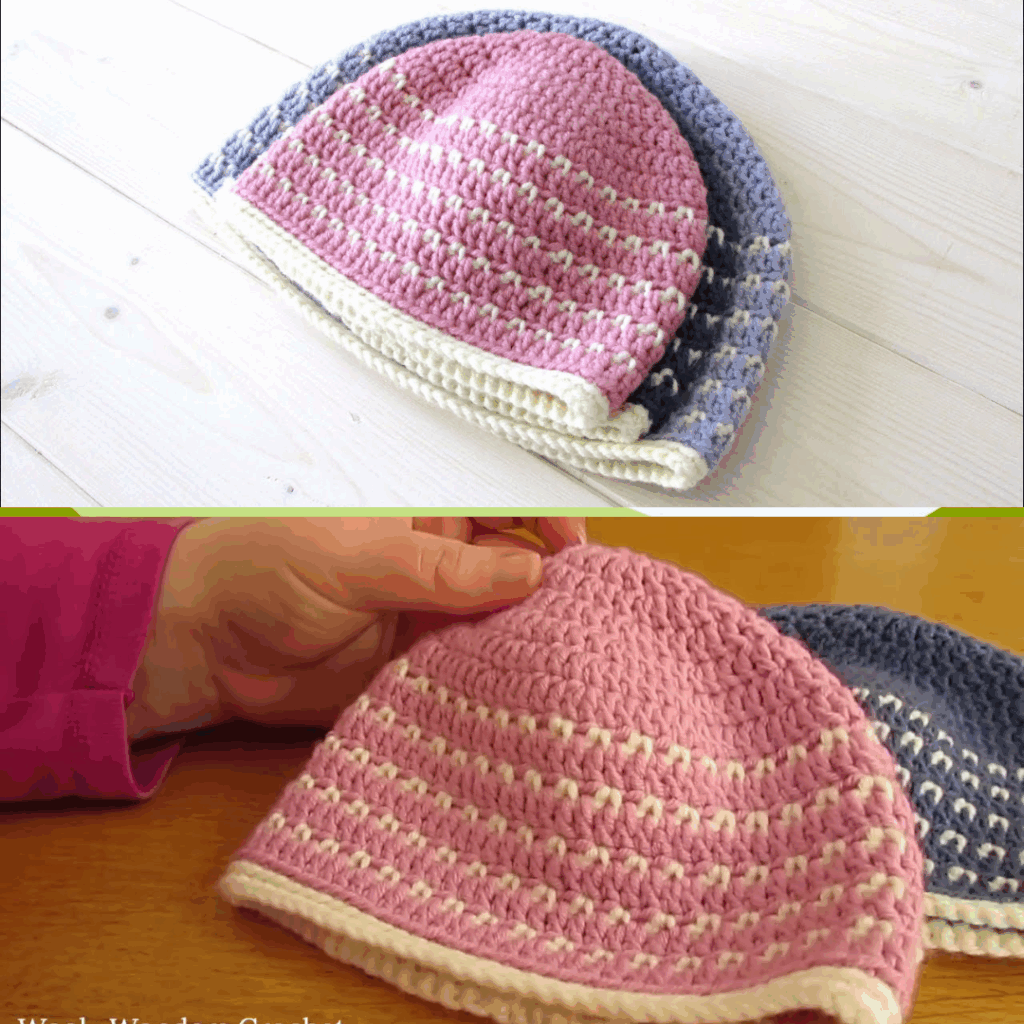
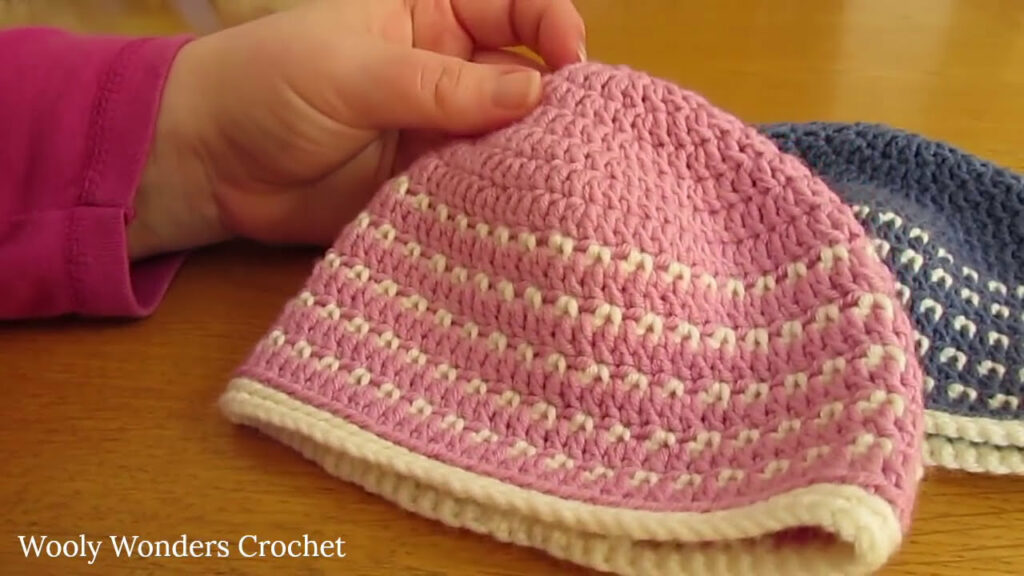
by Crocheting a fleck stitch hat is a fun and satisfying project, perfect for creating a textured, cozy beanie for fall or winter. The fleck stitch combines single and double crochet in a clever way to produce a speckled texture that’s dense but flexible—making it great for hats, scarves, or blankets.
Whether you’re a beginner or looking to expand your stitch skills, this tutorial will walk you through how to crochet a stylish fleck stitch hat.
🧵 What is the Fleck Stitch?
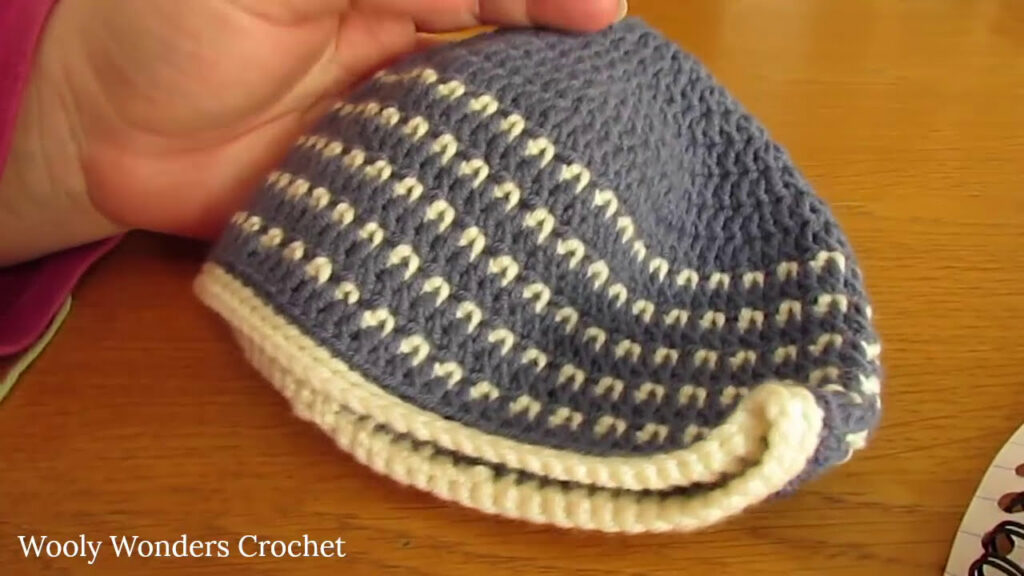
The fleck stitch (also called the grit stitch or lemon peel stitch) is created by alternating single crochet (sc) and double crochet (dc) across each row or round. In the next row, each stitch is placed into the opposite one from the previous row (i.e., a dc into an sc, and vice versa), creating a beautiful textured fabric that looks speckled or “flecked.”
📋 Materials Needed
| Item | Description |
|---|---|
| Yarn | Worsted weight yarn (category 4); approx. 150–200 yards |
| Hook | 5.0 mm (H-8) crochet hook |
| Tapestry Needle | For weaving in ends |
| Scissors | Small and sharp |
| Stitch Marker | Optional, to mark rounds if needed |
| Measuring Tape | To check sizing |
✅ Yarn Suggestions:
Cotton or acrylic blends work well. Use a solid or lightly variegated color to best show off the texture.
🧶 Stitches & Abbreviations
- Ch – Chain
- Sc – Single Crochet
- Dc – Double Crochet
- Sl St – Slip Stitch
- St(s) – Stitch(es)
📏 Sizing Guide
This pattern can be adjusted for any size by modifying the number of increases or hat height. Here’s a general size guide:
| Size | Head Circumference | Hat Height |
|---|---|---|
| Child | 18–20” | 7.5–8” |
| Teen/Adult Small | 21–22” | 8–8.5” |
| Adult Medium/Large | 22–24” | 9” |
🪡 Step-by-Step Instructions
This is a top-down hat worked in rounds, using the fleck stitch for the body of the hat.
🌀 Step 1: Start with a Magic Ring
Round 1:
Make a magic ring, ch 1, and work 10 sc into the ring. Join with a sl st to the first sc.
(10 sts)
🔄 Step 2: Increase the Crown
Round 2:
Ch 1, (sc, dc) in each st around. Join.
(20 sts)
Round 3:
Ch 1, (sc in next st, dc in next, then (sc, dc) in next st) – repeat around. Join.
(30 sts)
Round 4:
Ch 1, sc in next 2 sts, dc in next 2 sts, (sc, dc) in next – repeat. Join.
(40 sts)
Keep increasing in this manner, maintaining the fleck stitch pattern and spacing your increases evenly, until the crown diameter is the correct size for your intended head circumference. Here’s a quick diameter guide:
| Head Size | Crown Diameter |
|---|---|
| 20″ | ~6.25″ |
| 22″ | ~6.75″ |
| 23″ | ~7″ |
👒 Step 3: Work the Body of the Hat
Once the crown is the desired width:
Rounds 6+:
Ch 1, sc in dc, dc in sc all the way around. (This is the fleck stitch.)
Repeat this round until the hat reaches the desired height (excluding brim).
Tip: Use a stitch marker at the start of the round if you’re working in continuous rounds. If working in joined rounds, always join with a sl st and ch 1 before the next round.
📏 Step 4: Check Length
Measure from the top center to the current round to ensure proper height. Adjust as needed before adding the brim.
🧣 Step 5: Add a Brim (Optional)
You can add a brim using single crochet or ribbed stitches.
Option 1: Simple SC Brim
- Ch 1, sc in each st around. Repeat for 3–5 rounds for a classic clean brim.
Option 2: Ribbed Brim (Back Loop Only)
- Ch 1, sc in back loop only of each st around. Repeat for 5–7 rounds. This gives a stretchy, textured edge.
🧼 Step 6: Finishing Touches
- Fasten off and weave in all ends using a tapestry needle.
- Block lightly if needed (especially with natural fibers).
- Add a pom-pom, button, or label if desired.
🎨 Customization Ideas

- Two-tone look: Use a contrasting color for the brim.
- Pom-pom: Add a faux fur or yarn pom-pom on top.
- Cuffed style: Make the hat longer and fold up the brim.
- Color flecks: Use yarn with light speckles to enhance the texture.
✅ Final Tips
- Keep your stitch tension even—tight stitches will reduce stretch.
- Measure as you go to ensure proper fit.
- The fleck stitch is reversible—looks good inside and out!
🧵 Conclusion
The crochet fleck stitch hat is stylish, warm, and full of texture. It’s a fantastic beginner-friendly pattern that creates professional-looking results. Whether for gifting, selling, or wearing yourself, this cozy hat is sure to become a staple.
Video Tutorial: