by
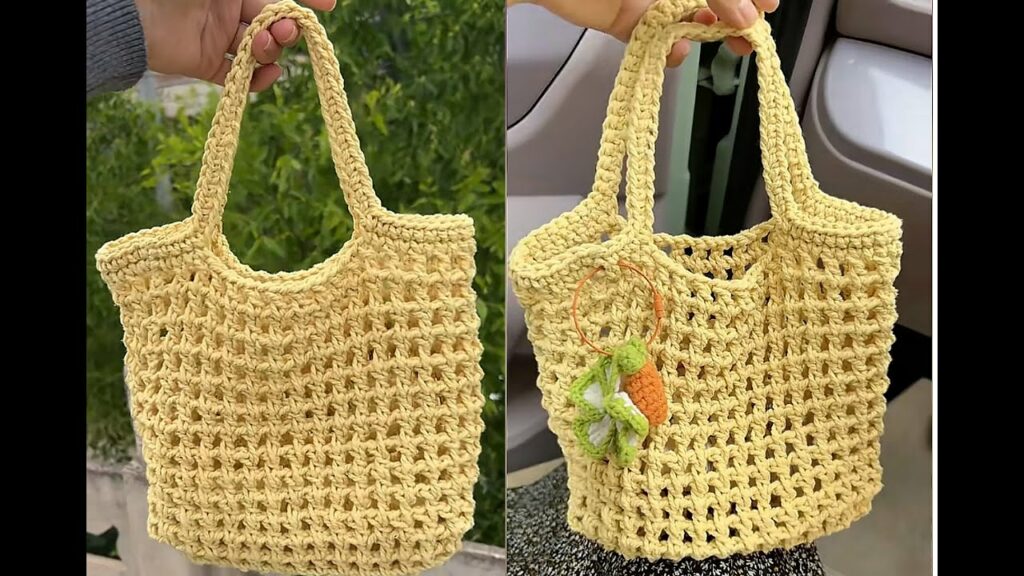
by If you’re new to crochet or just looking for a fast and relaxing project, this super easy crochet bag is perfect for you. It’s made with a simple rectangle, folded and seamed to create a functional and stylish tote or shoulder bag — no shaping or complicated techniques required!
This tutorial uses a basic crochet stitch, making it beginner-friendly, fun, and totally customizable.
👜 What Kind of Bag Are We Making?
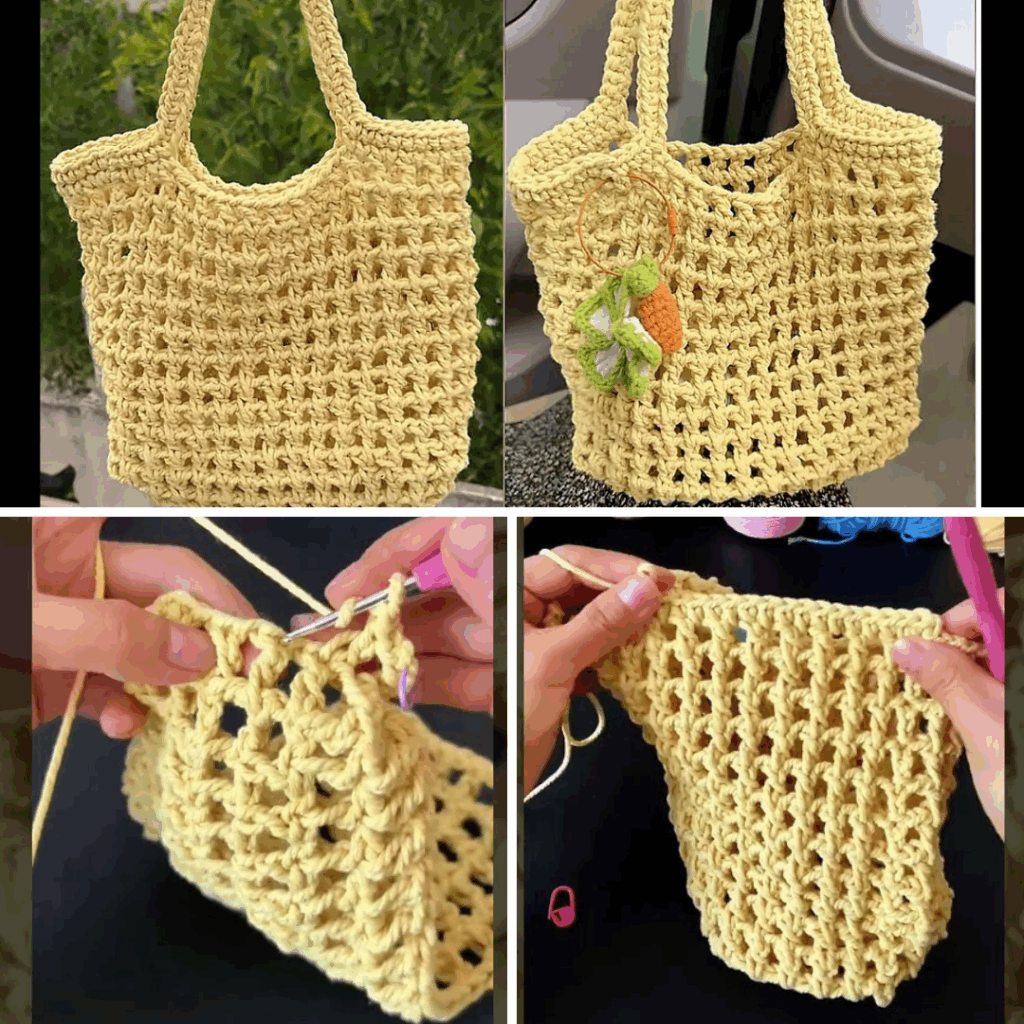
We’re making a simple tote-style bag using a rectangle. It’s a versatile base that you can use to create different types of bags (shoulder, tote, crossbody, or clutch), and you can easily adjust the size, color, and strap length to your taste.
🧵 Materials You’ll Need:
| Item | Description |
|---|---|
| Yarn | Worsted weight (Category 4) cotton or acrylic yarn – approx. 150–200g |
| Hook | 4.0 mm or 4.5 mm (adjust for your yarn) |
| Scissors | For trimming |
| Yarn needle | For weaving in ends and sewing |
| Optional | Lining fabric, magnetic snap/button, or strap clips |
📌 Skill Level: Absolute Beginner
You’ll Learn/Use:
- Chain stitch (ch)
- Single crochet (sc) or half double crochet (hdc)
- Working in rows
- Basic seaming
🧶 Step-by-Step Instructions
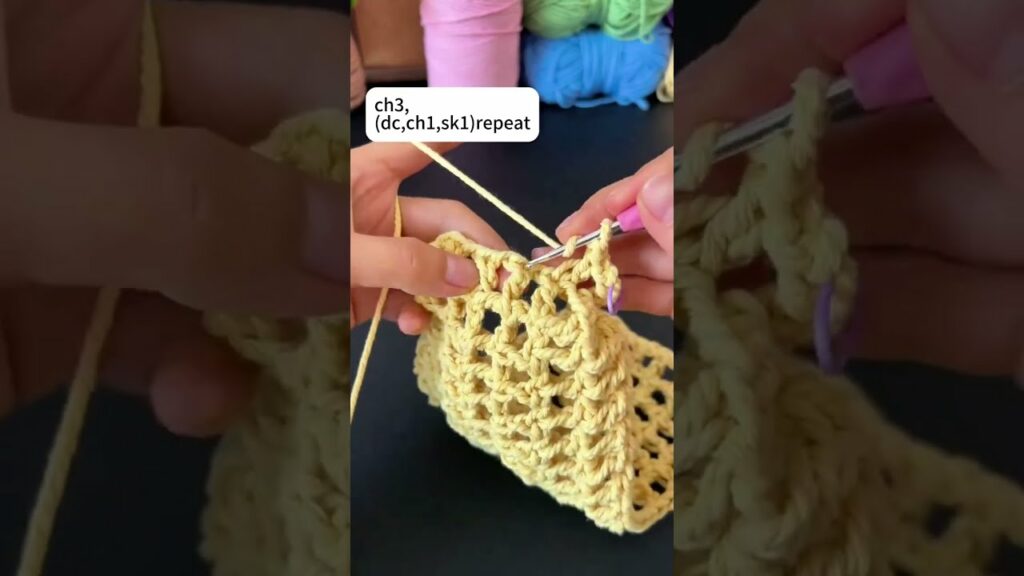
✅ Step 1: Choose Your Stitch
You can use any basic stitch, but here are 2 great beginner-friendly options:
🧡 Option A: Single Crochet (sc) — Tight and durable
- Great for structured bags
💙 Option B: Half Double Crochet (hdc) — Slightly taller and faster
- Soft and flexible, with good drape
👉 We’ll use Half Double Crochet in this tutorial for a softer and quicker bag.
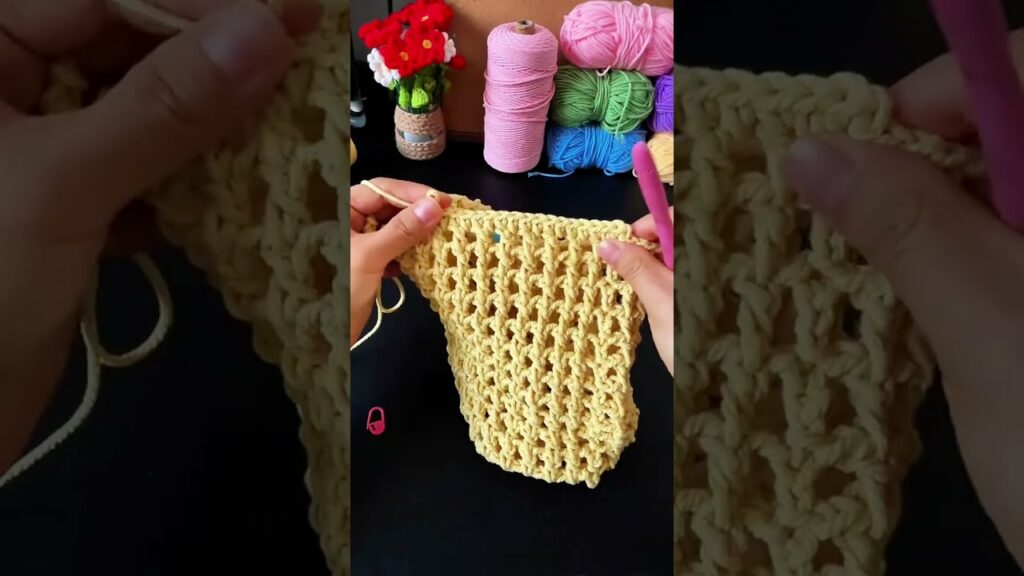
✅ Step 2: Crochet the Main Rectangle
🧮 Size Guide:
- Width = Bag width (e.g., 30 cm / 12″)
- Length = Double the desired height (e.g., 50–60 cm / 20–24″)
You can customize this based on the size of bag you want.
🪡 Instructions:
- Foundation Chain:
Ch 45–55 (for approx. 30–35 cm width) - Row 1:
Hdc in 2nd ch from hook and in each st across. Turn. - Row 2 and onward:
Ch 1, hdc in each stitch across. Turn. - Continue until your rectangle is approx. 50–60 cm long (or double your desired height).
- Fasten off and weave in ends.
✅ You now have a soft, sturdy rectangle — this is the body of your bag!
✅ Step 3: Fold and Seam the Bag
- Fold the rectangle in half so the short sides meet — this forms the bottom of the bag.
- Use slip stitch, single crochet, or a yarn needle to seam up the sides.
- Make sure to leave the top open!
- Weave in all loose ends neatly.
✅ Step 4: Add Straps
You have two easy strap options:
🪢 Option 1: Crocheted Handles
- Attach yarn to one top corner.
- Ch 50–70 (depending on desired length).
- Sl st or sc into opposite corner.
- Sc back along the chain for strength.
- Repeat for second strap.
👜 Option 2: Add a Long Strap
- Make a long i-cord or flat strap (e.g., ch 100+ and sc across).
- Attach to top corners for a crossbody or shoulder bag.
✅ Step 5: Optional Add-ons
You can customize your bag even more:
- Add a Button or Magnetic Snap: Sew to the inner top for closure.
- Lining: Cut and sew a simple fabric lining inside for durability.
- Decorations: Add tassels, patches, embroidery, or pom-poms for flair!
💡 Tips for Success
- Cotton yarn works best for structure and durability.
- If your edges curl, block the rectangle before assembling.
- Use stitch markers to keep your strap placement even.
- Customize with stripes or color blocking for fun styles.
🌟 Variations to Try
- 🎨 Colorful stripes – Use leftover yarn and change color every few rows.
- 🧺 Market bag style – Use mesh or openwork stitches for a breathable design.
- 🎁 Mini version – Use a smaller hook and thinner yarn for a coin purse or clutch.
- 🎀 Add a bow or heart appliqué to make it extra cute!
🧼 Care Instructions
- Hand wash or machine wash on gentle
- Lay flat to dry
- Avoid heavy items if the bag isn’t lined
📸 Final Thoughts
This super easy crochet bag is the perfect beginner project — it’s simple, stylish, and endlessly customizable. With just a basic stitch and a rectangle, you can create a handmade accessory you’ll love to use or give as a gift.