 by
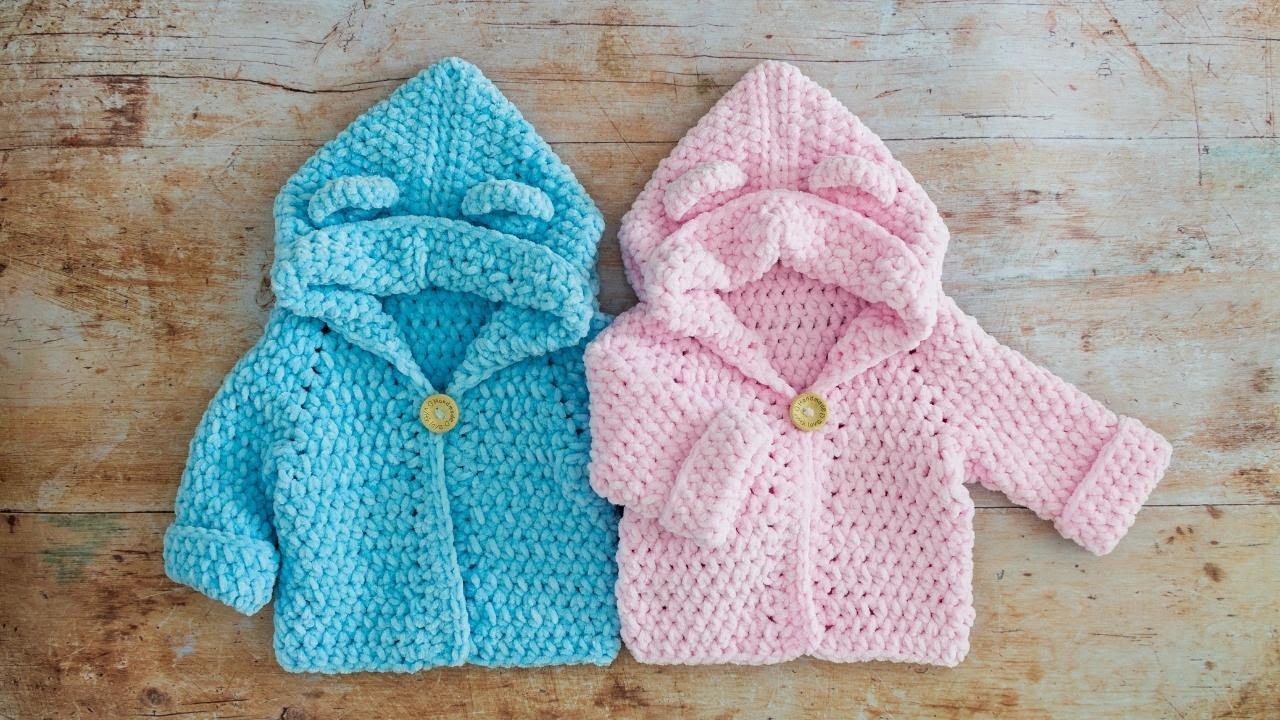
by Need a cozy baby gift in a hurry? Look no further! This FAST Crochet Baby Hoodie is the perfect last-minute project — quick to work up, simple in construction, and irresistibly cute. Whether you’re crafting for a baby shower, new arrival, or cool-weather outing, this baby hoodie is a fun, functional favorite.
Using basic stitches and worked top-down, it’s a seamless and beginner-friendly design that can be completed in just a few hours.
💖 Why You’ll Love This Baby Hoodie Pattern
✔️ Fast & beginner-friendly
✔️ Seamless design (top-down)
✔️ Gender-neutral style
✔️ Easy to customize
✔️ Perfect for gifts or photo props
🧵 Materials You’ll Need
| Material | Details |
|---|---|
| Yarn | Worsted weight (Category 4), ~400–500 yds for 0–6 months size |
| Hook | Size H/8 (5.0 mm) or size needed for gauge |
| Yarn needle | For weaving in ends |
| Scissors | For trimming yarn |
| Buttons | 3–5 baby-safe buttons (optional) |
| Stitch markers | Optional but helpful (especially for raglan shaping) |
| Measuring tape | For checking size during progress |
📏 Sizing Guide
| Size | Chest Circumference | Hoodie Length | Yarn Needed |
|---|---|---|---|
| 0–3 months | 16–17 in (40–43 cm) | 9 in | 400 yds |
| 3–6 months | 18 in (45 cm) | 10 in | 450 yds |
| 6–12 months | 20 in (50 cm) | 11 in | 500 yds |
Tip: You can easily adjust sizing by changing hook size or increasing rounds/rows.
🔁 Stitches & Abbreviations (US Terms)
- ch – chain
- sl st – slip stitch
- sc – single crochet
- hdc – half double crochet
- dc – double crochet
- inc – increase (2 stitches in one stitch)
- st – stitch(es)
Video Tutorial Pattern 1:
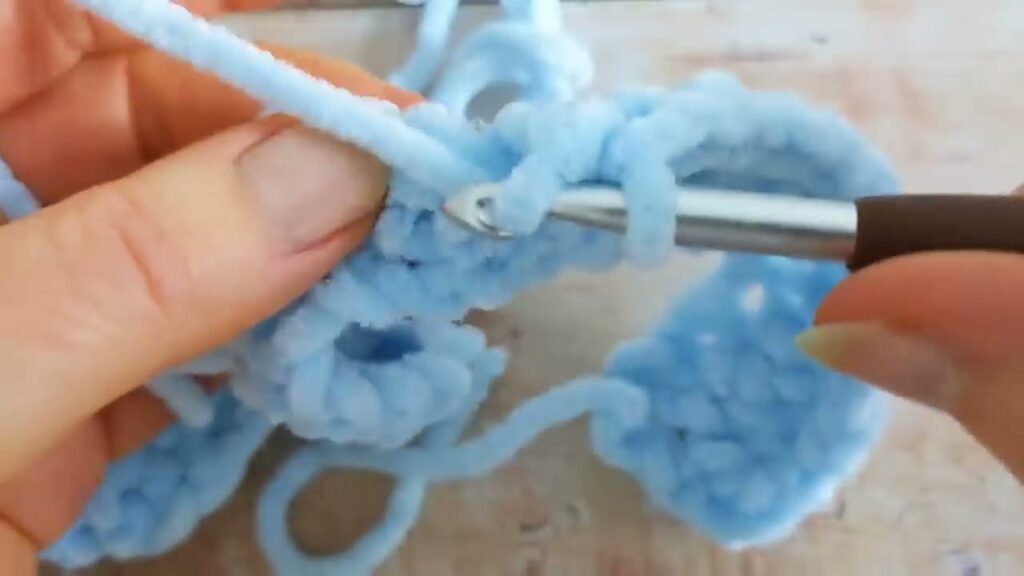
👕 PART 1: Make the Yoke (Top-Down Raglan)
This hoodie is worked in one piece starting from the neckline, creating a seamless yoke and body.
Step 1: Foundation Chain
- Ch 44 (for 0–3 months)
- Adjust in multiples of 4 for larger sizes
Step 2: Row 1 – Setup Row
- Dc in 4th ch from hook and across. (42 dc)
Turn.
Step 3: Row 2 – Raglan Increase
- Ch 2 (counts as dc), dc to marker, inc in marked st, repeat 4 times, dc to end.
(Place stitch markers after first 6 dc, next 10, next 10, next 6 — remaining sts are fronts and back.)
Step 4: Rows 3–8 – Continue Raglan
- Repeat Row 2, increasing at each raglan point.
- Stop increasing when:
- Armhole depth is ~4″ (0–3 months)
- Or when you have enough stitches to go around baby’s chest
👚 PART 2: Divide for Body and Sleeves
- Skip sleeve stitches, connect front and back with 4 chains under each arm.
- Continue working in dc rows for the body until desired length (7–9” from shoulder).
- Optional: Add a ribbed hem with fpdc/bpdc or simple sc edge.
🧤 PART 3: Make the Sleeves
- Rejoin yarn at underarm.
- Work dc rounds around the sleeve opening.
- Work even or decrease slightly toward wrist.
- End with 1–2 rounds of sc or ribbing.
- Repeat for second sleeve.
🧢 PART 4: Add the Hood
Step 1: Mark Center Back Neck
- Count and mark about 24–28 stitches along the neckline for hood base.
Step 2: Hood Rows

- Row 1: Attach yarn to one end, ch 2, dc across to other end.
- Continue dc rows, turning at each end, until hood measures:
- 6″ tall for 0–3 months
- 6.5–7″ for larger sizes
Step 3: Shape and Finish
- Fold hood in half at the top.
- Use sl st or whipstitch to seam top shut.
- Optional: Add a pom-pom or ears for a playful touch!
🪡 PART 5: Front Edging & Buttons
- Work 1–2 rows of sc along the front edge and hood opening.
- On one side, create buttonholes:
- (sc, ch 2, skip 2, sc) evenly for 3–5 buttonholes
- On the opposite side, sew buttons securely to match placement.
🎀 Optional Add-ons
- 🐻 Add ears for a bear-style hoodie
- 🎨 Use two colors – one for body, one for hood or edging
- 🧶 Create a matching set with booties or pants
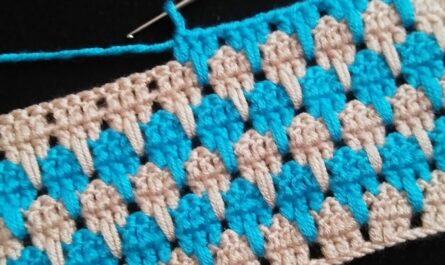
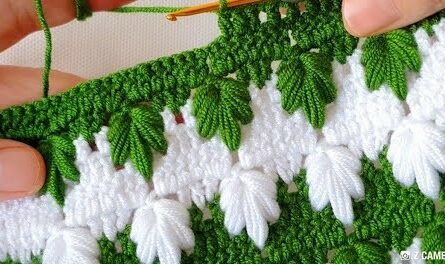
- 🧵 Use textured stitches like the bobble, moss, or waffle stitch for variety
🧺 Care Tips
- Use only machine-washable yarn for baby items
- Wash on delicate or gentle cycle
- Lay flat to dry to maintain shape
📋 Quick Pattern Recap (0–3 Months)
- Ch 44, work raglan-style increases for yoke (Rows 1–8)
- Divide body and sleeves, continue dc rows for hoodie body
- Add sleeves – dc rounds, taper slightly
- Add hood – dc rows, seam top closed
- Add edging + buttons
Done in under 4–5 hours (faster once you’ve made one)!
💡 Pro Tips for Success
- Use stitch markers at raglan corners to track increases
- Try on as you go (or measure against a baby sweater) to adjust sizing
- Change stitch type for a fun twist – try hdc or sc for a tighter weave
- Keep it simple! Fast projects are most fun when stress-free 💖
🎁 Make It a Set
Make your hoodie gift even more special by pairing it with:
- 👶 Matching booties
- 🧣 A baby beanie or earflap hat
- 🧸 A handmade toy or rattle
🧡 Final Thoughts
This FAST Crochet Baby Hoodie is a must-have project in every crocheter’s baby gift arsenal. It’s soft, snuggly, and stylish — and best of all, it’s quick! Whether you’re a beginner looking for a practical project or a seasoned pro short on time, this hoodie checks all the boxes.
So grab your hook, pick your favorite baby yarn, and get ready to crochet a hoodie that’s as sweet as the little one who’ll wear it.
Video Tutorial Pattern2: