 by
by Here is a clear, detailed, beginner-friendly tutorial written especially for someone new to Tunisian crochet. You can use this for a blog post, pattern page, or learning guide.
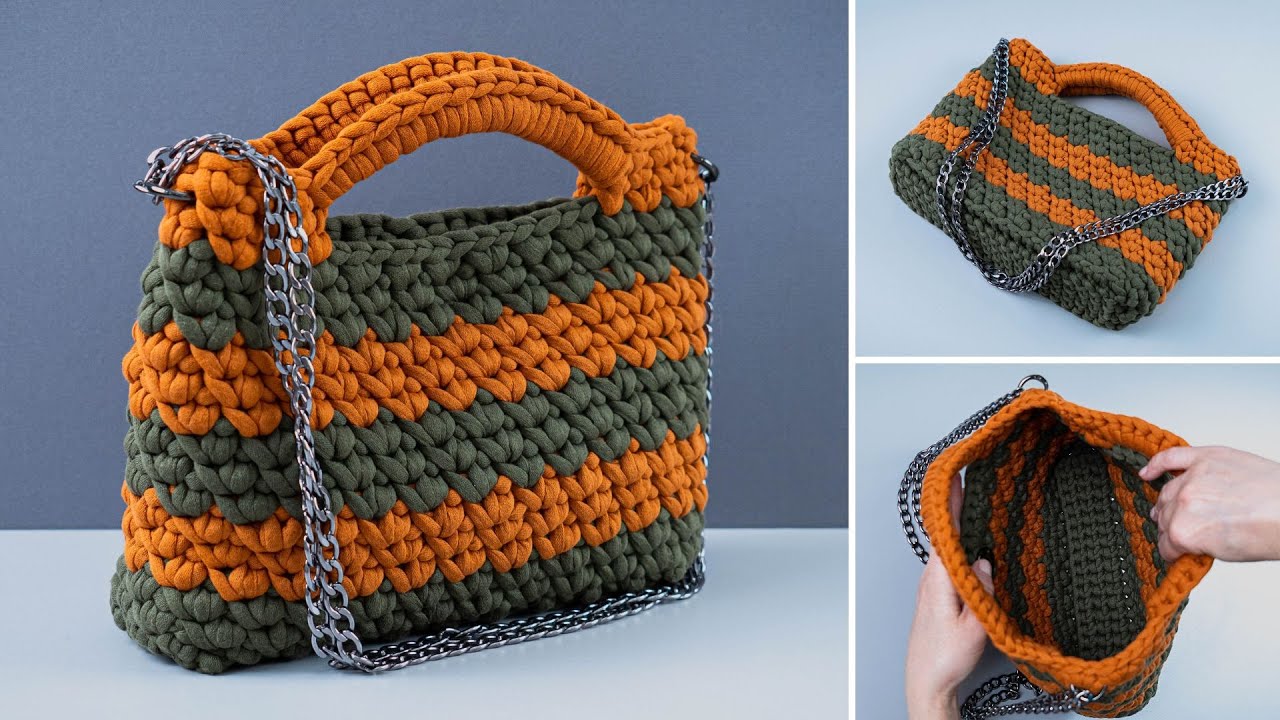
How to Make an Easy Crochet Bag with Tunisian Style
A Step-by-Step Tutorial for Beginners
Tunisian crochet is a unique technique that combines the look of knitting with the simplicity of crochet. It creates a thick, sturdy fabric, making it perfect for bags. This easy Tunisian-style crochet bag is beginner-friendly and works up beautifully with just one basic stitch.
Materials You Will Need
Gather your supplies before starting:
- Yarn: Medium-weight (Category 4) cotton yarn
(Cotton is highly recommended for durability and structure) - Tunisian Crochet Hook: 6.0 mm or 6.5 mm
(A regular crochet hook can work for small projects) - Scissors
- Yarn Needle
- Stitch Markers (optional)
Tunisian Crochet Stitch Used
This bag uses Tunisian Simple Stitch (TSS) — the best stitch for beginners.
Basic Tunisian Crochet Steps:
- Forward Pass: Pick up loops across the row
- Return Pass: Yarn over and pull through loops to close the row
No turning after each row like regular crochet.
Easy Tunisian Crochet Bag Tutorial
This bag is made as a flat rectangle, then folded and sewn into a bag.
Step 1: Create the Foundation Chain
- Chain 36 stitches
(Add or remove chains for a wider or narrower bag)
Step 2: Set Up the First Row
Forward Pass:
- Insert hook into the second chain from the hook
- Yarn over and pull up a loop
- Continue across the chain, keeping all loops on the hook
Return Pass:
- Yarn over, pull through 1 loop
- Yarn over, pull through 2 loops repeatedly until one loop remains
This completes Row 1.
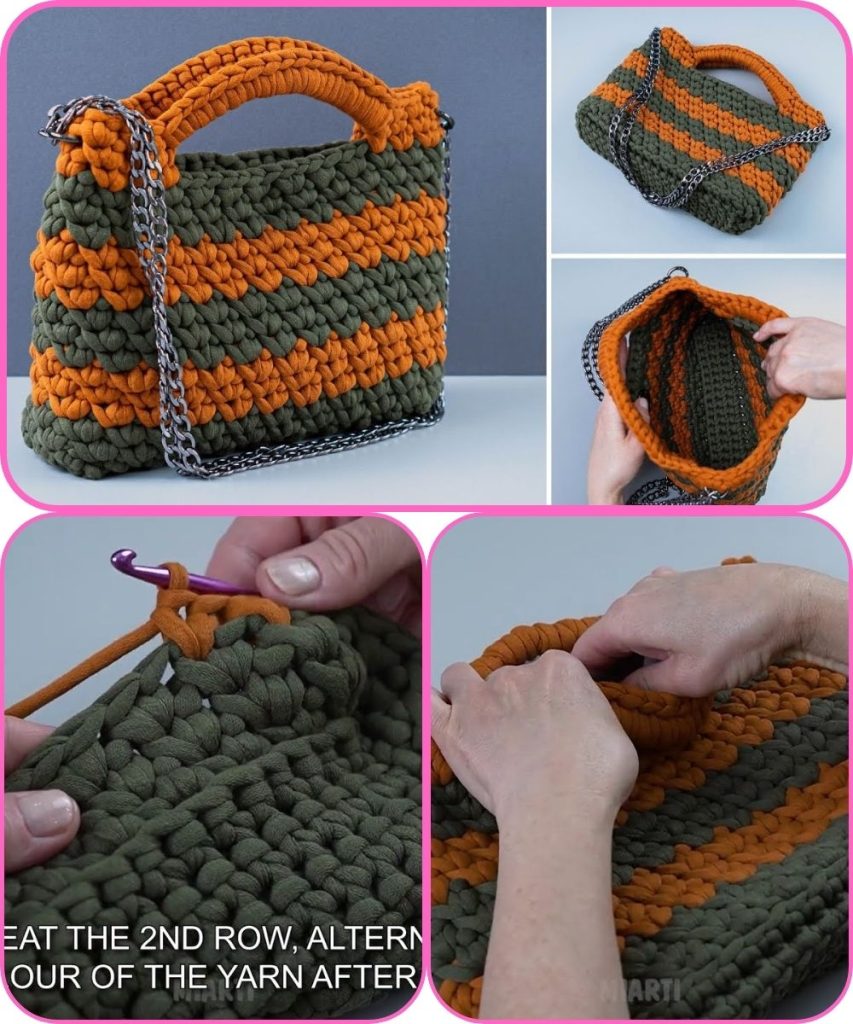
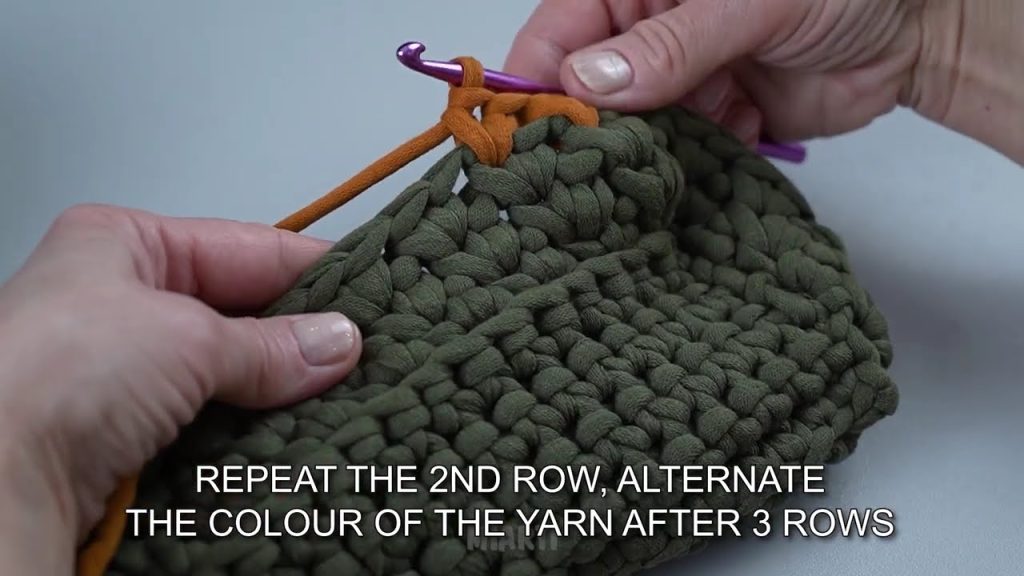
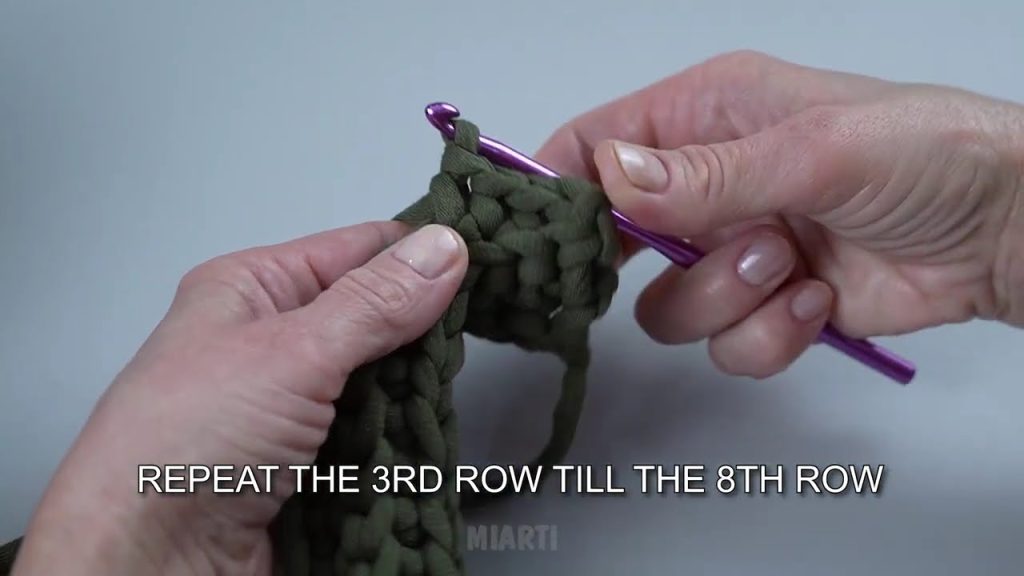
Step 3: Work Tunisian Simple Stitch Rows
Forward Pass:
- Insert hook under the vertical bar of the next stitch
- Yarn over and pull up a loop
- Continue across the row
Return Pass:
- Yarn over, pull through 1 loop
- Yarn over, pull through 2 loops across
Repeat these rows until the rectangle measures:
- 14–16 inches tall for a medium bag
Tip: Tunisian fabric curls—this is normal and will flatten after finishing.
Step 4: Bind Off the Last Row
- Insert hook under the vertical bar
- Yarn over and pull through both loops
- Repeat across the row
- Fasten off
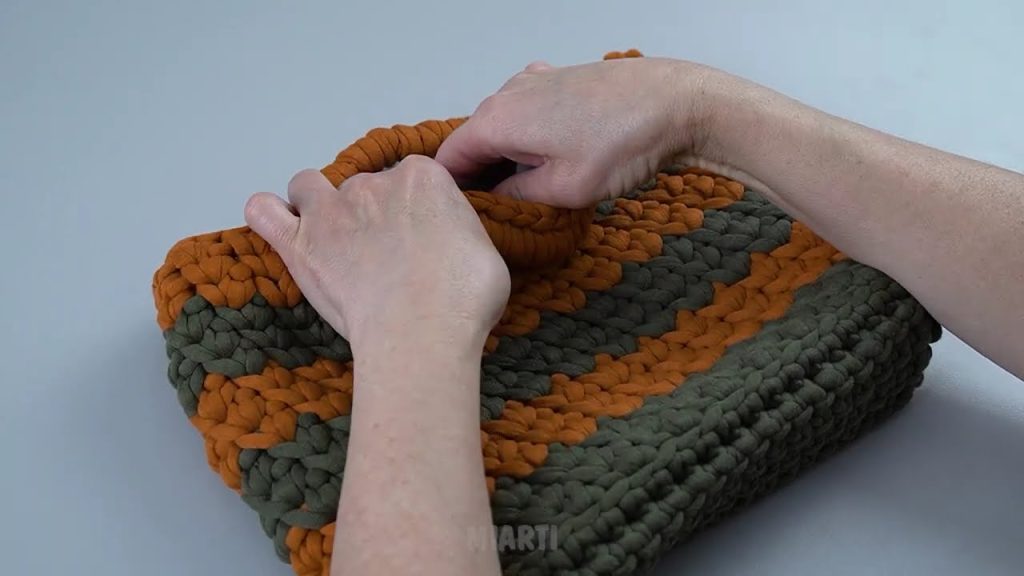
Step 5: Fold and Assemble the Bag
- Fold the rectangle in half with right sides facing
- Use single crochet or whip stitch to sew the sides together
- Turn the bag right-side out
Step 6: Create the Bag Handles
Option 1: Crochet Handles
- Attach yarn to one side seam
- Chain 40–50 stitches
- Attach to the opposite side
- Single crochet back across the chain for strength
- Repeat for second handle
Option 2: Tunisian Strap
- Work a narrow Tunisian strip
- Sew securely to both sides of the bag
Step 7: Finish the Bag
- Weave in all loose ends
- Optional: Add a fabric lining, tassel, or button closure
Your easy Tunisian crochet bag is complete!
Beginner Tips for Tunisian Crochet
- Use a larger hook to prevent tight stitches
- Keep loops loose on the hook
- Don’t worry about curling—it’s normal
- Count stitches to keep edges straight
Easy Customization Ideas
Once you’re comfortable, try:
Buttons
- Using two colors for stripes
- Adding a drawstring top
- Mixing Tunisian simple stitch with knit stitch
- Making a mini or oversized tote
Why This Bag Is Perfect for Beginners
Only one Tunisian stitch
Strong, thick fabric
Simple construction
Practical everyday use
Tunisian crochet is easy to learn and incredibly satisfying. With this tutorial, you’ll quickly gain confidence and create beautiful handmade bags.
Watch tutorial: