by
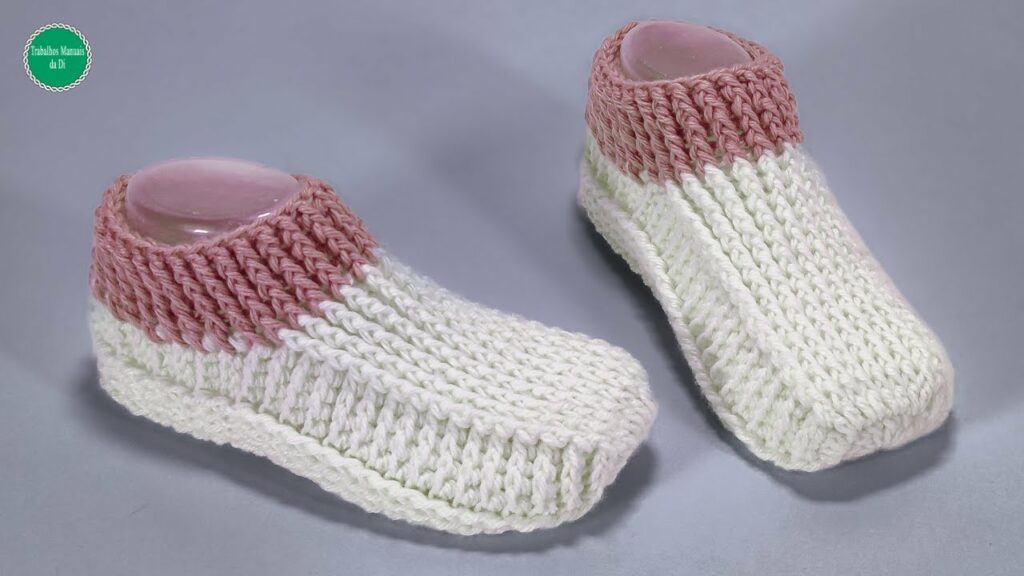
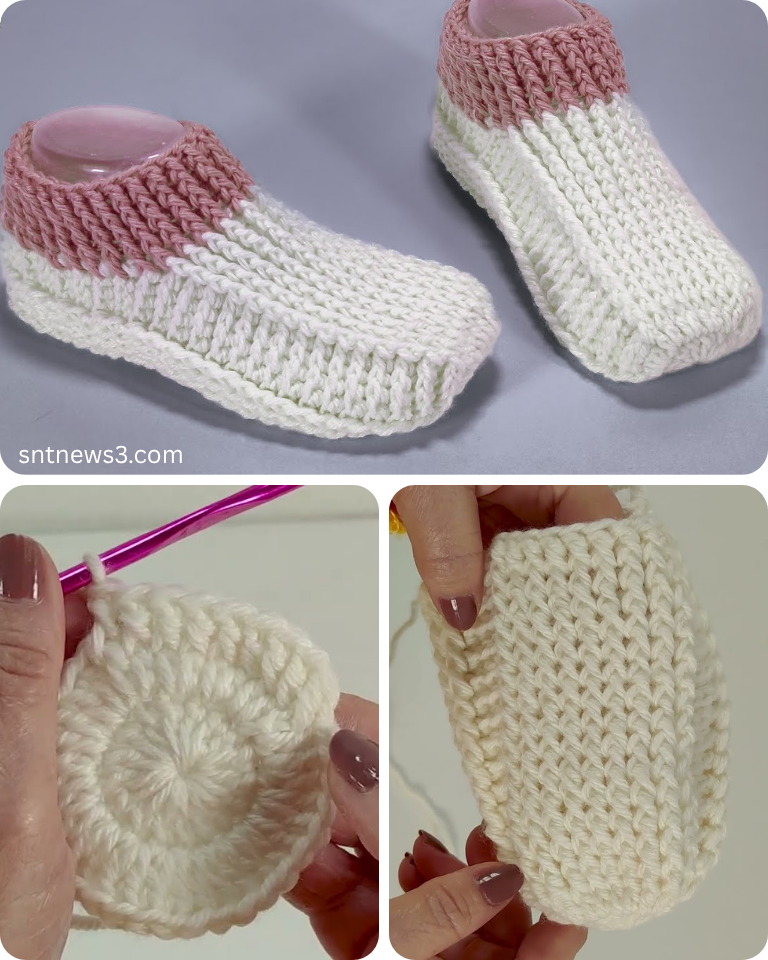
by Crocheting your own slippers is a deeply satisfying project that combines creativity, comfort, and practicality. Whether you’re looking to warm your feet during chilly months, make personalized gifts, or simply enjoy a relaxing handmade hobby, crochet slippers offer all that and more. This step-by-step tutorial will guide you through crafting a pair of custom-fit, cozy slippers that stand out with both style and comfort.
Why Crochet Slippers?
Crochet slippers are a favorite among DIY lovers for good reason:
- Custom Fit: You can tailor them to your exact size.
- One-of-a-Kind: Choose your colors, stitches, and embellishments.
- Beginner to Advanced Friendly: With patterns ranging from basic stitches to intricate textures, there’s something for everyone.
- Practical Gift Idea: Handmade slippers make heartfelt gifts that are both personal and useful.
Materials You’ll Need
To get started, gather these basic supplies:
- Worsted weight yarn (size 4) – Wool or wool-blend for warmth, acrylic for easy washing.
- Crochet hook – Typically size H/8 (5.0 mm) or I/9 (5.5 mm).
- Tapestry/yarn needle – For sewing and weaving in ends.
- Scissors
- Stitch markers (optional, but helpful for keeping track of rounds)
- Non-slip soles or fabric paint (optional for added grip)
Skills Required
This tutorial uses basic stitches and techniques:
- Slip Knot
- Chain (ch)
- Single Crochet (sc)
- Half Double Crochet (hdc)
- Increasing and Decreasing
- Seaming (slip stitch or whip stitch)
If you’re new to crochet, don’t worry—this guide explains each step clearly and simply.
Step-by-Step Tutorial: Basic Crochet Slippers
These slippers are worked from the toe up in the round, then shaped and seamed to form the heel.
Step 1: Make the Toe
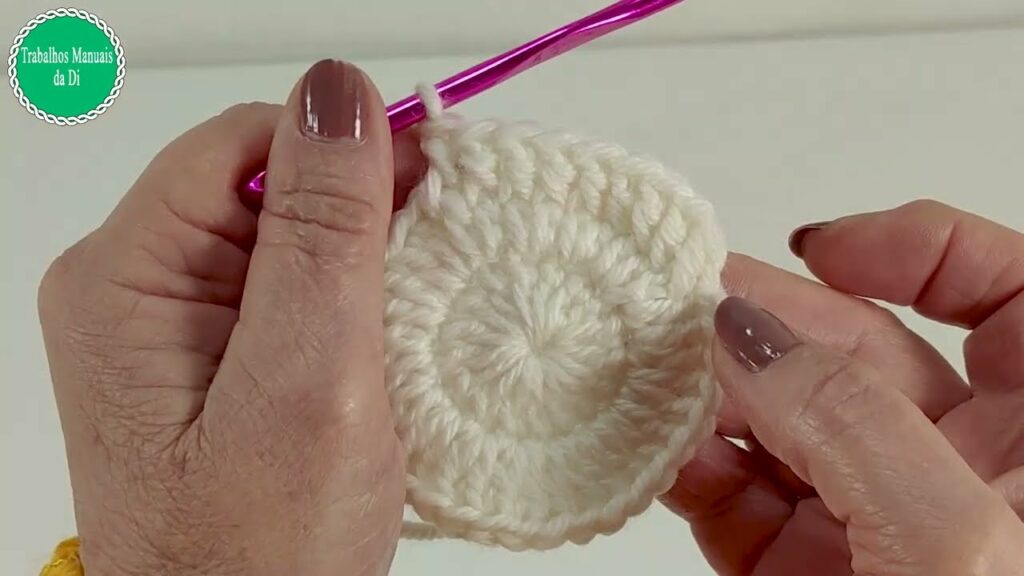
- Start with a Magic Ring, or chain 4 and slip stitch to form a ring.
- Round 1: Ch 1, work 6 sc into the ring. Join with a sl st to the first sc. (6 stitches)
- Round 2: Ch 1, 2 sc in each stitch around. Join. (12 stitches)
- Round 3: Ch 1, 1 sc in next stitch, 2 sc in next; repeat around. Join. (18 stitches)
- Round 4: Ch 1, 1 sc in next 2 stitches, 2 sc in next; repeat around. Join. (24 stitches)
Repeat increasing rounds (adding 6 stitches each time) until your circle is wide enough to cover the front half of your foot. For most adults, stopping at 36–42 stitches will suffice.
Step 2: Shape the Foot
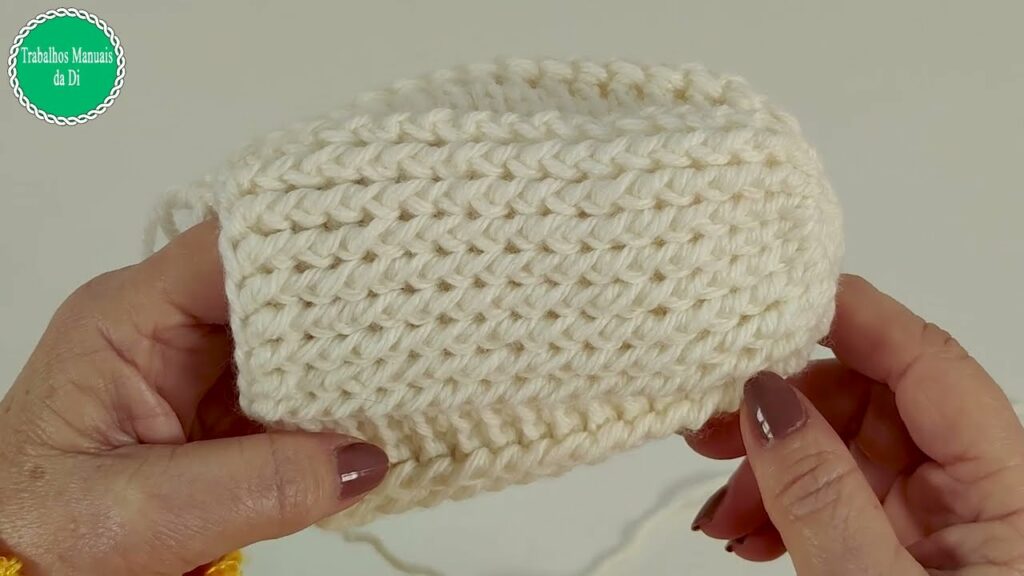
- Round X (depending on your stitch count): Ch 1, sc in each stitch around. Join.
Repeat this round until the piece measures from the tip of your toes to the start of your heel. Try it on as you go for a snug fit.
Step 3: Form the Heel
- Heel Rows: Stop working in the round. Instead, work back and forth across only half the stitches.
- For example, if you have 40 stitches, work across 20.
- Ch 1, sc in each of the 20 stitches, turn.
- Repeat for about 10–12 rows, or until it wraps comfortably around your heel.
Step 4: Seam the Heel
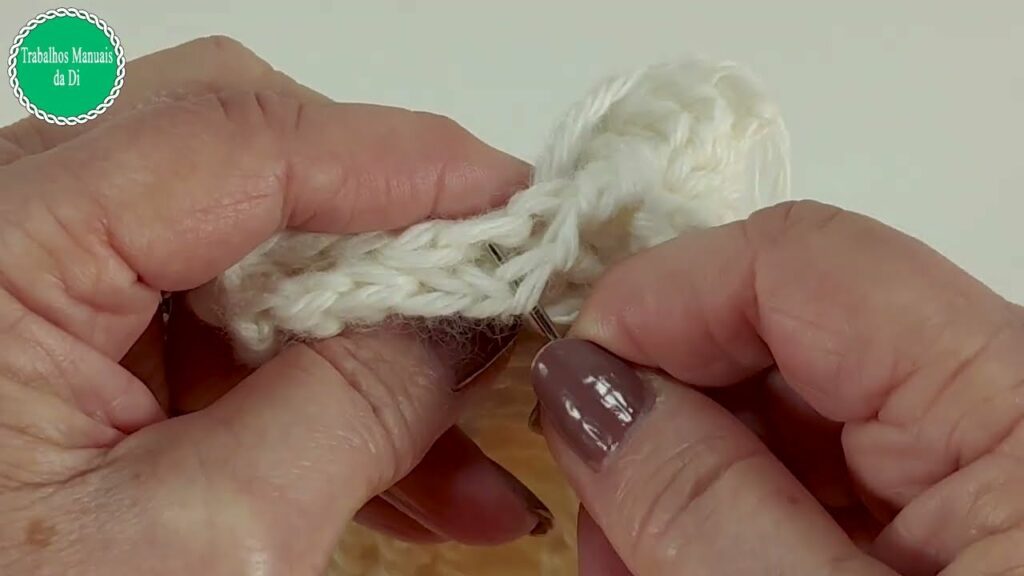
- Fold the heel in half vertically.
- Use your yarn needle or hook to seam the edges together using a slip stitch or whip stitch.
- Fasten off and weave in your ends.
Optional: Add a Cuff
- Attach yarn at the ankle opening.
- Work a round of hdc stitches evenly around.
- Repeat for 3–5 rounds for a cuff. Try a ribbing effect by working front and back post double crochet (fpdc/bpdc) if you’re more advanced.
Customize Your Slippers
Once you’ve mastered the basic shape, the possibilities are endless:
Color Changes:
- Use variegated yarn for an ombré look.
- Switch colors for stripes or color blocking.
Textures:
- Use puff stitches or bobbles for added coziness.
- Add a cable or basketweave pattern for extra flair.
Personal Touches:
- Add buttons, bows, or appliqués.
- Stitch in initials or motifs.

Practical Add-Ons:
- Glue on felt soles or paint the bottom with fabric puff paint for a non-slip finish.
Tips for Success
- Try as you go: Slippers are all about fit. Regularly test the slipper on your foot while crocheting.
- Make both slippers at once: Work each stage of both slippers in tandem to ensure symmetry.
- Use tight stitches: A dense fabric will help your slippers last longer and hold shape.
- Adjust for different sizes: Add or subtract rounds for length and stitches for width.
Crochet Slipper Size Guide (Approximate)
| US Shoe Size | Starting Stitch Count | Foot Length (in) |
|---|---|---|
| 5–6 | 30–32 stitches | 9” |
| 7–8 | 34–36 stitches | 9.5” |
| 9–10 | 38–40 stitches | 10” |
| 11–12 | 42–44 stitches | 10.5”–11” |
Use this as a reference, but always test and customize.
Video tutorial:
Conclusion
Crochet slippers are the ultimate blend of simplicity and luxury. With this step-by-step tutorial, you now have everything you need to create your own pair of stylish, comfortable, and completely unique slippers. Whether you’re keeping your feet toasty at home or gifting a loved one something handmade, these cozy creations will be cherished.
So grab your yarn, pick your favorite hook, and get stitching—the comfort of handmade warmth awaits!