There’s a special magic in a handmade garment for a newborn, a tangible expression of love woven into every stitch. A beautiful crocheted baby dress, especially for the tiny 0-3 month size, makes an exquisite gift or a cherished heirloom. It’s not as daunting as it might seem; by breaking down the process into manageable steps, even a confident beginner can create a stunning piece.
This detailed, step-by-step guide will walk you through the fundamental process of crocheting a beautiful and elegant baby dress, focusing on a common, beginner-friendly top-down, seamless raglan yoke design that is both comfortable for baby and lovely to behold.
Before You Begin: Gathering Your Tools & Materials
Choosing the right materials is the first step to creating a beautiful dress.
- Yarn:
- Fiber: For 0-3 months, prioritize softness, breathability, and washability.
- 100% Cotton: Excellent for softness, absorbency, and breathability, making it ideal for delicate skin and warmer climates. Look for mercerized cotton for a subtle sheen and great stitch definition.
- Superwash Merino Wool: Incredibly soft, warm yet breathable, and machine washable.
- Baby-Specific Acrylic: Modern acrylics can be very soft, durable, hypoallergenic, and highly washable.
- Weight: DK (Double Knitting) or Sport Weight are highly recommended. They work up at a good pace, provide nice drape, and allow stitch patterns to show well.
- Color: Soft pastels, gentle neutrals (white, ivory, cream, soft grey), or a subtly self-striping yarn can create beautiful effects with minimal effort.
- Quantity: A small dress for 0-3 months usually requires 150-250 yards (approx. 130-230 meters) of DK/Sport weight yarn. Always check your specific pattern.
- Fiber: For 0-3 months, prioritize softness, breathability, and washability.
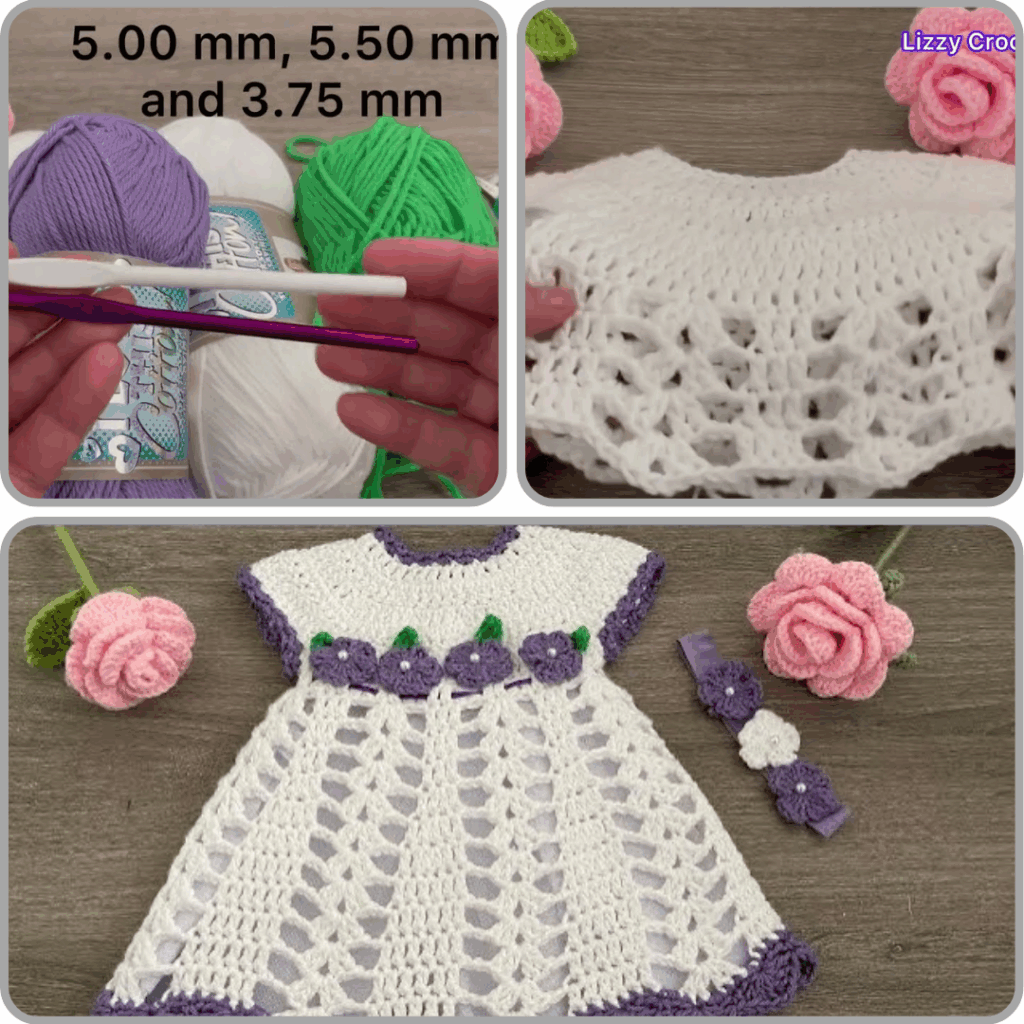
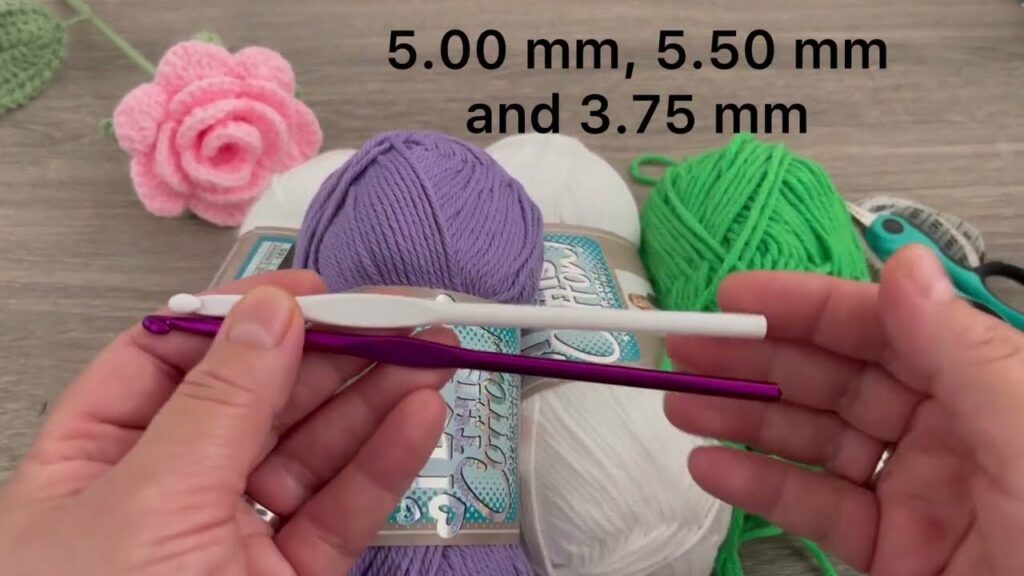
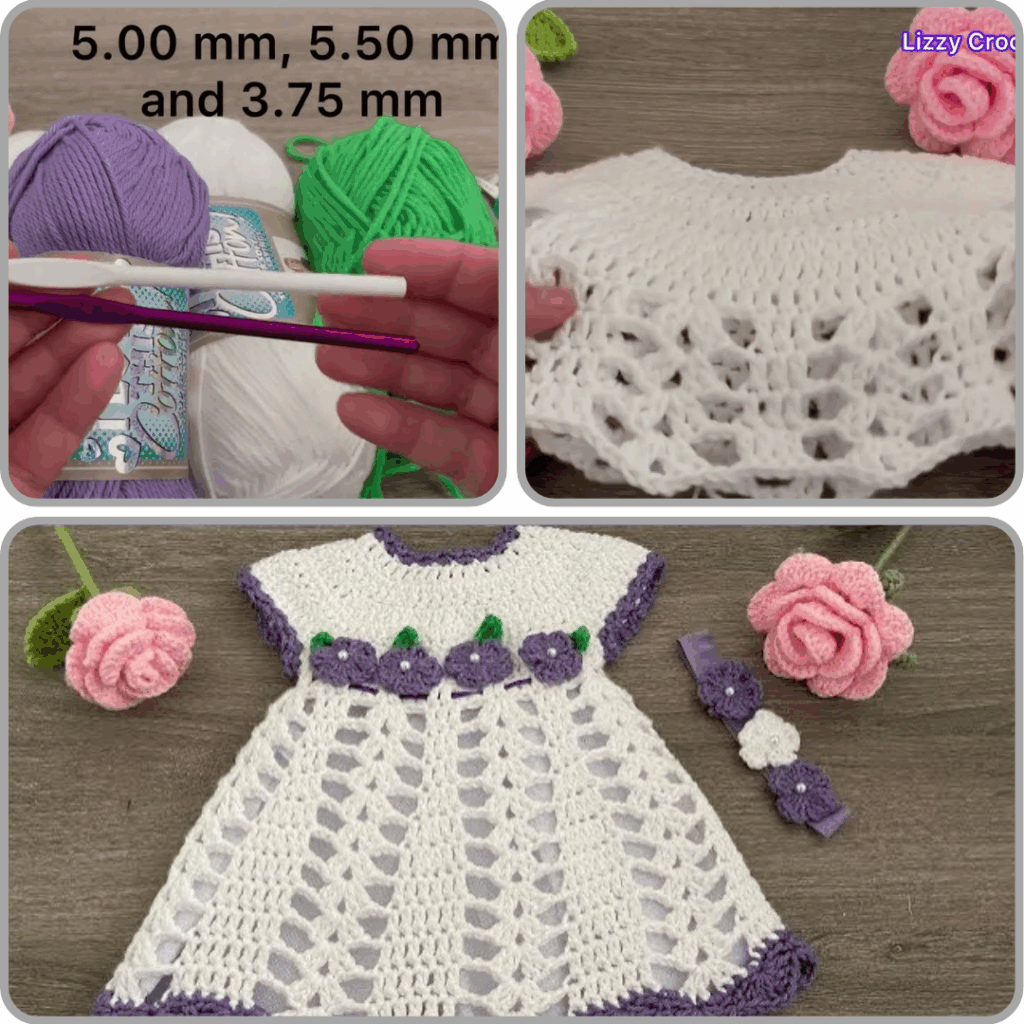
- Crochet Hook:
- The yarn label will suggest a hook size (e.g., 3.5mm, 4.0mm, 4.5mm).
- Crucial: The correct hook size for your gauge is more important than the label’s suggestion. You may need to go up or down a hook size to match the pattern’s gauge.
- Other Notions:
- Stitch Markers: Absolutely essential for marking raglan lines, beginning of rounds, and buttonhole placements.
- Tapestry Needle: For weaving in ends neatly.
- Scissors: For cutting yarn.
- Small Buttons: 3-5 small, flat buttons (approx. 0.5 inch / 1.25 cm). Choose elegant ones (pearl, mother-of-pearl). Make sure they are securely attached when done.
- Measuring Tape: For checking gauge and dimensions.
Understanding 0-3 Month Sizing & Gauge (The Non-Negotiable Step!)
For a garment to fit properly, especially for tiny babies, gauge is everything. A “0-3 month” size typically fits a chest circumference of around 16-18 inches (40-45 cm). Your gauge ensures your dress matches these dimensions.
How to Make a Gauge Swatch:
- Chain: Chain about 20-25 stitches, plus 2-3 turning chains (as per your pattern’s main stitch).
- Work: Work a square of at least 4×4 inches (10×10 cm) in the main stitch pattern you’ll be using for the dress (e.g., double crochet rows).
- Finish & Wash: Fasten off. Crucially, wash and block your swatch exactly as you plan to treat the finished dress. This relaxes the fibers and shows the true stitch size.
- Measure: Once dry, lay the swatch flat. Place a ruler over the center and count how many stitches fit within 4 inches (10 cm) and how many rows fit within 4 inches (10 cm).
- Adjust:
- If you have more stitches per inch than the pattern states (your work is too tight), go up half a hook size and try again.
- If you have fewer stitches per inch than the pattern states (your work is too loose), go down half a hook size and try again.
- Keep swatching until your gauge matches the pattern’s recommendation.
The “Beautiful Baby Dress” Style: Top-Down Seamless Raglan
This guide focuses on a top-down, seamless raglan construction because it’s comfortable for baby (no side seams!), easy to customize length, and relatively straightforward for beginners to learn. We’ll use double crochet (dc) for the main body for speed and drape, and simple stitches for elegant edgings. The dress will have a back opening for easy dressing.
Step-by-Step Crochet Instructions for Your Baby Dress
Abbreviations Used:
- ch: chain
- sc: single crochet
- hdc: half double crochet
- dc: double crochet
- sl st: slip stitch
- st(s): stitch(es)
- sk: skip
- sp: space
- inc: increase (e.g., 2 dc in one st)
- […] : repeat instructions in brackets
Let’s begin!
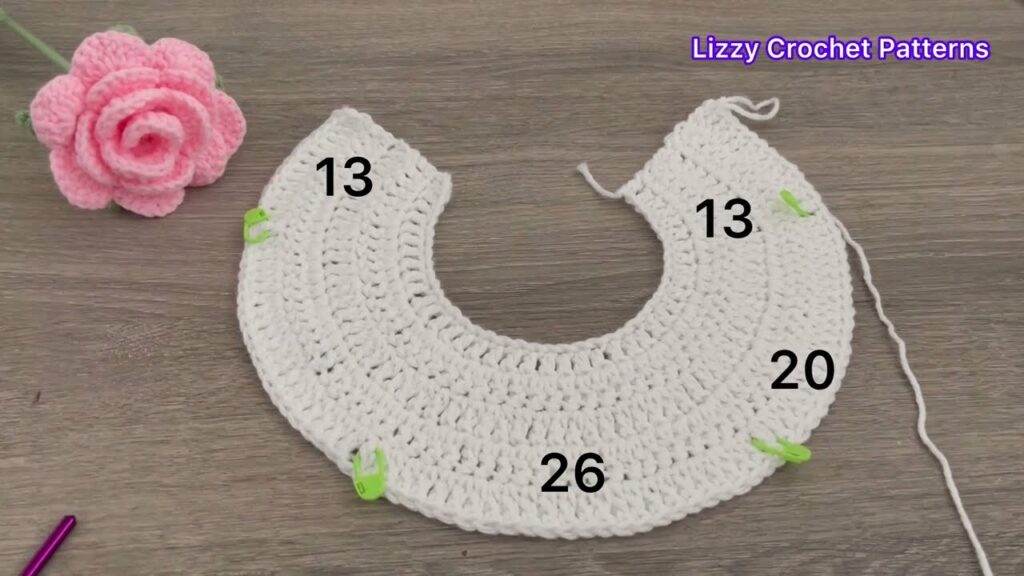
Step 1: The Neckline & Foundation (Working Flat for Back Opening)
- Foundation Chain: Chain a length slightly longer than the desired finished neckline circumference (e.g., 40-50 chains, or follow your pattern’s starting chain). This will be the back opening of the dress. Ensure your chain is an even number.
- Tip: Start with a slightly looser chain or use a foundation single crochet/double crochet for a stretchier edge.
- Row 1 (Neckband): Ch 2 (counts as first hdc, or ch 1 for sc), work 1 hdc (or sc) in the 3rd ch from hook and in each ch across. (Or work 1 dc in 4th ch from hook if using dc neckband). Turn.
- Rows 2-3 (Neckband): Ch 2 (counts as hdc), work 1 hdc (or sc) in each st across. Turn.
- This creates a flat band for the back opening. You’ll work buttonholes on one side later.
Step 2: Establishing the Raglan Yoke
Now you’ll divide your stitches for the back panels, sleeves, and front, and begin increasing for the yoke shaping.
- Determine Stitch Division:
- Take your total stitch count from your neckband. Let’s say you have 40 stitches for simplicity.
- Divide roughly: Front (largest section), Back Panels (two smaller sections), Sleeves (two equal sections).
- Example division for 40 stitches:
- Back Panel 1: 6 sts
- Sleeve 1: 8 sts
- Front: 12 sts
- Sleeve 2: 8 sts
- Back Panel 2: 6 sts
- (Note: The stitch count for each section will vary greatly by pattern and gauge. This is just an illustrative example.)
- You will have 4 “raglan corners” where you make increases.
- Row 4 (Setting Up Raglan – Worked Flat):
- Ch 3 (counts as first dc).
- Work dc in first [number] of sts for Back Panel 1.
- Raglan Corner 1: [2 dc, ch 2, 2 dc] in the next st (place stitch marker in ch-2 space).
- Work dc in next [number] of sts for Sleeve 1.
- Raglan Corner 2: [2 dc, ch 2, 2 dc] in the next st (place stitch marker in ch-2 space).
- Work dc in next [number] of sts for Front.
- Raglan Corner 3: [2 dc, ch 2, 2 dc] in the next st (place stitch marker in ch-2 space).
- Work dc in next [number] of sts for Sleeve 2.
- Raglan Corner 4: [2 dc, ch 2, 2 dc] in the next st (place stitch marker in ch-2 space).
- Work dc in remaining [number] of sts for Back Panel 2. Turn.
- Raglan Yoke Rows (Continue Increasing):
- Row 5: Ch 3 (counts as dc). Dc in each dc across, working [2 dc, ch 2, 2 dc] in each ch-2 raglan space. Move stitch markers up to the new ch-2 space in each corner. Turn.
- Repeat Row 5 until the yoke measures approximately 4-5 inches (10-12.5 cm) from the neckline (or as specified by your pattern). This measurement should be from the back of the neck down to the center of the underarm area.
- Buttonholes (Important!): On one of your back panel edges, you’ll need to create buttonholes every few rows (e.g., every 1.5-2 inches or 4-5 cm).
- To make a simple horizontal buttonhole: Work to desired buttonhole position, ch 2, sk next 2 sts, then continue working dc across. On the next row, work into the ch-2 space.
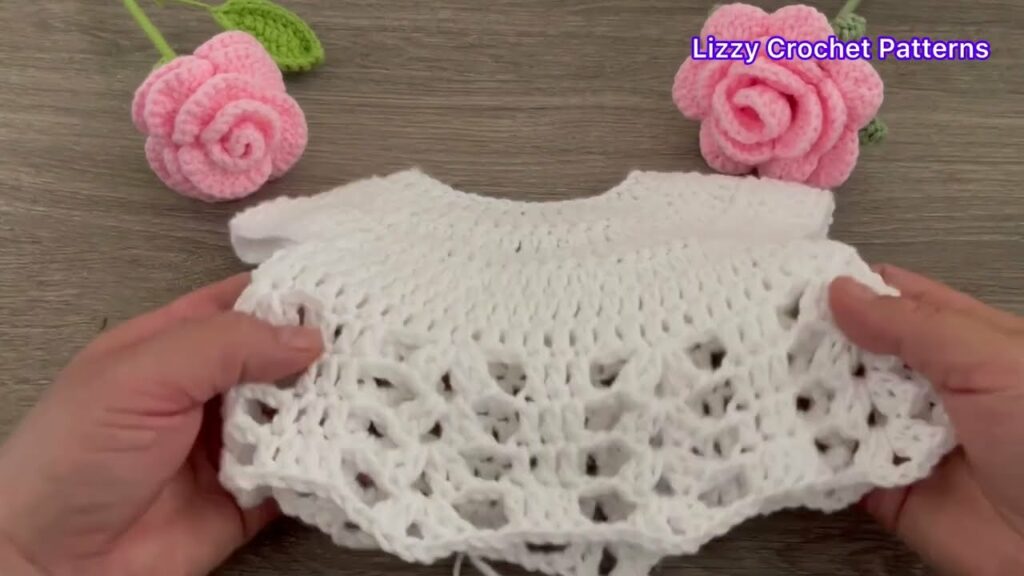
Step 3: Separating for Body and Sleeves
Once your yoke is the correct depth, you’ll join the front and back panels to form the body and put sleeve stitches on hold.
- Next Row (Separation Row):
- Ch 3 (counts as dc).
- Dc in each st of Back Panel 1.
- Work into Raglan Corner 1 (e.g., 1 dc).
- Skip Sleeve 1: Skip all dc stitches of Sleeve 1.
- Underarm Chain: Ch 2-4 stitches (depending on how much ease you need in the underarm; check pattern for specific number).
- Work into Raglan Corner 2 (e.g., 1 dc).
- Dc in each st of the Front Panel.
- Work into Raglan Corner 3 (e.g., 1 dc).
- Skip Sleeve 2: Skip all dc stitches of Sleeve 2.
- Underarm Chain: Ch 2-4 stitches.
- Work into Raglan Corner 4 (e.g., 1 dc).
- Dc in each st of Back Panel 2. Turn.
- Note: You’ve essentially folded your piece, bringing the back panels and front panel together, creating armholes where the sleeves were skipped. You can place the skipped sleeve stitches on a separate piece of scrap yarn or a stitch holder for later.
Step 4: Crocheting the Body/Skirt
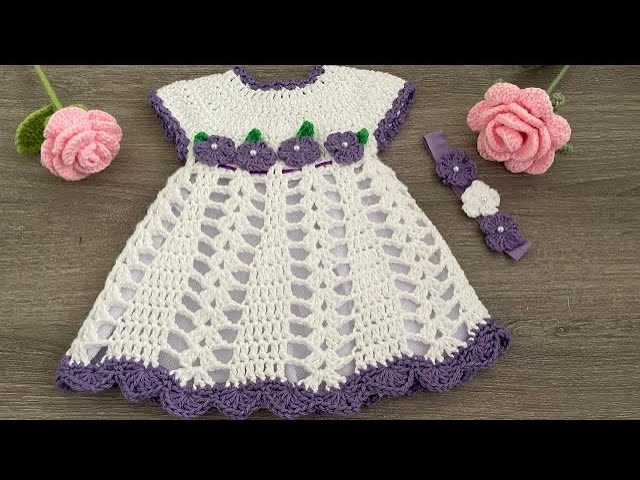
Now you’ll work the main body of the dress. Continue working flat rows (for the back opening) or join into a circle if your pattern calls for a closed back.
- First Row of Body: Ch 3 (counts as dc). Dc in each dc across, including working 1 dc into each ch of the underarm chains. Turn.
- Continuing the Body: Continue working rows of dc.
- Adding Flare (Optional, for A-Line/Fuller Skirt): To create a gentle A-line flare, you can increase occasionally.
- Simple Increase Method: On every 5th or 6th row, work 2 dc into a randomly chosen stitch (or evenly spaced stitches) about 4-6 times across the row. This will gradually widen the skirt.
- Alternatively: Many patterns use a more deliberate increase pattern (e.g., working 2 dc into every 10th st).
- Length: Continue working rows until the dress reaches the desired length for a 0-3 month baby (typically to the knee or mid-calf, around 12-14 inches / 30-35 cm from shoulder).
- Hem: Work 2-3 rows of sc or hdc for a neat, stable hem. Fasten off.
Step 5: Crocheting the Sleeves (Optional – Cap, Short, or Long)
- Attach Yarn: With your dress right side out, attach yarn to one of the underarm corners of a skipped sleeve.
- Pick Up Stitches: Ch 3 (counts as dc). Work dc into each dc stitch of the held sleeve stitches. Work 1 dc into each chain of the underarm chain. Join with a sl st to the top of the initial ch 3. You are now working in the round.
- Work Sleeve: Continue working dc rounds (or your desired sleeve stitch) until the sleeve reaches the desired length (e.g., 0.5-1 inch for a cap sleeve, 3-4 inches for a short sleeve, 6-7 inches for a long sleeve for 0-3 months).
- Cuff (Optional): For a neat cuff, work 2-3 rounds of sc or hdc.
- Fasten Off. Repeat for the second sleeve.
Step 6: Finishing Touches (The “Beautiful” Transformation)
This is where your dress truly comes to life!
- Edgings (Optional but Recommended):
- Neckline: Reattach yarn to one corner of the neckline. Work 1-2 rounds of sc or hdc around the entire neckline for a clean finish. You can add a picot edging (ch 3, sl st into 1st ch) on the final round for a delicate touch.
- Back Opening Bands: If you didn’t work buttonholes directly into a flat band, you can now pick up stitches along both back edges. Work 2-3 rows of sc or hdc for each band. On one band, remember to create your buttonholes.
- Hem Edging: You can add a simple shell border (e.g., [5 dc] in one st, sk 2 sts, sl st) or a picot edging for a delicate finish to the bottom hem.
- Weave in Ends: This is paramount for a professional, beautiful look. Use your tapestry needle to meticulously weave in all loose yarn tails, hiding them securely within the stitches on the wrong side of your work.
- Blocking (The Magic Step for Cotton!):
- Gently wash your finished dress according to your cotton yarn’s care instructions (often lukewarm water and a gentle soap).
- Gently squeeze out excess water (do not wring).
- Lay the dress flat on a clean towel or blocking mats. Gently shape it to the correct dimensions, smoothing out any unevenness and opening up any lace patterns. Use rust-proof pins to hold it in place if needed.
- Allow the dress to air dry completely. Blocking truly transforms cotton, evening out stitches, setting the drape, and enhancing its overall beauty.
- Attach Buttons: Lay your dress flat and mark the positions for your buttons, aligning them with the buttonholes on the opposite placket. Securely sew on your chosen small, elegant buttons. Ensure they are sewn on very, very tightly to prevent any choking hazard.
Tips for Success & Safety
- Read Your Pattern: While this guide provides a framework, always follow your specific pattern’s instructions for stitch counts, increases, and unique details.
- Stitch Markers Are Your Friends: Use them liberally to mark raglan corners, the beginning of rounds, buttonhole placements, and any tricky areas.
- Count Your Stitches: Especially on increase rows/rounds. Counting regularly prevents mistakes that are harder to fix later.
- Take Breaks: Crocheting can be hard on the hands. Take frequent breaks to rest.
- Baby Safety: Beyond securely sewing buttons, avoid any long ties or very small, loose embellishments that could pose a strangulation or choking hazard.
Video Tutorial ;
Creating a hand-crocheted dress for a 0-3 month old baby is a deeply rewarding project. With patience, attention to detail, and the luxurious touch of cotton yarn, you’ll craft a beautiful and elegant garment that will be cherished and admired for years to come. Happy crocheting! Sources
