 by
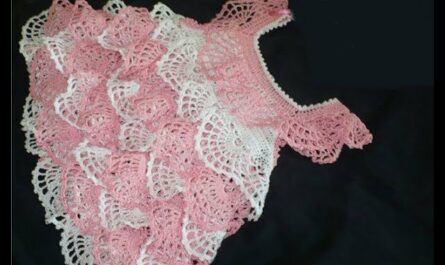
by There’s nothing quite as charming as seeing a baby dressed in handmade attire, and a crocheted diaper cover is a perfect example of both adorable style and practical comfort. These delightful little garments provide an extra layer of warmth and modesty, peek out cutely from under dresses or tunics, and keep diapers snug. This detailed tutorial will guide you through the process of creating a soft and sweet diaper cover suitable for babies aged 6-12 months, making it an ideal project for crocheters of all skill levels.
Why Crochet a Diaper Cover?

Beyond their undeniable cuteness, crocheted diaper covers offer several benefits for both baby and parent:
- Ultimate Comfort: Made with soft yarns, they are gentle against delicate baby skin, preventing chafing and irritation that might come from synthetic materials.
- Layered Warmth & Modesty: They add an extra layer of warmth in cooler weather and provide stylish coverage, making any diaper-clad bottom look intentional and adorable.
- Fashion Statement: Perfect for peeking out under skirts, dresses, or tunics, or worn as a charming standalone bottom with a simple onesie.
- Customization Galore: The possibilities for personalization are endless – stripes, color blocking, playful embellishments, or a simple classic look.
- Practicality: While not waterproof like specialized wool covers, they offer an extra layer of protection, helping to keep diapers securely in place.
- Cherished Handmade Gift: A crocheted diaper cover is a thoughtful, unique, and much-appreciated gift for baby showers, birthdays, or just because.
Before You Begin: Important Notes & Sizing
This tutorial provides a conceptual guide to crocheting a 6-12 month diaper cover. Specific stitch counts will vary based on your chosen yarn, hook, and tension. Always refer to a detailed pattern for precise numbers.
- Skill Level: Beginner-Friendly to Intermediate. Basic stitches (chain, slip stitch, single crochet, half double crochet, double crochet) are assumed.
- Finished Size (Approximate for 6-12 Months):
- Waist Circumference: 17-19 inches (43-48 cm)
- Thigh Circumference: 9-11 inches (23-28 cm)
- Rise (Front to Back): 14-16 inches (35.5-40.5 cm)
- Gauge: CRUCIAL FOR SIZING! Before starting, crochet a small swatch (e.g., 4×4 inches / 10×10 cm) in the main stitch you plan to use (e.g., HDC). Measure your stitches and rows within that swatch. This ensures your finished diaper cover will be the correct size.
- Example Gauge: 16 HDC and 12 rows = 4 inches (10 cm). Adjust your hook size up or down to meet the desired gauge.
- Abbreviations:
- ch: chain
- sl st: slip stitch
- sc: single crochet
- hdc: half double crochet
- dc: double crochet
- inc: increase (work 2 stitches into the same stitch)
- dec: decrease (work 2 stitches together)
- fo: fasten off
- sk: skip
- st(s): stitch(es)
- BLO: back loop only
Materials You’ll Need
- Yarn:
- Fiber: Soft cotton, baby acrylic, or a cotton blend. Choose a yarn that is soft, breathable, and easy to wash. Cotton is excellent for its durability and stitch definition.
- Weight: DK (Double Knitting / Category 3) or Worsted (Aran / Category 4) are typically ideal for baby garments.
- Quantity: Approximately 150-200 yards (137-183 meters).
- Colors: One solid color for a classic look, or multiple colors for stripes or color-blocking.
- Crochet Hook: Size appropriate for your chosen yarn and to meet your gauge (e.g., H/5.0mm for worsted, G/4.0mm for DK).
- Notions:
- Tapestry Needle: For weaving in ends and sewing on buttons.
- Scissors.
- Stitch Markers: Essential for marking the start of rounds, increase points, or specific sections.
- Buttons: 2-3 flat, baby-safe buttons (approx. 0.5-0.75 inches / 1.25-2 cm) for the waistband closure. Optionally, 2-4 smaller buttons for the leg opening closures (or snaps/ties).
- Measuring Tape.
The Diaper Cover Construction: A Step-by-Step Guide
A typical diaper cover is worked in rows to form the back and front panels, then joined.
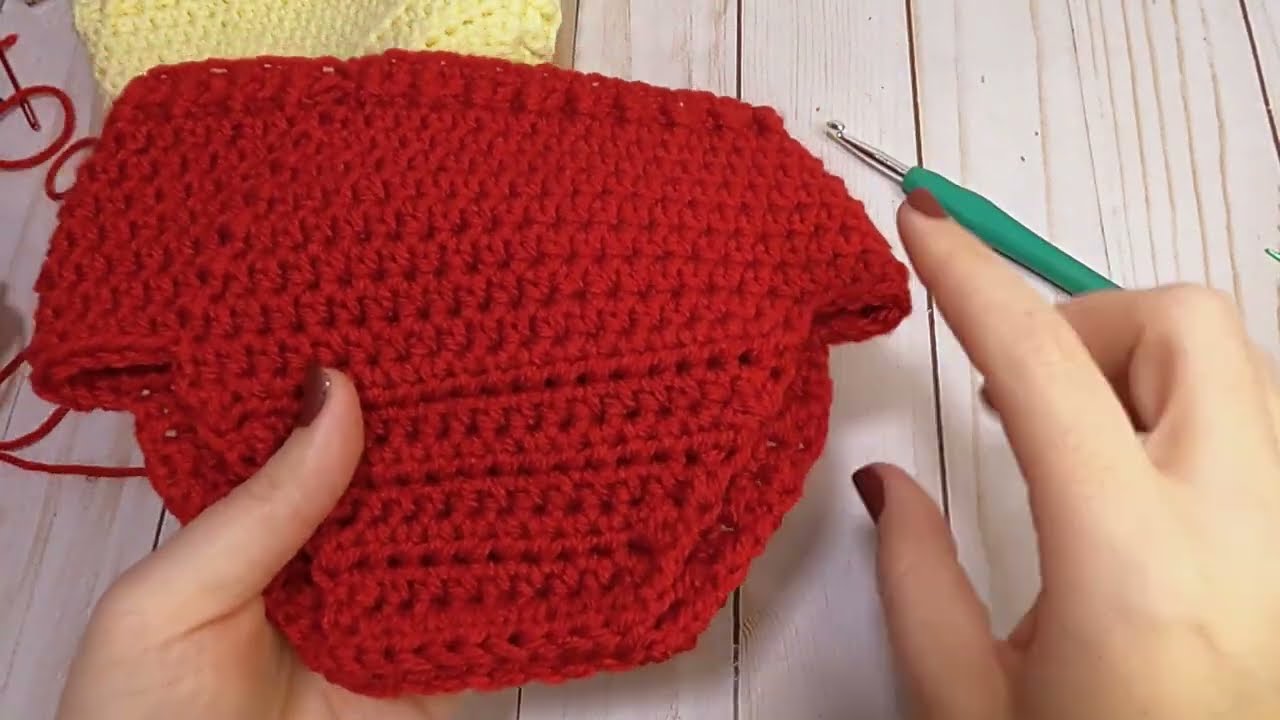
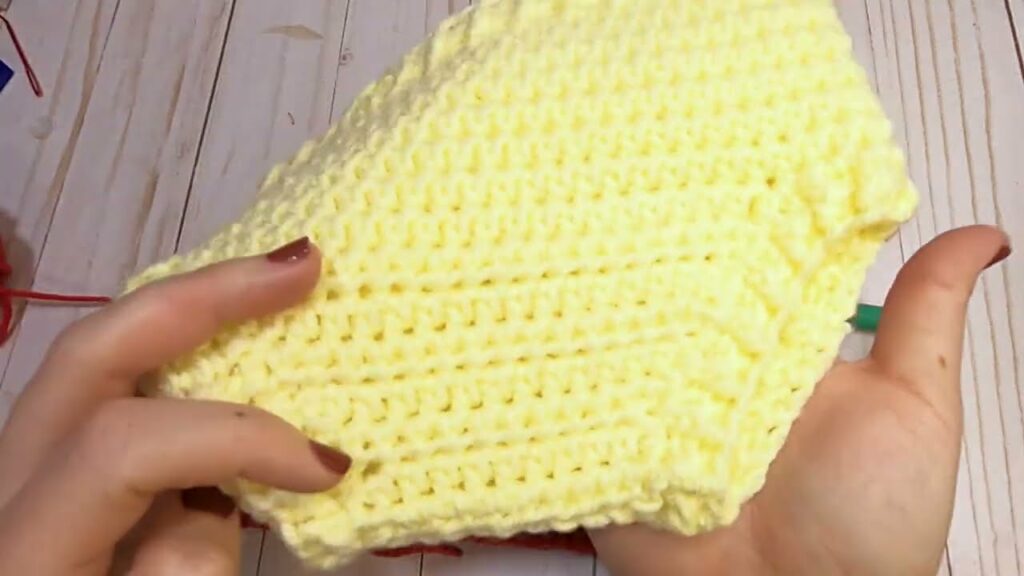
Section 1: The Main Body (Back & Front Panel)
This section forms the main fabric of the diaper cover, from the back waist down to the crotch and up to the front waist.
- Starting Chain (Back Waist Width):
- Begin by chaining a number of stitches that, when crocheted into your chosen stitch, will equal the desired back waist width for a 6-12 month baby (e.g., approx. 8-9 inches / 20-23 cm). Add 1 or 2 turning chains depending on your stitch.
- Working the Back Panel:
- Row 1: Work your main stitch (e.g., HDC) into each chain across. Turn.
- Subsequent Rows (Building Up the Back): Continue working rows in your chosen stitch. You will typically work straight for several rows, then begin increasing stitches evenly on both ends of some rows to gradually widen the back panel. This creates room for the diaper and bottom.
- Conceptual Shaping: The back panel will get wider towards the bottom/crotch area. Continue until you have reached the desired length for the back, ending at where the crotch will begin.
- Dividing for Leg Holes (Creating the Rise):
- At the point where the back panel ends and the leg openings begin, you will stop working across the entire width.
- Front Panel Start: You will typically continue working in rows on only the center portion of your stitches for the front panel. The unworked stitches on either side will become part of the leg openings.
- Conceptual Shaping: For the front panel, you’ll work a narrower section. You might even incorporate decreases on both sides in initial front panel rows to taper it towards a narrower front waist.
- Connecting Front & Back (The Crotch Flap):
- Once the front panel has reached sufficient length (from the crotch up to the front waist), you will create a small “flap” or a few connecting rows at the very bottom of the front panel that will later connect to the back panel’s crotch area. This flap will typically have buttonholes.
Section 2: The Waistband
This forms the top edge of the diaper cover and often includes the button closure.
- Working the Waistband:
- Method 1 (Directly Worked): Starting at one side of the back waist, work a round of SC evenly around the entire top edge of the diaper cover (both back and front panels). Join with a sl st.
- Method 2 (Ribbing): After the initial SC round, continue working in rows for a few more rows, usually using SC in the BLO (back loop only) to create a stretchy ribbing effect.
- Buttonholes:
- As you work the final row(s) of your waistband, you will strategically place buttonholes along the back waistband.
- How to make a simple buttonhole: Chain 2 (or more, depending on button size), skip the next 2 stitches, then continue working your stitches. In the next row, work into the chain space.
- Place 2 or 3 buttonholes evenly spaced across the back waistband.
Section 3: The Leg Openings
This provides neat finishing and a snug fit around the baby’s thighs.
- Working in the Round:
- Attach yarn to one of the leg openings (where you divided the body).
- Work rounds of SC or HDC evenly around the entire leg opening.
- Shaping/Elasticity: Work 1-2 rounds of ribbing (SC in BLO) to create a slightly elasticated edge that helps keep the diaper cover snug around the thigh.
- Optional Leg Closure (for adjustable fit):
- Some patterns include small flaps with buttons or ties on the leg openings for adjustable fit. If so, create small buttonholes on these flaps similar to the waistband.
Section 4: The Bottom Flap / Crotch Connection
This is how the front and back of the diaper cover meet at the crotch.
- Connecting the Panels:
- The narrow flap you created at the bottom of the front panel will now connect to the broader crotch area of the back panel.
- Position the front flap over the back panel’s crotch.
- The buttonholes on the front flap will align with specific stitches on the back panel where you will sew your buttons.

Assembly & Finishing Touches
- Sewing Buttons: Using your tapestry needle and a sturdy thread (or yarn matching the diaper cover), securely sew your chosen buttons onto the back panel, ensuring they align perfectly with the buttonholes on the front flap. Also, sew any optional leg buttons. Crucially, ensure all buttons are sewn on extremely tightly to prevent them from becoming choking hazards.
- Weaving in All Ends: This is essential for a neat and durable finish. Use your tapestry needle to meticulously weave in all yarn tails, making them virtually invisible and secure.
- Blocking (Optional but Recommended): Gently wash your finished diaper cover according to your yarn’s care instructions. Gently reshape it and lay it flat on a clean towel or mesh rack to air dry completely. Blocking helps to even out stitches, relax the fabric, and give the diaper cover a polished, professional look.
Personalizing Your Diaper Cover
- Color Play: Experiment with vibrant stripes, subtle color blocking, or use a beautiful variegated yarn for an automatic splash of color.
- Embellishments: Sew on small crocheted appliques (tiny stars, hearts, animals, flowers), or add simple embroidery to the back.
- Edging: Enhance the leg or waist edges with a decorative border like a picot edge, shell stitch, or crab stitch.
- Drawstring/Ties: Instead of buttons, you could crochet a simple chain drawstring for the waist or ties for the leg openings.
Care Instructions
- Always follow the specific care instructions for your chosen yarn fiber.
- For convenience, select machine-washable baby yarn. Wash on a gentle cycle with cold water.
- Reshape the diaper cover after washing and lay it flat to dry to maintain its shape and stitch definition. Avoid hanging, as this can cause stretching.
- Regularly check the security of all buttons and embellishments on baby items.
Video Tutorial ;
Creating a crocheted diaper cover is a deeply satisfying project. It’s a blend of practical comfort for the baby and a beautiful expression of handmade love. Whether for your own little one or as a cherished gift, this adorable garment is sure to bring smiles and cozy coverage. Sources