 by
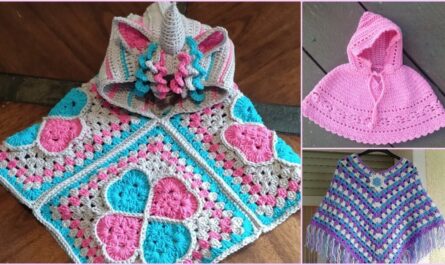
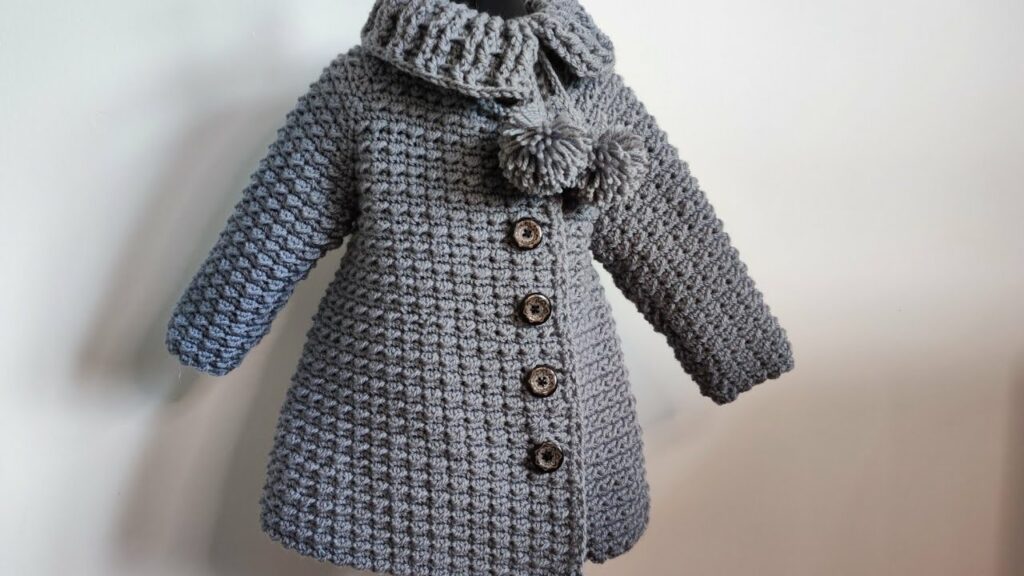
by The snowdrop, pushing its delicate head through the last remnants of winter, is a powerful symbol of purity, resilience, and the hopeful whisper of spring’s imminent arrival. To capture this enchanting image in a garment for a little girl is to create something truly special – a “Snowdrop” crocheted coat. More substantial than a cardigan, this coat offers superior warmth and coverage, embodying elegant charm while hinting at the tender beauty of the season’s turning.
If you dream of crafting a garment that blends practical warmth with ethereal beauty, this detailed guide will illuminate the path to crocheting a stunning “Snowdrop” coat for a girl.
Unveiling the “Snowdrop” Aesthetic
The magic of the “Snowdrop” coat lies in its ability to translate a natural wonder into yarn and stitch:
- The Color Palette: Pristine & Subtly Icy:
- Dominant Hues: Emulate the flower itself with pure white, off-white, cream, or ivory. These shades convey innocence, elegance, and the crispness of winter.
- Subtle Accents: Introduce very pale, muted greens (like the snowdrop’s stem), soft silvery grey, icy blue, or a hint of delicate lavender. These colors evoke winter light and frosty mornings, adding depth without overpowering the primary pristine tone.
- Overall Feel: The palette should be serene, clean, sophisticated, and fresh. Avoid bold, bright, or overly warm colors that would detract from the “snowdrop” theme.
- Yarn Texture & Weight: Delicate Warmth:
- Weight: A coat needs to be warm. Worsted (Category 4) or Bulky (Category 5) weight yarns are ideal, offering excellent insulation and a satisfying drape. DK (Category 3) could be used for a lighter jacket, but a coat implies more substance.
- Fiber: The fiber choice is crucial for both warmth and the “snowy” feel:
- Mohair Blends (especially Kid Mohair) or Brushed Alpaca: These luxurious fibers create a delicate halo or a soft, fuzzy texture that beautifully mimics frost or freshly fallen snow, adding exquisite warmth and softness.
- Merino Wool (Superwash): Known for its incredible softness, warmth, and excellent stitch definition. Superwash varieties are practical for children’s wear due to easy machine washability.
- Soft Acrylics (Brushed, Anti-pilling): Many modern acrylics are designed to mimic natural fibers, offering softness, hypoallergenic properties, durability, and easy care, often with a slight fluffiness.
- Alpaca: Exceptionally soft, warm, and surprisingly lightweight for its insulating properties.
- Suggestion: Look for yarns with a subtle sheen or a slight natural fluffiness that will enhance the coat’s ethereal quality.
- Stitch Patterns: Textured & Refined:
- Choose stitch patterns that create a soft, supple, yet insulating fabric. Avoid overly stiff or extremely open lace stitches.
- Main Body: Half Double Crochet (HDC) or Double Crochet (DC) worked consistently for good drape and warmth.
- Textural Accents:
- Moss Stitch (Linen Stitch): Creates a dense, woven texture that feels cozy and looks refined, offering a subtle visual interest.
- Puff Stitch or Bobble Stitch (sparingly): Strategically placed, these can form small, raised “snowdrop” like bumps or delicate clusters, adding a touch of thematic whimsy.
- Shell Stitch: A delicate, small shell stitch can be beautiful for edgings on the hood, cuffs, or hem, reminiscent of flower petals.
- Post Stitches: Can be used to create defined ribbing or subtle vertical texture, perhaps suggesting delicate stems if used in a panel.
- Design Details: Elegant Whimsy:
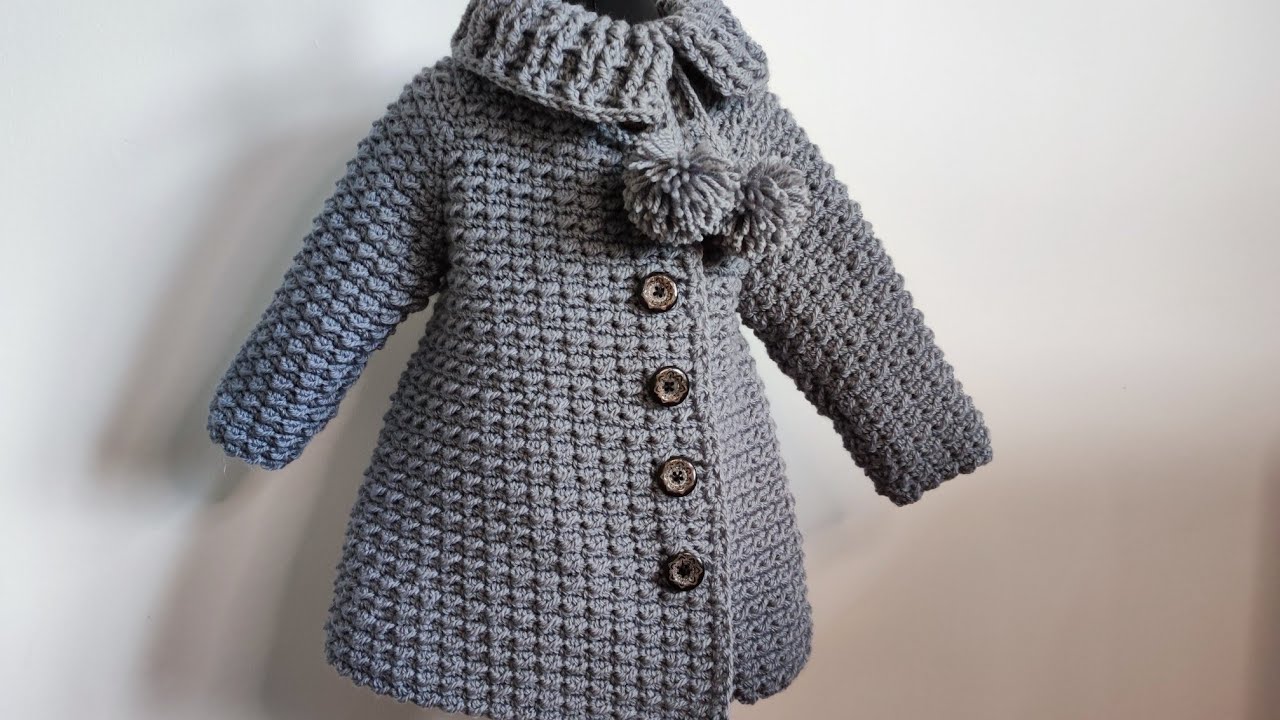
- Clean Silhouette: A classic A-line or straight-cut coat will allow the beautiful texture and pristine color palette to truly shine. Avoid excessive flounce or overly complex shaping.
- Collar or Hood: A delicate, perhaps slightly oversized, hood will provide extra warmth and charm, framing the face. Alternatively, a rounded or peter pan collar can add a touch of classic elegance.
- Closure: Choose large, prominent buttons (white, clear, pearlized, or wooden with a very light, natural finish) or classic wooden toggle buttons for a cozy, timeless look.
- Optional Embellishments:
- Small, crocheted snowdrop appliques (white bells with tiny green stems) placed subtly on the lapel or near the hem.
- A delicate picot or small shell stitch edging around the hood, cuffs, or bottom hem can mimic the delicate look of frost.
Why Crochet a Coat for a Girl?
This project is a step beyond a simple cardigan, offering unique advantages:
- Superior Warmth & Coverage: A coat provides greater insulation and full coverage, making it a true outer layer for colder weather.
- Practicality & Versatility: It’s a durable, stylish outer garment suitable for various occasions, from everyday wear to more dressed-up events.
- Durability: Crocheted coats, when made with quality yarn and strong seams, can withstand the rigors of winter play and last for years.
- Style Statement: It’s a unique, handmade alternative to mass-produced coats, reflecting personalized charm and skill.
- Heirloom Potential: A substantial, beautifully crafted coat is an ideal candidate to become a treasured family heirloom.
Planning Your “Snowdrop” Coat Project
Success hinges on meticulous planning before you begin:
- Size Selection: Use standard girls’ clothing sizes (e.g., 2T, 4T, 6, 8, etc.). A coat needs to fit comfortably over other layers, so ensure you have accurate measurements of the child’s chest circumference, arm length, and desired overall coat length.
- Pattern Selection (Crucial!):You absolutely must choose a well-written crochet pattern specifically designed for a child’s coat. Look for:
- Detailed schematics and comprehensive sizing charts.
- Clear, step-by-step instructions for shaping the body, armholes, neckline, and collar/hood.
- Precise gauge information (and instructions on how to achieve it).
- High-quality photos of the finished garment.
- Construction Method:
- Panel Construction (Most Common for Coats): This involves crocheting the back panel, two front panels, and two sleeves as separate flat pieces. These are then meticulously seamed together. This method often results in a more structured garment with crisp lines, ideal for a coat.
- Top-Down (More Advanced): While seamless top-down methods are popular for cardigans, achieving the necessary structure and shaping for a full coat (especially with a front opening) can be more complex for beginners.
- Gauge Swatch (Non-Negotiable!): This is the single most critical step for any garment. Create a large swatch (at least 6×6 inches / 15×15 cm) using your chosen yarn and hook in the main stitch pattern of the coat. Wash and block the swatch exactly as you would the finished garment, then measure it precisely. If your stitch count or row count per inch/cm doesn’t match the pattern’s gauge, adjust your hook size until it does. Skipping this step is the primary reason for a coat not fitting correctly.
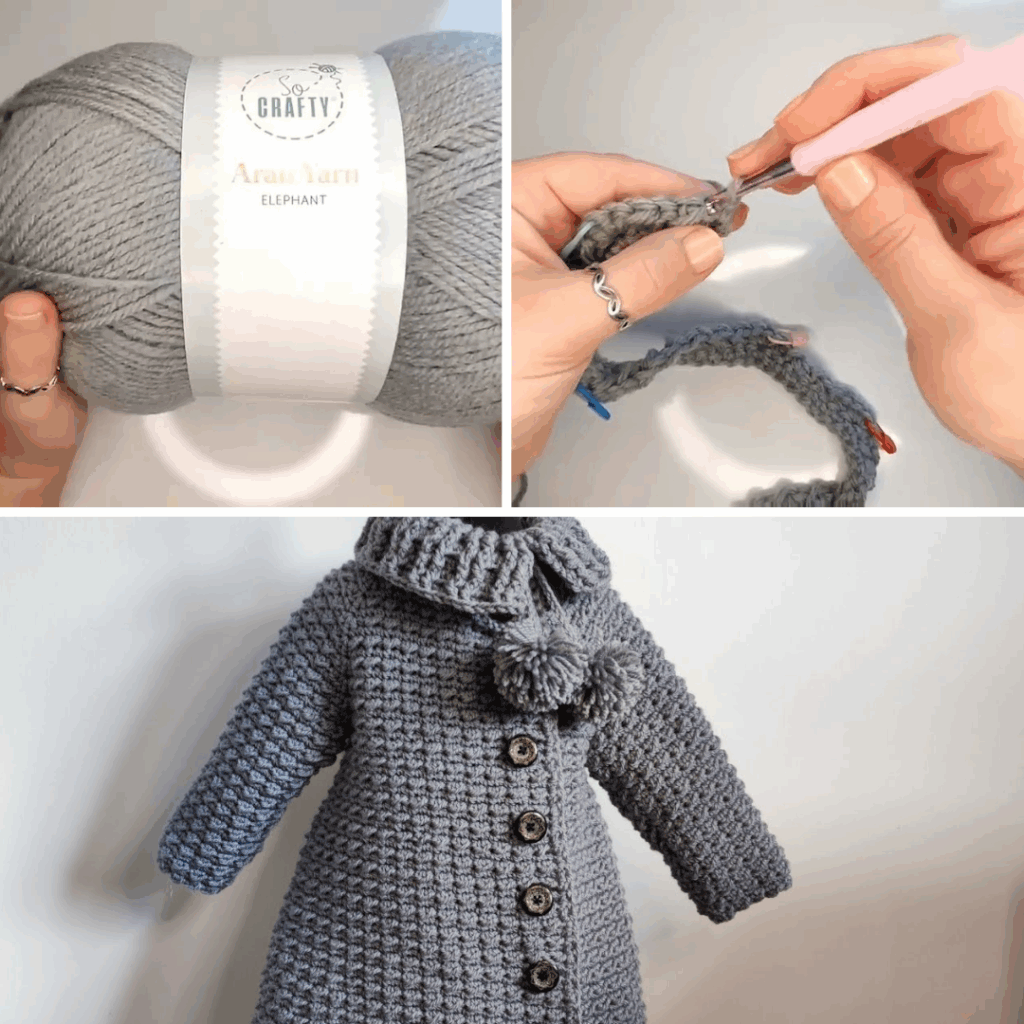
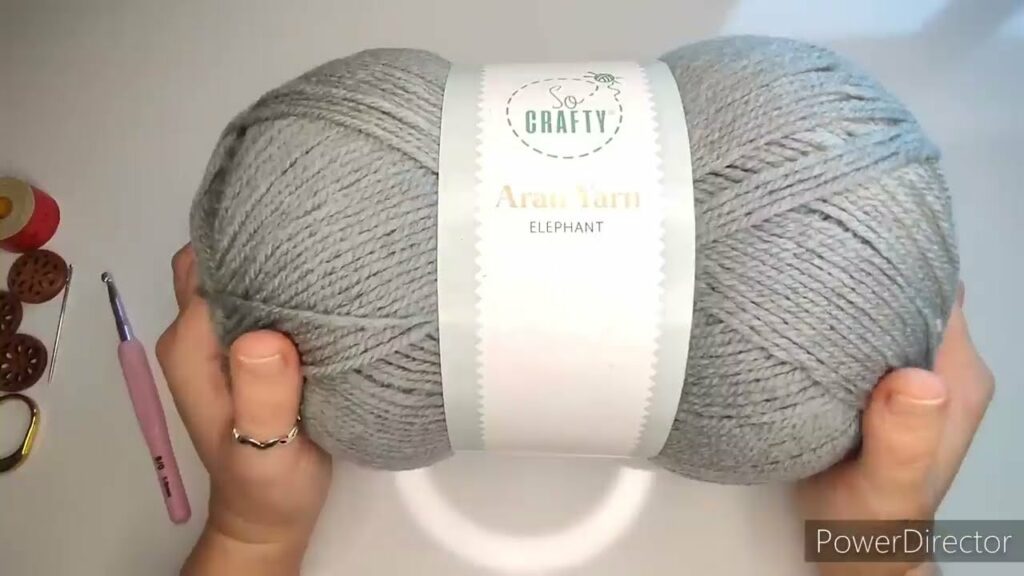
Materials You’ll Need
- Yarn: (As detailed in the “Snowdrop Aesthetic” section) The quantity will be substantial for a coat, typically ranging from 6-15+ skeins depending on the size and yarn weight.
- Crochet Hook: The size recommended by your pattern, adjusted based on your gauge swatch.
- Notions:
- Stitch Markers: You will need many! Essential for marking shaping points, row beginnings, and seam lines.
- Tapestry Needle: For neatly weaving in yarn ends and creating strong, invisible seams.
- Scissors: Sharp and dedicated for yarn.
- Measuring Tape: For checking gauge and garment dimensions as you progress.
- Buttons: The number specified by your pattern. Choose large, decorative buttons (white, clear, pearlized, or light wooden) or toggles to complement the “Snowdrop” theme.
- Sewing Needle and Strong Thread: For securely attaching buttons, especially if the coat is heavy.
- Lining Fabric (Highly Recommended): A soft, smooth fabric like flannel, fleece, or satin in a coordinating “Snowdrop” color (e.g., white, pale green, silver-grey). A lining adds warmth, improves drape, prevents stretching, and ensures the coat slides on easily over other clothes without snagging.
- Blocking Mats and T-pins: Essential for professional shaping and finishing.
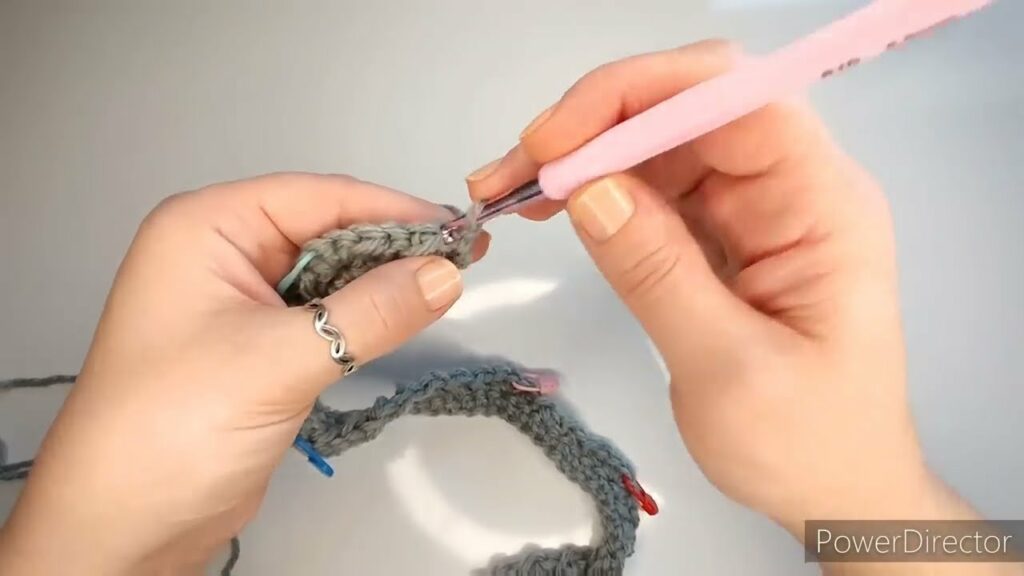
Video Tutorial Part 1 ;
Understanding Coat Construction (General Approach – Panel Method)
Most crocheted coats are built in separate panels for best structure:
- The Body Panels: The back panel is crocheted first, typically from the bottom up. Then, the two front panels are crocheted, incorporating the shaping for the front opening, armholes, and neckline.
- The Sleeves: Two sleeves are crocheted flat, shaped for the armholes and tapered towards the cuffs.
- The Collar or Hood: This is crocheted as a separate piece (e.g., two hood panels seamed, or a collar worked in rows) and then attached to the neckline of the finished body.
- Front Bands: Worked along the front opening (often with integrated buttonholes) to provide structure and a clean finish.
- Pockets (Optional): Pockets can be crocheted as separate pieces and sewn onto the front panels, or designed to be worked directly into the fabric.
Key Crochet Techniques for a Coat
Mastering these techniques will ensure a beautiful and functional coat:
- Basic Stitches: Chain (ch), Slip Stitch (sl st), Single Crochet (sc), Half Double Crochet (hdc), Double Crochet (dc). These form the core fabric.
- Increasing & Decreasing: Essential for shaping armholes, necklines, shoulder slopes, and tapering sleeves for a comfortable fit.
- Working in Rows: The primary method for crocheting flat panels.
- Ribbing Techniques: For cuffs and the bottom hem, ribbing provides structure, a snug fit, and warmth. Use Front Post/Back Post stitches (FPDC/BPDC) for an elastic, knit-like rib, or Single Crochet in the Back Loop Only (SC in BLO) for a dense, horizontal rib.
- Buttonholes: Learn to create sturdy chain-space buttonholes within your front bands.
- Seaming: The Mattress Stitch is highly recommended for joining the panels of a coat. It creates an almost invisible, flat, and exceptionally strong seam crucial for garment integrity.
- Attaching Collar/Hood: Securely sewing or slip-stitching the finished collar or hood to the neckline.
- Adding Lining (If Applicable): Involves cutting the chosen lining fabric to match the crocheted panels, sewing the fabric pieces together, and then hand-stitching or carefully machine-stitching the lining to the inside of the crocheted coat.
Step-by-Step Flow (Conceptual Guide – Assuming Panel Construction)

- Preparation: Choose your pattern, make that all-important gauge swatch, and gather all your materials.
- Crochet Body Panels: Begin by crocheting the back panel first. Then, crochet the two front panels, carefully following the pattern’s instructions for shaping the armholes and neckline.
- Crochet Sleeves: Work two sleeves, shaping for the armholes and tapering down to the cuffs.
- Crochet Collar/Hood: Crochet this piece separately, following the pattern for its specific shaping.
- Assemble Panels: Using the mattress stitch, neatly seam the shoulder seams, then the side seams of the body panels. Seam the sleeves.
- Attach Sleeves: Securely seam the finished sleeves to the armhole openings of the body.
- Attach Collar/Hood: Pin the completed collar or hood to the neckline of the coat, ensuring even placement, and securely seam or slip stitch it in place.
- Add Front Bands & Hem: Crochet the front bands along the opening of the coat, incorporating buttonholes on one side. Add a ribbing or chosen border to the bottom hem.
- Finishing Touches: Weave in all remaining yarn ends meticulously with a tapestry needle. Sew on your chosen buttons securely.
- Add Lining (Optional): If adding a fabric lining, follow the steps to cut and sew your lining pieces, then attach them neatly to the inside of the coat.
- Blocking: This final, transformative step is crucial for a coat. Gently wet or steam the finished coat, carefully reshape it to the pattern’s exact dimensions, and pin it flat on blocking mats. Allow it to dry completely. Blocking evens out stitches, relaxes the fabric, enhances drape, and sets the final, polished shape.
Video Tutorial Part 2 ;
Tips for Success
- Read the Pattern Thoroughly: Understand the entire construction process, including all shaping details, before you begin.
- Don’t Skip the Gauge Swatch! (Cannot emphasize this enough for a large garment like a coat).
- Use Stitch Markers Extensively: They are invaluable for marking shaping points, seam lines, and for keeping track of your stitch counts, especially when working complex stitch patterns or increases/decreases.
- Count Your Stitches Diligently: This simple habit helps catch errors early, preventing frustration and unraveling later.
- Invest Time in Seaming: Learning and using the mattress stitch for joining panels will make a dramatic difference in the professional appearance of your coat.
- Consider a Lining: It greatly enhances the coat’s warmth, drape, and overall luxurious feel.
- Patience and Persistence: A coat is a larger project. Take breaks when needed, celebrate small victories, and enjoy the journey of creation.
- Blocking is a Game Changer: It truly transforms a “handmade” look into a “designer” one, bringing out the best in your stitches and shaping.
Caring for Your “Snowdrop” Coat
To ensure your beautiful creation remains pristine and well-loved for years:
- Follow Yarn Label Instructions: Always defer to the specific care instructions on your chosen yarn skein.
- Gentle Washing: Hand wash in cool water with a mild, gentle detergent, or use your machine’s delicate/gentle cycle (only if the yarn is specifically labeled as machine washable, e.g., superwash wools).
- Reshape and Dry Flat: Gently squeeze out excess water (never wring or twist!). Reshape the coat to its original dimensions and lay it flat on a clean towel or a mesh drying rack to air dry completely.
- Never Hang Wet: Avoid hanging a wet crocheted coat, as its weight will cause it to stretch and distort out of shape.
- Storage: Store folded in a clean, dry place to maintain its shape.
Crocheting a “Snowdrop” coat for a girl is a monumental and deeply satisfying project. It’s an act of love, skill, and creative vision, resulting in a garment that not only provides warmth and comfort but also captures the delicate, enduring beauty of winter’s most hopeful bloom. Embrace the challenge, and revel in the joy of seeing your little one wrapped in your handmade masterpiece.