 by
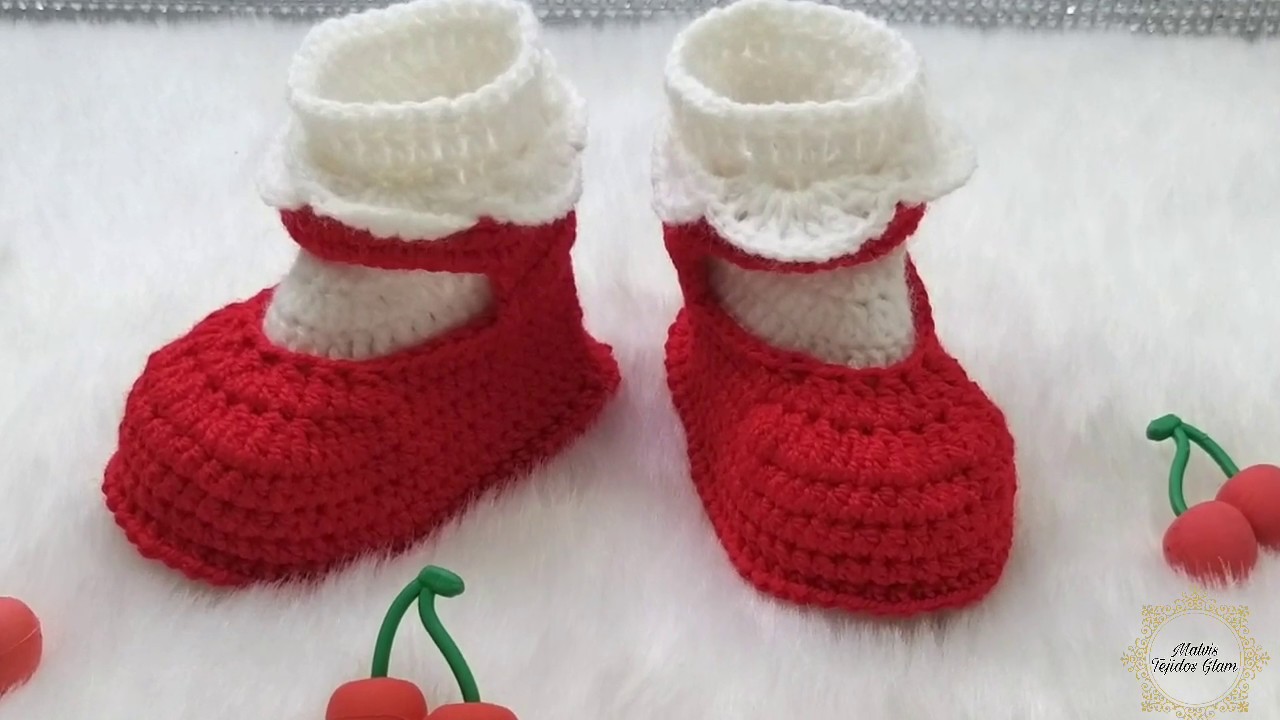
by There’s nothing quite like slipping your feet into something warm, soft, and handmade after a long day. Crochet sock slippers perfectly embody this feeling of ultimate comfort. More substantial than a regular sock but less structured than a traditional slipper, they strike a delightful balance, offering the flexibility and foot-hugging feel of a sock combined with the plush warmth and often a reinforced sole of a slipper. Whether for chilly mornings, lazy afternoons, or simply adding a touch of handmade coziness to your home, crocheted sock slippers are a beloved project for crafters of all skill levels.
This detailed article will guide you through the wonderful world of creating your own crochet sock slippers, from selecting the perfect yarn to mastering the techniques that ensure a comfortable, durable, and stylish finish.
The Irresistible Allure of Crochet Sock Slippers
- Ultimate Comfort: Made from soft yarns, they gently hug your feet, providing a cloud-like sensation with every step.
- Warmth Without Bulk: Ideal for keeping feet toasty on cold floors without the heavy, sometimes clumsy feel of traditional slippers.
- Customizable Style: From simple and minimalist to highly textured and adorned with pompoms or appliqués, the design possibilities are endless.
- Practical & Durable: Many patterns are designed for durability, often with reinforced soles, and most can be easily washed, making them a practical choice for everyday wear.
- Eco-Friendly & Thoughtful Gift: A fantastic way to use up yarn stash, and a handmade pair of sock slippers makes an incredibly personal and cherished gift for anyone in your life.
Designing Your Perfect Sock Slippers: Key Considerations
Before you pick up your hook, consider these elements to create slippers tailored to your (or the recipient’s) desires:
- Target Wearer:
- Adults: Focus on durability, warmth, and potentially non-slip soles.
- Children: Prioritize comfort, softness, and secure non-slip features.
- Babies: Require exceptionally soft yarn, no irritating seams, and careful consideration for safety (no small, detachable parts).
- Yarn Choice (The Heart of Comfort & Durability):
- Fiber:
- Wool/Wool Blends (especially Superwash Merino): Excellent for warmth, breathability, and natural elasticity. Superwash varieties are easy to care for.
- Acrylic/Acrylic Blends: Very soft, hypoallergenic, durable, and widely available in many colors. Often machine washable, making them practical.
- Bulky/Chunky Yarn: For quick projects and extra warmth.
- Cotton Blends: Can work for lighter, warmer-weather slippers, but may not be as warm or elastic as wool/acrylic.
- Weight: Worsted (Category 4) or Bulky (Category 5) are popular for quick, warm slippers. DK (Category 3) can also be used for a slightly finer, denser fabric.
- Colors: Express yourself! Solids, variegated, stripes, or even multi-color stash-busting creations.
- Fiber:
- Stitch Pattern:
- Density: Choose relatively dense stitches (e.g., Single Crochet (SC), Half Double Crochet (HDC), or tightly worked Double Crochet (DC)) for warmth and to prevent drafts.
- Texture/Grip: Some stitches inherently offer more grip (e.g., linen stitch, basketweave, or strategically placed bobbles/puff stitches on the sole).
- Elasticity: Ribbing (working SC or HDC into back loops only (BLO) or using front/back post stitches) is excellent for cuffs to ensure a snug fit around the ankle.
- Sole Construction & Reinforcement: This is crucial for durability and longevity.
- Single Layer: Simplest, but may wear out faster.
- Double Layer: Crochet two identical soles and stitch them together for extra padding and durability.
- Separate Sole Material: Stitching a pre-made suede, leather, or non-slip fabric sole to the bottom of your crocheted slipper. This offers maximum durability and grip.
- Liquid Non-Slip (Puff Paint): Applying a liquid rubber or puff paint to the bottom of the sole in dots or patterns for improved grip. This is a common and easy solution.
- Ankle/Cuff Height:
- Low-cut: Sits just below the ankle bone, like a ballet slipper.
- Ankle-high: Covers the ankle bone, offering more warmth.
- Bootie-style: Extends up the calf, providing maximum warmth.
- Aesthetic & Embellishments: Simple, elegant, whimsical? Add pompoms, tassels, appliqués, buttons, or embroidered details.
Materials: Your Cozy Crafting Toolkit
- Yarn: Your chosen fiber, weight, and colors. A pair of adult slippers usually requires 1-2 skeins, depending on size and yarn weight.
- Crochet Hook: The size recommended by your pattern for your chosen yarn, to achieve the correct gauge and fabric density.
- Stitch Markers: Invaluable for marking the beginning of rounds, shaping points, and stitch counts.
- Tapestry Needle (or Blunt Yarn Needle): Essential for weaving in ends neatly (especially important for comfort inside the slipper) and for seaming if applicable.
- Scissors.
- Measuring Tape: Crucial for checking foot measurements and gauge.
- Optional for Sole Reinforcement:
- Suede or leather scraps/pre-cut soles.
- Strong upholstery thread or button thread.
- Non-slip puff paint (e.g., Tulip Fabric Paint, Sock Stop).
Essential Crochet Techniques for Sock Slippers
You’ll utilize a blend of fundamental and shaping techniques:
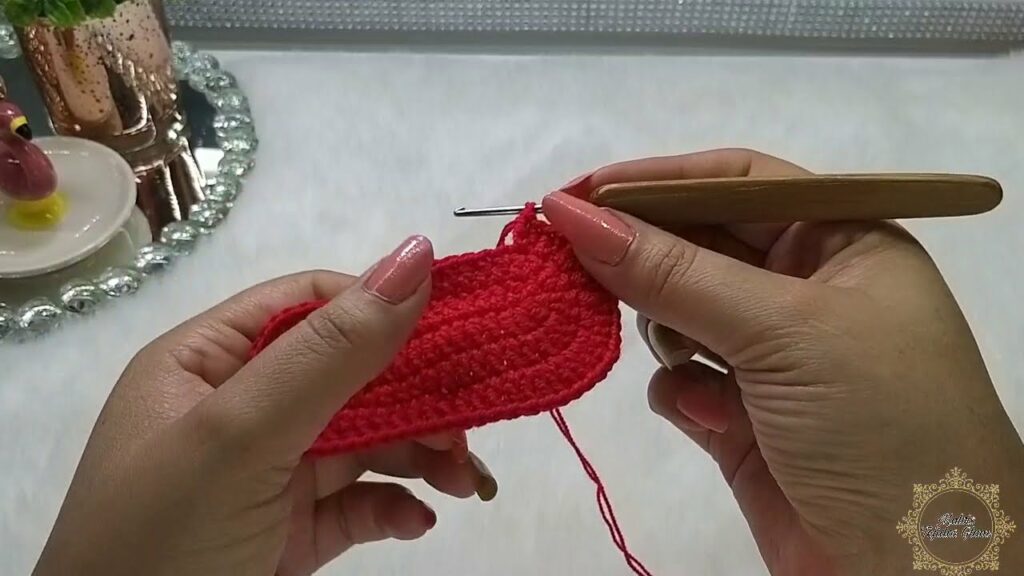
- Foundation Chains / Magic Ring: For starting your work (Magic Ring is ideal for seamless toes).
- Basic Stitches: Chain (ch), Slip Stitch (sl st), Single Crochet (sc), Half Double Crochet (hdc), Double Crochet (dc).
- Working in Rounds / Ovals: Most slipper patterns are worked in the round for seamless construction. Sole pieces may be worked in oval shapes.
- Increases: For shaping the toe, foot width, and heel.
- Decreases: For shaping the toe, instep, and heel.
- Heel Construction: Common methods include:
- Short Rows: Working back and forth over a portion of stitches to create a cupped heel.
- Flap Heel: Crocheting a flat flap and then joining it to form the heel.
- Turning Heel: Similar to knitted heel turns, involving decreases and working across gaps.
- Cuff Construction: Often uses ribbing techniques (working in BLO, front post/back post stitches) for elasticity.
- Sole Reinforcement/Attachment: Techniques for sewing crocheted layers together or attaching non-crocheted soles.
- Blocking: While not always strictly necessary for all slippers, it can help even out stitches, improve drape, and refine the shape.
Planning Your Project: Laying the Foundation for the Perfect Fit
- Sizing & Measurements:
- Foot Length: Measure the length of the foot from heel to longest toe.
- Foot Circumference: Measure around the widest part of the foot (usually the ball of the foot).
- Snug Fit (Negative Ease): For sock slippers, you generally want a snug fit to prevent slipping. Design the slipper to be slightly smaller than the foot’s actual measurements, allowing the yarn’s stretch to provide the perfect “hug.”
- Pattern Reference: Most patterns provide sizing charts (e.g., US shoe sizes) or specific foot measurements.
- Gauge Swatch (Crucial!):
- Crochet a substantial swatch (at least 4×4 inches / 10×10 cm) in the main stitch pattern using your chosen yarn and hook.
- Wash and block your swatch as you plan to finish the slippers. This is vital, as yarn can change after washing, especially for items needing a precise fit.
- Measure your stitches and rows per inch/cm accurately. Adjust your hook size if your gauge doesn’t match the pattern’s.
- Yarn Quantity: Check your chosen pattern for yardage requirements. It’s always wise to have a little extra, especially if you plan to reinforce the sole with a second crocheted layer.
Construction Journey: Bringing Warmth to Your Feet (Conceptual Guides)
Slipper patterns vary widely, but here are common construction approaches:
Method 1: Sole-Up Construction (Common for Slippers)
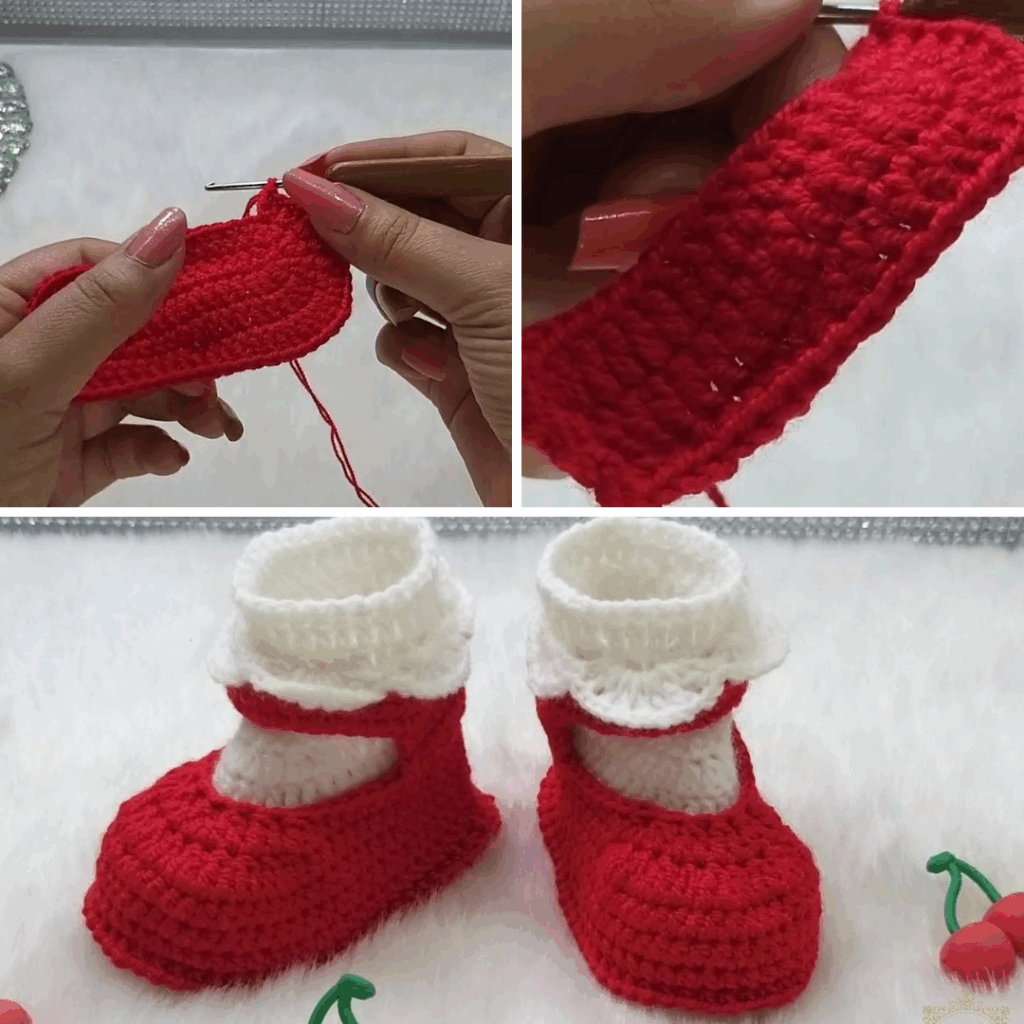
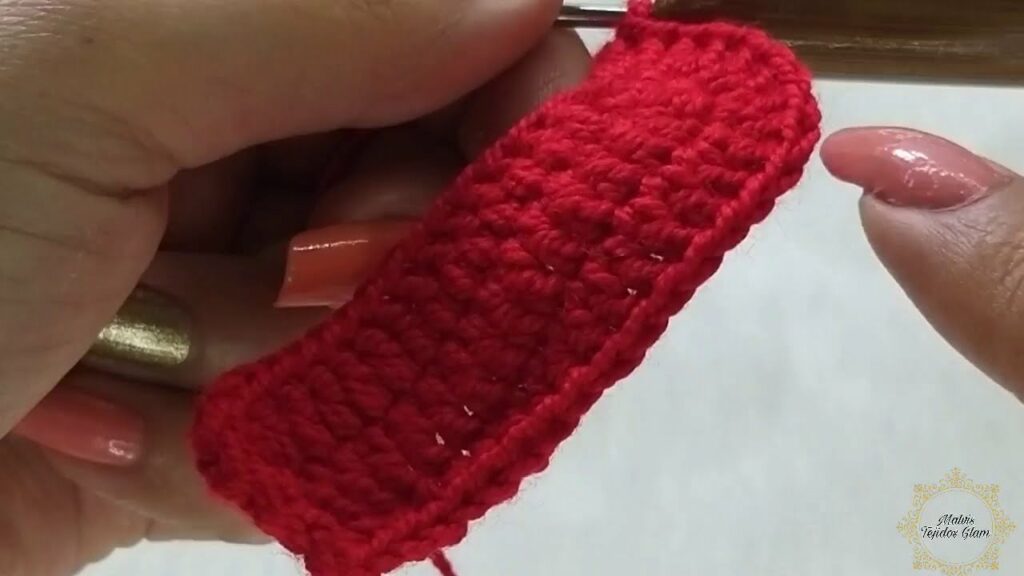
- Crochet the Sole: Begin by crocheting a flat oval (or rectangle with rounded ends) that matches the length and width of the foot. You might make two identical soles per slipper for extra cushioning and durability.
- Work Up the Sides: Once the sole is complete (and potentially joined to a second sole), work rounds of stitches directly up from the edge of the sole, forming the sides of the slipper.
- Shape the Toe & Heel: Continue working in rounds, incorporating decreases to shape the top of the foot and the heel area.
- Add the Cuff: Once the main body of the slipper is formed, work rounds of ribbing or a decorative edge around the ankle opening.
Method 2: Toe-Up Construction (More Sock-like)
- Start the Toe: Begin with a Magic Ring or a foundation chain and work increases in rounds to form the rounded toe of the slipper.
- Work the Foot: Continue working in rounds without increases until the slipper reaches the desired length before the heel.
- Shape the Heel: This is often done by working flat back and forth over a portion of stitches (e.g., short rows or a heel flap) to create the cup for the heel.
- Join Heel & Work Cuff: Once the heel is formed, join the work back into the round and continue crocheting upwards to form the ankle and cuff.
Method 3: Flat & Seamed
- Crochet Panels: Some patterns involve crocheting flat pieces for the sole, upper, and side panels.
- Seam Together: These pieces are then carefully seamed together using a tapestry needle to form the 3D slipper shape.
Finishing Touches: The Sole of Comfort
- Weaving in Ends: Meticulously weave in all yarn tails, especially on the inside of the slipper, to prevent irritation and ensure durability.
- Edging & Cuff Finishing: Ensure all edges are neat and comfortable.
- Sole Reinforcement (Critical Detail):
- Second Crocheted Sole: If you crocheted two soles, stitch them together using a whip stitch or slip stitch around the edges.
- Fabric Sole: Using strong thread, hand-stitch a pre-cut suede or non-slip fabric sole to the bottom of the crocheted slipper.
- Liquid Non-Slip: Apply dots or a pattern of liquid rubber or puff paint to the bottom of the slipper. Allow to dry completely (often 24-72 hours) before wear.
- Blocking (Optional but Recommended): Gently wet your finished slippers, stuff them lightly with paper or tissue paper to maintain their shape, and allow them to air dry. This helps even out stitches and improve the overall fit and appearance.
Tips for Sock Slipper Success
- Yarn for Warmth & Durability: Choose yarns known for their warmth and ability to withstand wear, especially for the sole.
- Gauge for Fit: A good gauge is essential for slippers that fit well and stay on.
- Reinforce the Sole: This is the most important step for longevity. Don’t skip it!
- Consider Grip: Especially important for children or anyone walking on slippery floors. Add anti-slip material.
- Comfort is Key: Ensure the inside of the slipper is smooth, with no bulky seams or rough ends that could rub.
- Try It On! If making for yourself or someone present, try the slipper on as you go to check the fit and adjust if necessary.
Caring for Your Cozy Creations
- Follow Yarn Label Instructions: Always refer to your specific yarn’s care guidelines for washing and drying.
- Gentle Wash Recommended: Most crocheted slippers benefit from gentle hand washing in cool water with a mild detergent. If your yarn is machine washable, use a gentle cycle and a mesh laundry bag.
- Reshape and Lay Flat to Dry: Never wring, twist, or hang wet slippers, as this can cause stretching and distortion. Gently squeeze out excess water, reshape them, and lay them flat on a clean towel or a mesh drying rack to air dry completely.
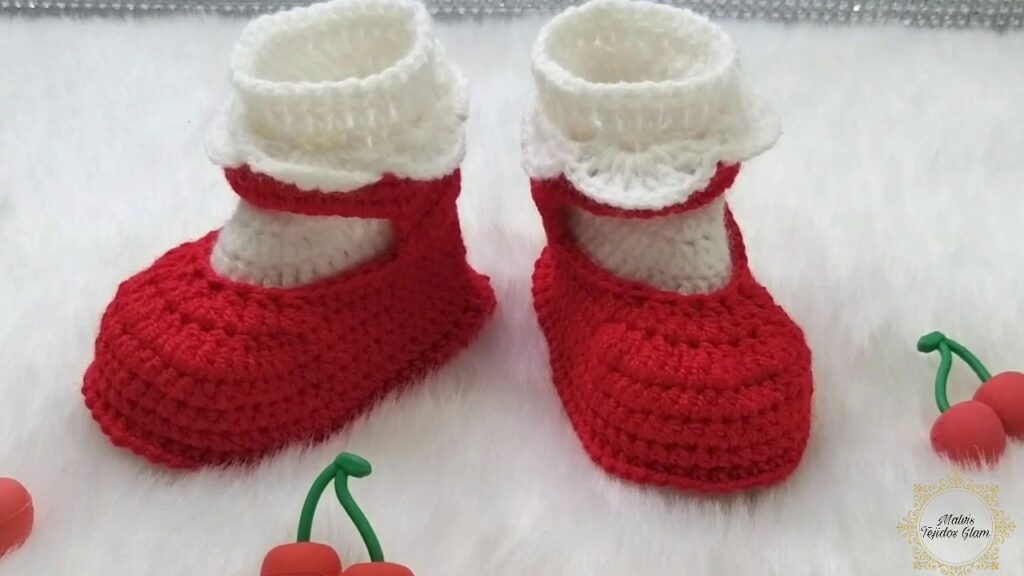
Crocheting sock slippers is a delightful way to bring warmth, comfort, and a touch of handmade luxury into your home. Each pair is a cozy hug for your feet, crafted with care and creativity.
Video Tutorial ;