 by
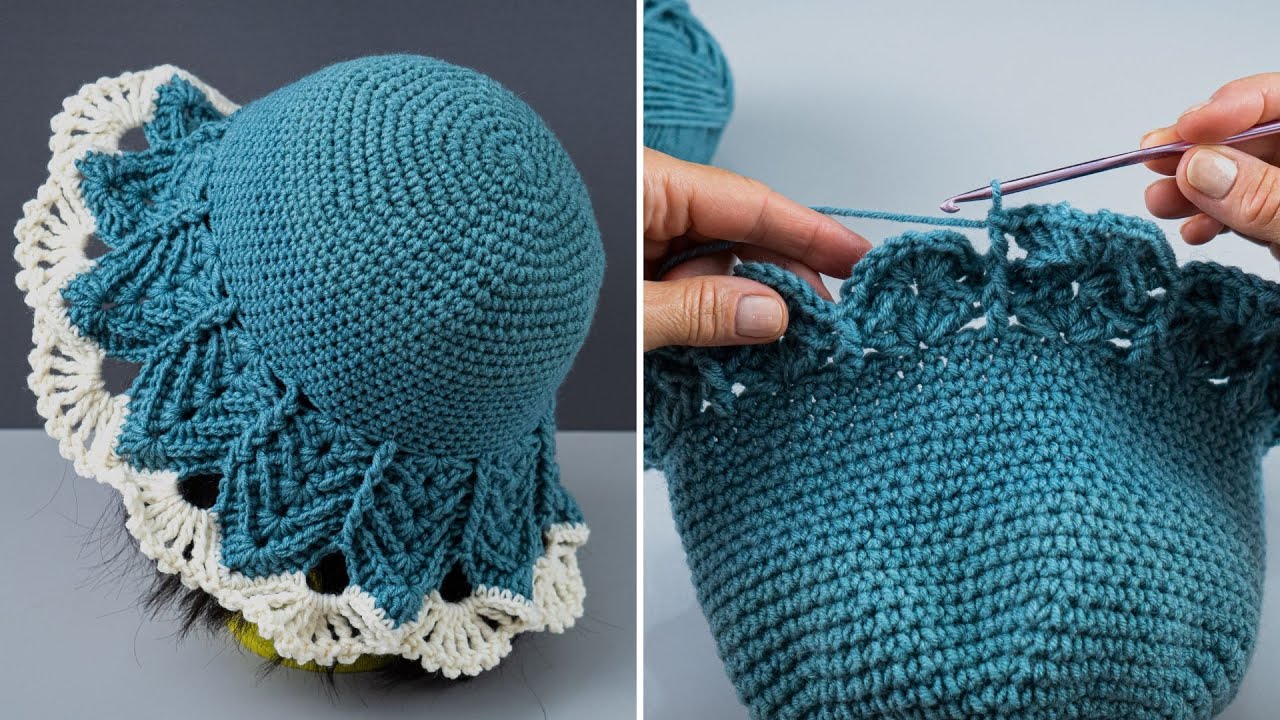
by If you’re looking for a stylish, practical, and beginner-friendly crochet project, the crochet bucket hat is the perfect choice. It’s fast to make, easy to customize, and a fun accessory for any season. In this tutorial, you’ll learn how to crochet a classic bucket hat from start to finish — even if you’re new to crochet!
🧺 What You’ll Learn:
- Materials needed for a crochet bucket hat
- Basic crochet stitches and terms
- Step-by-step instructions (with tips!)
- How to adjust the size
- Optional style variations
🧵 Materials Needed:
| Item | Description |
|---|---|
| Yarn | Worsted weight (category 4) cotton yarn – 1 skein (approx. 100-150g) |
| Hook | 5mm (H-8) crochet hook |
| Scissors | For cutting yarn |
| Tapestry Needle | For weaving in ends |
| Stitch Marker | Optional, but helpful for beginners |
💡 Yarn Tip: Cotton is best for summer bucket hats. For winter, use acrylic or wool.
🧶 Crochet Stitches & Abbreviations (US Terms):
- ch – chain
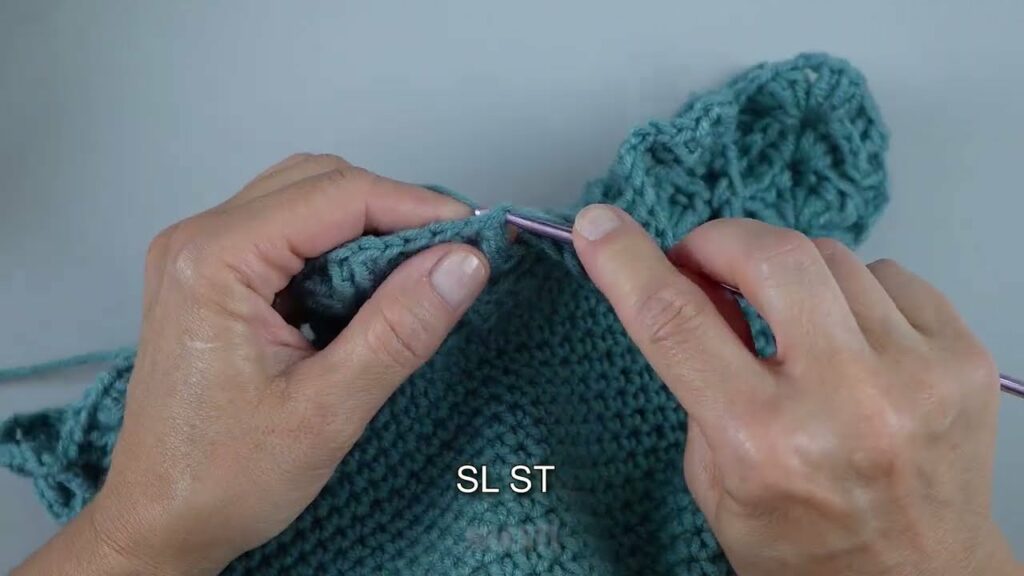
- sl st – slip stitch
- sc – single crochet
- dc – double crochet
- inc – increase (2 stitches in the same stitch)
- st(s) – stitch(es)
If you’re a beginner, stick to single crochet for a tighter, denser hat. More experienced? Try double crochet for a quicker, floppier version.
👒 Bucket Hat Structure:
- Crown (top of the hat)
- Body (the sides)
- Brim (the flare around the edge)
🪡 Step-by-Step Instructions:
🌟 Step 1: Crochet the Crown (Flat Circle)
Start with a magic ring (or ch 4 and sl st to form a ring).
R1:
Ch 2 (counts as dc), 11 dc into the ring. Sl st to the top of ch-2 to join. (12 dc)
R2:
Ch 2, 2 dc in each stitch around. Join with sl st. (24 dc)
R3:
Ch 2, 1 dc in first st, 2 dc in next st – repeat around. Sl st to join. (36 dc)
R4:
Ch 2, 1 dc in next 2 sts, 2 dc in next st – repeat around. Join. (48 dc)
R5 (optional – adjust size):
Ch 2, 1 dc in next 3 sts, 2 dc in next st – repeat around. Join. (60 dc)
💡 TIP: Your circle should lay flat. If it starts to ruffle, you’re increasing too much. If it curls up, you need more increases.
🧢 Step 2: Build the Hat Body
Now that the crown is the right size (approx. 6–7″ in diameter), stop increasing and start working straight down to form the sides.
R6–R12:
Ch 2, dc in each st around. Join with sl st. (60 dc per round)
- Adjust the number of rounds depending on how deep you want the hat.
For a snugger fit or a tighter texture, you can use single crochet instead of dc and add more rows.
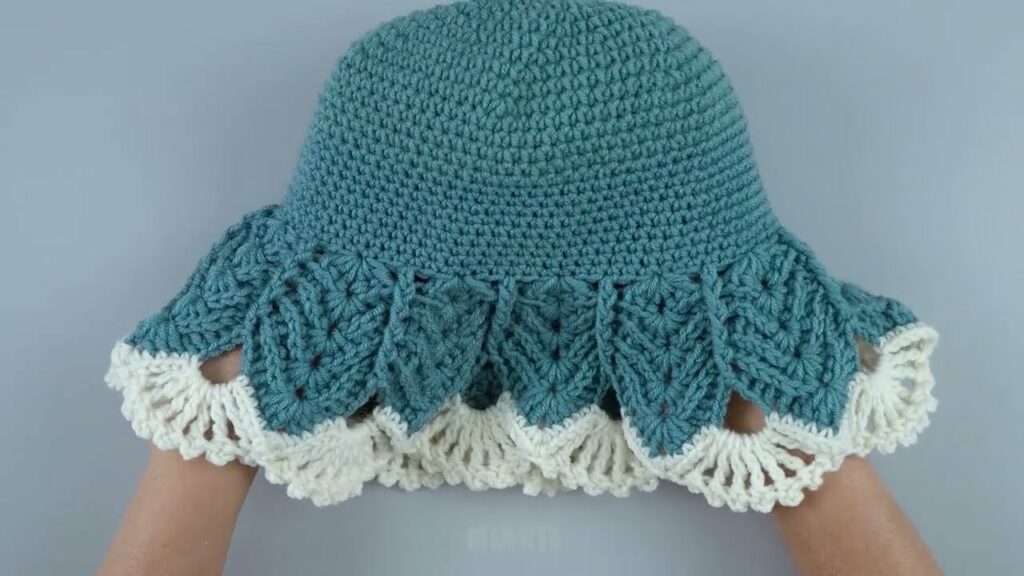
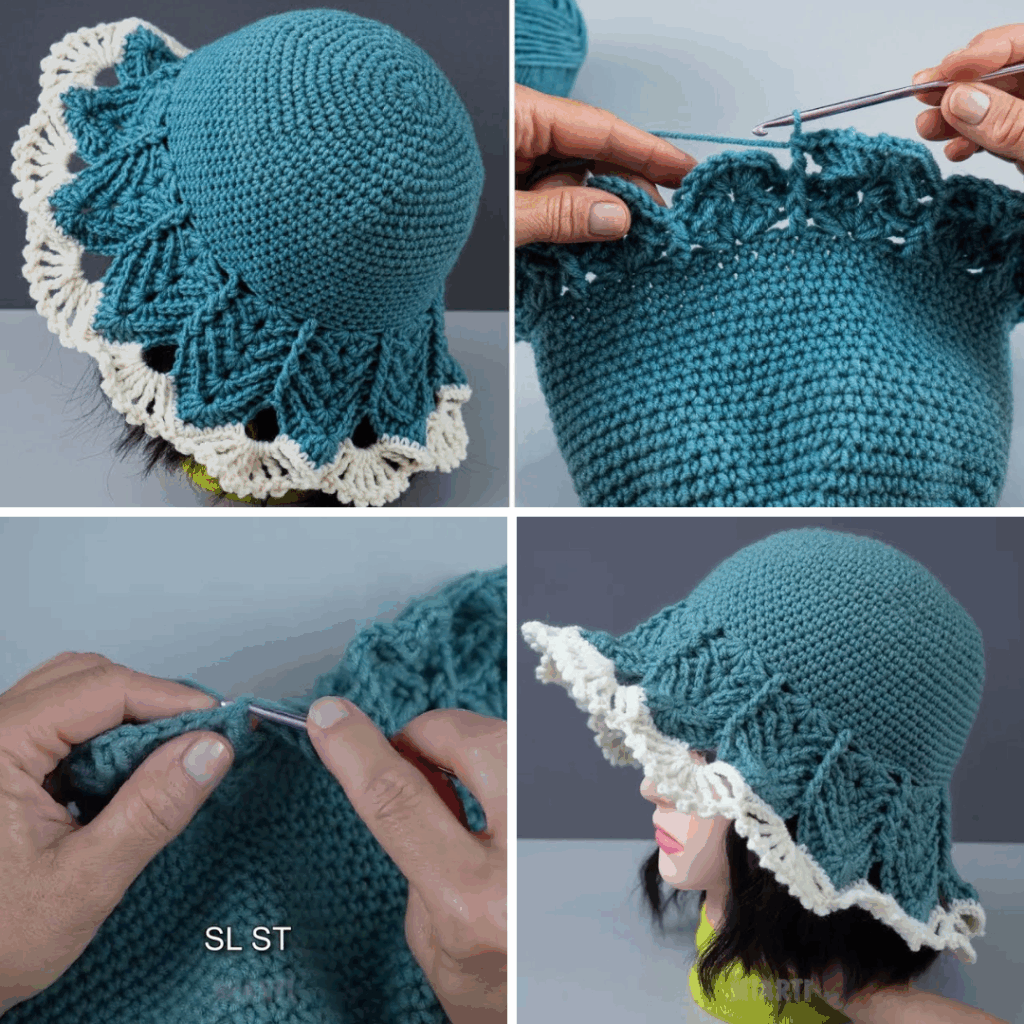
🌀 Step 3: Add the Brim
Now it’s time to flare the edge into a brim!
R13:
Ch 2, 2 dc in one stitch, 1 dc in next – repeat around. Join. (90 dc)
R14:
Ch 2, dc in each st around. Join. (90 dc)
R15:
Ch 2, 2 dc in one stitch, 1 dc in next 2 sts – repeat around. Join. (120 dc)
R16 (optional):
Continue adding rounds if you want a wider brim.
You can also switch to sc for a sturdier brim edge.
🧼 Finishing Touches
- Cut yarn, leaving a 6-inch tail.
- Use tapestry needle to weave in all ends neatly.
- Optional: Add a contrasting color border, flowers, or appliques.
📏 Sizing Tips:
- To make it larger or smaller, increase or decrease the crown rounds.
- Use a measuring tape to check:
- Crown diameter: ~6.5–7 inches for adults
- Hat depth: ~7–8 inches
- Brim width: 1.5–3 inches

🎨 Variations and Ideas:
- 🌈 Color Block: Use different yarn colors for crown, body, and brim.
- 💐 Floral Appliqué: Add crocheted flowers or leaves.
- 🧵 Texture: Try puff stitches or front/back post stitches for texture.
- 👶 Baby Version: Use baby-weight yarn and smaller hook (e.g., 3.5mm).
🧶 Final Thoughts
Crocheting a bucket hat is a fun and rewarding project for crafters of all levels. With just a few basic stitches and some simple shaping, you can create a trendy accessory in just a couple of hours. Plus, it’s endlessly customizable!
Whether you wear it to the beach, a picnic, or just out for errands, your handmade bucket hat is sure to turn heads. Happy hooking! 🧵✨
Video Tutorial: