by
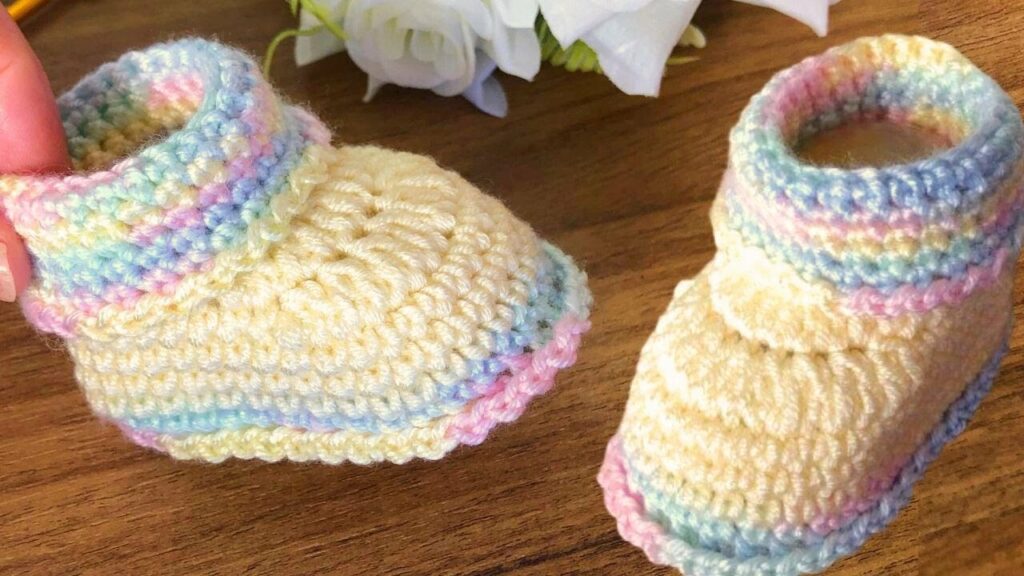
by There’s something incredibly satisfying about crocheting a wearable item, and footwear is no exception. This Super Easy Crochet Shoe tutorial is designed for absolute beginners to garment-like projects. We’ll create a simple, comfortable bootie perfect for newborns or infants (approximately 0-3 months), focusing on clear, step-by-step instructions that build your confidence in basic shaping.
This pattern is a fantastic starting point for learning how to crochet shoes, as it uses only fundamental stitches and a straightforward construction. You’ll be amazed at how quickly you can create a charming and practical pair of booties for a special little one, or to practice your skills for larger slipper projects down the line!
Why Crochet an Easy Shoe?
- Beginner-Friendly: Primarily uses single crochet (sc) and half double crochet (hdc), and simple increases/decreases.
- Quick Project: Being small, these booties work up surprisingly fast, offering immediate gratification.
- Customizable: Easily change colors, add stripes, or embellish with bows, buttons, or small appliqués.
- Practical & Adorable: Perfect for keeping tiny toes warm and cozy.
- Skill Building: Learn the essential techniques for creating 3D shapes, working in the round/oval, and basic shaping – all crucial for more advanced crochet projects.
- Great Gift: Handmade baby booties are always a treasured and personal gift.
Key Considerations Before You Start:
- Target User/Size: This tutorial is specifically for a baby shoe (0-3 months) with an approximate finished sole length of 9-10 cm (3.5-4 inches). This is a common size for newborns and young infants.
- For larger sizes (e.g., 3-6 months, 6-12 months): You’ll need to increase your initial chain length, add more increase rounds for the sole, and add more straight rounds for the height before beginning the toe shaping.
- For adult slippers: The principles are the same, but you’ll need significantly more stitches and rounds.
- Yarn Choice:
- Fiber: Prioritize softness and washability for baby items.
- Baby Acrylic: Very soft, durable, affordable, and machine washable.
- Cotton or Cotton Blends: Breathable, good stitch definition, and durable.
- Superwash Merino Wool: Soft and warm, but check care instructions.
- Weight: Worsted weight (Category 4) is easy to work with and creates a good fabric density for booties.
- Colors: Choose any color(s) you like!
- Fiber: Prioritize softness and washability for baby items.
- Hook Size:
- Match your hook size to your yarn weight, but consider going down half a size from the yarn label’s recommendation. This creates a denser fabric, which is good for shoes as it helps them hold their shape and prevents toes from poking through gaps.
- For Worsted weight yarn, a 4.0 mm (US G/6) or 4.5 mm (US 7) hook is usually a good starting point.
- Gauge (Important for Fit!):
- While not as critical as for garments, checking your sole gauge is important to ensure the bootie fits the intended size. Make a small swatch for the sole and measure its length.
Materials You’ll Need:
- Yarn: Approx. 50-70 yards of Worsted Weight (Category 4) soft baby yarn.
- Crochet Hook: Size G/6 (4.0 mm) or 7 (4.5 mm) (adjust to achieve desired fabric density).
- Yarn Needle (Tapestry Needle): For weaving in ends.
- Scissors: For cutting yarn.
- Stitch Marker (optional but helpful): To mark the beginning of rounds.
Essential Crochet Abbreviations:
- ch: chain
- sl st: slip stitch
- sc: single crochet
- hdc: half double crochet
- sc inc: single crochet increase (2 sc in same st)
- hdc inc: half double crochet increase (2 hdc in same st)
- sc2tog: single crochet 2 together (decrease)
- st(s): stitch(es)
- BLO: back loop only
- (): indicates instructions to be worked into the same stitch/space
- ***…***: repeat instructions within asterisks
- []: indicates stitch counts at the end of a round/row
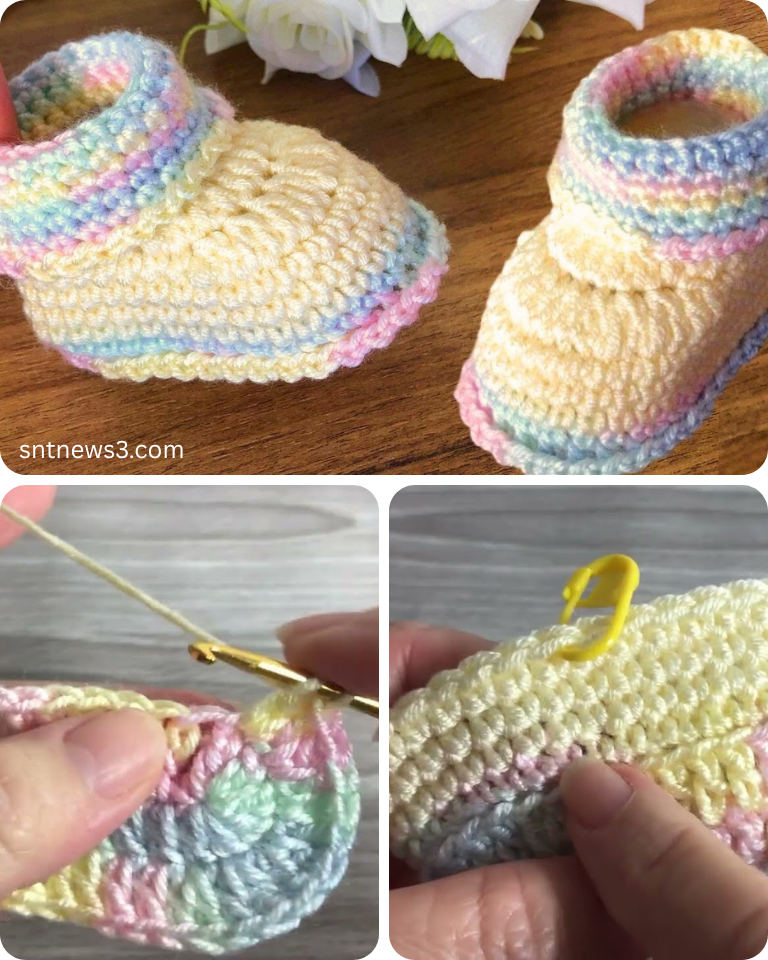
Step by Step Super Easy Crochet Shoe Tutorial (Baby Bootie – 0-3 Months)
All parts are worked in rounds. Use a stitch marker to mark the first stitch of each round if you tend to lose your place.
Gauge Swatch (Sole Check): Work Part 1: The Sole. Measure the length. It should be approximately 9-10 cm (3.5-4 inches). Adjust hook size if significantly different.
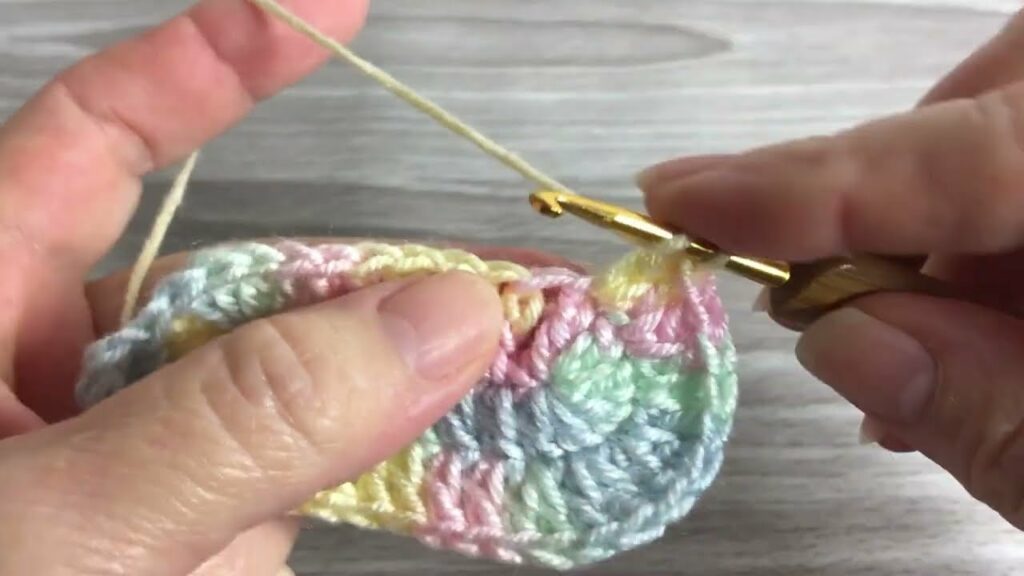
Part 1: The Sole
We begin by crocheting a flat oval that forms the bottom of the bootie.
- Starting Chain: Ch 13. (This will be the length of your sole. For a 9-10cm sole, 13 chains usually work, but adjust based on your tension.)
- Round 1:
- Hdc in the 3rd ch from hook (counts as 1st hdc).
- Hdc in each of the next 9 ch.
- Work (7 hdc) in the very last ch (this creates the curve for the toe end).
- Now, working along the opposite side of your starting chain: Hdc in each of the next 9 ch.
- Work (6 hdc) in the very first chain stitch where you made your first hdc (this creates the curve for the heel end).
- Join with a sl st to the top of the beginning Ch 2.
- [32 hdc] (You will have 9 hdc on each side, plus 7 at the toe, plus 6 at the heel = 31 + the first hdc made at start = 32).
- Round 2:
- Ch 2 (does NOT count as a st).
- Hdc inc in the first st.
- Hdc in the next 9 sts.
- Hdc inc in the next 7 sts.
- Hdc in the next 9 sts.
- Hdc inc in the next 6 sts.
- Join with a sl st to the top of the first hdc.
- [46 hdc]
- Round 3:
- Ch 2 (does NOT count as a st).
- Hdc inc in the first st. Hdc in next st.
- Hdc in the next 9 sts.
- Hdc inc in next st, hdc in next st. Repeat from * 7 times.
- Hdc in the next 9 sts.
- Hdc inc in next st, hdc in next st. Repeat from * 6 times.
- Join with a sl st to the top of the first hdc.
- [59 hdc]
- At this point, your sole should measure approx. 9-10 cm (3.5-4 inches) in length. If not, adjust hook size and re-do.
Part 2: Building the Sides/Upper (Establishing the Wall)
This round creates the defined vertical edge of the bootie.
- Round 4 (Establishing Wall):
- Ch 1 (does NOT count as a st).
- Sc in the back loop only (BLO) of each st around.
- Join with a sl st to the first sc.
- [59 sc]
- Working in BLO creates a neat ridge that defines the sole from the upper.
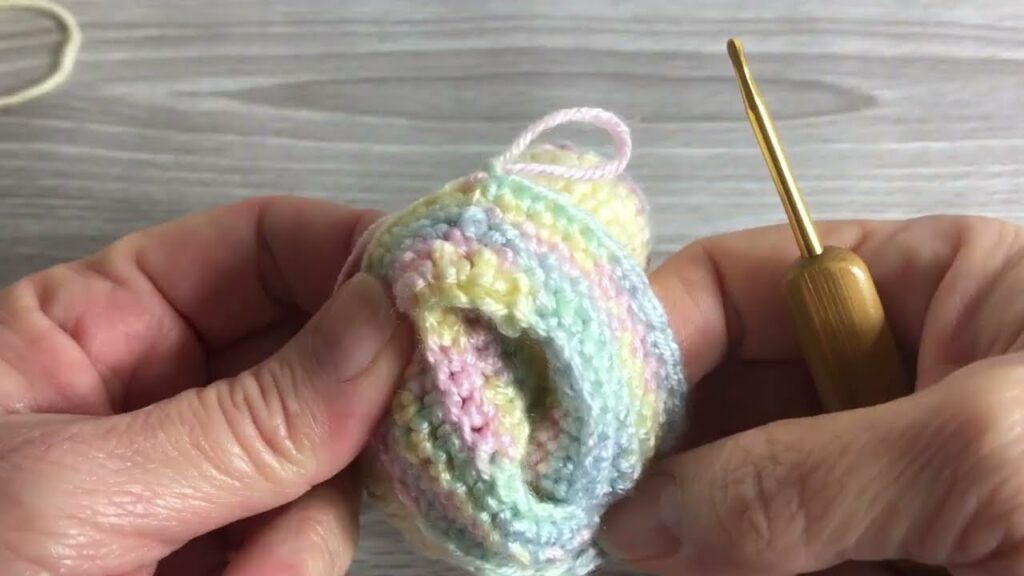
Part 3: Shaping the Toe
Now we’ll work upwards and decrease stitches at the front to form the toe.
- Round 5 (Body & Initial Toe Decrease):
- Ch 1 (does NOT count as a st). Sc in the first 17 sts.
- Sc2tog. Repeat from * 8 times (this creates the toe shaping).
- Sc in the remaining 26 sts.
- Join with a sl st to the first sc.
- [51 sc]
- Round 6 (Body & Further Toe Decrease):
- Ch 1. Sc in the first 15 sts.
- Sc2tog. Repeat from * 6 times.
- Sc in the remaining 24 sts.
- Join with a sl st to the first sc.
- [45 sc]
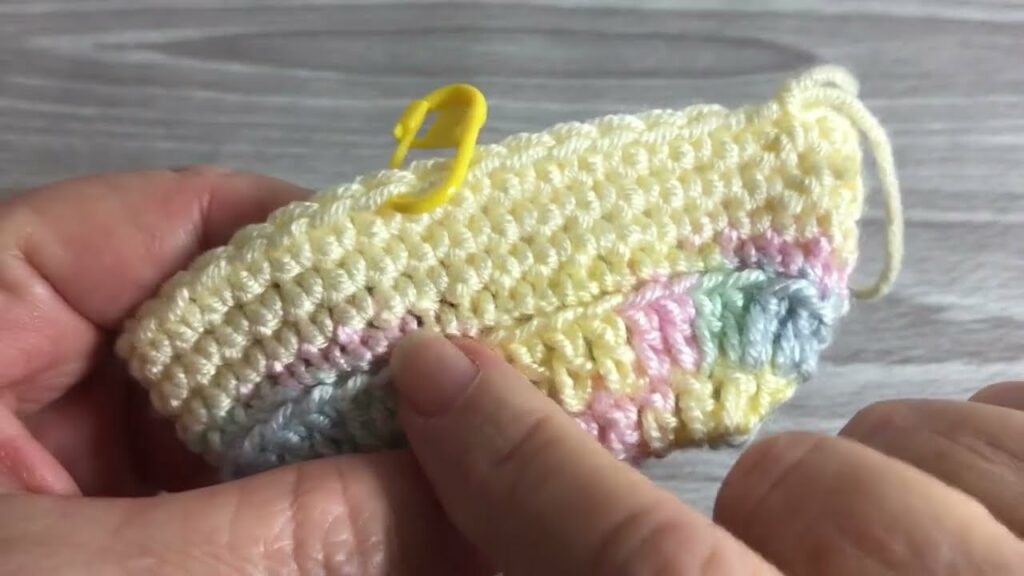
- Round 7 (Ankle Height):
- Ch 1. Sc in each sc around.
- Join with a sl st to the first sc.
- [45 sc]
- This round brings the bootie up to ankle height. Try it on a baby doll or similar size foot to check the fit.
Part 4: The Ankle/Cuff
This finishes the opening of the bootie.
- Round 8 (Optional Cuff/Border):
- Ch 1. Sc in each sc around.
- Join with a sl st to the first sc.
- [45 sc]
- FO, leaving a short tail to weave in.
Part 5: Finishing Touches
- Weave in All Ends: Use your yarn needle to carefully weave in all starting and ending tails. Take your time to make them invisible for a neat finish.
- Make a Second Shoe! Repeat all steps to create a matching pair.
- Optional Embellishments:
- Ribbon: Thread a narrow ribbon through the stitches of Round 7 (or any round on the ankle) and tie a bow.
- Buttons/Bows: Sew a small decorative button or a tiny crocheted bow onto the side or front of the ankle. Ensure any embellishments are securely attached and baby-safe.
Congratulations! Your Super Easy Crocheted Shoes are Complete!
You’ve successfully created a practical and adorable pair of booties with just a few basic stitches. This is a fantastic step in your crochet journey!
Tips for Success & Customization:
- Consistent Tension: Try to maintain even tension throughout the project. This is key for neat stitches and for achieving the correct size.
- Adjusting Size:
- Length: To make a longer sole, increase your starting chain (add 2 chains for roughly every 1 cm of sole length needed). Then adjust the number of stitches at the toe and heel turns proportionally.
- Height: To make a taller bootie, add more straight rounds (like Round 7) before shaping the toe.
- Width: To make a wider sole, add an extra increase round after Round 3 (e.g., Round 4: Sc in next X sts, sc inc in next st).
- Yarn Choices: Explore different yarn colors or even a self-striping yarn for fun effects.
- Non-Slip Soles: For older babies or toddlers who are starting to walk, you can purchase or cut non-slip fabric shapes and sew them to the bottom of the sole.
- Washing Instructions: Always refer to your yarn label for specific care instructions. Most baby yarns are machine washable on a gentle cycle, but laying flat to dry helps maintain shape.
- Experiment with Stitches: Once you’re comfortable with this pattern, try making a pair using only hdc, or even adding a simple textured stitch to the upper for a different look.
Enjoy your beautiful, handmade creation!
Video tutorial: