 by
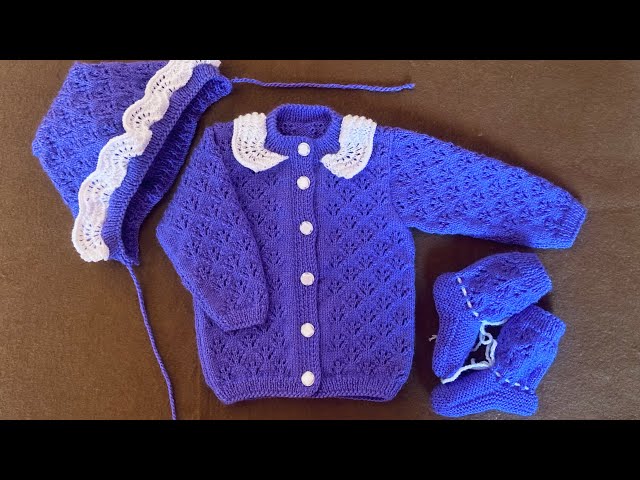
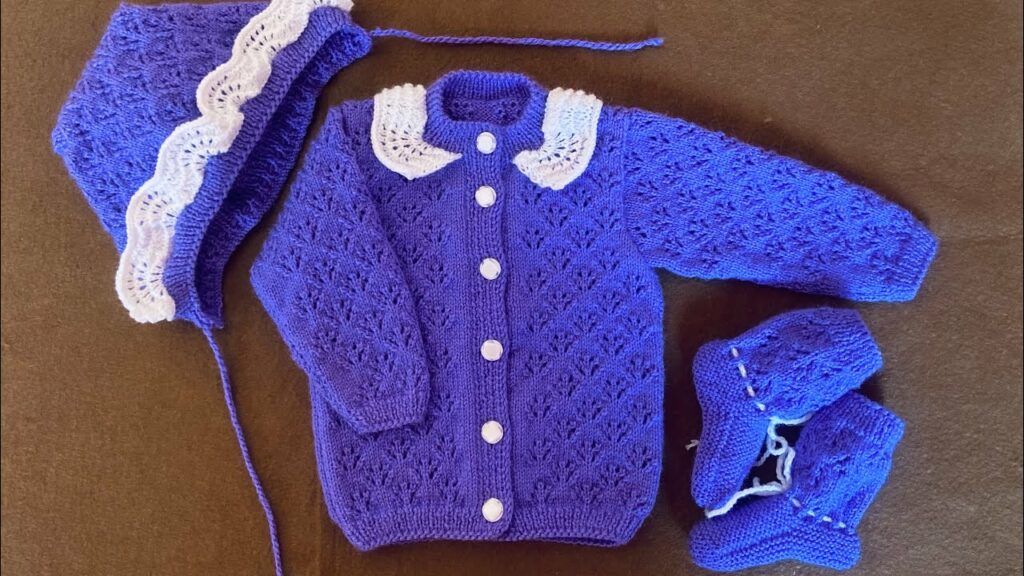
by The magic of knitting truly shines when creating items for babies. Little caps and socks are more than just functional accessories; they are miniature works of art, often imbued with love in every stitch. Whether you’re a seasoned knitter or just starting your journey, these small projects are perfect for experimenting with designs, trying new stitches, and creating cherished keepsakes.
This guide will walk you through the key considerations and techniques for designing and knitting delightful baby caps and socks, ensuring they are both comfortable for the baby and satisfying for the knitter.
Why Focus on Baby Caps and Socks?
- Quick Projects: Due to their small size, caps and socks knit up relatively quickly, offering instant gratification and making them ideal for last-minute gifts.
- Skill Builders: They provide excellent opportunities to practice essential knitting techniques like knitting in the round, decreasing, increasing, and working with small circumferences.
- Yarn Scraps Friendly: Often, you only need a small amount of yarn, making them perfect for using up leftover skeins from larger projects.
- Endless Design Possibilities: Despite their size, they offer a vast array of design options, from simple textures to intricate colorwork.
- Practicality: Babies lose a lot of heat through their heads and feet, making caps and socks essential for warmth and comfort.
Essential Considerations Before You Begin:
- Yarn Choice (Crucial!):
- Fiber Content:
- Merino Wool: The top choice for softness, warmth, and breathability. Look for “superwash” merino for easy machine washing, which is a must for baby items.
- Cotton: Excellent for warmer climates or babies with wool sensitivities. Choose soft, mercerized cotton for durability and drape.
- Alpaca: Incredibly soft and warm, though often more delicate to wash.
- Acrylic: A good hypoallergenic and budget-friendly option. Choose high-quality, soft acrylics designed for babies to avoid scratchiness or pilling.
- Blends: Many yarns blend these fibers to combine the best qualities (e.g., wool/cotton for warmth and softness, acrylic/nylon for durability).
- Yarn Weight: This dictates your needle size and the fabric’s thickness.
- Fingering/4-ply: Delicate and fine, great for intricate lace or lighter-weight items.
- Sport/DK (Double Knitting): Very popular, knits up at a good pace, and provides a cozy fabric.
- Worsted/Aran: Quicker to knit, creates a warmer, chunkier fabric.
- Color: Pastels are traditional, but don’t shy away from bright, cheerful colors, subtle speckles, or even playful variegated yarns.
- Fiber Content:
- Sizing and Age:
- Babies grow fast! Design for typical age ranges: newborn, 0-3 months, 3-6 months, 6-12 months.
- For Caps: Measure average head circumference for the target age. Add a little positive ease (1-2 inches) for comfort.
- For Socks: Measure foot length and circumference (around the instep) for the target age. Socks should fit snugly but not tightly.
- Always consult a reliable baby sizing chart (available online or in knitting books) as your starting point.
- Gauge Swatch (Non-Negotiable!):
- No matter how small the project, knitting a 4×4 inch (10×10 cm) swatch in your chosen yarn and stitch pattern is vital.
- Wash and block your swatch as you would the finished item.
- Measure your stitches and rows per inch. This tells you how many stitches you need to cast on to achieve the correct size for the baby. Skipping this step often leads to ill-fitting items.
- Construction Method:
- In the Round (Recommended): Most baby caps and socks are knitted seamlessly in the round using circular needles (long for magic loop, short for small circumference, or DPNs – Double Pointed Needles). This eliminates uncomfortable seams against delicate baby skin.
- Flat & Seamed: While possible, seams can be bulky. If knitting flat, choose a seam that lies very flat (e.g., mattress stitch).
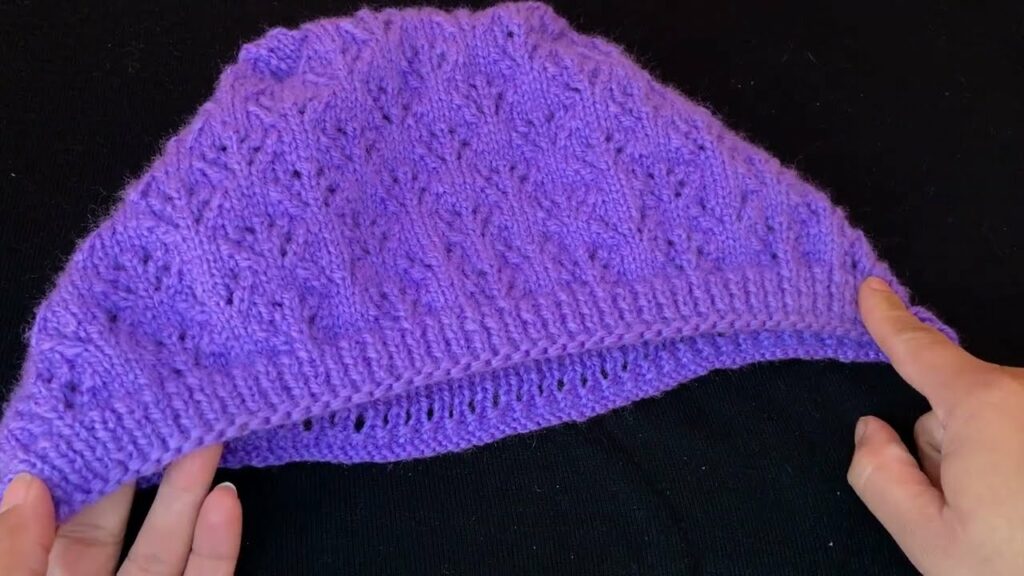
Designing Baby Caps:
A baby cap is essentially a tube with a shaped crown.
1. The Brim: * Purpose: Provides a neat edge and helps the hat stay on. * Common Stitches: * Ribbing (1×1, 2×2): Most popular due to its stretch and elasticity, ensuring a snug fit without being tight. * Garter Stitch: Simple, squishy, and doesn’t curl. Creates a lovely textured edge. * Seed/Moss Stitch: Also lies flat and offers a nice texture. * Length: Usually 0.5 to 1.5 inches, depending on desired style.
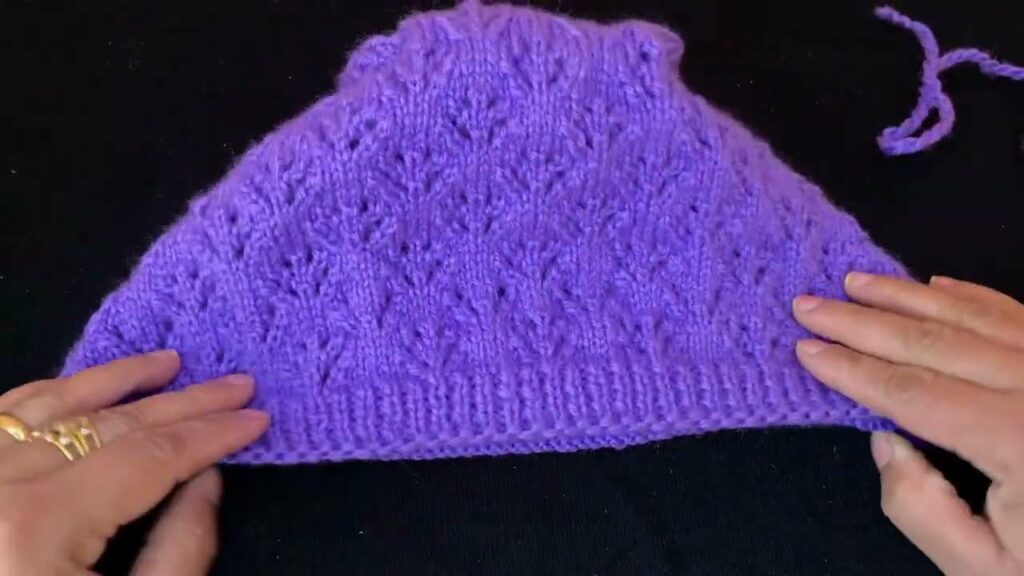
2. The Body: * Purpose: Forms the main part of the hat. * Common Stitches: * Stockinette Stitch: Classic, smooth, and lets the yarn color shine. * Garter Stitch: Creates a soft, squishy, reversible fabric. * Simple Textures: Moss stitch, seed stitch, simple knit/purl patterns (e.g., basketweave). * Small Cable Patterns: Add visual interest, but avoid overly bulky cables. * Eyelet Lace: Delicate and pretty, good for warmer weather caps or decorative bands. * Stripes: Easy way to add color. Vary stripe widths for visual appeal.
3. The Crown Shaping: * Purpose: To gradually decrease stitches to close the top of the hat. * Methods: * Decreases evenly spaced: Most common. Divide your total stitches by 4, 6, or 8 (depending on how many “wedges” you want for the crown). * K2tog or SSK: These are the primary decrease stitches. K2tog usually slants right, SSK slants left. * Spiral Decrease: Decreases are offset on each round, creating a spiral effect. * Standard Progression: Knit a few rounds even, then decrease every N stitches, then every other round, then every round until only a few stitches remain. * Finishing: Once 6-10 stitches remain, cut the yarn, thread it through the remaining stitches, pull tight, and weave in the end securely.
4. Embellishments for Caps: * Pom-Poms: Classic and cute! Make sure they are securely attached. * Ears: Knit two small ear shapes and sew them onto the top for animal hats. * I-Cord Ties/Braids: For securing under the chin, especially for newborns. * Simple Embroidery: Small stars, hearts, or initials. * Contrast Ribbing/Stripes: Using a different color for the brim or stripes.
Designing Baby Socks:
Baby socks are a bit more complex due to the heel and toe, but they are incredibly rewarding!
1. The Cuff: * Purpose: Provides a secure, stretchy opening for the sock. * Common Stitches: * Ribbing (1×1, 2×2): The most elastic and comfortable choice, preventing the sock from falling down. * Garter Stitch: Can be used, but less stretchy than ribbing. * Length: 1 to 2 inches, depending on whether you want a crew sock or a shorter ankle sock.
2. The Leg: * Purpose: Extends from the cuff to the heel. * Common Stitches: Often stockinette stitch for a smooth look, but textured stitches or simple patterns can also be used. * Length: Determined by how high you want the sock to go on the baby’s leg.

3. The Heel (The “Tricky” Part, but Masterable!): * Purpose: Shapes the back of the sock to fit the foot. * Common Methods: * Heel Flap & Gusset: The most common and robust method. You knit a “flap” (often reinforced with slipped stitches) on half of the stitches, then turn the heel by working short rows, and finally pick up stitches along the sides of the flap to create the gusset. Decreases are then worked to integrate the gusset. * Short Row Heel: Quicker and often seamless. Stitches are worked back and forth, gradually decreasing and then increasing to shape the heel cup. * Afterthought Heel: The main sock is knitted as a tube, and then a section is cut out later, and the heel is knitted in. More advanced, but creates a very clean look. * Video Tutorials are invaluable for heel turning!
4. The Foot: * Purpose: Forms the main part of the sock, from the heel to the toe. * Common Stitches: Usually stockinette stitch. Work until the foot is the desired length (measure against baby’s foot or sizing chart).
5. The Toe: * Purpose: Closes the end of the sock neatly. * Common Methods: * Wedge Toe: Decreases are worked on four “corners” of the sock, creating a neat wedge shape. * Round Toe: Decreases are more gradual, creating a softer, rounder toe. * Star Toe: Decreases are worked more rapidly at the end, creating a star pattern at the tip. * Finishing: When a few stitches remain, thread the yarn through, pull tight, and weave in the end. For a truly seamless finish, use Kitchener Stitch (a grafting technique) to join the last few stitches.
6. Embellishments for Socks: * Fold-over Cuffs: Knit a longer ribbed cuff and fold it down. * Picot Edges: For a decorative, dainty cuff. * Contrast Heels/Toes: Using a different color for the heel and toe adds a fun pop. * Small Bows/Ties: Sew a small satin bow onto the cuff.
General Tips for Knitting Baby Items:
- Choose Washable Yarns: Babies are messy! “Superwash” wool or cotton/acrylic blends are highly recommended.
- Security of Embellishments: If adding buttons, ribbons, or appliqués, ensure they are securely sewn to prevent choking hazards.
- Softness First: Always prioritize softness over texture. Any scratchiness will irritate delicate baby skin.
- Looseness vs. Snugness: Caps should have a little ease; socks should be snug but not tight.
- Seamless is Best: For maximum comfort against baby’s sensitive skin, knitting in the round to create seamless items is often preferred.
- Weave in Ends Meticulously: Loose ends can be snagged by tiny fingers or toes, or unravel the garment.
- Blocking: Gently wash and shape your finished items. Blocking opens up stitches, evens out tension, and sets the finished size, giving a professional look.
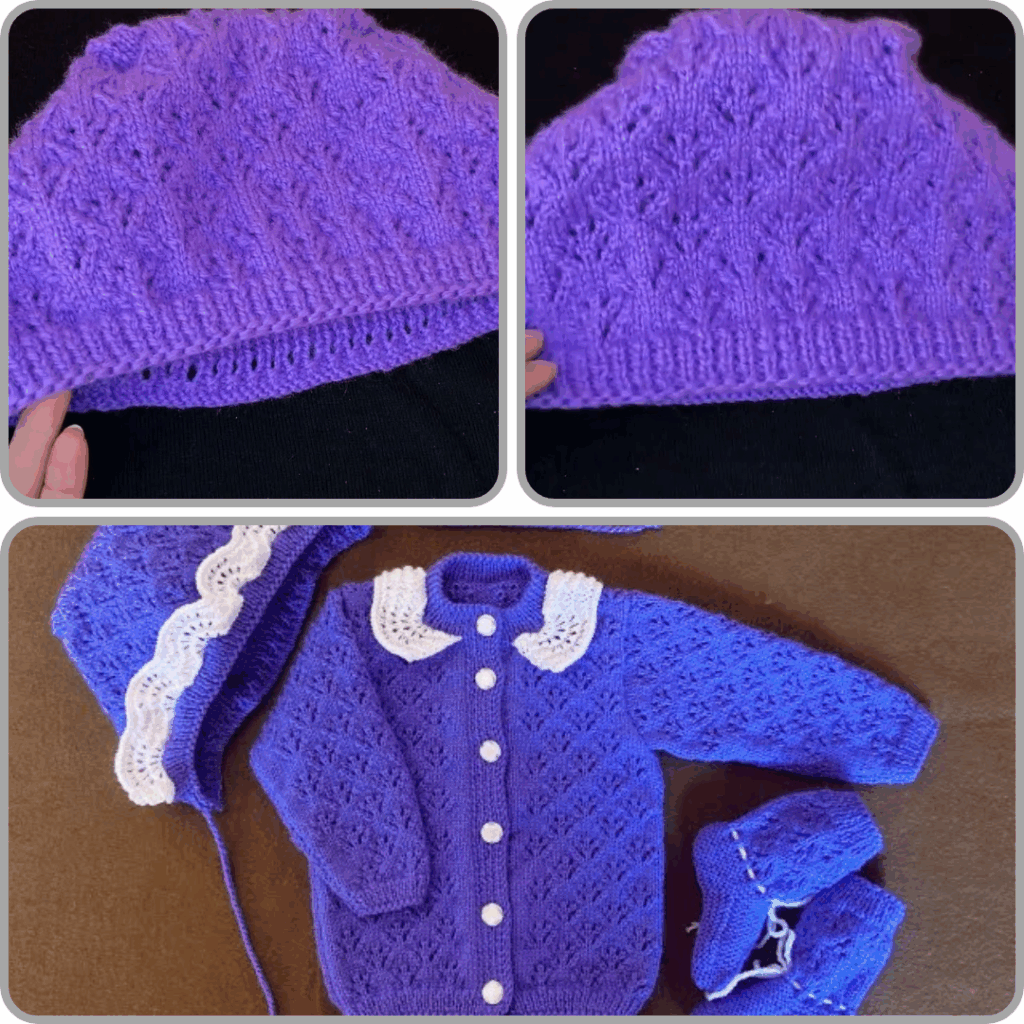
Video Tutorial :
Designing and knitting baby caps and socks is a journey of creativity and love. With careful yarn selection, attention to sizing, and a willingness to explore different stitches and techniques, you can create a collection of handmade treasures that will be cherished by parents and provide warmth and comfort to the littlest ones. Happy knitting!