by
by The V-neck is a universally flattering neckline. It elongates the neck, highlights the collarbones, and adds a touch of sophistication to any garment. While its angled shape might seem intimidating to beginners, creating a V-neck in crochet is far simpler than you might think. Forget complex calculations or intimidating shaping – there’s a very straightforward method that allows you to achieve that elegant “V” with ease.
This detailed article will break down the most accessible way to crochet a V-neck, empowering you to add this classic design element to your next top, sweater, cardigan, or dress.
Why Opt for a V-Neck?
Before diving into the “how,” let’s quickly appreciate the benefits of a V-neck:
- Universally Flattering: The V-shape draws the eye downwards, creating a lengthening effect that suits most body types.
- Versatile: V-necks transition seamlessly from casual to dressy, making them suitable for a wide range of garments.
- Modern Aesthetic: They offer a contemporary alternative to round necklines, adding a touch of chic.
- Comfort: A well-shaped V-neck provides ample room without being overly revealing, ensuring comfort.
The “Easy” V-Neck Principle: Splitting and Decreasing
The core of this easy V-neck method lies in two simple concepts:
- Splitting Your Work: Instead of continuing across the entire row, you’ll divide your stitches at the center front, creating two separate sections (a left side and a right side of the V).
- Decreasing at the Inner Edge: For each side, you will work a decrease stitch at the edge closest to the center front. This gradual reduction of stitches creates the signature angled slope of the V-neck.
The “very easy” part comes from using consistent decreases on every row (or every other row, depending on desired depth) and focusing on one side at a time until complete, then repeating for the other.
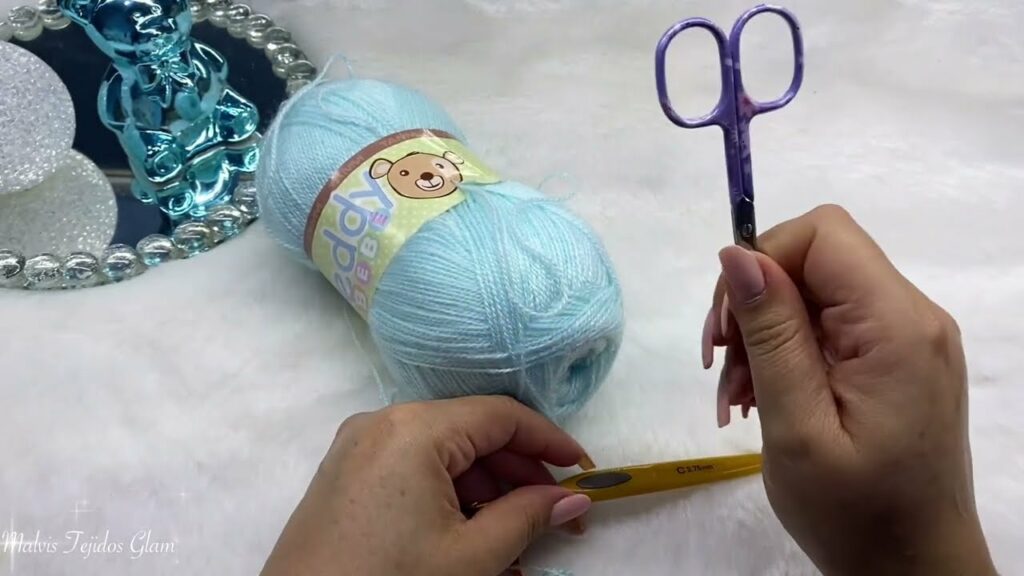
Materials You’ll Need
- Your crochet project (e.g., the front panel of a top or sweater) worked up to the point where you want your V-neck to begin.
- The same yarn and crochet hook you’re using for your project.
- Stitch Markers: Extremely helpful for marking the center point and keeping track of your work.
- Scissors.
- Tapestry Needle (for weaving in ends and seaming later).
Key Crochet Techniques
Before starting your V-neck, ensure you’re comfortable with:
- Basic Stitches: Chain (ch), Slip Stitch (sl st), Single Crochet (sc), Half Double Crochet (hdc), Double Crochet (dc) – whatever your garment’s main stitch is.
- Working in Rows: The V-neck will be shaped by working back and forth in rows.
- Decrease Stitches: You’ll need to know how to perform a decrease in your main stitch. These effectively turn two stitches into one, reducing your stitch count.
- SC2tog (Single Crochet 2 Together): Insert hook into next stitch, yarn over, pull up loop (2 loops on hook). Insert hook into next stitch, yarn over, pull up loop (3 loops on hook). Yarn over, pull through all 3 loops.
- HDC2tog (Half Double Crochet 2 Together): Yarn over, insert hook into next stitch, yarn over, pull up loop (3 loops on hook). Yarn over, insert hook into next stitch, yarn over, pull up loop (5 loops on hook). Yarn over, pull through all 5 loops.
- DC2tog (Double Crochet 2 Together): Yarn over, insert hook into next stitch, yarn over, pull up loop (3 loops on hook). Yarn over, pull through 2 loops (2 loops on hook). Yarn over, insert hook into next stitch, yarn over, pull up loop (4 loops on hook). Yarn over, pull through 2 loops (3 loops on hook). Yarn over, pull through all 3 loops.
Step-by-Step Guide: Crocheting Your Easy V-Neck
Let’s assume you’re working on the front panel of a garment, working flat in rows.
Step 1: Prepare Your Work and Mark the Center
- Work your project in rows until you reach the point where you want the V-neck to start – this will be the lowest point of your “V.”
- Find the exact center stitch of your row. If you have an even number of stitches, the “center” will be between two stitches.
- Place a stitch marker in the center stitch, or between the two center stitches. This marks your splitting point.
Step 2: Start the First Side of the V-Neck (Let’s say, the Right Side)
- Work your row as normal until you reach the stitch before your center stitch marker (or the first of the two center stitches if splitting between them).
- Turn your work. You will now be working on only half of your project. The remaining stitches for the other side of the V-neck will be left unworked on your hook/needle.
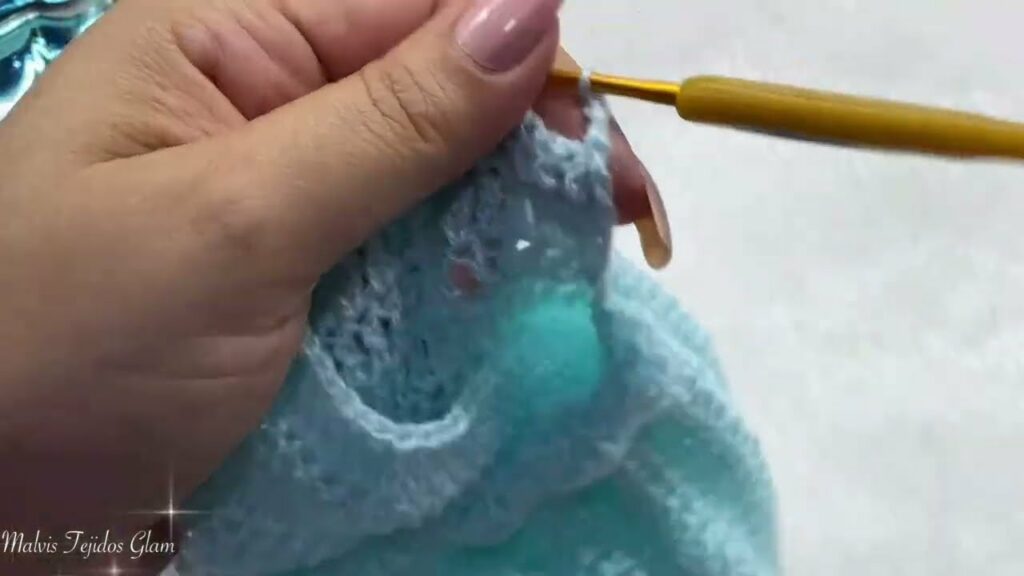
Step 3: Shape the First Side with Decreases
- Starting the Row (Inner Edge):
- For this first side, you’ll start your decrease at the very beginning of the row (which is now the inner edge of your V-neck).
- Work your chosen decrease stitch (e.g., SC2tog, HDC2tog, DC2tog) over the first two stitches of this new row. This pulls the V-neck in.
- Then, continue working your regular stitches across the rest of the row as normal.
- End of Row (Outer Edge): Work to the end of the row as usual. You are not decreasing on the outer edge (the armhole side).
- Next Row (If Decreasing Every Other Row): If your pattern calls for a shallower V-neck, you might work the next row (and every alternating row) without a decrease. Simply work the first stitch as normal and continue across.
- Repeat: Continue working rows, always starting with a decrease on the inner edge (or starting with a decrease on every other row) until your V-neck reaches the desired depth and your shoulder strap (the remaining stitches) is the correct width.
- Finish Shoulder: Bind off the remaining stitches for your shoulder, or leave them live on a stitch holder if you plan to graft the shoulder seams later.
Step 4: Start the Second Side of the V-Neck (The Left Side)
- Rejoin Yarn: Go back to your unworked stitches from Step 2. Join your yarn (usually with a slip stitch) into the stitch after your center stitch marker (or the second of the two center stitches). You will now be working in the opposite direction from your first side.
- Work the Row (Outer Edge): Work your first stitch and continue across the row as normal, until you reach the last two stitches before the center.
- End of Row (Inner Edge – Decrease Point):
- Work your chosen decrease stitch (e.g., SC2tog, HDC2tog, DC2tog) over the last two stitches of this row. This pulls the V-neck in on this side.
- Turn your work.
- Next Row (If Decreasing Every Other Row): If decreasing every other row, work the first stitch and continue across the row as normal without a decrease. Then, on the next row, you’ll repeat Step 3.
- Repeat: Continue working rows, always ending with a decrease on the inner edge (or ending with a decrease on every other row) until this side of your V-neck matches the depth and shoulder width of the first side.
- Finish Shoulder: Bind off the remaining stitches for your shoulder, or leave them live.
Step 5: Finishing the V-Neck Edge (Crucial for a Polished Look!)
Once both sides of your V-neck are complete and your shoulders are bound off (or ready for seaming), you’ll likely want to add a clean border:
- Join Yarn: Join your yarn (usually with a slip stitch) anywhere along the raw edge of your V-neck.
- Pick Up Stitches (Implied): Work a round of single crochet (SC) or slip stitches evenly around the entire V-neck opening. Aim for a consistent number of stitches per row (e.g., 1 SC per row, or 2 SC over every 3 rows, depending on your fabric density).
- Work Ribbing (Optional): For a stretchy and polished finish, you can then work a few rounds of crocheted ribbing (e.g., using front post/back post double crochet, or working in the back loop only of single crochet) for a neat neckband.
- Fasten Off & Weave in Ends: Secure your yarn and weave in all remaining tails neatly.
Visualizing the Decrease
As you work your rows, you’ll see the V-shape slowly emerge. The decreases you make at the center front edge of each side will gradually pull the fabric inward, forming that distinct angle.
- Decreasing Every Row: Creates a sharper, deeper V-neck relatively quickly.
- Decreasing Every Other Row: Creates a shallower, gentler V-neck that takes more rows to achieve the same depth.
Tips for Success
- Use Stitch Markers: They are your best friend for finding the exact center and keeping track of where your decreases should occur.
- Consistency is Key: Maintain consistent tension, especially at your decrease points, for a smooth, even V.
- Count Your Rows/Decreases: For the second side, make sure you perform the exact same number of decrease rows as you did on the first side to ensure symmetry.
- Try It On: If possible, pin your finished front panel to a sweater pattern or even try it on yourself (or a model) to check the V-neck depth before finishing.
- Blocking: Always block your finished garment! Blocking will help even out any slight irregularities in your V-neck shaping and ensure the entire garment lays beautifully.
- Clean Edging: A neat border (SC, slip stitch, or ribbing) around the V-neck opening makes a huge difference to the finished, professional look.
Troubleshooting Common Issues
- Uneven V: This usually means you didn’t decrease consistently on both sides, or your tension was uneven. Meticulous counting and consistent tension are the cures.
- Too Deep/Shallow: This is controlled by how many decrease rows you work. Make notes for future projects.
- Hole at the Bottom of the V: Ensure your decreases are worked into stitches, not into a chain space, and that your initial split at the center is tight.
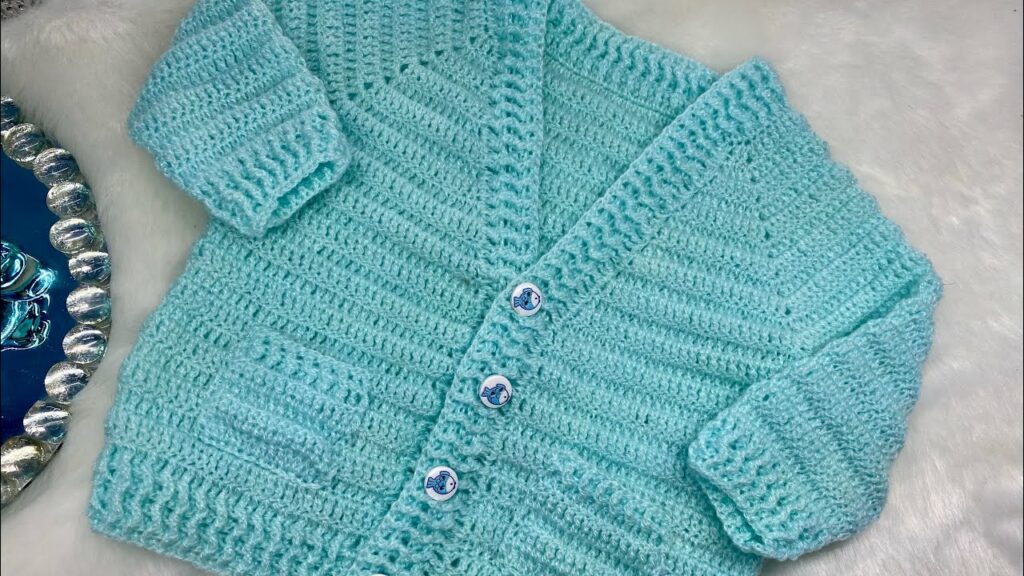
Applications
This easy V-neck method can be applied to:
- Sweaters: Light or heavy sweaters for all seasons.
- Vests: A great way to add a stylish layer.
- Cardigans: Create the front two panels with V-neck shaping, then add button bands.
- Cropped Tops: Perfect for a simple, flattering summer top.
- Dresses: For the bodice section.
Conclusion
Creating a V-neck in crochet doesn’t have to be daunting. By simply splitting your work and consistently decreasing at the inner edge of each side, you can effortlessly achieve this classic and flattering neckline. So pick up your hook, follow these straightforward steps, and add this elegant design element to your crochet repertoire. Happy hooking!
Video Tutorial ;