 by
by Craft & Crochet Guide for Beginners and Intermediate Makers
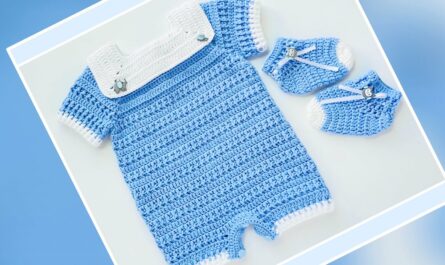
Creating a crochet baby cardigan is a rewarding and heartwarming project, perfect for gifting or adding a handmade touch to your baby’s wardrobe. Whether you’re new to crochet or an experienced crafter, this guide will walk you through the entire process — from selecting your materials to sewing the final button.
🧵 Materials You’ll Need
Before you start, gather the following supplies:
- Yarn: Choose a soft, baby-friendly yarn like:
- Cotton or acrylic blend
- DK (Double Knitting) or Light Worsted weight (Category 3)
- Approx. 250–300 yards depending on the size
- Crochet hook: Check the yarn label for the recommended hook size (usually 4.0 mm (G) or 4.5 mm (7))
- Buttons: 3–5 small buttons (optional)
- Tapestry needle: For weaving in ends
- Scissors
- Stitch markers (optional, but helpful for shaping)
📏 Sizing Guide
This pattern is written for a 0–6 month size baby, but you can adjust the length or width for larger sizes. For older babies:
| Size | Chest Circumference | Cardigan Width |
|---|---|---|
| 0–6 months | 16–17” (41–43 cm) | ~8.5” (21 cm) |
| 6–12 months | 18–19” (46–48 cm) | ~9.5” (24 cm) |
| 12–18 months | 20–21” (51–53 cm) | ~10.5” (27 cm) |
🧶 Basic Stitches You’ll Use
- ch – chain
- sl st – slip stitch
- sc – single crochet
- dc – double crochet
- hdc – half double crochet
- inc – increase (2 sts in one stitch)
- dec – decrease (crochet 2 stitches together)
If you’re unfamiliar with any of these, a quick video tutorial can help you visualize each stitch.
👕 Construction Method
This cardigan is made top-down, in one piece, using a raglan-style increase. You’ll then divide for sleeves, continue the body, and finally add sleeves and edging.
🪡 Step-by-Step Pattern
🧷 Step 1: Foundation Chain (Yoke)
- Chain 52 (adjust for larger sizes in multiples of 8)
- Row 1: DC in 4th ch from hook and in each ch across (50 dc)
- Row 2:
- Ch 2, turn
- DC in next 6 sts, 2 DC in next st (increase) — repeat to end.
- Place stitch markers at each increase if needed (marks shoulder points)
You should now have 8 increase points (for the 4 raglan lines: front, back, and both sleeves)
🔼 Step 2: Yoke Growth
- Continue rows with raglan increases (increase on each side of 4 shoulder markers) for 8–10 more rows until the piece measures ~4.5–5” (11–13 cm) tall.
✂️ Step 3: Separate for Sleeves
- Once the yoke fits across the baby’s shoulders:
- Chain underarm stitches (e.g., ch 6)
- Skip stitches for sleeves
- Connect front and back panels
Example:
Row: Ch 2, DC across front panel, DC in ch-6 space (underarm), DC across back, DC in ch-6 space, DC across front
This creates the body section — the sleeves are set aside for now.
🧵 Step 4: Body
- Continue working in DC or HDC rows until the cardigan reaches your desired length (typically 6–7” from underarm for 0–6 months)
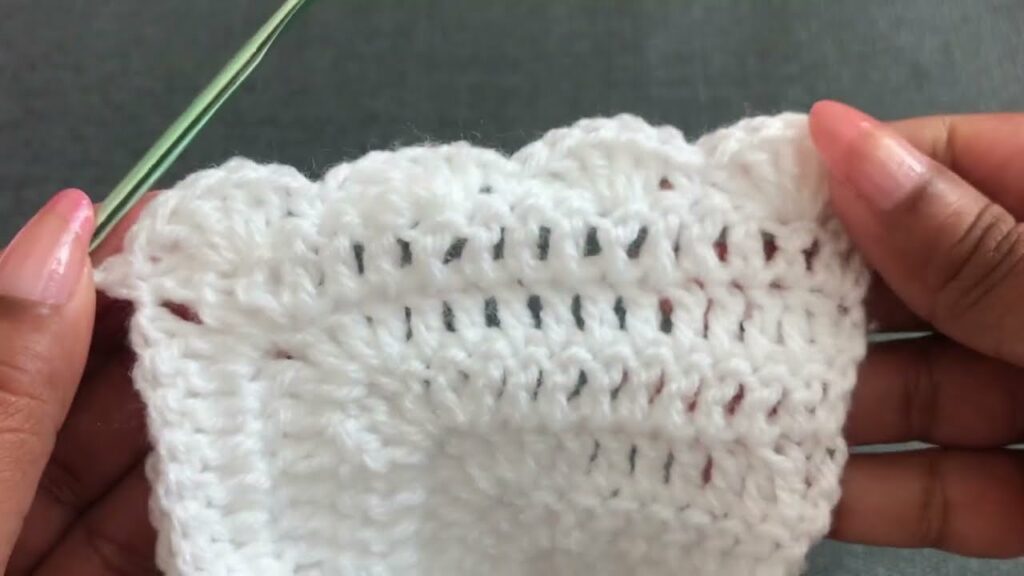
- Optional: Add decorative stitches like shells or puff stitches to the last few rows
🧤 Step 5: Sleeves

- Attach yarn to armhole
- Work in rounds (or rows) around the armhole for sleeve
- Decrease every 3–4 rounds slightly for tapering
- Continue until sleeve is ~4–5” (depending on age)
Pro tip: Use sc or hdc for sleeves to make them snug and neat
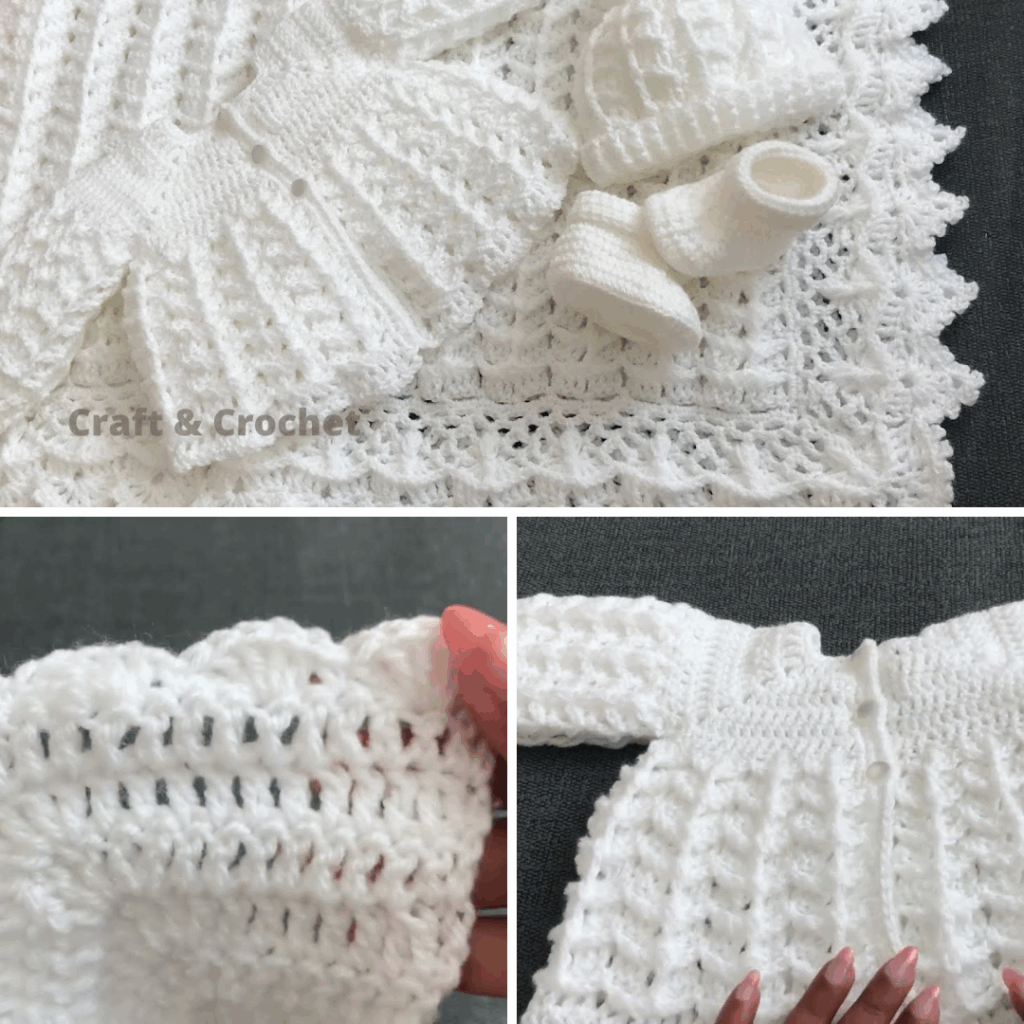
🪡 Step 6: Edging and Finishing
- Neck & Front Edging:
- Attach yarn at bottom front corner
- Work SC evenly up the front, around the neckline, and down the other side
- Make buttonholes on one side (every 4–5 rows): ch 2, skip 2 stitches
- Optional: Add a shell border or picot edging for a feminine touch
- Sew buttons opposite the buttonholes
- Weave in all ends with tapestry needle
🧼 Care Instructions
Use baby-safe yarns that are machine-washable:
- Wash in cold or warm water
- Gentle cycle
- Lay flat to dry or tumble dry on low
🧁 Tips & Customization Ideas
- Add a hood by continuing rows upward from the neckline and shaping into a curve
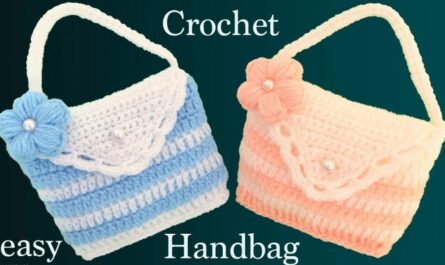
- Try color-blocking or stripes for a modern look
- Embellish with:
- Crochet flowers
- Pockets
- Appliqué (like a bunny or heart)
- For boys, stick to clean lines, blues, neutrals, or forest tones
📷 Sharing Your Work
Once your baby cardigan is complete:
- Snap a photo!
- Share on Instagram or Pinterest using hashtags like:
- #CrochetBabyCardigan
- #HandmadeBabyClothes
- #CrochetAddict
🎉 Final Thoughts
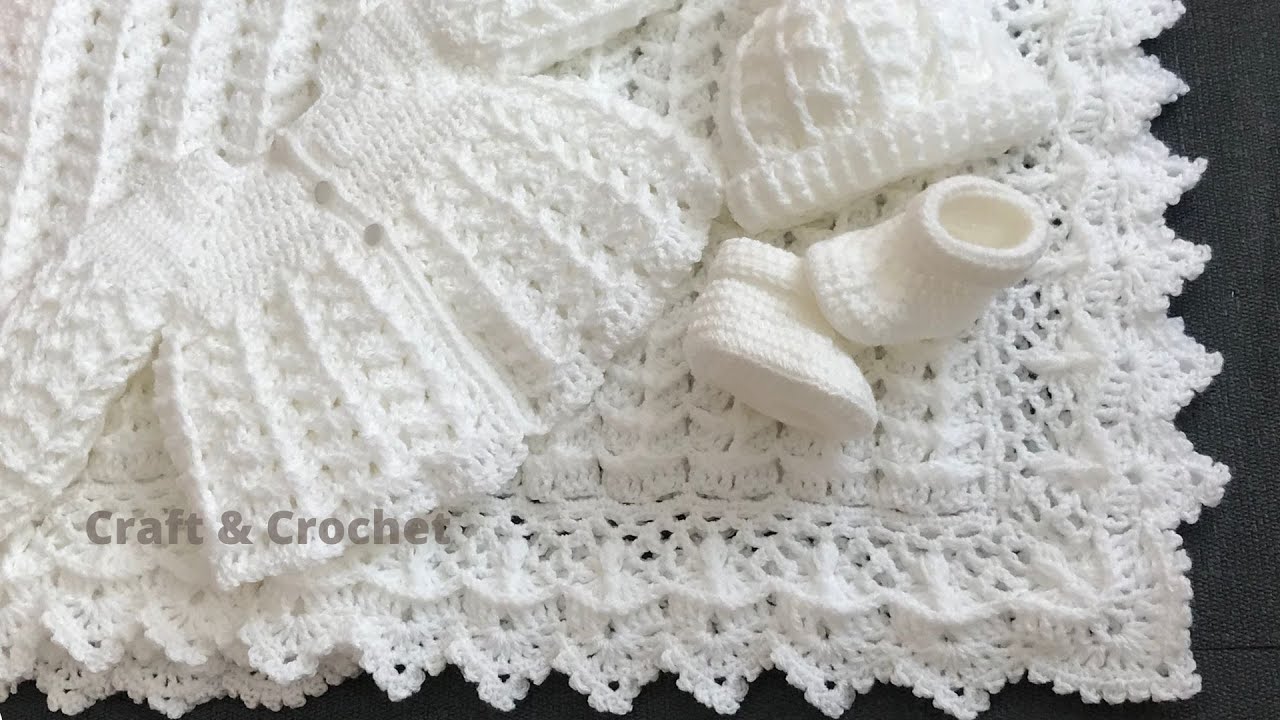
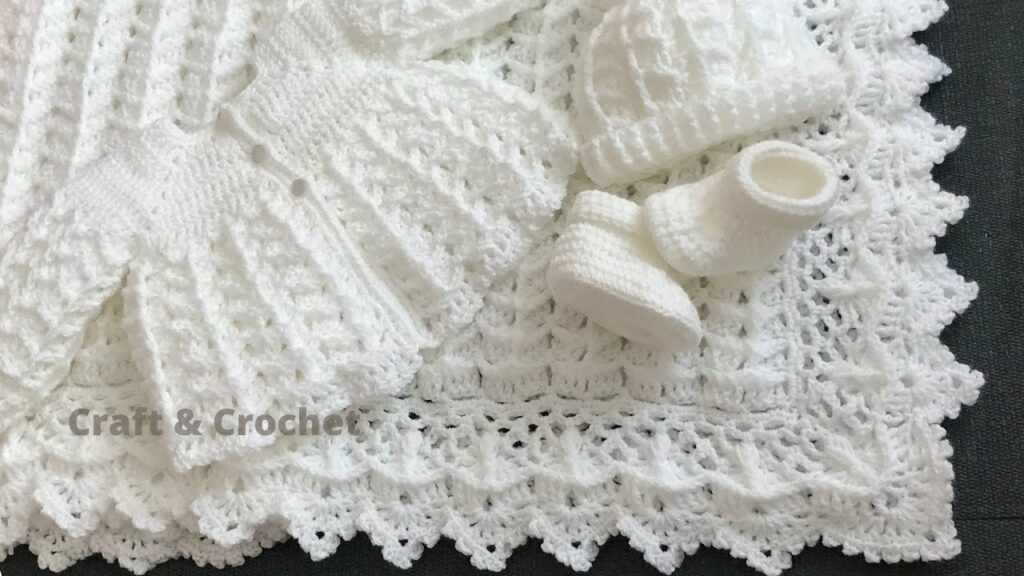
Crocheting a baby cardigan is not just a craft — it’s an act of love. Each stitch creates warmth and comfort for the tiny one who wears it. Once you’ve made one, you’ll likely want to create more for gifts, keepsakes, or even small businesses.
Whether you’re making a classic white cardigan or a colorful modern version, your creation is sure to be cherished.
VIDEO TUTORIAL: