 by
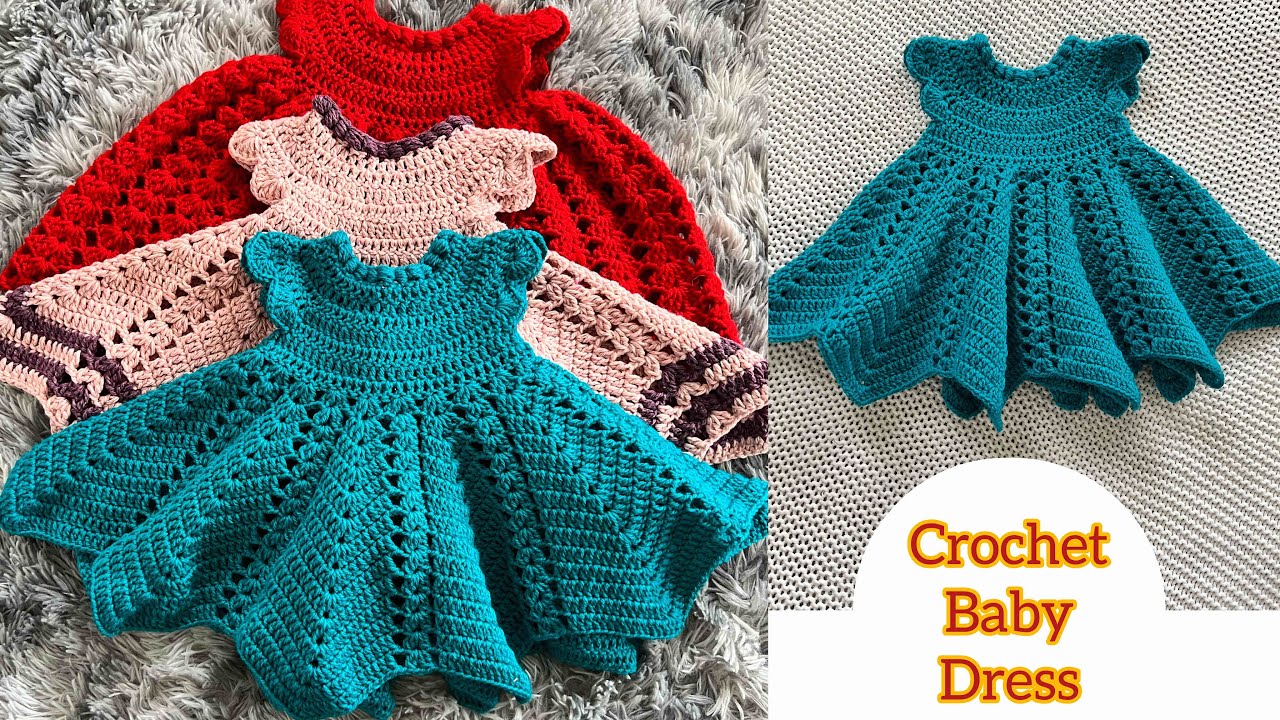
by Crocheting a baby dress is a heartwarming project that combines creativity, love, and craftsmanship into one beautiful keepsake. Whether you’re making a dress for your own child, a baby shower gift, or simply enjoy making baby clothes, this guide will walk you through the complete process of making a crochet baby dress—from choosing materials to finishing touches.
This tutorial is beginner-friendly but also includes options for customization if you’re more advanced.
📦 What You’ll Need
Before you begin, gather the following supplies:
🧵 Materials:
- Yarn: Choose a soft, non-irritating yarn that is safe for babies:
- DK weight (Light Worsted / Category 3) yarn is ideal
- Cotton, bamboo, or baby acrylic blends work well
- Approx. 250–350 yards depending on the size
- Crochet hook: Usually 4.0 mm (G/6) or 4.5 mm (7) — follow your yarn label
- Tapestry needle (for weaving in ends)
- Scissors
- Buttons (optional for back closure or decoration)
- Stitch markers (optional, helpful for shaping and keeping track of rounds)
📏 Size Chart (for Reference)
This pattern is written for a 0–6 month old baby, but you can easily adapt it by increasing rows and stitches.
| Age | Chest Circumference | Dress Length |
|---|---|---|
| 0–6 months | 16″ (41 cm) | 11–13″ (28–33 cm) |
| 6–12 months | 18″ (46 cm) | 13–15″ (33–38 cm) |
| 1–2 years | 20″ (51 cm) | 15–18″ (38–46 cm) |
🔤 Basic Crochet Stitches Used
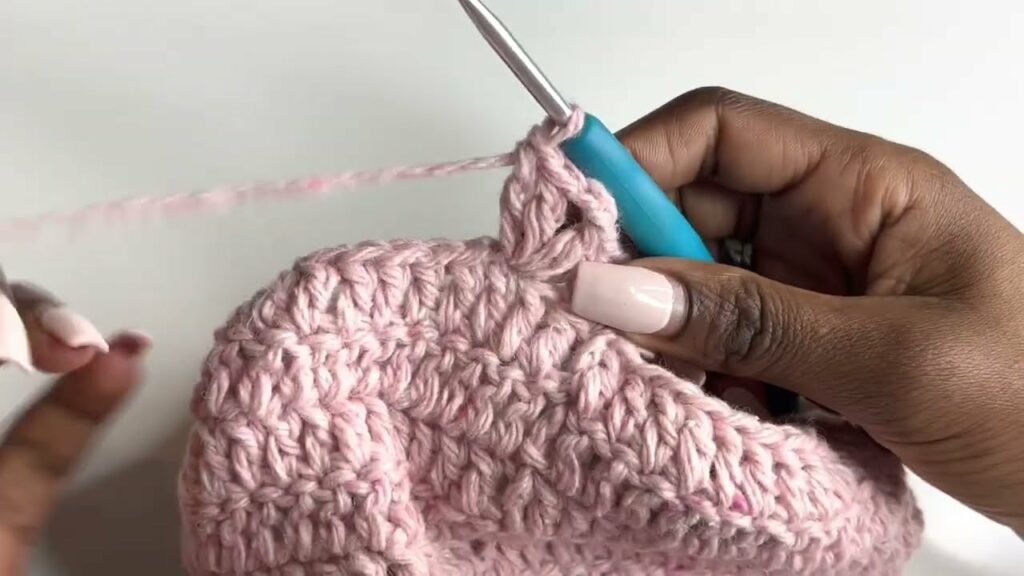
This baby dress uses basic crochet stitches:
- ch – chain
- sl st – slip stitch
- sc – single crochet
- dc – double crochet
- hdc – half double crochet
- V-stitch – (dc, ch 1, dc in same stitch)
- Shell stitch – 5 dc in same stitch
If you’re a beginner, practice these stitches with a swatch before starting the dress.
🪡 How the Dress is Made
This is a top-down, seamless pattern, meaning it’s made in one piece starting from the neckline, working downward through the yoke, then splitting for sleeves and working the skirt in the round.
👗 Step-by-Step Crochet Baby Dress Pattern (0–6 months)
🧷 Step 1: Create the Yoke (Neckline to Armhole)
- Foundation Chain:
- Chain 52
- Row 1 (DC Row):
- Dc in 4th ch from hook and in each ch across
- You’ll have 50 dc
- Row 2 (Start Raglan Increases):
- Ch 2, turn
- Work dc in next 7 stitches, 2 dc in next stitch (increase)
- Repeat across the row
- You’ll now be forming the “raglan” structure that will shape the dress’s shoulders
- Continue Increasing:
- Repeat similar rows, increasing around 4 shoulder points for 8–10 rows
- Your piece will start forming a “U” shape for the top of the dress
- Stop when your yoke measures about 4.5”–5” (11–13 cm) from the neckline
✂️ Step 2: Separate Sleeves from Body
- Start a new row:
- Ch 2, dc across to the first sleeve marker
- Skip the sleeve stitches, and chain 6 (for underarm space)
- Continue dc across back panel
- Skip second sleeve, chain 6 again
- Finish the row with dc across the final panel
Now you have a bodice with open armholes and a continuous bottom — ready to start the skirt!
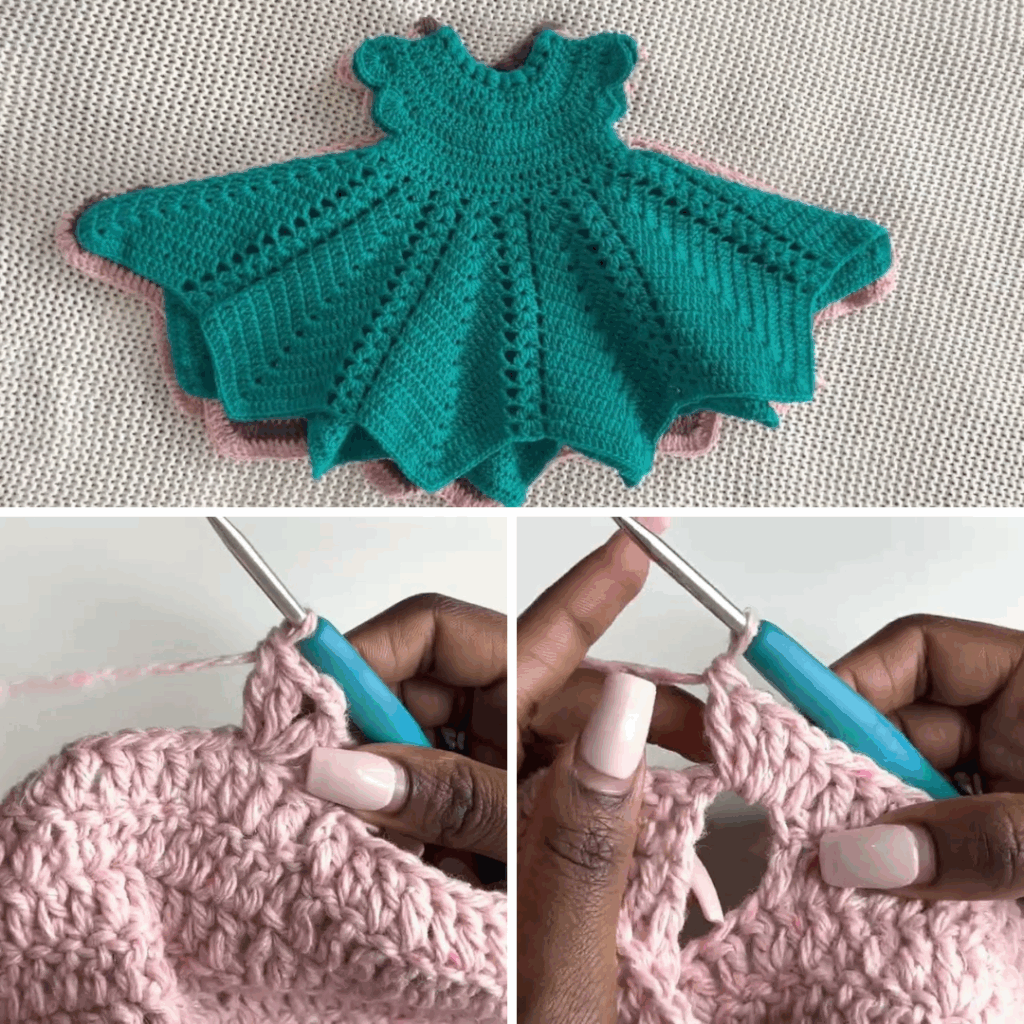
👗 Step 3: Skirt Section
You can make the skirt plain or lacy. Here’s a V-stitch version for a pretty and stretchy skirt.
- V-Stitch Row:
- Ch 3 (counts as first dc), dc, ch 1, dc in next stitch (V-stitch)
- Skip 1 stitch, repeat V-stitch across
- End with dc in last stitch
- Continue V-stitch pattern:
- Work 10–15 more rows (or more depending on how long you want the dress)
- You can add increases by working 2 V-stitches in one stitch every few rows for added flare
Alternative skirt idea: Use shell stitches (5 dc in same st) to create a frillier, more decorative bottom.
🧤 Step 4: Optional Sleeves
You can leave the dress sleeveless or add short sleeves:
- Attach yarn at armhole
- Work sc or dc evenly around the armhole
- Work 4–6 rounds depending on sleeve length
- Optionally, use shell stitches for a ruffled sleeve edge
🪡 Step 5: Edging and Finishing Touches
- Neckline Edging:
- Sc evenly around neckline
- Optional: Add picot edging or shells for a decorative neckline
- Back Closure (Optional):
- If your neckline is snug, leave a small slit at the back
- Crochet a button loop and sew a small button
- Hem Edging:
- You can finish the skirt hem with:
- Shell stitch
- Picot edging
- Crab stitch (reverse sc)
- You can finish the skirt hem with:
- Weave in all ends with a tapestry needle
- Lightly block the dress if needed to shape it nicely
🎨 Customization Ideas
Make your crochet baby dress unique with these ideas:
- 🧵 Use multiple colors: Add stripes, ombré, or color blocks
- 🎀 Add ribbons at the waistline
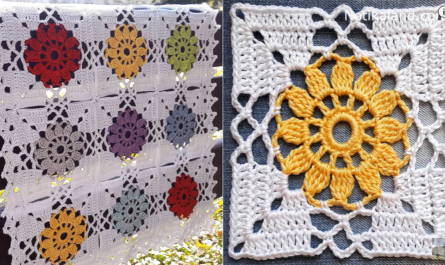
- 🌸 Sew or crochet flowers for decoration
- 🧵 Add a ruffle layer at the bottom for a tutu effect
- 💠 Appliqués: Add hearts, stars, or animal motifs
🧼 Washing & Care Tips

Use baby-safe yarns that are easy to clean:
- Machine wash cold or warm on a gentle cycle
- Use mild detergent
- Lay flat to dry or tumble dry on low (if allowed)
📸 Share & Inspire
When you’re finished, take photos and share your masterpiece on social media! Use hashtags like:
- #CrochetBabyDress
- #HandmadeBabyClothes
- #BabyCrochetOutfit
You can even gift it or sell it — a handmade dress is always in demand!
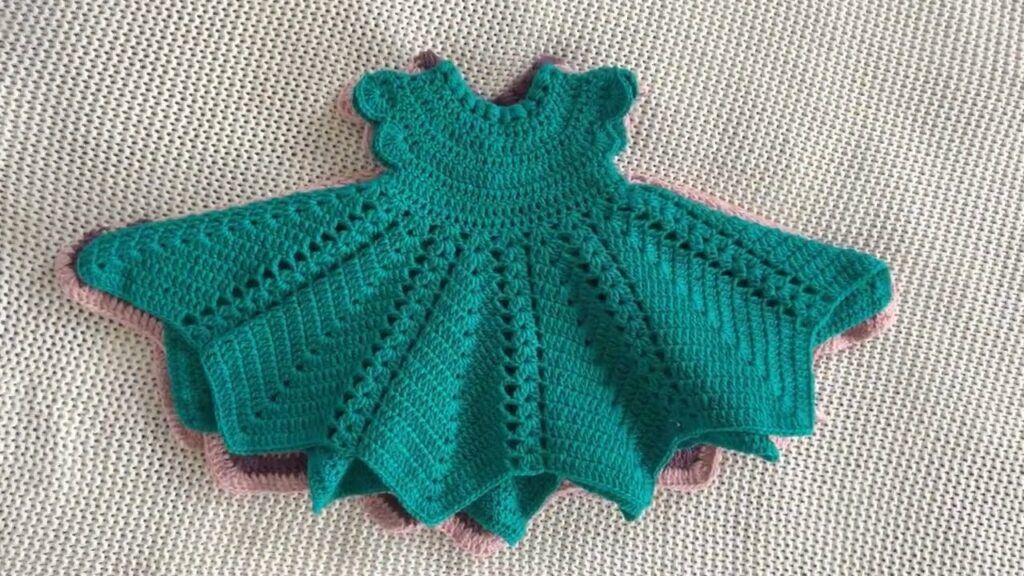
🎉 Final Thoughts
A crochet baby dress is more than just clothing—it’s a memory stitched with care. Whether it’s for a newborn photoshoot, a baby shower, or everyday wear, your creation will be cherished for years.
Even if you’re a beginner, this step-by-step approach makes it achievable and fun. The great thing about baby projects is how quickly they work up — giving you fast results and instant joy.
VIDEO TUTORIAL: