 by
by Materials Needed
- Yarn: DK weight (Lightweight #3) yarn. Approximately 100g for sizes 0–6 months; 150g for 6–12 months.
- Hooks: 4mm (main body) and 3.5mm (for edging on smaller sizes to tighten the neckline).
- Tools: 10 stitch markers, measuring tape, scissors, yarn needle, and a smaller needle for buttons.
- Buttons: Three buttons (approx. 2cm wide).
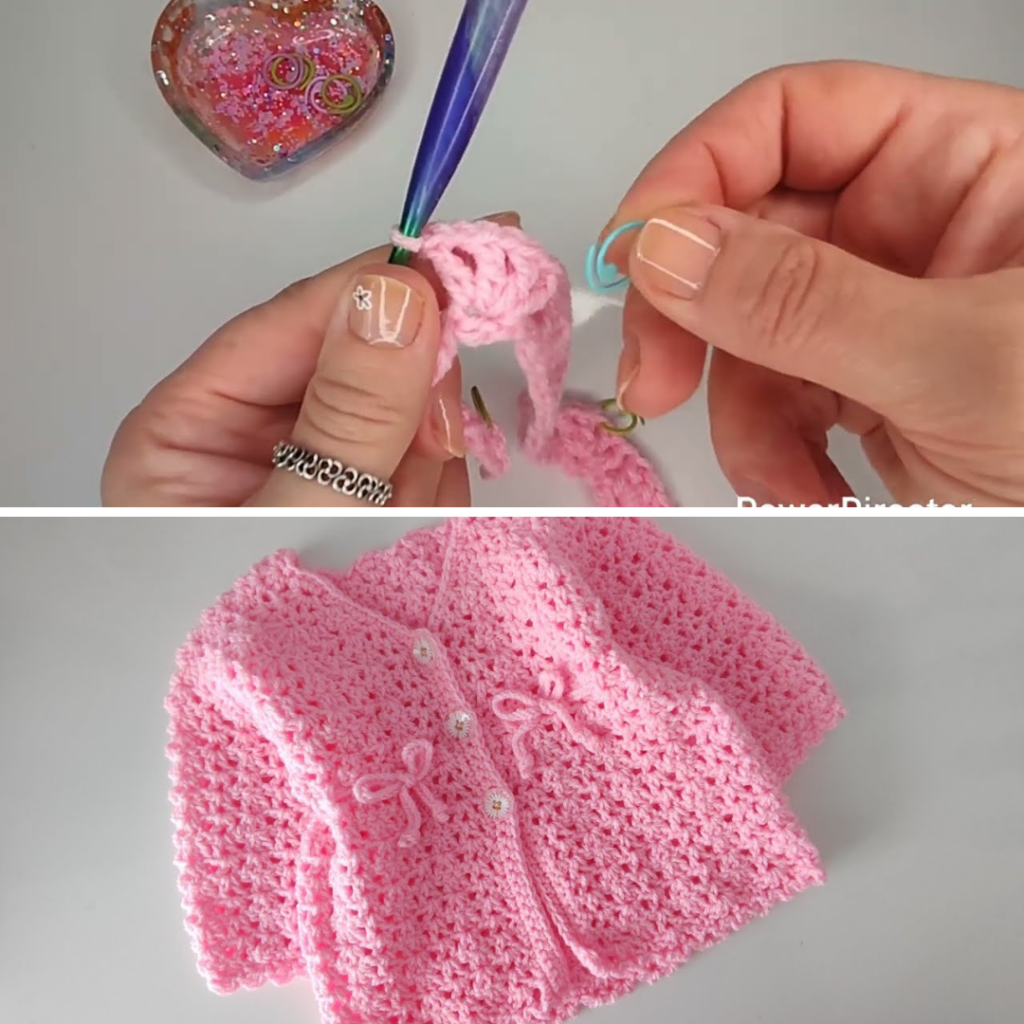
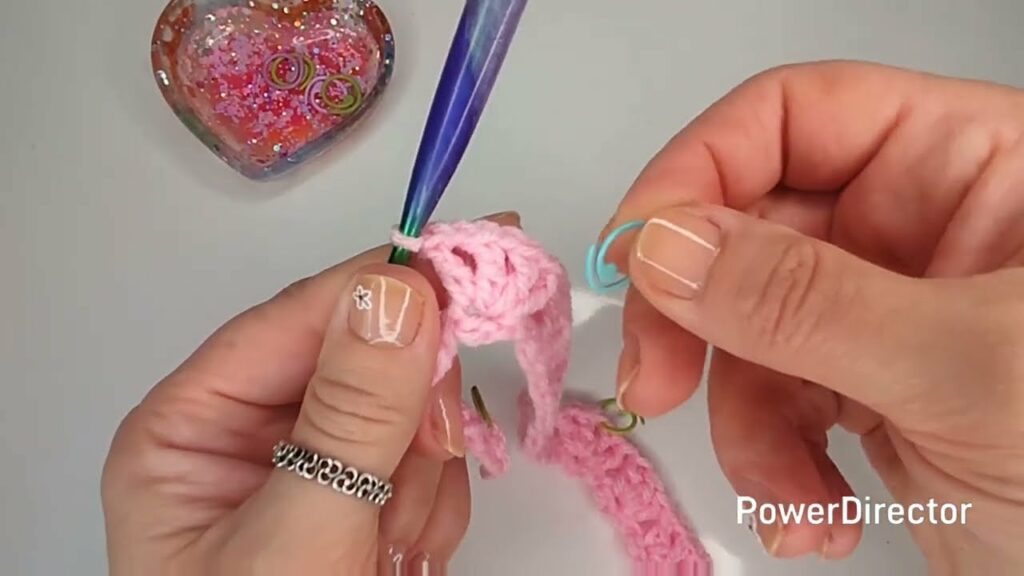
Step 1: The Foundation (Starting Loops)
Instead of a traditional chain, this project uses foundation loops for a flexible start:
- Make a slip knot and chain 3.
- Double crochet (dc) into the first chain to form a loop.
- Chain 3 and dc into the bottom of those three chains to form the next loop.
- Repeat until you have 15 loops
Marking the Yoke: Place stitch markers in the following loops to define the front, sleeves, and back:
- 1st Loop: Front left.
- 5th Loop: Corner (skip 3 loops after the first marker).
- 9th Loop: Corner (skip 3 loops for the sleeve).
- 13th Loop: Corner (skip 3 loops for the sleeve).
- 15th Loop: Front right.
Step 2: The Yoke (Top-Down Construction)
The pattern consists of “V-stitches” (dc, ch 1, dc) and “three double crochet clusters.”
- Row 1: Work a V-stitch, ch 1, V-stitch in the corner markers to create increases. Between corners, alternate between 3 dc clusters and V-stitches .
- Front Increases (V-Neck): Rows 2 through 4 involve increasing at the very edges of the front panels to create the V-neck shape .
- Expansion: Continue the 4-row increase repeat for the corners until the back (from stitch marker to stitch marker) matches the half-chest measurement for your size:
- 0-3 Months: 23 cm
- 3-6 Months: 24 cm
- 6-9 Months: 25 cm
- 9-12 Months: 26 cm .
Step 3: Connecting the Underarms
Once the yoke is the correct size, you will skip the sleeve loops to form the armholes:
- Crochet across the front panel to the first marker.
- Double crochet into the marker, chain 1, skip the sleeve section, and dc into the next marker.
- Crochet across the back to the third marker and repeat the process for the second sleeve.
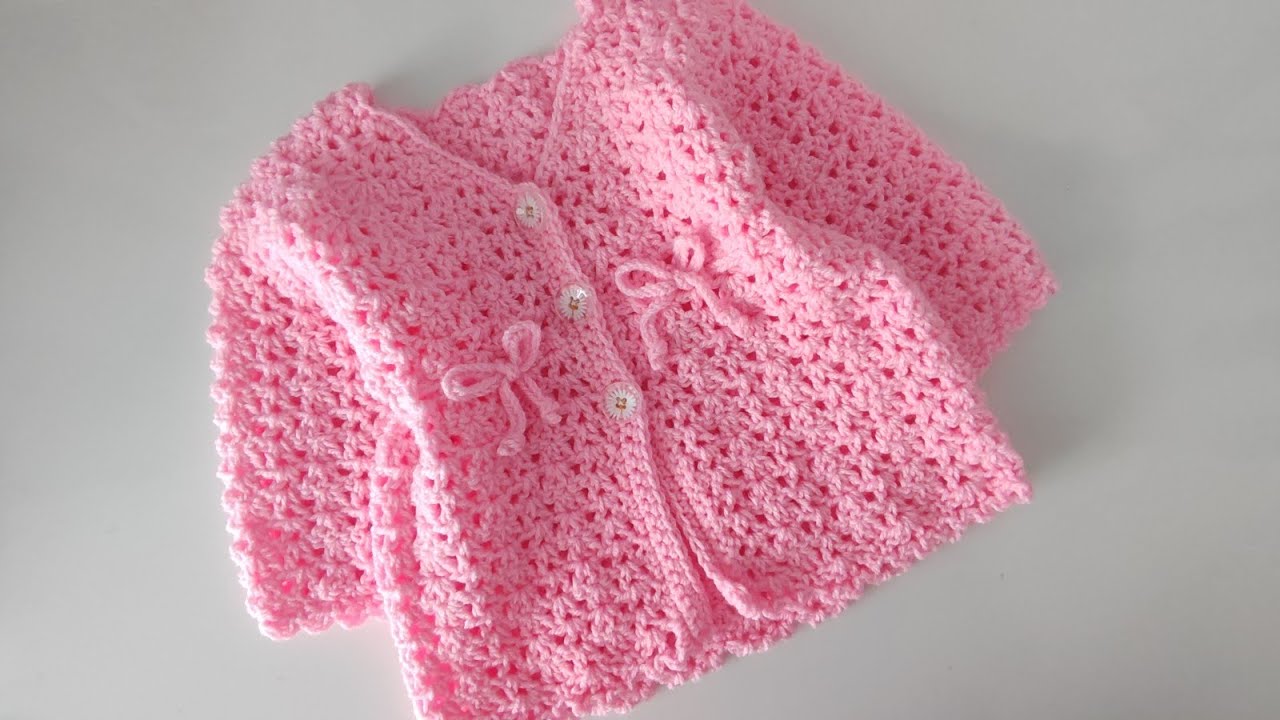
Step 4: The Body and Lower Increases
After connecting, work two rows straight down. To give the cardigan a slightly flared shape, perform a one-time increase row right under the armholes and in the center of the back .
- If increasing in a V-stitch: Work (V-stitch, 1 dc, V-stitch) into that space .
- If increasing in a 3-dc cluster: Work 1 dc in the first stitch, a V-stitch in the middle, and 1 dc in the last .
Continue the pattern until the cardigan is about 2 cm shorter than your desired total length.
Step 5: Edging and Buttonholes
- Bottom Trim: Create a “fan” edge by working 4 dc with ch-1 spaces between them in the V-stitches, and single crochets (sc) in the 3-dc clusters .
- Buttonhole Border: Work 3 rows of single crochet up the front panels. On the “buttonhole side,” create holes by chaining 2 and skipping 1 stitch at regular intervals (6 sc apart for large sizes, 5 sc for small) .
- Neckline: Work 4 half-double crochets (hdc) into each starting loop along the neck, slip stitching between them to create a scalloped edge.
Step 6: The Sleeves
- Attach yarn at the underarm.
- Work in the established pattern (alternating V-stitches and 3-dc clusters) in rounds, but turn your work after every round to maintain the texture .
- Cuffs: For the final row, use a smaller hook. Decrease the width by skipping the middle stitch of the 3-dc clusters and the ch-1 of the V-stitches.
- Finish with a “ridge” edge: (Ch 3, dc in same stitch, skip 1, slip stitch) repeated around.
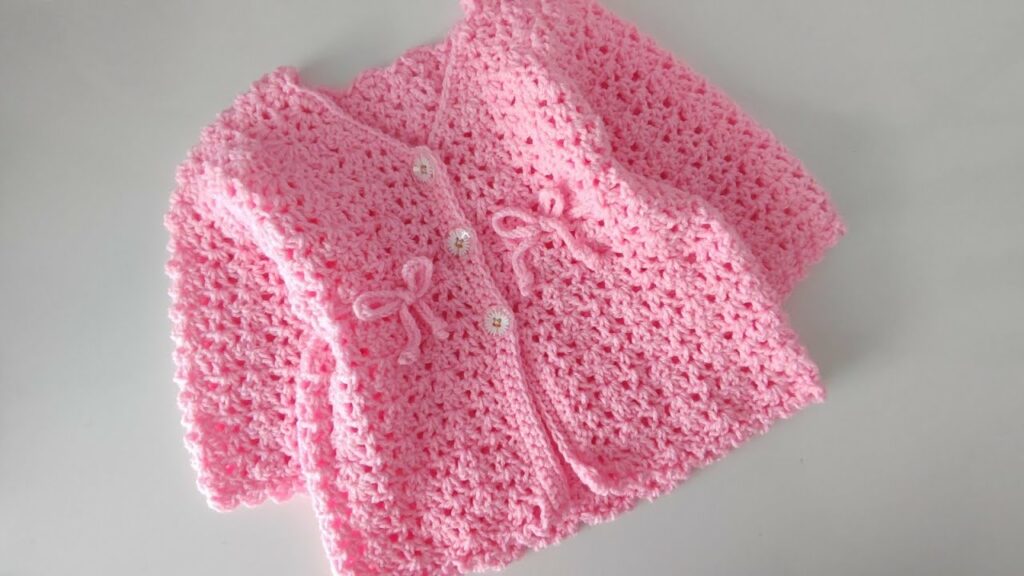
Final Touches
- Drawstring: Create a “cord” using a specialized chain technique and weave it through the second row under the armholes to create a bow in the front or back .
- Finish: Sew on your three buttons and weave in all remaining yarn tails.
Video Tutorial: