 by
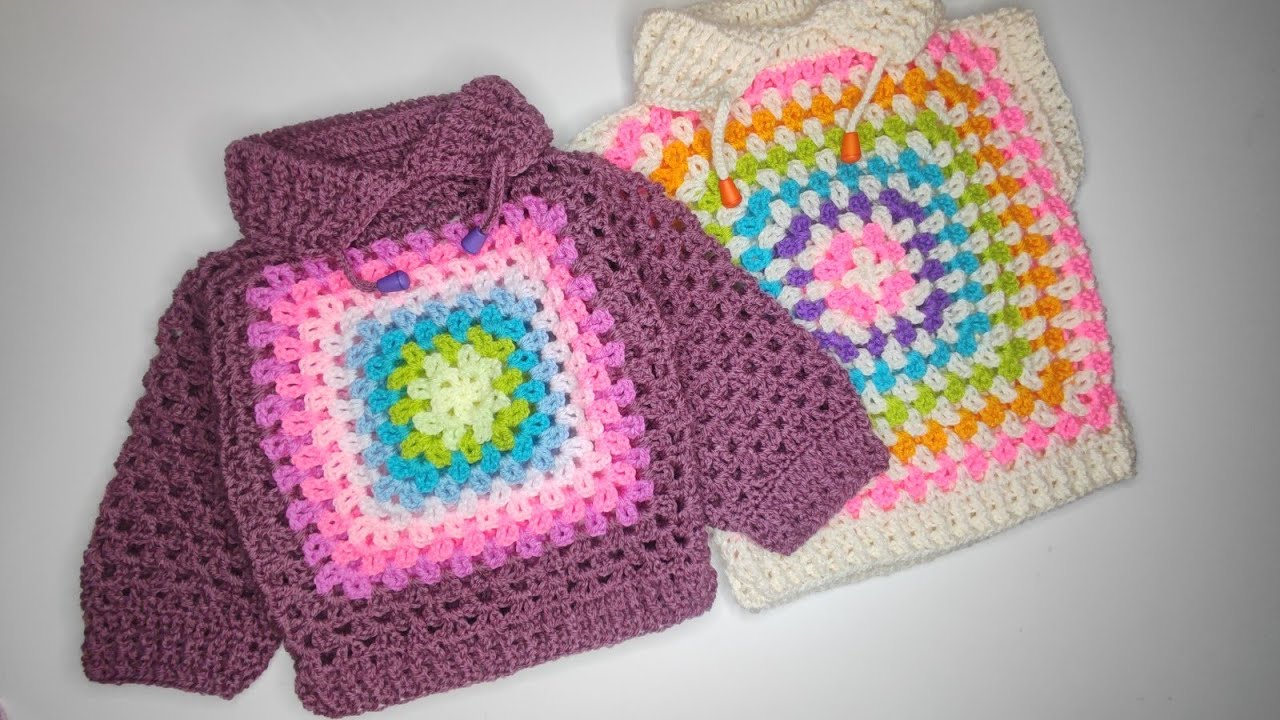
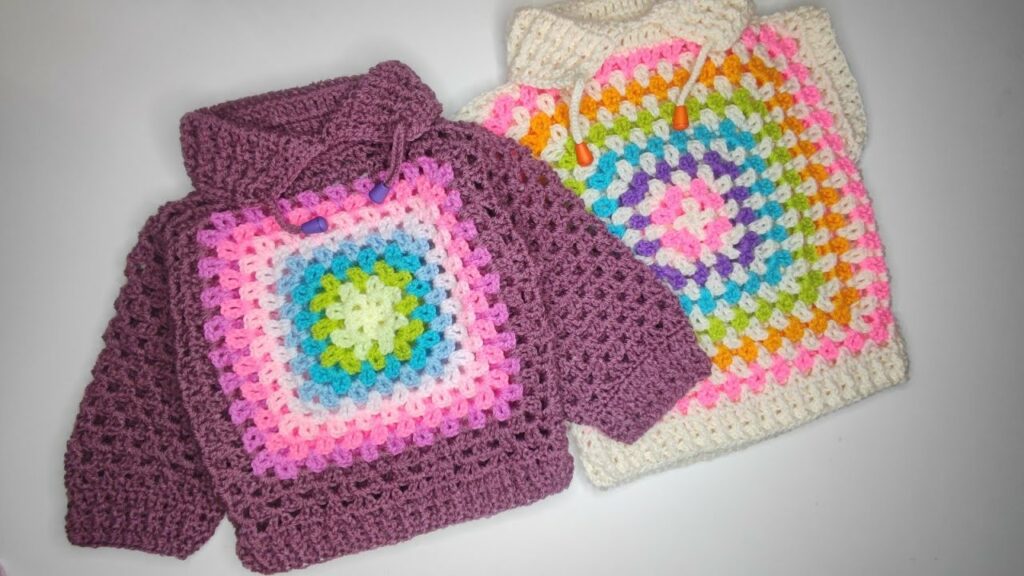
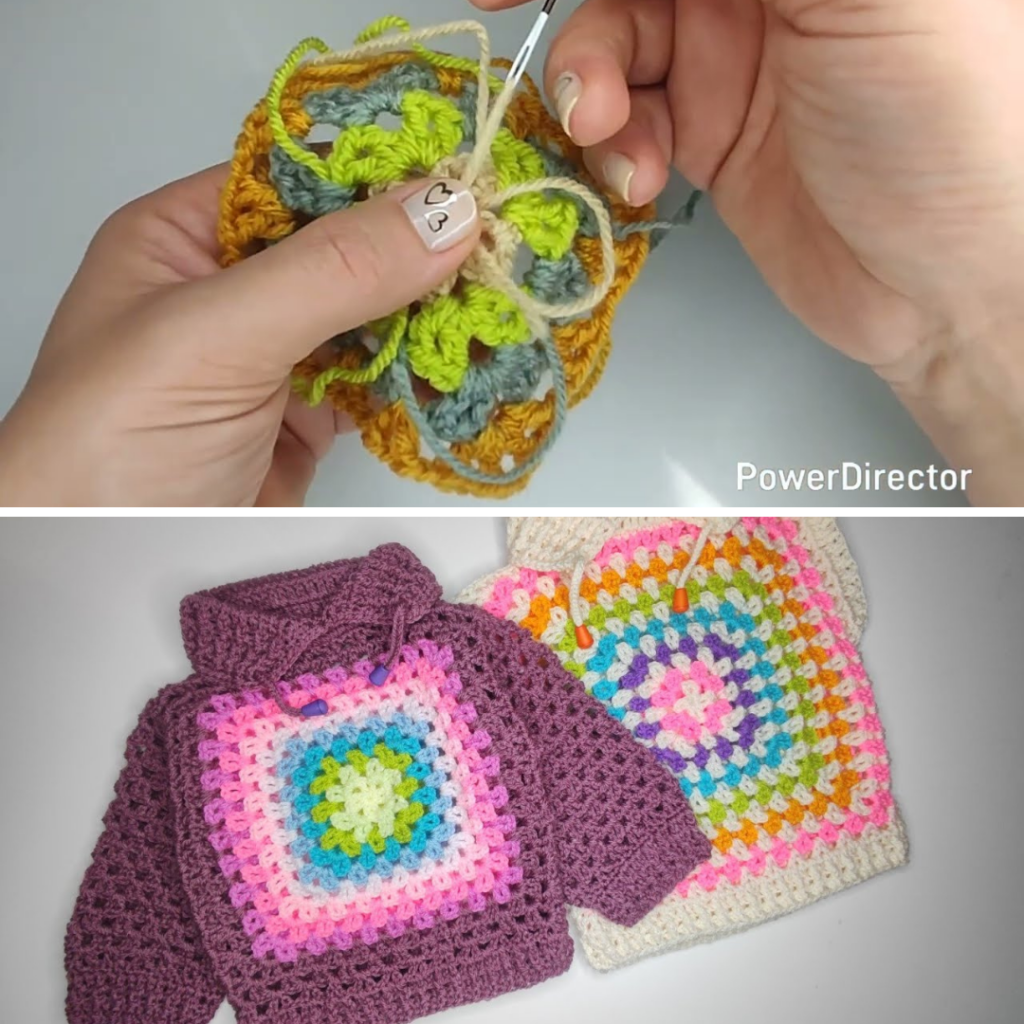
by This guide provides a detailed walkthrough for creating a charming, vintage-style granny square pullover as demonstrated by Simona Crochet. This project is exceptionally beginner-friendly and serves as an excellent “scrap buster” for using up leftover yarn. Instead of traditional solid granny clusters, this pattern utilizes the V-stitch, resulting in a softer, more flexible fabric with a modern aesthetic.
Project Overview & Sizing

The pullover consists of two large granny squares (front and back) connected at the shoulders and sides. The design features a raised back neckline, a ribbed collar with a functional drawstring, and options for either short or long sleeves.
Size Chart (Approximate Measurements)
| Age | Half Chest (Square Width) | Armhole Depth | Sleeve Length (Long) | Head Circumference (Half) |
| 1 Year | 29 cm | 12 cm | 21 cm | 23 cm |
| 2 Years | 31 cm | 12.5 cm | 22 cm | 24 cm |
| 3 Years | 33 cm | 13 cm | 24.5 cm | 25.5 cm |
| 4 Years | 35 cm | 13.5 cm | 26.5 cm | 25.5 cm |
| 5 Years | 37 cm | 14.5 cm | 28.5 cm | 25.5 cm |
Materials Needed
- Yarn: Lightweight #3 (DK weight) yarn.
- Total: ~150g for smaller sizes; slightly more for ages 3-5.
- Scrap Yarn: Various colors for the squares.
- Main Color: 50–100g for the ribbing, collar, and sleeves.
- Hook: Appropriate size for your yarn (commonly 4.0mm or 4.5mm).
- Tools: 5–6 stitch markers, measuring tape, tapestry needle, and scissors.
- Optional: Stoppers or pom-poms for the drawstring ends.
Step 1: The Granny V-Stitch Square
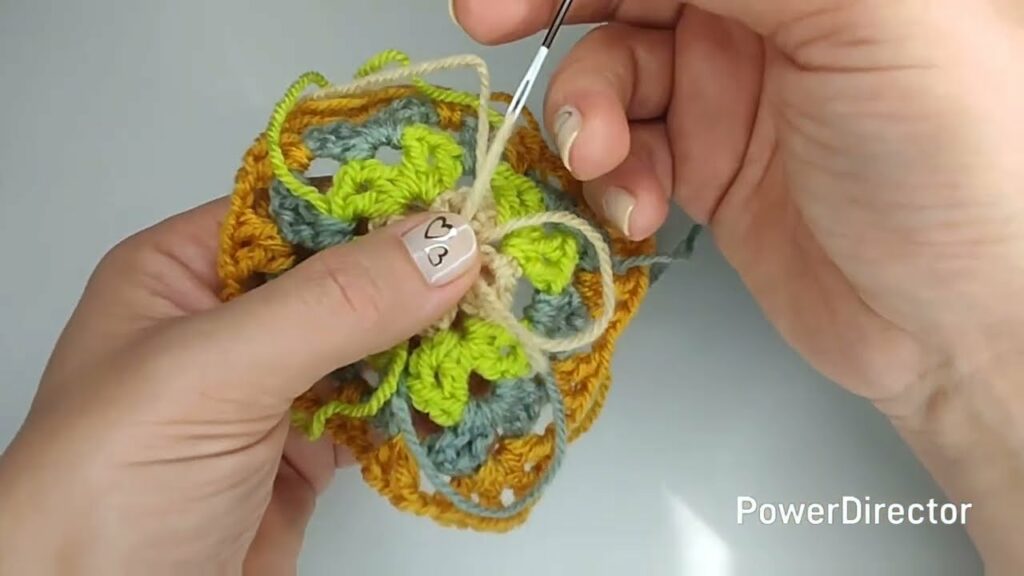
You will need to make two identical squares (or nearly identical—see Step 2).
- Foundation : Create a magic ring. Chain 3 (counts as double crochet + chain 1) and 1 double crochet (DC) into the ring. This is your first V-stitch.
- Corners: Chain 2, V-stitch (DC, ch 1, DC). Repeat three times.
- Closing Row 1: Chain 1 and slip stitch (SS) into the third chain of your starting ch-3. Pull the ring tight.
- Row 2 (Increasing) * Turn your work for every row to keep the square straight.
- In each corner (ch-2 space), work: V-stitch, ch 2, V-stitch.
- Between V-stitches on the sides, work a Chain 1.
- Subsequent Rows Continue increasing by working (V-stitch, ch 2, V-stitch) in every corner and a single V-stitch into every ch-1 space along the sides.
- Sizing: Stop when the square measures the “Half Chest” width for your chosen size.
- Note: Complete the back square fully. The front square should be finished with one row less than the back .
Step 2: Connecting the Shoulders
- Marking: On the front square, mark two V-stitches in from each top corner using stitch markers. Do the same for the back square.
- Join: Use your main color to crochet the final row of the front square while simultaneously slip-stitching it to the back square at the marked “shoulder” areas.
- Neckline Prep: Leave the center section between the markers unjoined; this becomes the head opening.
Step 3: The Collar & Neckline
The goal here is to make the back slightly higher than the front for a better fit.
- Foundation Row: Work double crochets around the back neckline and single crochets across the front neckline. This “drops” the front of the neck.
- Ribbing : Work several rows of Front Post Double Crochet (FPDC) and Half Double Crochet (HDC) to create a textured, stretchy ribbing.
- Split & Finish: To allow the head to pass through easily, split the front of the collar in the center .
- Drawstring Crochet a sturdy cord by working a double-layered chain (holding the tail over the hook) and thread it through the ribbing. Add stoppers or knots to the ends.
Step 4: Side Seams & Bottom Ribbing
- Measure Armholes: Measure down from the shoulder according to the size chart (e.g., 12 cm for age 1). Place markers.
- Join Sides: Turn the garment inside out. Slip stitch the sides together from the marker down to the bottom corner
- Bottom Edge Turn right-side out. Work one row of DC around the entire bottom edge, followed by 2–3 rows of FPDC/HDC ribbing to match the collar.
Step 5: The Sleeves
You can choose between short or long sleeves.
Short Sleeves
- Work two rows of DC directly into the armhole opening.
- Finish with one row of ribbing (FPDC/HDC) to create a slight “puff” or capped effect.
Long Sleeves
- Main Pattern: Attach yarn at the armpit. Work V-stitch rows in rounds, turning after each row to maintain the texture.
- Length: Continue until the sleeve is about 3 cm shorter than the desired final length.
- Cuffs Work a decrease row of single crochets to narrow the sleeve, then finish with 3 cm of FPDC/HDC ribbing.
Final Touches
- Weaving Ends : Ensure you secure the magic ring center with a knot before weaving in the tail.
- Blocking: If the squares feel stiff, a light steam blocking will help the V-stitches drape beautifully.
Your Granny V-Stitch Pullover is now ready! This design is perfectly customizable—try an ombre effect with your scrap yarn or a solid bold color for a modern look.
Video Tutorial: