 by
by The Allure of the Speedy Crochet Bag
- Instant Gratification: Nothing beats the satisfaction of seeing a project come to life in just a few hours or a single weekend. These bags offer that immediate sense of accomplishment.
- Skill Building: While quick, these projects often help consolidate fundamental crochet skills like consistent tension, working in the round, or joining seams efficiently.
- Gift-Giving Galore: Need a thoughtful, handmade present in a pinch? A quick crochet bag is a perfect solution for birthdays, holidays, or just because.
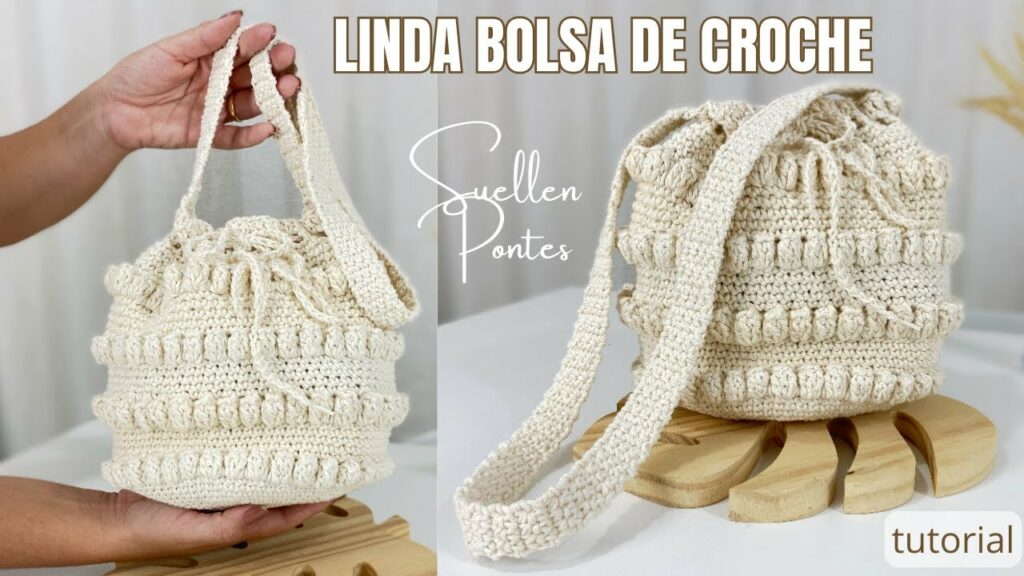
- Fashion-Forward & Functional: Don’t mistake “easy” for basic. Many quick bag patterns are designed with contemporary styles in mind, resulting in a chic and practical accessory for everyday use.
- Stash Busting: These projects are fantastic for using up those single skeins of beautiful yarn that you’ve been saving for “just the right project.”
Secrets to a Quick & Easy Crochet Bag
The “quick” factor often comes down to a few key design choices:
- Yarn Choice is King:
- Chunky or Super Bulky Yarn: This is perhaps the biggest secret. Thicker yarns mean fewer stitches per row/round and faster coverage, creating a substantial fabric in no time.
- Sturdy Fibers: Opt for cotton, durable acrylics, or wool blends that hold their shape well. Yarns with good stitch definition will make your simple stitches shine.
- Self-Striping or Variegated Yarn: If you want color without the hassle of changing skeins and weaving in endless ends, a yarn that does the colorwork for you is a game-changer.
- Larger Hook Sizes: When working with chunky yarn, you’ll naturally use a larger hook (e.g., 8mm to 12mm or even larger). A bigger hook means bigger stitches, which means faster progress.
- Simple Stitch Patterns:
- Basic Stitches: Single Crochet (sc), Half Double Crochet (hdc), and Double Crochet (dc) are your best friends. These are easy to learn and execute quickly.
- Dense Stitches: For bags, dense stitches (like sc or hdc) are often preferred for durability.
- Textured but Simple: Look for patterns that use basic stitch combinations to create texture (e.g., working into the back loop only, alternating sc/dc, or simple cluster stitches that are easy to repeat). Avoid intricate lace or complex cables if speed is your primary goal.
- Minimal Shaping: The quickest bags often have straightforward construction. Think:
- Rectangular Panels: Two simple rectangles sewn together for the front and back, with a separate strip for the sides and bottom.
- Seamless Tubes: Working in the round from a simple base (oval or circle) straight up, avoiding complex increases or decreases.
- Simple Handles: Crocheted strips sewn on, or even pre-made bag handles for ultimate speed.
Materials for Your Speedy Creation
Getting your supplies ready is part of the fun!
- Yarn:
- Type: As discussed, chunky cotton, sturdy acrylic, or a wool blend.
- Weight: Chunky (Category 5) or Super Bulky (Category 6) are highly recommended for speed.
- Quantity: For a medium-sized tote, 1-2 large skeins (approx. 100-200 yards) of super bulky yarn might suffice, but always check your pattern’s requirements.
- Crochet Hook: A larger hook size (e.g., 8mm to 12mm) corresponding to your chosen chunky yarn.
- Scissors: For cutting yarn.
- Tapestry Needle (Yarn Needle): A blunt needle with a large eye for weaving in ends and seaming.
- Stitch Marker (Optional but Recommended): Helps keep track of the beginning of rounds or important stitches.
- Optional: Pre-made bag handles, fabric for lining (if desired for stability/security).
Essential Crochet Techniques You’ll Use
Even for a quick project, you’ll be practicing foundational skills that are vital for any crocheter:
- Slip Knot & Foundation Chain: The starting point for almost every project.
- Basic Stitches: Single Crochet (sc), Half Double Crochet (hdc), or Double Crochet (dc).
- Working in Rows: If your bag is made from flat panels.
- Working in the Round: If your bag has a seamless base and body (often started with a Magic Ring or a chain joined with a slip stitch).
- Joining Yarn: Seamlessly adding a new skein.
- Weaving in Ends: The final, crucial step for a neat and durable finish.
- Seaming (if applicable): If your bag is constructed from separate panels, you’ll learn how to join them neatly (e.g., with whip stitch or slip stitch seams).
Planning Your Beautiful & Quick Bag
- Choose Your Pattern Wisely: Look for patterns specifically labeled “beginner,” “quick,” “easy,” or “one-skein wonder.” Ravelry.com is an excellent resource with filters for yarn weight, difficulty, and project type.
- Visualize the Result: Think about the color and texture of your chosen yarn and how it will translate into the finished bag. A textured stitch in a solid color or a simple stitch in a multi-colored yarn can both be stunning.
- Gauge (Optional for Speed): While gauge is crucial for garments, for a bag, it’s less critical for precise sizing. However, it’s still a good idea to ensure your stitches are firm enough to create a sturdy fabric, not too loose or floppy.
- Handles Decision: Decide if you want to crochet the handles (which adds a little time) or use quick-attach pre-made handles.
Construction Journey: Bringing Your Bag to Life (Conceptual Guide)
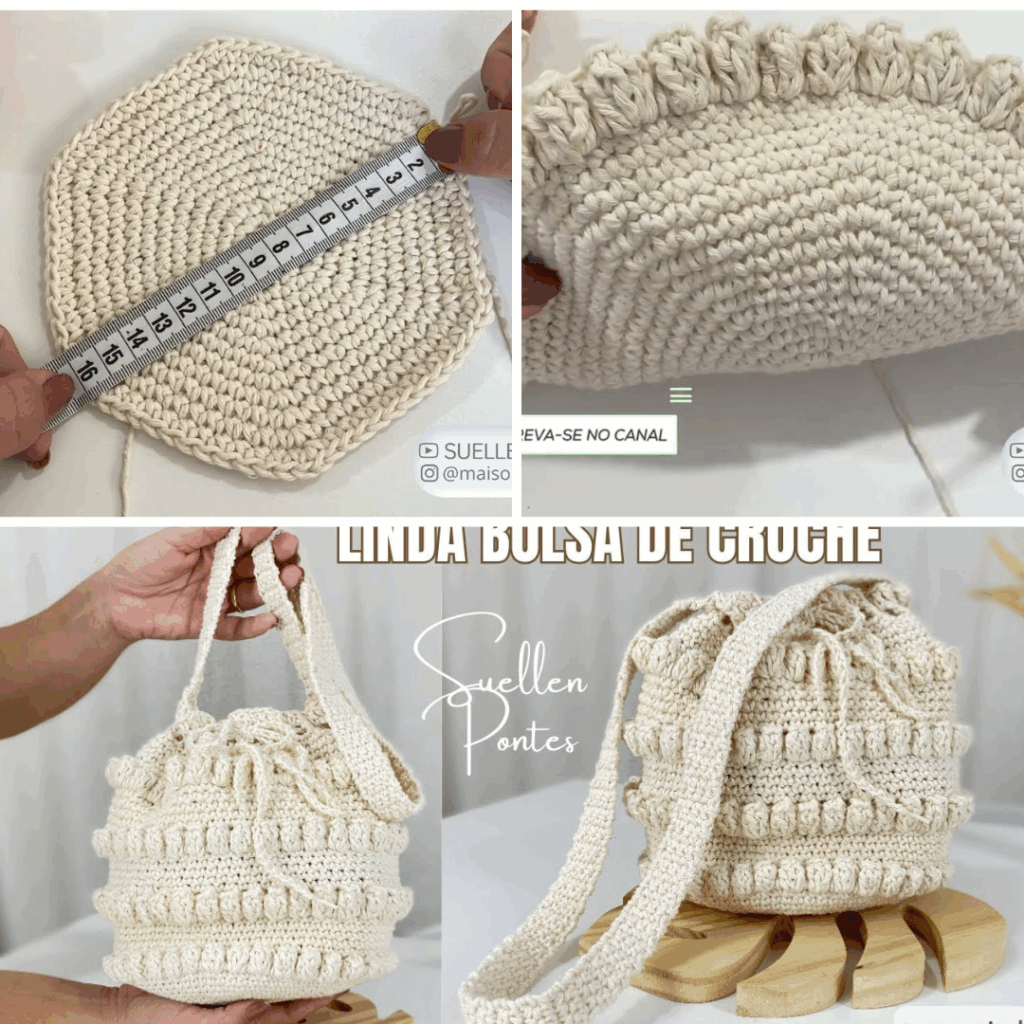
Let’s imagine a common construction for a quick bag: a seamless, bottom-up tote using chunky yarn.
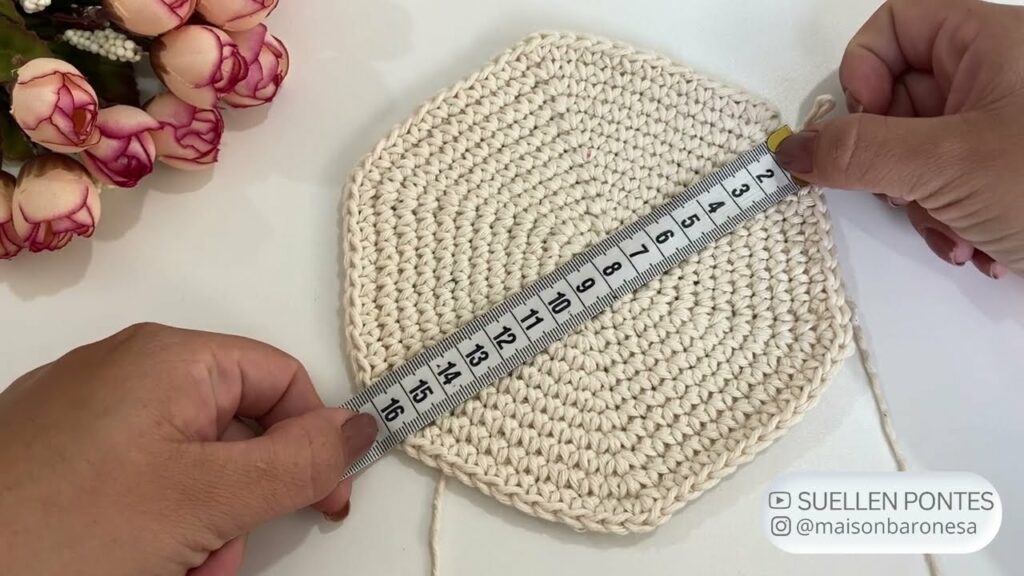
- The Base:
- Start with a Magic Ring or a small chain joined with a slip stitch.
- Work a round of single or half double crochets into the ring.
- Continue working in rounds, gradually increasing stitches evenly around the circle or oval to create a flat base of your desired size. Use a stitch marker to keep track of the start of each round.
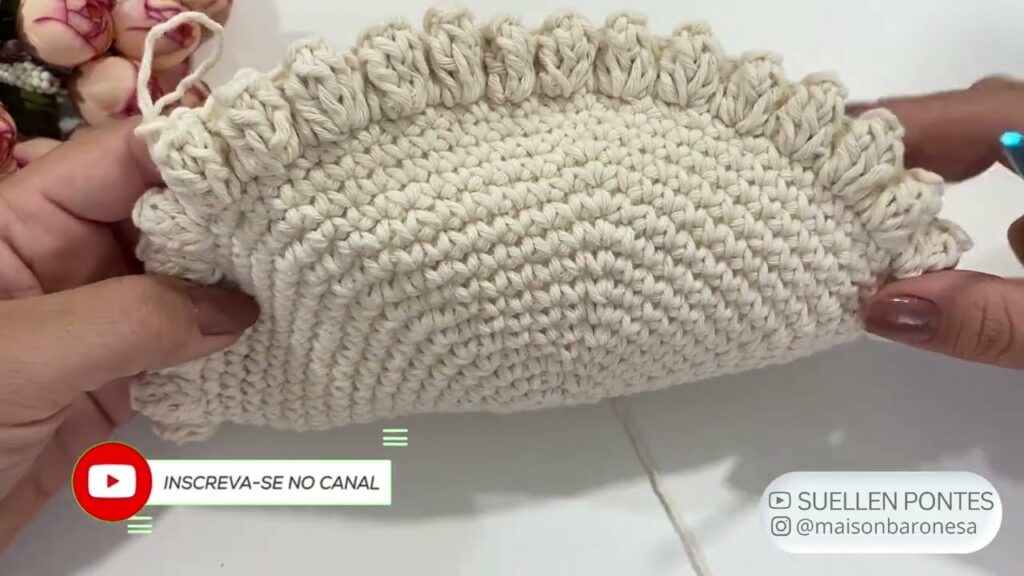
- The Body:
- Once the base is the desired size, stop increasing.
- To make the sides go straight up, you might work the first round of the body into the back loop only (BLO) of the previous round. This creates a defined edge.
- Continue working your chosen basic stitch (sc, hdc, or dc) in continuous rounds, without any increases, until the bag reaches your desired height. The repetitive nature of this section is meditative and fast!
- The Handles:
- Crocheted Handles: When you reach the top of the bag, you’ll typically make chains for the handle openings and then continue crocheting over those chains for a few more rounds to form the top edge and reinforce the handles. Alternatively, you can crochet two separate long strips and sew them securely onto the finished bag.
- Pre-Made Handles: Simply sew these onto the top edges of your completed bag body using strong thread and a sewing needle.
Finishing Touches: The Polish of a Pro
Even a quick project deserves a beautiful finish!
- Weave in All Ends: This is critical. A loose end can unravel your hard work. Take your time to securely hide all yarn tails within the stitches using your tapestry needle.
- Blocking (Optional): For bags, a light steam block or a gentle wet block can help even out your stitches and give the bag a more polished, structured look. Reshape the bag while wet and let it air dry completely.
- Add a Lining (Optional): For extra durability, structure, or to prevent small items from falling through stitches, you can sew a simple fabric lining inside your crocheted bag. This is typically done by hand after the bag is fully crocheted.
Tips for a Beautiful, Quick, and Easy Bag
- Embrace Chunky Yarn: Seriously, this is the biggest time-saver.
- Don’t Overcomplicate Stitches: Stick to your basics. The beauty will come from your yarn choice and neatness.
- Use a Large Hook: It makes everything faster and creates a lovely, squishy fabric with chunky yarn.
- Count, But Don’t Obsess: Count your stitches at the end of each round/row to keep your bag even, but don’t stress over minor inconsistencies – they add to the handmade charm!
- Watch Tutorials: If you’re stuck on a stitch or a technique, there are thousands of free video tutorials online.
- Personalize! Once you master the basic bag, play with color changes, add simple appliques, or create custom tags.
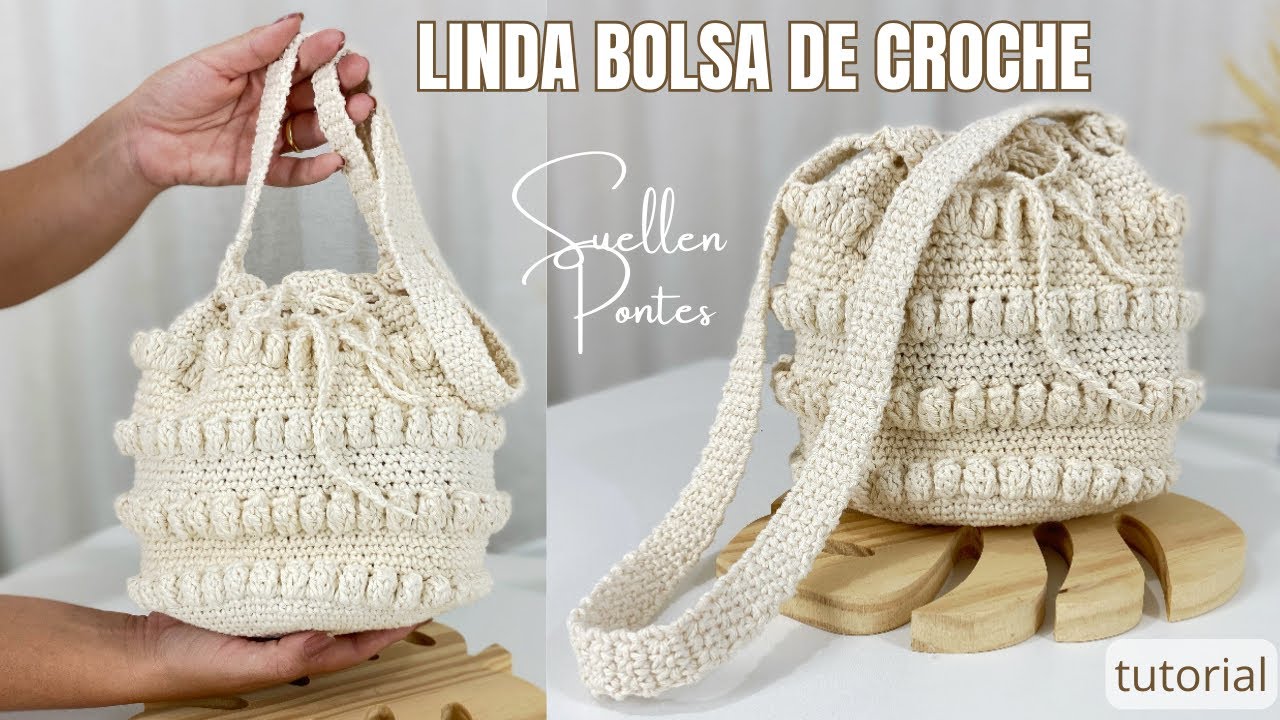
Video Tutorial ;
A beautiful, quick, and easy crochet bag is the perfect project to boost your confidence, create a thoughtful gift, or simply enjoy the meditative rhythm of your hook and yarn. So grab your supplies, pick a simple pattern, and get ready to whip up a stylish accessory in no time!