by
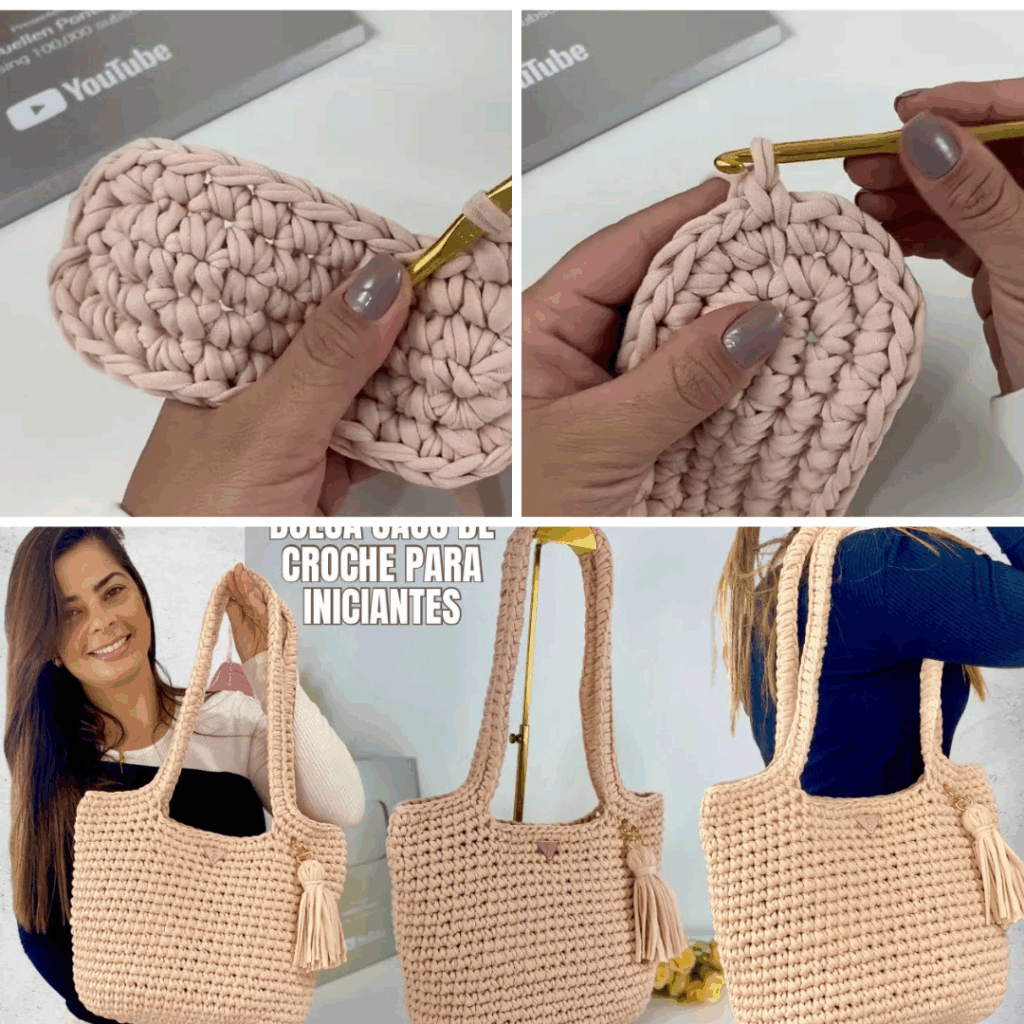
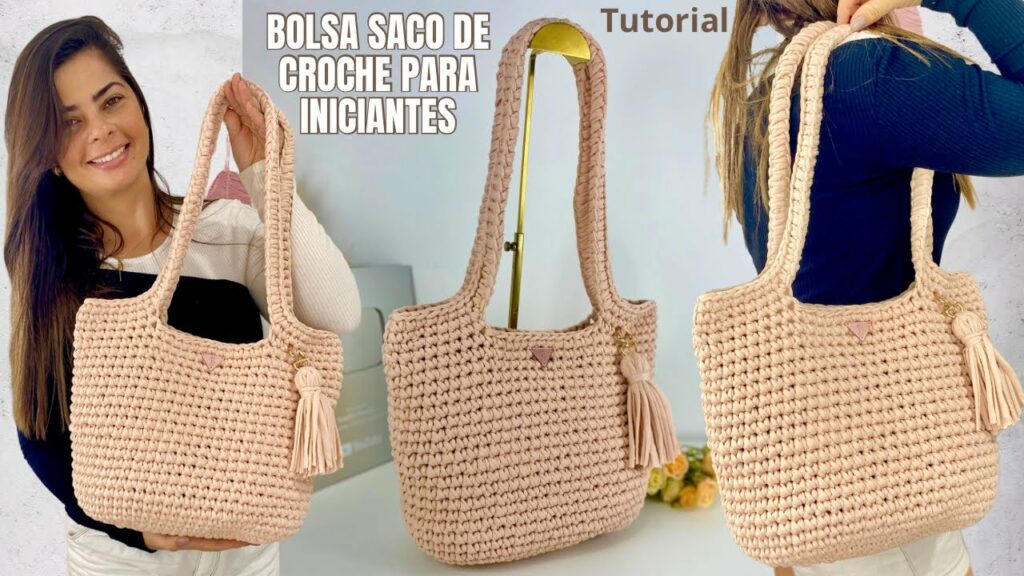
by Learning a new craft can feel overwhelming, but with the right project, it’s an incredibly rewarding journey. Enter the Easy Crochet Tote Bag – the ultimate beginner-friendly undertaking that teaches you essential skills while creating a genuinely useful and stylish item. Forget fiddly stitches or complex shaping; this project focuses on fundamental techniques, allowing you to build confidence stitch by stitch. By the end, you’ll have a practical tote perfect for groceries, a beach day, or carrying your next crochet project!
This detailed guide will walk you through why a crochet tote bag is ideal for beginners, the core skills you’ll learn, and how to successfully complete your very first handmade bag.
Why a Crochet Tote Bag is Ideal for Beginners
- Simple Shapes: Most tote bags are constructed from basic rectangles or simple oval bases with straight sides. This means no complicated increases or decreases for shaping.
- Repetitive Stitches: You’ll primarily use just one or two basic crochet stitches, allowing you to quickly build muscle memory and achieve consistent tension. Repetition is key for learning!
- Instant Gratification: Unlike larger garments, a tote bag works up relatively quickly, giving you a tangible, useful item in a shorter timeframe. This is a huge motivator for new crafters.
- Forgiving Project: Small mistakes are easily hidden or don’t significantly impact the bag’s functionality or appearance. No need for perfection, just progress!
- Practical & Customizable: Once finished, you’ll have a bag you can use daily. Plus, it’s a blank canvas for personalization with different colors, stripes, or even simple appliqués.
Essential Skills You’ll Learn
By making this tote bag, you’ll master the foundational elements of crochet:
- Holding the Hook and Yarn: Finding a comfortable grip and tension that works for you.
- Creating a Slip Knot: The very first step to start any crochet project.
- Making a Foundation Chain: The base row of most flat or circular crochet pieces.
- Working Basic Stitches:
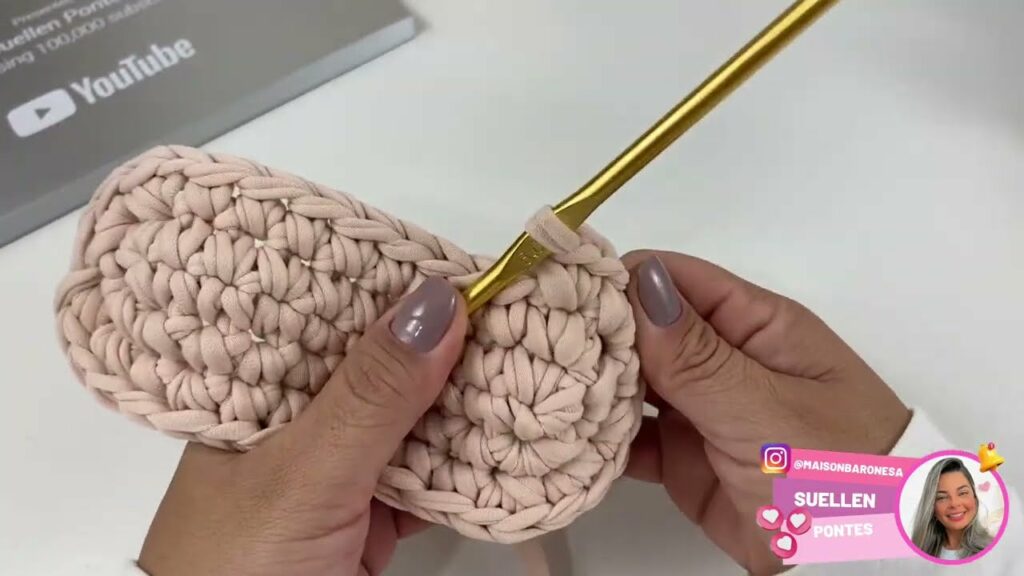
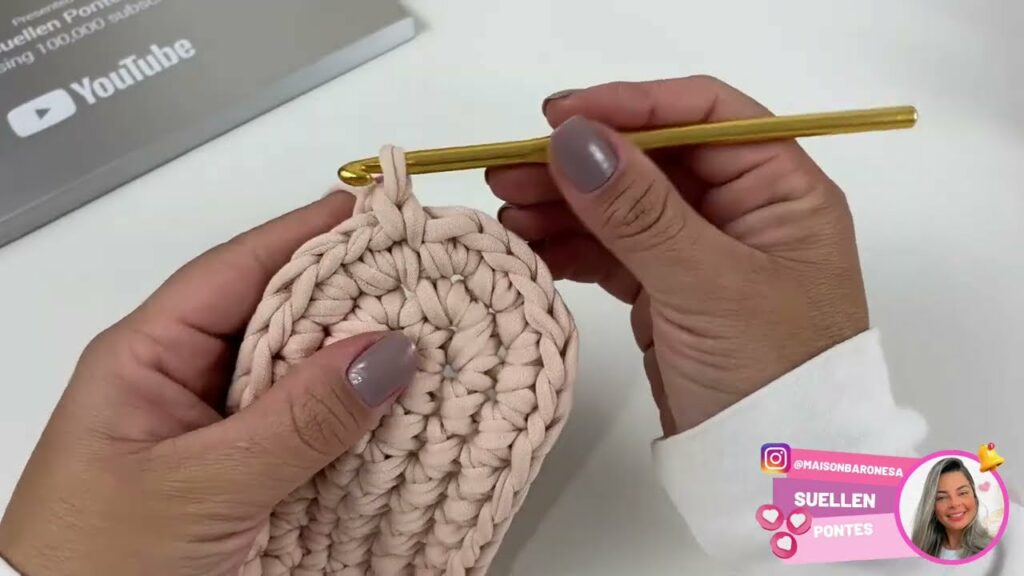
- Single Crochet (sc): A dense, sturdy stitch perfect for bags.
- Half Double Crochet (hdc): Slightly taller and faster than single crochet, still creating a firm fabric.
- Double Crochet (dc): Taller still, creating a looser, quicker fabric (though often less sturdy for a tote).
- Working in Rows (or Rounds): Understanding how to turn your work or continue in a spiral.
- Counting Stitches and Rows: Essential for keeping your work even and correctly sized.
- Joining Yarn: How to add a new ball of yarn neatly.
- Weaving in Ends: The crucial finishing step for a polished look.
Materials You’ll Need
Gathering your supplies is the first exciting step!
- Yarn:
- Fiber: For a sturdy tote, cotton yarn is highly recommended. It’s durable, holds its shape well, is easy to wash, and has great stitch definition. Acrylic yarn is also a good, affordable choice, known for its wide color range and washability. Avoid very stretchy or silky yarns for your first bag, as they can be harder to work with consistently.
- Weight: A worsted weight (Aran or 4) yarn is ideal for beginners. It’s thick enough to work up quickly, easy to see your stitches, and creates a nice, sturdy fabric.
- Quantity: For a medium-sized tote, you’ll likely need 200-400 yards (1-2 skeins) of yarn.
- Crochet Hook: The yarn label will recommend a hook size (e.g., H/5.0mm or I/5.5mm for worsted weight yarn). Start with the recommended size, but don’t be afraid to go up or down one size if your stitches feel too tight or too loose.
- Scissors: For cutting yarn.
- Tapestry Needle (or Yarn Needle): A blunt needle with a large eye, used for weaving in yarn ends.
- Stitch Marker (Optional but Recommended): A small plastic clip or safety pin to mark the beginning of a row or round, especially helpful if you’re working in a spiral.
Planning Your Easy Tote Bag Project
Before you dive in, a little planning goes a long way:
- Choose Your Stitch: For your first tote, stick to single crochet (sc). It creates a dense, strong fabric perfect for carrying items. If you want a slightly faster project, half double crochet (hdc) is a great alternative.
- Decide on Shape:
- Flat Bottom & Sides (Rectangle Construction): You’ll crochet two identical rectangles (front and back panels), then a long strip for the sides and bottom. These pieces are then seamed together.
- Oval Base with Sides (Seamless Construction): You’ll start by crocheting an oval in the round, then continue working in the round upwards to form the bag’s body. This avoids seaming the bottom. This is often the simplest method for beginners once they’re comfortable with working in the round.
- Determine Size: A good starting size for a general-purpose tote might be 12-14 inches wide and 14-16 inches tall.
- Handles: You’ll crochet two long strips for the handles and sew them onto the top of the bag. Keep them wide enough to be comfortable on your shoulder.
Construction Journey: Your First Tote Bag (Conceptual Guide)
Here’s a simplified breakdown of how you might construct a common beginner tote (using the seamless oval base method as an example):
- Start the Base (Oval):
- Make a slip knot and a foundation chain of your desired bag width (e.g., 20 chains).
- Work single crochet stitches all the way down one side of the chain.
- At the end, work several single crochets into the very last chain stitch to turn the corner.
- Continue working single crochets down the other side of your foundation chain.
- At the second end, work several single crochets into the last chain to turn the corner again.
- You’ve now created your first oval round. Continue working in rounds, increasing stitches at the ends of the oval as needed to keep it flat, until your base is the desired size and shape. Use a stitch marker to keep track of the start of each round.
- Build the Sides (Body of the Bag):
- Once your base is the correct size, stop increasing.
- To make the sides go straight up, you can work your stitches into the back loop only (BLO) of the previous round for the first round of the body. This creates a neat ridge at the bottom.
- Continue working single crochet stitches (or half double crochet) in continuous rounds, without any increases, until the bag reaches your desired height.
- Create the Handles:
- Make a slip knot and a foundation chain for your desired handle length (e.g., 60-80 chains).
- Work rows of single crochet (or half double crochet) until the handle reaches your desired width (e.g., 1.5-2 inches).
- Make two identical handles.
- Assemble the Bag:
- Weave in all initial ends from the bag body and handles.
- Position the handles: Lay your bag flat and evenly place the handles on the inside edges of the top opening. You’ll want to place them a few inches in from each side.
- Sew the handles: Using your tapestry needle and matching yarn, securely sew the ends of the handles to the bag’s top opening. Stitch through multiple loops of both the handle and the bag for a strong connection.
Finishing Touches: The Polished Look
- Weave in All Remaining Ends: This is essential for a neat, durable bag. Take your time to hide all yarn tails securely within the stitches.
- Blocking (Optional but Recommended): While not strictly necessary for a beginner tote, a gentle blocking can help even out your stitches and give your bag a more professional, finished look. Simply wet the bag, gently squeeze out excess water, reshape it, and lay it flat to dry.
Tips for Beginner Success
- Don’t Aim for Perfection: Your first project is about learning. Embrace any wobbly stitches or slightly uneven edges – they tell the story of your learning journey!
- Practice Makes Progress: The more you crochet, the more natural your movements will become and the more consistent your tension will be.
- Watch Videos: YouTube is an incredible resource for visual learners. Search for “how to single crochet,” “crochet oval base,” or “crochet tote bag for beginners” for step-by-step guidance.
- Count Your Stitches: This is a golden rule for crochet. Counting at the end of each row or round prevents your work from getting wider or narrower unintentionally.
- Use a Stitch Marker: Mark the very first stitch of each round if you’re working in a spiral. This prevents losing your place.
- Relax Your Hands: If your hands start to ache, you might be holding your hook or yarn too tightly. Take a break and try to relax your grip.
Video Tutorial ;
Creating your first crochet tote bag is a fantastic way to dive into the world of yarn crafts. It’s a journey filled with learning, problem-solving, and the satisfaction of seeing a useful item come to life under your own hands. So grab your hook, choose your favorite yarn, and get ready to crochet your way to a brand new skill and a stylish, handmade accessory!
What color are you thinking of making your first tote bag?