by
by The thought of knitting a jumpsuit or overalls can seem like a monumental task, often conjuring images of complex shaping, intricate patterns, and endless seaming. But what if we told you it could be surprisingly simple? Many delightful jumpsuit and overall models are designed with the beginner knitter in mind, focusing on basic stitches, clever construction, and minimal fuss. Imagine creating a cozy, stylish, and utterly unique garment that’s perfect for play or relaxation, all with straightforward techniques.
This detailed article will show you how to approach knitting a super easy jumpsuit or overall model, revealing the design principles that make it accessible and providing a roadmap to help you cast on your very own wearable masterpiece.
The “Super Easy” Secret: Simplified Construction
The key to an easy knit jumpsuit or overall lies in intelligent pattern design that sidesteps common complexities:
- Modular Pieces: Often, easy patterns break the garment down into manageable, flat pieces (like two leg panels, a front bib, and a back panel) that are later seamed together. This eliminates the challenge of circular knitting for beginners.
- Minimal Shaping: Complex curves for armholes or crotches are often simplified or created through clever seaming of straight edges.
- Basic Stitches: You’ll primarily rely on foundational stitches like the knit stitch and purl stitch. This allows you to focus on consistency and tension rather than mastering advanced techniques.
- Chunky or Worsted Weight Yarn: Using thicker yarn means fewer stitches per row and faster progress, giving you that satisfying feeling of seeing your project grow quickly.
- Relaxed Fit: Oversized or loose-fitting designs are inherently easier as they require less precise shaping and fitting.
Designing Your Easy Knit Jumpsuit or Overalls
Even with a focus on simplicity, you have plenty of room to infuse your personality into your knitwear.
1. Yarn Choice: Comfort, Drape, and Speed
Your yarn selection is paramount, influencing both the ease of knitting and the final garment’s feel.
- Fiber: For comfort and durability, especially for an item that will see a lot of movement, acrylic blends, cotton, or superwash merino wool are excellent choices. They are soft against the skin and often easy to care for.
- Weight: Worsted (Category 4) or Bulky (Category 5) are highly recommended for their balance of cozy fabric and quick progress. They provide good stitch definition without being too fiddly.
- Color: Choose colors that spark joy! Solids highlight stitch texture, while variegated or self-striping yarns can add effortless visual interest.
2. Stitch Pattern: Simple Beauty
Keep your stitch patterns straightforward to maintain the “easy” factor.
- Garter Stitch: This is the ultimate beginner stitch (knit every row). It creates a squishy, reversible fabric that lies flat and has a lovely texture. Perfect for overalls that need to be durable and forgiving.
- Stockinette Stitch: The classic “V” stitch (knit one row, purl one row). It creates a smooth fabric but tends to curl, so it often requires a garter or ribbed border to keep it flat.
- Ribbing (1×1 or 2×2): Great for cuffs, waistbands, and shoulder straps, as it provides elasticity and a neat, finished edge. This is a crucial skill for garment knitting.

3. Style and Fit: Practical and Playful
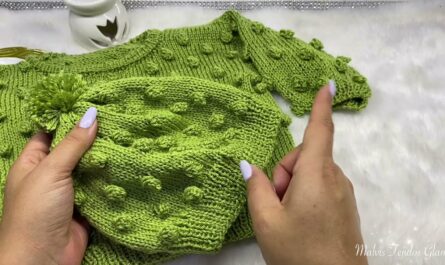
- Overalls vs. Jumpsuit: Overalls typically feature a distinct bib and adjustable straps. Jumpsuits might have a more integrated top, often with short or no sleeves. For an “easy” model, both will likely have a relaxed fit.
- Leg Style: Straight-leg, tapered, or wide-leg can all be achieved with simple shaping.
- Closures: Buttons on the straps are common for overalls. Jumpsuits might simply pull on or have buttons/ties at the back of the neck.
Essential Materials You’ll Need
Gathering your supplies is the first exciting step in your knitting journey.
- Yarn: Your chosen yarn in the required yardage (check your pattern for specifics, as yardage varies significantly with size and yarn weight).
- Knitting Needles: The size recommended on your yarn label for your chosen weight (e.g., US 8-11 / 5.0-8.0mm for worsted/bulky). You might need a pair of circular needles even for flat knitting if the number of stitches becomes very large, just for holding the work comfortably.
- Stitch Markers: Invaluable for marking seams, increases/decreases, or the start of rows.
- Tapestry Needle (Yarn Needle): A blunt needle with a large eye, essential for seaming your knitted pieces together and weaving in ends.
- Scissors: For cutting yarn.
- Measuring Tape: Crucial for checking your gauge and the dimensions of your knitted panels.
- Buttons (Optional): If your design includes button closures for straps.
Key Knitting Skills You’ll Master
This project is perfectly designed to build a solid foundation in garment knitting:
- Casting On: Getting your stitches onto the needle.
- Knit Stitch (K): The most fundamental stitch.
- Purl Stitch (P): The counterpart to the knit stitch, used for texture and stockinette.
- Binding Off: Securely finishing your knitted fabric.
- Increasing & Decreasing (KFB, K2tog, SSK): How to add or remove stitches to create shaping.
- Knitting Ribbing (K1P1 or K2P2): Creating elastic edges.
- Creating Buttonholes: Simple methods for making functional buttonholes.
- Seaming: Neatly joining knitted pieces using a tapestry needle. This is where your garment comes together.
- Weaving in Ends: The final touch for a professional finish.
The Construction Journey: Stitching Your Jumpsuit/Overalls
The most common “super easy” method involves knitting flat panels and then seaming them. Here’s a generalized approach:
Step 1: The Gauge Swatch (Non-Negotiable!)
- This is the most critical step for any knit garment. Before you begin, knit a substantial swatch (at least 6×6 inches / 15×15 cm) in your chosen yarn and primary stitch pattern.
- Block your swatch. Wash it gently, lay it flat, and let it dry. Knitted fabric can change significantly after washing, and blocking reveals its true gauge.
- Measure your stitches and rows per inch/cm accurately. If your gauge doesn’t match the pattern’s recommendation, adjust your needle size until it does. This ensures your finished garment will be the correct size.
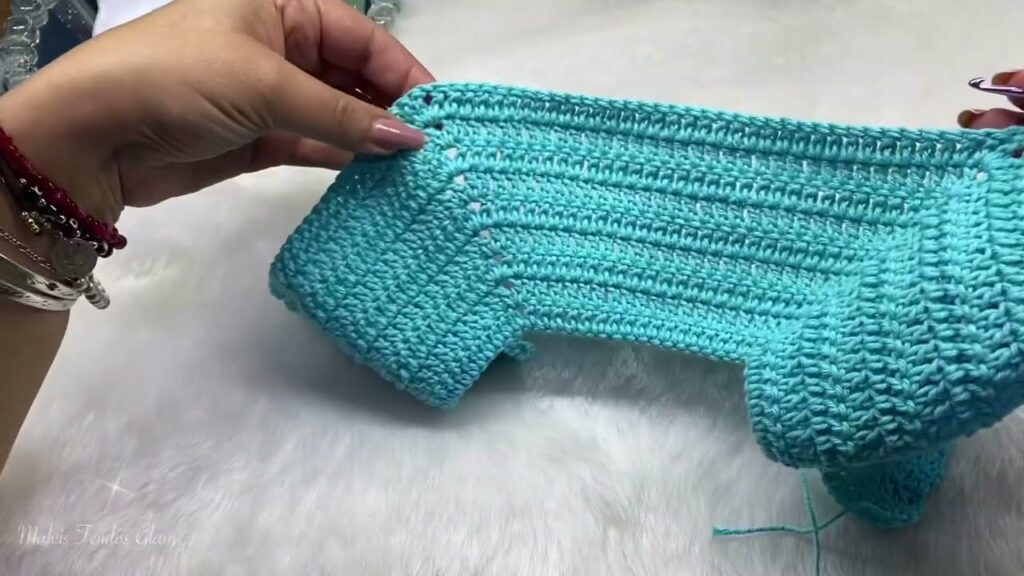
Step 2: Knit the Leg Panels (Two Identical Pieces)
- For each leg, cast on the required number of stitches.
- Work in your chosen stitch pattern, shaping as directed (e.g., increasing stitches gradually to widen the leg for the hips/crotch area).
- Knit until the panel reaches the desired length from the ankle to the crotch.
- Bind off the stitches for the inner leg side, then continue shaping for the overall body.
Step 3: Knit the Bib (Front Panel) and Back Panel
- For Overalls: From the top of your leg panels (where you bound off for the inner leg), you’ll likely continue knitting the remaining stitches upwards to form the front bib and back panel. You’ll shape the bib by decreasing stitches to narrow it.
- For Jumpsuits: You might knit the front and back body panels separately from the leg panels and later seam them together.
Step 4: Create the Straps
- For overalls, pick up stitches along the top corners of the back panel or bib.
- Work in a narrow band (e.g., 5-8 stitches wide in ribbing or garter stitch) for the desired strap length.
- Create a buttonhole near the end of each strap before binding off.
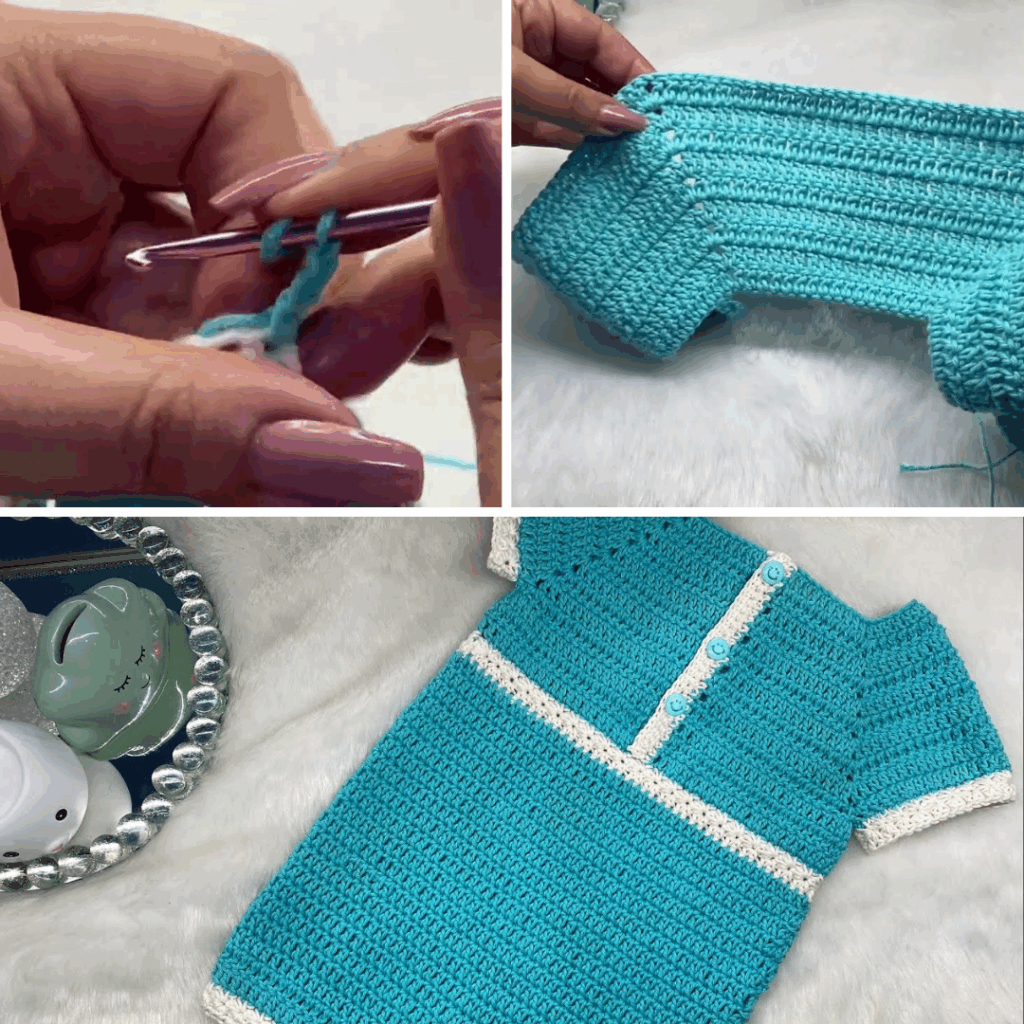
Step 5: Assemble Your Garment (The “Sew-Together” Magic)

Lay all your knitted panels flat, right sides facing up.
- Inner Leg Seams: Seam the inner leg edges of each leg panel together.
- Crotch Seam: Join the two leg pieces together along the crotch curve.
- Side Seams: Seam the outer side edges of the jumpsuit/overalls from the bottom hem up to the armhole.
- Shoulder Seams (if applicable): If you knit separate front/back body pieces, seam them at the shoulders.
Step 6: Finishing Touches
- Weave in All Ends: This is crucial for a tidy and durable garment. Meticulously hide every yarn tail using your tapestry needle.
- Add Buttons: Sew your chosen buttons securely onto the front bib or waistband, aligning them with your strap buttonholes.
- Blocking: The ultimate transformation! Gently wet your finished jumpsuit/overalls (or steam it), carefully shape it to its intended dimensions on blocking mats, and pin it securely. Allow it to dry completely. Blocking evens out stitches, enhances drape, and sets the final shape and fit.
Knitting a jumpsuit or overalls, even a simple one, is a wonderfully ambitious and ultimately satisfying project. With the right pattern, a little patience, and these straightforward techniques, you’ll be delighted by how easy it is to create such a charming and unique garment.
What kind of stitch pattern are you dreaming of for your cozy overalls?
Video Tutorial :