 by
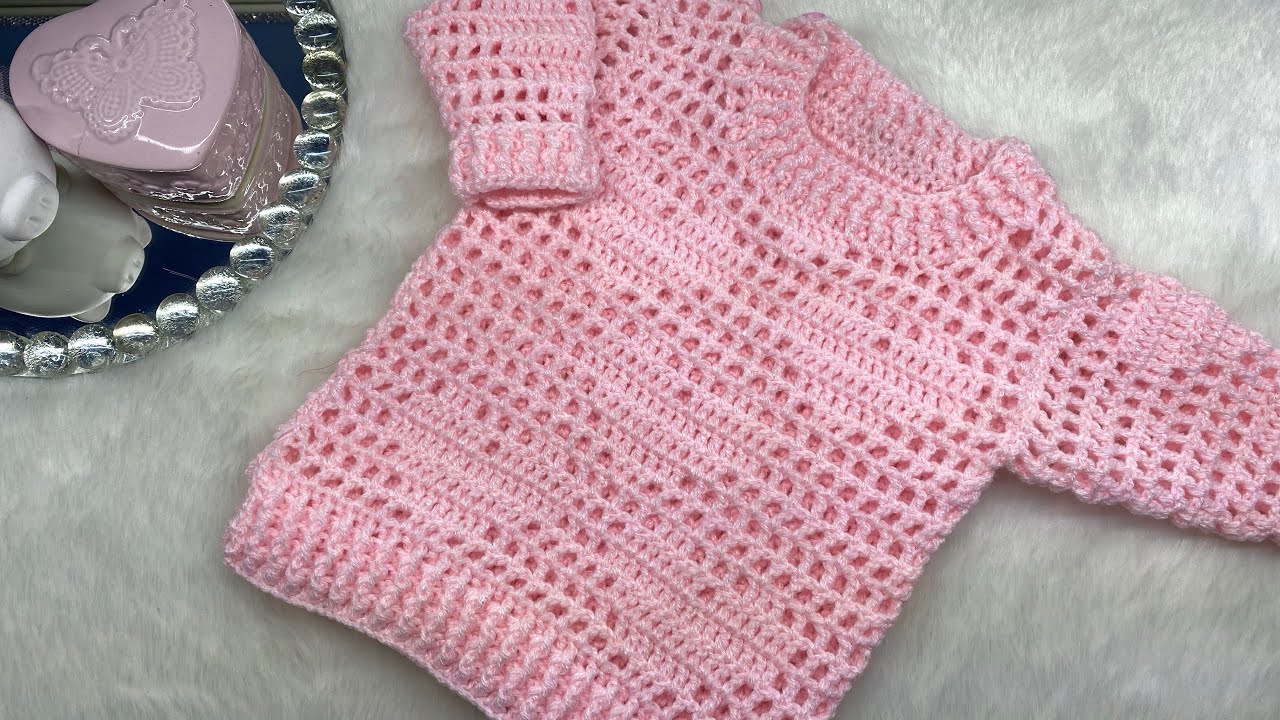
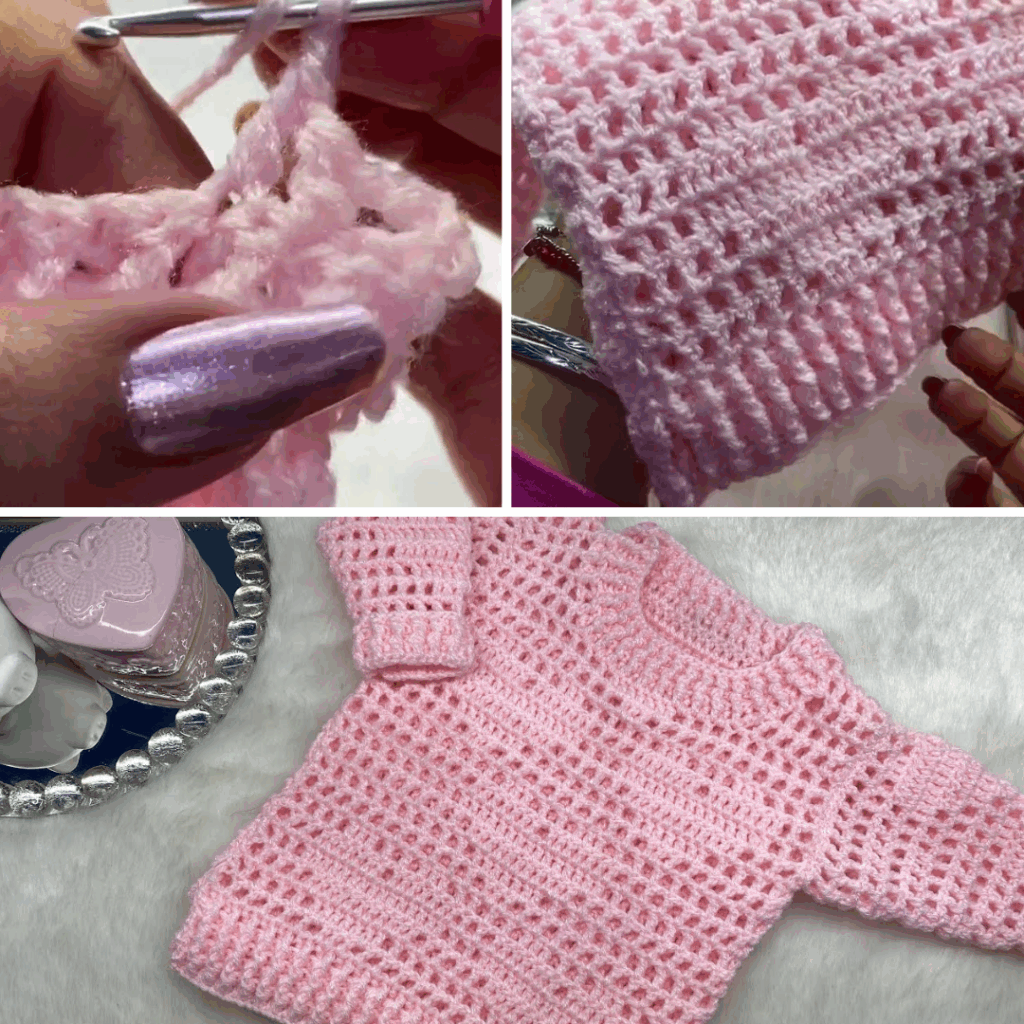
by Stitching Love: A Detailed Guide to Crocheting a Heart Sweater
There’s something uniquely special about wearing your heart on your sleeve, and with a crocheted heart sweater, you can do just that—literally! A sweater adorned with a charming heart motif is more than just a piece of clothing; it’s a wearable expression of love, a cozy hug in yarn, and a delightful project for any crafter. Whether you’re making it for a loved one on Valentine’s Day, a child, or simply as a treat for yourself, a heart sweater is a timeless garment that combines comfort with an enchanting design.
This detailed article will guide you through all the design choices and techniques you need to create your very own custom heart sweater, proving that a project this meaningful is also surprisingly achievable.
The Allure of the Heart Sweater
The heart motif is a classic for a reason. Here’s why it works so well on a crocheted sweater:
- A Gift from the Heart: A handmade item already carries immense sentimental value, but a heart sweater takes it to a new level. It’s a tangible labor of love that will be cherished.
- Timeless & Versatile: The heart is a universal symbol. This sweater is perfect for Valentine’s Day, anniversaries, birthdays, or simply as a charming everyday piece.
- Customization: You can make your heart design as subtle or as bold as you like. From a delicate, tiny heart on the cuff to a large, bold heart on the chest, the design is entirely up to you.
- Skill-Building Project: A sweater is a fantastic project for building your crochet skills, and adding a motif like a heart allows you to experiment with colorwork or texture.
Choosing Your Heart Design: Techniques for Every Skill Level
How you add the heart motif is the most creative part of this project. Here are four popular methods, from beginner-friendly to more advanced.
Method 1: Appliqués (Beginner-Friendly)
This is the easiest way to add a heart to a finished garment. You crochet the hearts separately and then sew them on.
- How it Works: Crochet a simple flat heart (there are countless free patterns online for this). Once your sweater is complete, position the hearts and use a tapestry needle to stitch them securely onto the fabric.
- Best For: Creating multiple small hearts, adding them after the sweater is finished, or making a project with a very soft yarn where colorwork might be too complex.
Method 2: Surface Crochet (Easy to Intermediate)
Think of this as drawing on your sweater with yarn.
- How it Works: After you’ve finished crocheting the sweater, use a contrasting color yarn and a hook to work slip stitches directly onto the surface of the fabric, following a heart outline. You’ll pull the new yarn up through the stitches of the sweater.
- Best For: Creating a simple, clean heart outline or adding monograms and other motifs without having to plan ahead with colorwork.
Method 3: Colorwork (Intermediate to Advanced)
This method integrates the heart directly into the crocheted fabric as you go.
- Tapestry Crochet: You carry two or more colors of yarn with you as you crochet a row. You switch colors as needed to create the heart motif, and the unused color is hidden inside the stitches. This is great for repeating patterns of small hearts.
- Intarsia: You use separate bobbins of yarn for each color block. This is perfect for a single, large heart on the chest, as it prevents the yarn from being carried across long distances, resulting in a cleaner look.
- Best For: Creating a bold, graphic heart that is a seamless part of the fabric. You will need a graph or chart to follow for this method.
Method 4: Textured Stitches (Intermediate)
This creates a subtle, tactile heart design using raised stitches.
- How it Works: You use stitches like the bobble stitch, puff stitch, or popcorn stitch in a heart shape against a background of a simpler stitch like single crochet or double crochet. The bobbles will pop out from the fabric, creating a three-dimensional heart.
- Best For: Adding texture and dimension to your design, creating a more subtle and elegant heart.
Sweater Construction and Yarn Choices
Before you start, you’ll need to choose the style of your sweater and the perfect yarn.
Construction Methods:
- Top-Down (Seamless): Start at the neckline and work your way down in the round. This is great for colorwork and allows you to try on the sweater as you go.
- Seamed Panels: Crochet a front panel, a back panel, and two sleeves separately, then seam them together. This is often easier for beginners and great for colorwork like intarsia.
Yarn Choices:
- Fiber: For a comfortable, wearable garment, choose a soft yarn. Superwash Merino Wool is a luxurious and soft option. High-quality Acrylic is durable, washable, and comes in every color imaginable. Cotton or Cotton Blends are perfect for a lighter, breathable sweater.
- Weight: DK (Double Knitting, Category 3) or Worsted (Category 4) are the most popular choices for sweaters. They offer a great balance of warmth and working speed.
Essential Materials You’ll Need
- Yarn: Your main color and a contrasting color for the heart(s).
- Crochet Hook: The size recommended on your yarn label to achieve the correct gauge.
- Tapestry Needle (Yarn Needle): Crucial for weaving in ends and seaming.
- Scissors.
- Stitch Markers: Invaluable for marking the beginning of rounds or key shaping points.
- Measuring Tape: Essential for checking your gauge and dimensions.
- Graph/Chart (if using colorwork): A paper or digital graph of your heart design.
- Bobbins (if using Intarsia): Small plastic or cardboard spools to hold your contrasting yarn.
Step-by-Step Guide to the Process
Follow these steps to bring your heart sweater to life.
Step 1: The Gauge Swatch (CRUCIAL)
This is the most important step for any garment. Crochet a large swatch (at least 6×6 inches) in your chosen yarn and hook. Wash and block it to see how it behaves. Measure your stitches per inch and adjust your hook size if needed to match your pattern’s gauge. This ensures your sweater will fit!
Step 2: Choose Your Pattern and Design
Select a sweater pattern (top-down or seamed panels) that you love and is suited to your skill level. Now, decide on your heart motif and where it will be placed on the garment.
Step 3: Crochet the Sweater Body
Follow your chosen pattern to create the main panels (front, back, and sleeves). If you’re doing tapestry or intarsia colorwork, you will integrate the hearts directly into the fabric as you go, following your graph.
Step 4: Add the Heart Motif
If you are using the appliqué or surface crochet method, do this step once the sweater panels are complete or after the entire sweater is assembled. Carefully place your hearts, pin them, and stitch them on.
Step 5: Assemble and Finish
If you worked in panels, use your tapestry needle to seam the pieces together neatly. Add any neck, cuff, or hem ribbing as instructed by the pattern. Then, meticulously weave in all your yarn ends for a clean, professional finish.
Step 6: Blocking (The Magic Step)
Blocking is a non-negotiable step for a garment. Gently soak your finished sweater in cool water, lay it flat on a blocking mat or towel, and gently shape it to the correct dimensions. Pin it down and let it dry completely. Blocking will even out your stitches, enhance the drape, and make your heart motif pop!
Tips for a Loving Finish

- Plan Your Colors: Choose a yarn for the heart that provides high contrast against the main sweater color so the design stands out.
- Go Seamless for Comfort: A top-down, seamless sweater is often more comfortable to wear as there are no bulky seams.
- Practice Colorwork: If you’re new to tapestry or intarsia, practice the technique with a small swatch before starting the garment.
- Be Meticulous: Take your time with the seaming and weaving in of ends. A clean finish makes all the difference!
- Relaxed Fit is Easier: For a first garment, a relaxed or oversized fit is more forgiving and easier to fit than a fitted one.
Creating a crochet heart sweater is a project that you will pour your love into, and the finished garment will be a beautiful reflection of that effort. Happy hooking!
Video Tutorial :