 by
by Crochet a Fairytale: How to Create a Snow White-Inspired Dress for a Girl 🍎
Bring a classic fairytale to life with your crochet hook! A handmade Snow White dress is a truly magical garment for any little princess. With its iconic colors and charming silhouette, this project allows you to create a beautiful, custom-fit dress that will be treasured for years. It’s a wonderful way to combine your love for crochet with a dose of storybook whimsy.
This detailed guide will walk you through the essential steps to crochet a dress for a girl, focusing on the key elements that make it instantly recognizable as a Snow White costume—or a wonderfully whimsical everyday dress.
The Anatomy of a Snow White Crochet Dress
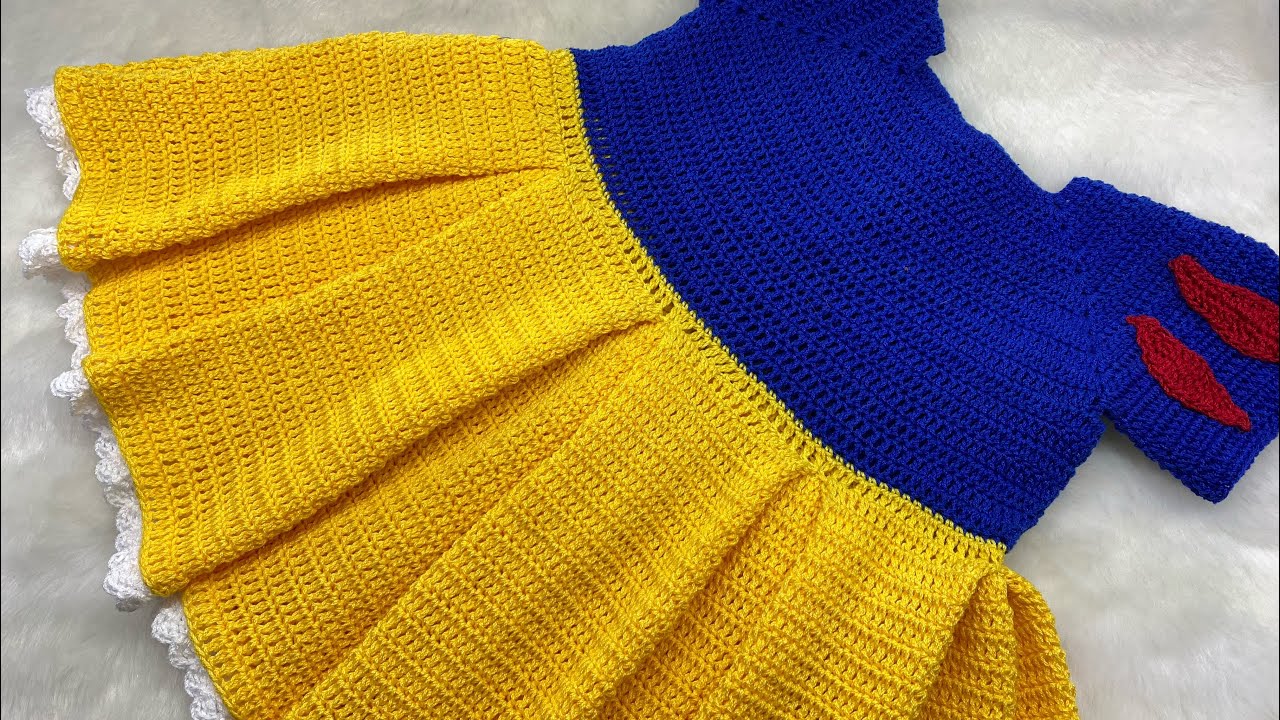
Every fairytale dress has its signature features, and the Snow White dress is defined by its distinct color blocking and shape. To create a crochet version, you’ll focus on these key components:
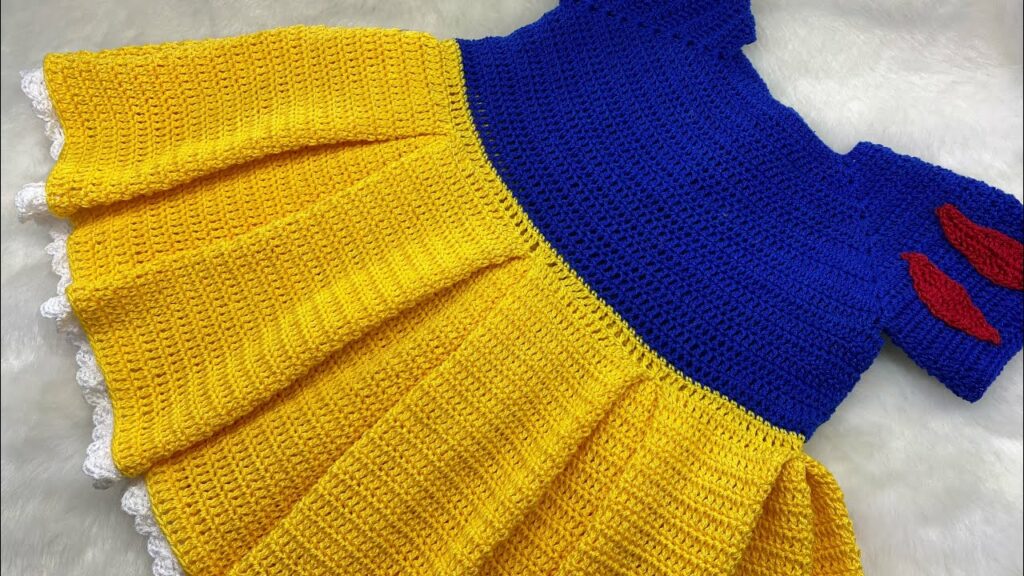
- The Royal Blue Bodice: This is the structured top of the dress, typically covering the chest and waist. A simple stitch like single or half double crochet works perfectly to create a solid, smooth fabric.
- The Voluminous Yellow Skirt: The skirt should be full and flowing, reflecting the cheerful spirit of the princess. You’ll create volume through strategic increases and a drapey stitch.
- The Iconic Puff Sleeves: These are the charming red-and-blue sleeves that sit on the shoulders. You’ll use shaping techniques to create their signature puffed look.
- The Finishing Details: A crisp white collar and a red bow or ribbon are the perfect final touches that complete the classic look.
Choosing Your Materials & Method
Gathering your materials is the first step to creating your fairytale garment.
Yarn Choices: Color and Comfort
- Colors: You will need royal blue, bright yellow, bright red, and white yarn. A classic Snow White palette!
- Fiber: For a children’s garment, choose a yarn that is soft, durable, and washable. Cotton, cotton-acrylic blends, or baby acrylics are excellent choices. They are comfortable against sensitive skin and can withstand playtime and frequent washing.
- Weight: DK (Double Knitting) or Worsted (Category 4) are perfect. They create a solid fabric that is not too heavy and works up at a good pace.
Construction Method: Seamless & Simple
For a girl’s dress, a top-down construction is highly recommended. You start at the neckline and work your way down, which has two major benefits:
- No Seams: This means a more comfortable dress for the child and less work for you.
- Easy Sizing: You can easily check the fit of the yoke and length of the dress as you go.
Tools You’ll Need:
- Crochet Hook: The size recommended on your yarn label (or the size needed to meet your pattern’s gauge).
- Stitch Markers: Crucial for marking key increase points and the beginning of rounds.
- Tapestry Needle: For weaving in all your yarn ends and adding details.
- Scissors.
- Buttons or Snaps (Optional): For a back opening on the bodice.
- Ribbon: A small piece of red ribbon for the finishing bow.
Sizing and Gauge: The Fairytale Fit
This is the most important step for any garment project!
- Gauge Swatch: Before you begin, crochet a swatch (at least 4×4 inches / 10×10 cm) in your chosen yarn and main stitch (e.g., hdc). Wash and block the swatch! Measure your stitches and rows per inch. Adjust your hook size until your gauge matches your chosen pattern’s recommendation.
- Measurements: You’ll need the child’s chest circumference and shoulder-to-hem length to determine the correct size from your pattern’s size chart.
A Step-by-Step Guide to Crocheting the Dress
Follow these steps to bring your Snow White dress to life using a top-down construction method.
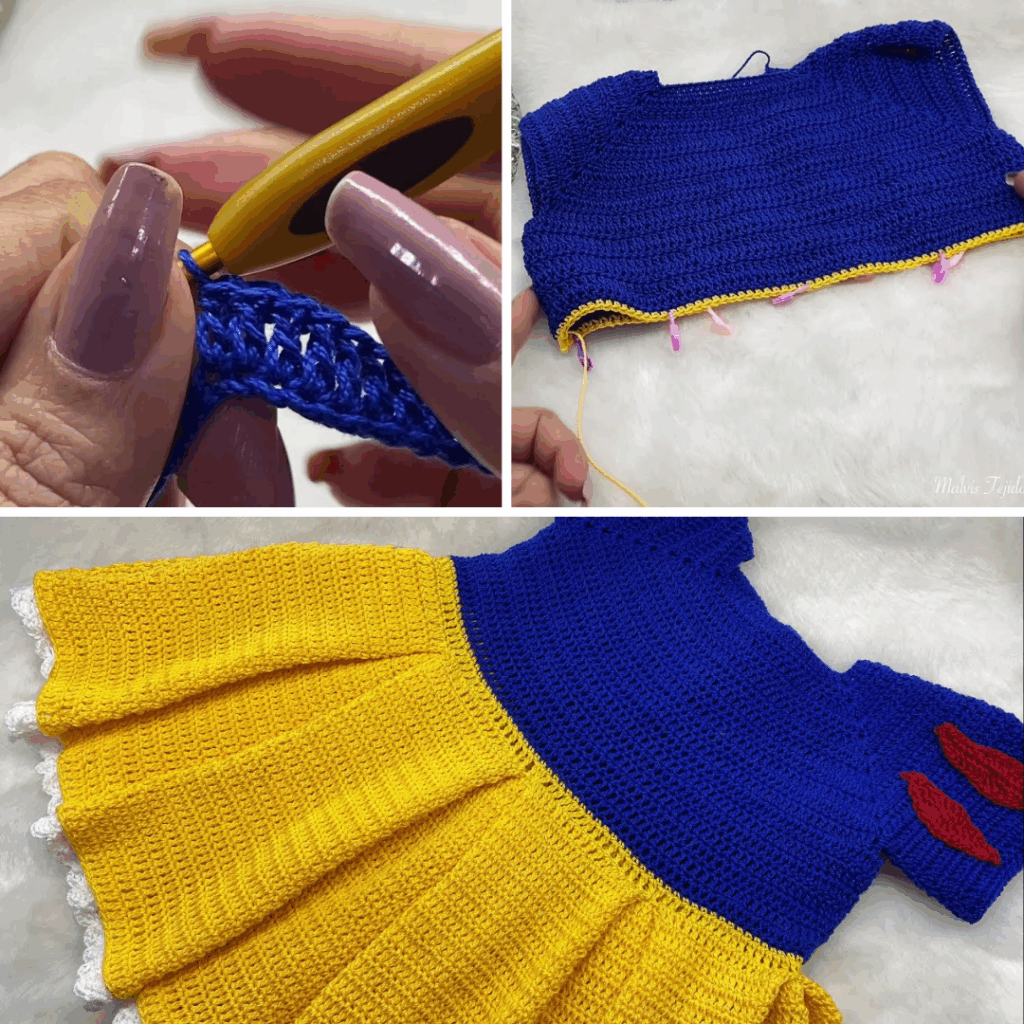
Step 1: The Blue Yoke (Bodice Top)
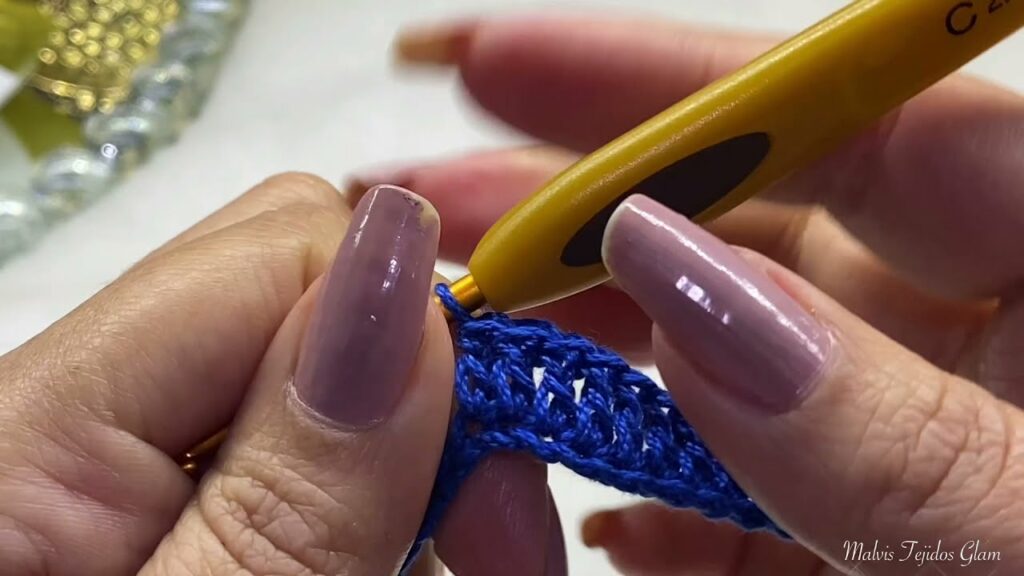
Start with your royal blue yarn. Begin by crocheting a foundation chain and joining it into a circle, or using a magic ring. Work in rounds, using a stitch like hdc or dc. You’ll need to increase stitches evenly in each round to create a flat or rounded circle that will form the yoke—the top part of the bodice that sits across the shoulders. Continue increasing until the yoke measures the correct circumference for the child’s chest.
Step 2: Separate for Body and Sleeves
Once the yoke is complete, you will divide the stitches into sections: one for the back, one for the front, and two for the armholes. You will chain stitches to bridge the armholes, and then continue working in rounds, now only crocheting the front and back body sections. This forms the rest of the blue bodice, leaving the armholes open.
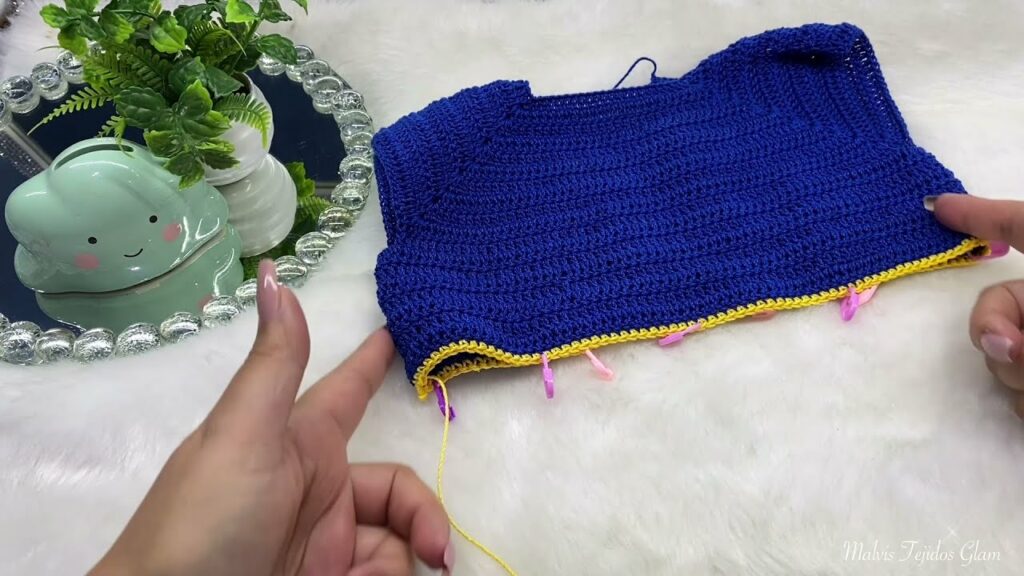
Step 3: The Voluminous Yellow Skirt
Now for the fun part! Switch to your bright yellow yarn. For the first few rounds of the skirt, you’ll need to add a significant number of increases to create a full, flowing effect. Work 2 stitches into every 2nd or 3rd stitch to make the fabric flare out. After the initial flare, you can stop increasing and work straight down in rounds until the skirt reaches your desired length.
Step 4: Crochet the Puff Sleeves
Go back to the armhole openings you left in Step 2. Attach your yarn and begin crocheting the sleeves. To create the puff, you’ll need to use a combination of colors and increases. Work a few rounds in red, then a few in blue, and so on, building stripes. For the puff, use a puff stitch, or use increases in the first few rounds, then work straight, and finally, decrease at the cuff to bring the stitches back to a smaller circumference. You can add a small piece of elastic or a drawstring to the cuff for a secure fit.
Step 5: Add Finishing Details
- The White Collar: With your white yarn, crochet a separate long rectangle in single crochet or double crochet. You can add increases or use a slightly larger hook to make it flare. Sew this collar neatly to the neckline of the dress.
- The Red Bow: Make a simple crocheted bow or tie a red ribbon into a bow and stitch it securely to the front of the neckline.
- Back Closure: If your pattern requires it, add a simple button loop and button closure to the back of the bodice to make dressing easier.
Step 6: Weave in Ends & Block
Your dress is almost done! Use your tapestry needle to meticulously weave in every yarn end. Finally, block the dress by gently wetting it, shaping it on a flat surface, and letting it dry completely. Blocking will even out your stitches and give the dress a beautiful drape, making the skirt look fuller and the bodice lay flat.
With a bit of magic and your crochet hook, you can create a charming and unique Snow White dress that is perfect for playtime, photos, or special occasions. Happy hooking!
Video Tutorial :