 by
by From Skein to Style: A Comprehensive Guide to Crocheting a Sweater
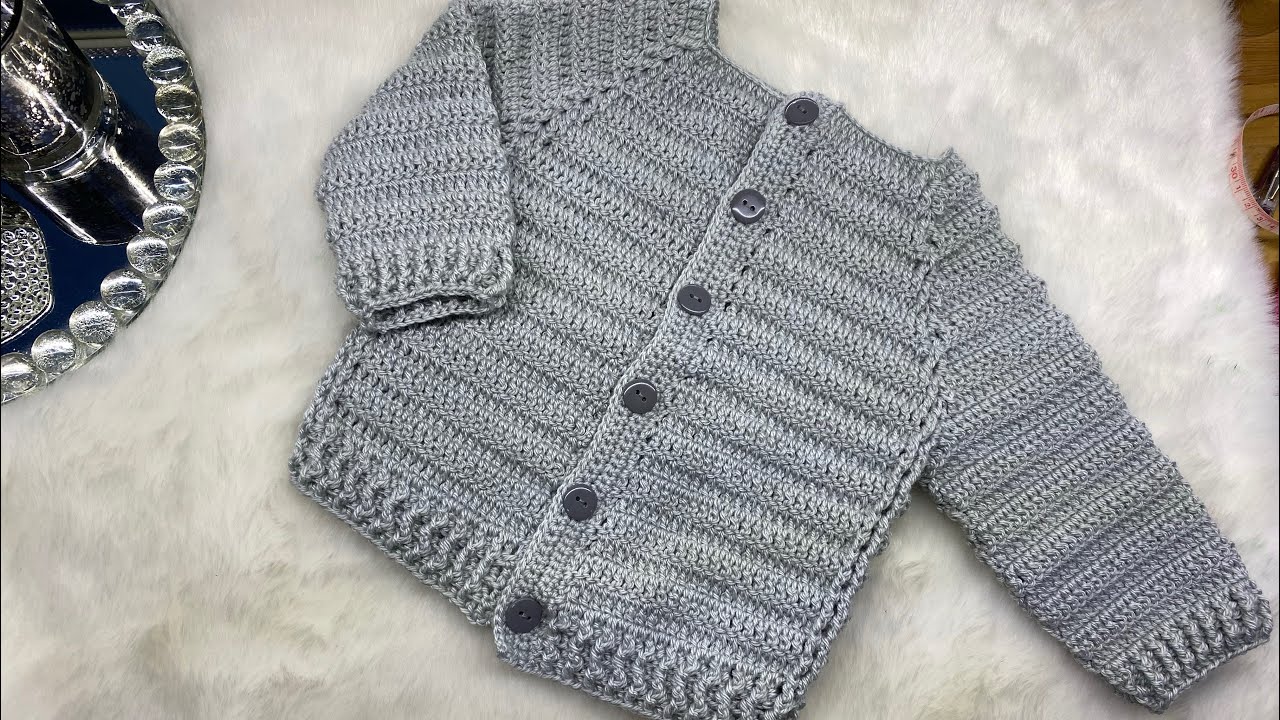
There are few projects in the world of crochet as rewarding as creating a full-sized sweater. The thought of it can feel daunting, but the satisfaction of transforming a ball of yarn into a wearable piece of clothing is immense. A crocheted sweater is a unique creation—a cozy masterpiece that can be a cherished item in your own wardrobe or a deeply personal gift for a loved one. Whether you are a beginner ready to tackle your first garment or an experienced crocheter seeking a new challenge, this detailed guide will walk you through the essential steps, design choices, and techniques needed to successfully crochet a sweater.
Why Crochet Your Own Sweater?
- Ultimate Personalization: You are the designer! You choose the perfect color, the softest fiber, the ideal fit, and the exact stitch pattern you love.
- Skill Mastery: Crocheting a sweater is a fantastic way to level up your skills, mastering techniques like shaping, working in the round, and creating professional-looking finishes.
- Unmatched Emotional Value: A handmade sweater is a tangible representation of time, care, and love. It’s not just a garment; it’s a keepsake.
- Cost-Effective: With a bit of planning, you can often create a high-quality, custom-fit sweater for a fraction of the cost of a store-bought designer knit.
Essential Design Choices Before You Begin
Before you even touch your hook, make these crucial decisions to set yourself up for success.
1. Construction Method
The way you build your sweater dictates the entire process.
- Top-Down (Seamless): You start at the neckline and work your way down.
- Pros: No seaming! This is a huge benefit for comfort and saves time. You can try the sweater on as you go to check the fit and length.
- Cons: Can be tricky to get the yoke (the upper part of the sweater) shaping perfect.
- Bottom-Up (Seamless or Seamed): You start at the bottom hem and work your way up.
- Pros: A classic and straightforward method. Great for beginners if you work in flat panels.
- Cons: Requires seaming if worked in panels, which can be time-consuming and bulky if not done neatly.
- Seamed Panels: You crochet a front panel, a back panel, and two sleeve panels separately.
- Pros: The easiest method to manage as you are only ever working on a single flat piece. Perfect for colorwork or beginners.
- Cons: Requires careful seaming at the end.
- Raglan: A popular style of top-down construction where increases are made along diagonal lines to shape the shoulders. It’s seamless and creates a comfortable, sporty fit.

2. Yarn Selection
The right yarn is crucial for comfort, drape, and the final look of your sweater.
- Fiber:
- Superwash Merino Wool: A top choice for sweaters. It’s incredibly soft, elastic, and machine washable.
- Acrylic: An affordable and durable option with a huge color range. Modern acrylics can be very soft and drape beautifully.
- Cotton or Cotton Blends: Breathable and comfortable, ideal for warmer climates or lighter sweaters.
- Alpaca: Luxurious, warm, and provides a beautiful drape, though it can be more delicate.
- Weight:
- DK (Double Knitting, Category 3): Great for a lightweight sweater.
- Worsted (Category 4): The most common and versatile weight for sweaters, offering a good balance of warmth and working speed.
- Bulky (Category 5): Works up quickly for a chunky, cozy sweater.
3. Stitch Pattern
Your stitch choice affects the fabric’s texture and drape.
- Simple & Classic: Half Double Crochet (hdc) or Double Crochet (dc) create a soft, drapey fabric that works up quickly.
- Textured: The Moss Stitch (alternating sc, ch 1) or a subtle Ribbing (working in the back loop only) can add beautiful texture. For more advanced projects, try cables using post stitches.
- Lace/Openwork: A shell stitch or V-stitch can create an airy, delicate sweater perfect for layering.
Materials You’ll Need
- Yarn: Your chosen fiber, weight, and color(s). Consult your pattern for recommended yardage.
- Crochet Hook(s): The size(s) recommended by your pattern. You may need a smaller hook for ribbing.
- Stitch Markers: Invaluable for marking the beginning of rounds, increase points, or raglan lines.
- Tapestry Needle (Yarn Needle): Essential for weaving in ends and seaming.
- Scissors.
- Measuring Tape: Crucial for checking your gauge and dimensions.
The Construction Journey: A Step-by-Step Guide
Follow these steps for a successful and enjoyable crocheting process.
Step 1: The Gauge Swatch (CRUCIAL)
Do not skip this step! Crochet a substantial swatch (at least 6×6 inches / 15×15 cm) in your chosen yarn and hook, using the primary stitch pattern of your sweater. Wash and block your swatch according to your yarn’s care instructions. Then, measure your stitches and rows per inch/cm. If your gauge is off, adjust your hook size until it matches the pattern’s recommendation. This is the single most important step to ensure your sweater fits!
Step 2: Choose Your Pattern and Size
Select a well-written pattern from a reputable designer. Read it all the way through before you begin. Choose a size based on your measurements and the pattern’s size chart, keeping in mind your desired “ease” (the amount of room in the sweater).
Step 3: Crochet the Body
Follow your pattern’s instructions to create the main body of the sweater.
- Top-down: You will work the yoke, then divide the stitches to separate the body and sleeve sections.
- Seamed Panels: You will work flat rows to create the front and back pieces.
Step 4: Crochet the Sleeves
Sleeves can be worked seamlessly from the armhole opening down, or they can be crocheted as separate panels and then seamed. Shape the sleeves with decreases to taper towards the cuff.
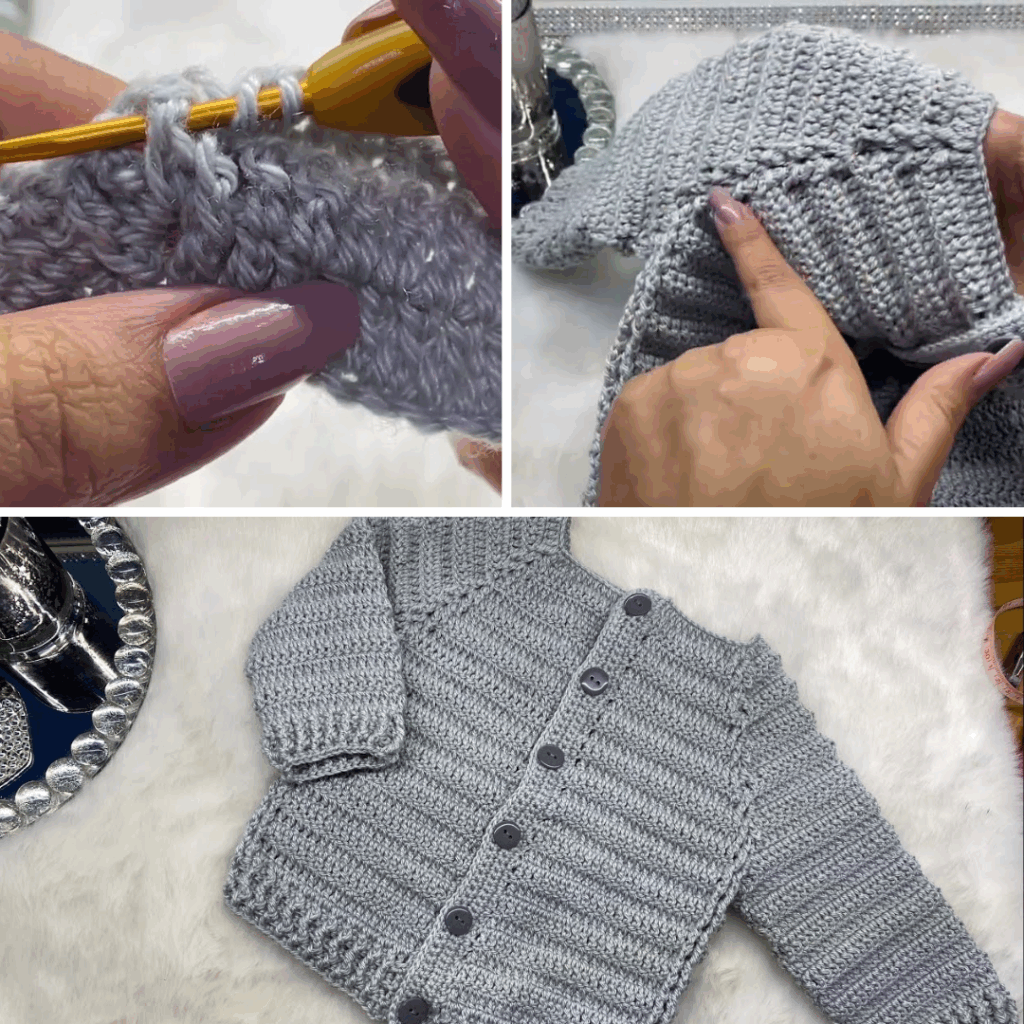
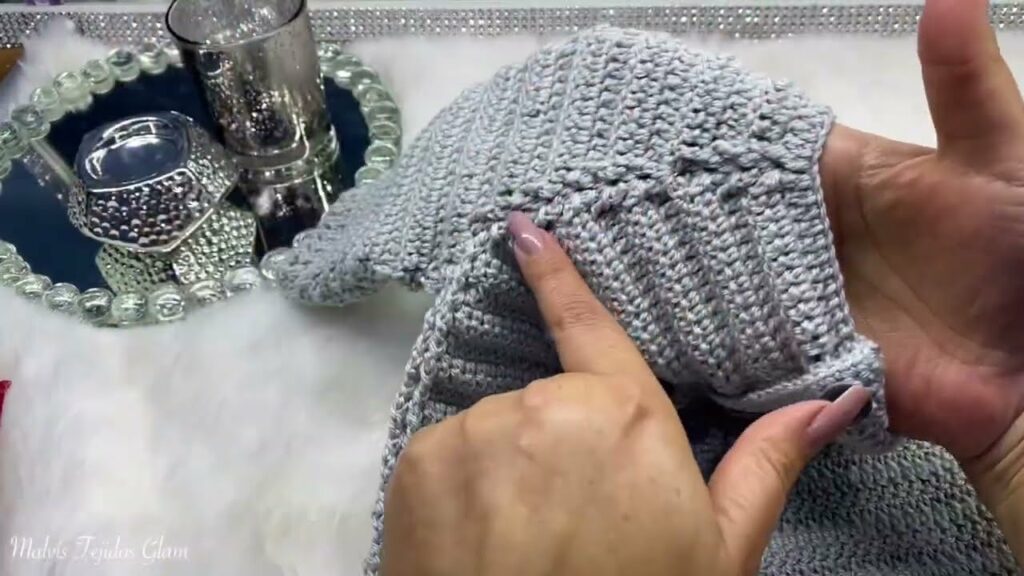
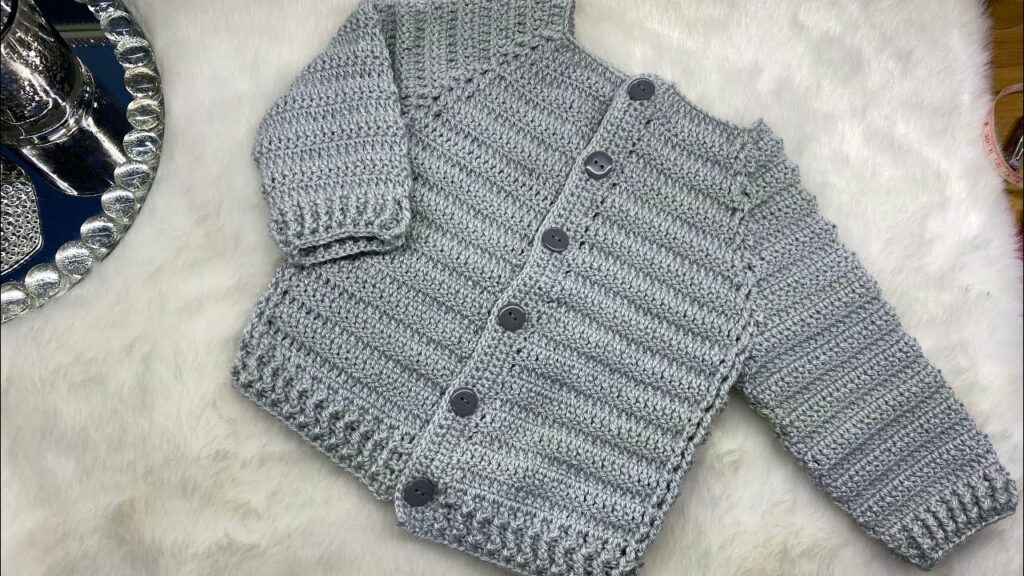
Step 5: Add Ribbing & Finishing Touches
Finish the sweater with ribbing at the cuffs, hem, and neckline. Ribbing provides elasticity and gives the sweater a professional, polished look.
Step 6: Seam & Weave in Ends
If you worked in panels, use your tapestry needle and a neat seaming technique to join the pieces at the shoulders, sides, and sleeves. Finally, take the time to meticulously weave in all your yarn tails for a clean, durable finish.
Step 7: Blocking (The Magic Step)
This is the step that transforms your project from a handmade item into a professional-looking garment. Gently wet your finished sweater (or use a steamer), carefully shape it to its intended dimensions on blocking mats, and pin it securely. Allow it to dry completely. Blocking will even out your stitches, enhance the drape, and set the final shape and size.
Pro Tips for a Perfect Sweater
- Read the Entire Pattern: Before you cast on, read the pattern from start to finish to understand the construction and anticipate any challenges.
- Use Stitch Markers: They are your best friend for keeping track of your stitch count and marking key points in the pattern.
- Try It On: For top-down construction, regularly try on your sweater to ensure the fit is perfect.
- Press Your Seams: For seamed garments, use a gentle iron or steamer on a low setting to press the seams flat. This makes a huge difference in the final look.
- Embrace Imperfection: For your first sweater, a few wonky stitches are part of the charm! Enjoy the process and the satisfaction of wearing something you made yourself.
With a well-written pattern, careful attention to gauge, and these helpful tips, you’ll be well on your way to creating a beautiful, custom-fit crocheted sweater. Happy hooking!
Video Tutorial :