 by
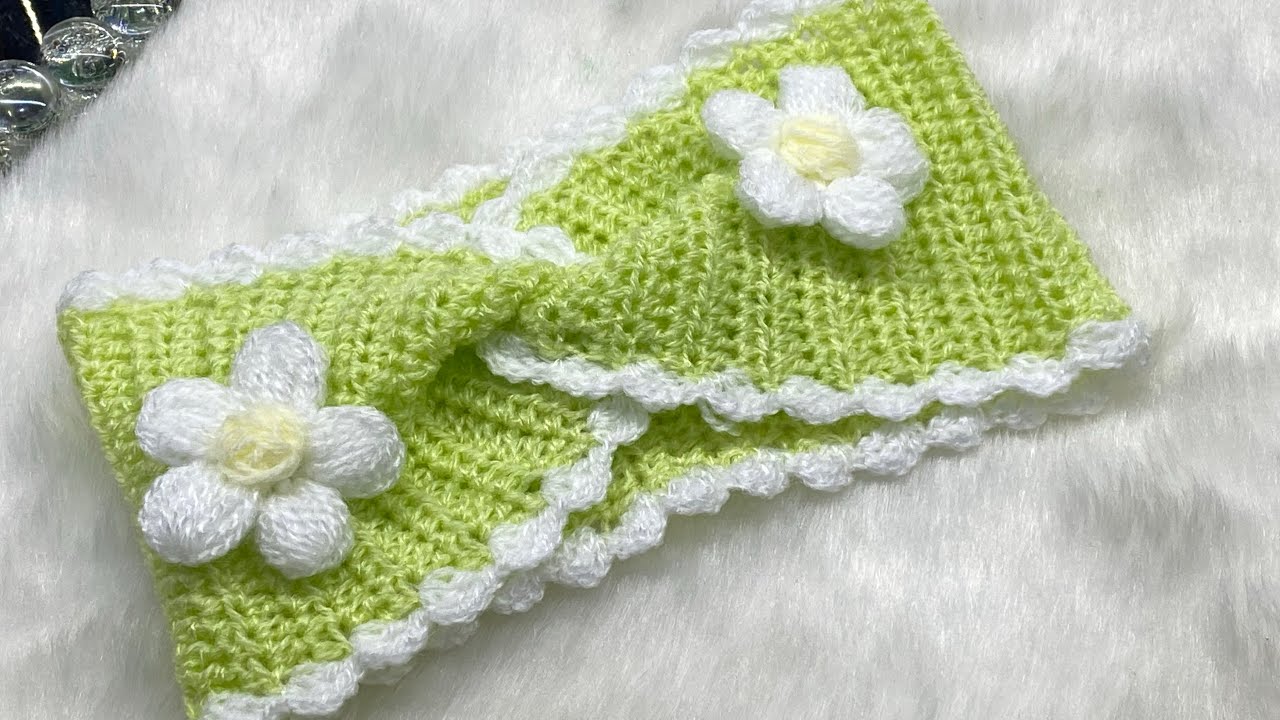
by Zesty & Sweet: A Detailed Guide to Crocheting a “Little Lemon” Headband 🍃🍋🍃
A crocheted headband is a simple yet delightful accessory, and adding a lemon-themed twist makes it extra charming. The “Little Lemon” headband is a zesty, fun, and surprisingly easy project that brings a pop of cheerful color to any outfit. It’s perfect for summer days, photo shoots, or as a sweet handmade gift for a baby or child. This project is a fantastic way to practice basic stitches and add a touch of whimsy to your crochet skills.
This detailed guide will walk you through the essential steps to crochet a headband and create the adorable lemon and leaf appliqués that give this project its signature look.
Why Crochet a “Little Lemon” Headband?
- Quick & Easy: A headband is a small project that works up in a flash, making it perfect for beginners or for experienced crocheters looking for a fast and satisfying make.
- Skill-Builder: It’s an excellent way to practice fundamental techniques like working in rows, working in the round, and adding appliqués.
- Customizable: You can choose your favorite colors and add as many lemons and leaves as you like, making each headband truly unique.
- Perfect for Scraps: You only need a small amount of yarn for the headband and even less for the lemons and leaves, making it an ideal scrap-buster project.
Essential Materials You’ll Need
- Yarn:
- For the headband band, choose a soft, washable yarn in a color that complements your lemons (e.g., white, cream, green, or even a soft yellow). DK (Double Knitting, Category 3) or Worsted (Category 4) weight yarn works well.
- For the lemons, you’ll need a small amount of bright yellow yarn.
- For the leaves, you’ll need a small amount of green yarn.
- Crochet Hook: A size that matches your yarn weight (e.g., 4.0 mm or 5.0 mm).
- Stitch Marker: Helpful for marking the beginning of rounds when crocheting the lemons.
- Tapestry Needle (or Yarn Needle): Essential for weaving in ends and sewing the appliqués onto the headband.
- Scissors: For cutting yarn.
- Measuring Tape: To check the headband’s length and size.
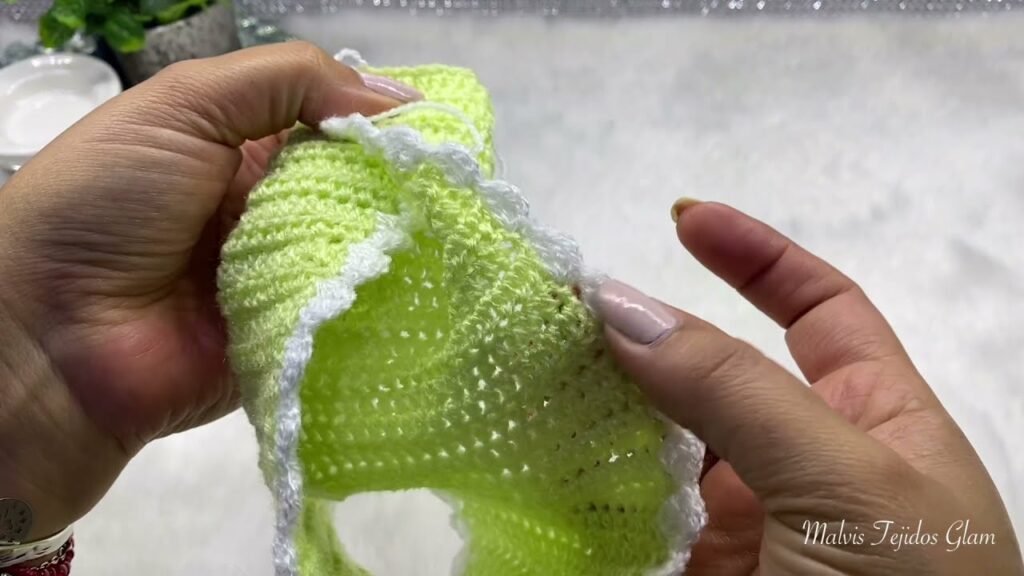
Part 1: How to Crochet the Headband Band
This is the foundation of your project—a simple strip of crochet that will fit around the head.
Step 1: Check Your Size
Measure the circumference of the head you are making the headband for. A good rule of thumb is to make the headband about 1 to 2 inches shorter than the head circumference, as the crochet fabric will stretch.
Step 2: Cast On
Chain a length that matches the circumference you need for your headband. Alternatively, you can chain just a few stitches for the width of the band and work in rows. For a baby or child, a band width of 2 to 3 inches is usually perfect.
Step 3: Crochet the Band
Work in rows using a simple stitch that doesn’t curl much, like single crochet (sc) or half double crochet (hdc). Continue crocheting in rows until the band reaches the desired length.
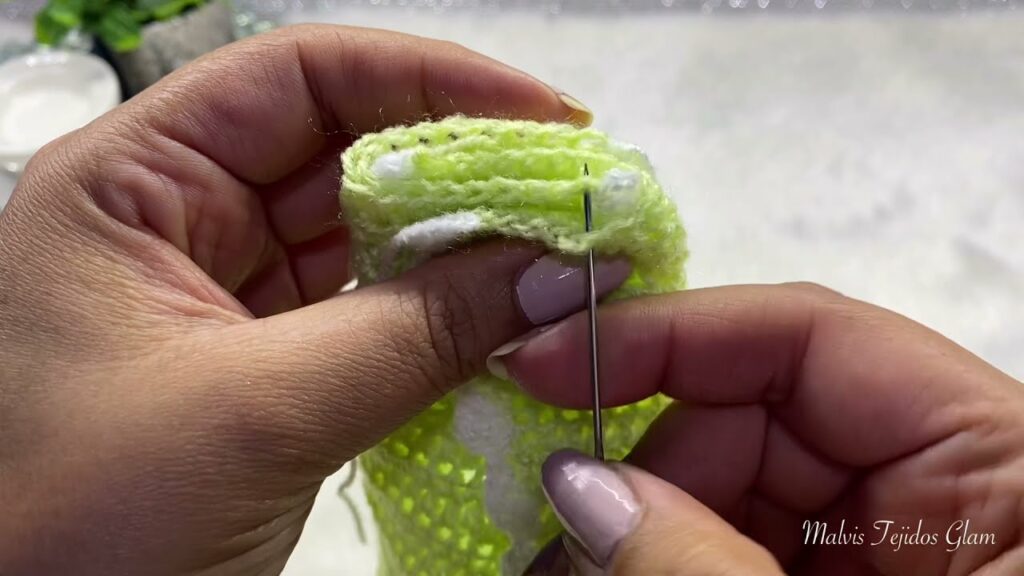
Step 4: Finish the Band
Once you reach the desired length, cut your yarn, leaving a long tail for seaming. Use your tapestry needle to stitch the two ends of the headband together. You can use a simple whip stitch or a mattress stitch for a more seamless look. Weave in all yarn ends.
Part 2: How to Crochet the “Little Lemons” and Leaves
Now for the zesty appliqués that make this headband so special!
Crocheting the Lemons 🍋
- Start: Begin with a magic circle (or chain 4 and join with a slip stitch).
- Round 1: Work a small number of stitches (e.g., 6 single crochet) into the circle. Pull the circle tight.
- Round 2: Work 2 stitches into each stitch around (12 stitches total).
- Round 3: Continue increasing, but only in some stitches, to create an oval shape. For example, work 2 stitches into the first stitch, 1 into the next, and repeat around.
- Shape the Ends: To create the pointed ends of the lemon, work a few stitches into the same stitch on one side of the oval and then decrease on the other side. You’re essentially creating a lemon shape by increasing and decreasing in specific spots.
- Finish: Slip stitch to the next stitch and bind off, leaving a long tail for sewing. Make as many lemons as you like!
Crocheting the Leaves 🍃
- Start: Chain a small number of stitches (e.g., 8 to 10 chains).
- Row 1: Work back down the chain, using a mix of stitches like single crochet, half double crochet, and double crochet to create a curved, leaf-like shape.
- Shape the Tip: Work 3 stitches into the last chain to create a point at the end of the leaf.
- Continue: Work back up the other side of the chain with the same mix of stitches to complete the leaf.
- Finish: Slip stitch and bind off, leaving a long tail for sewing.
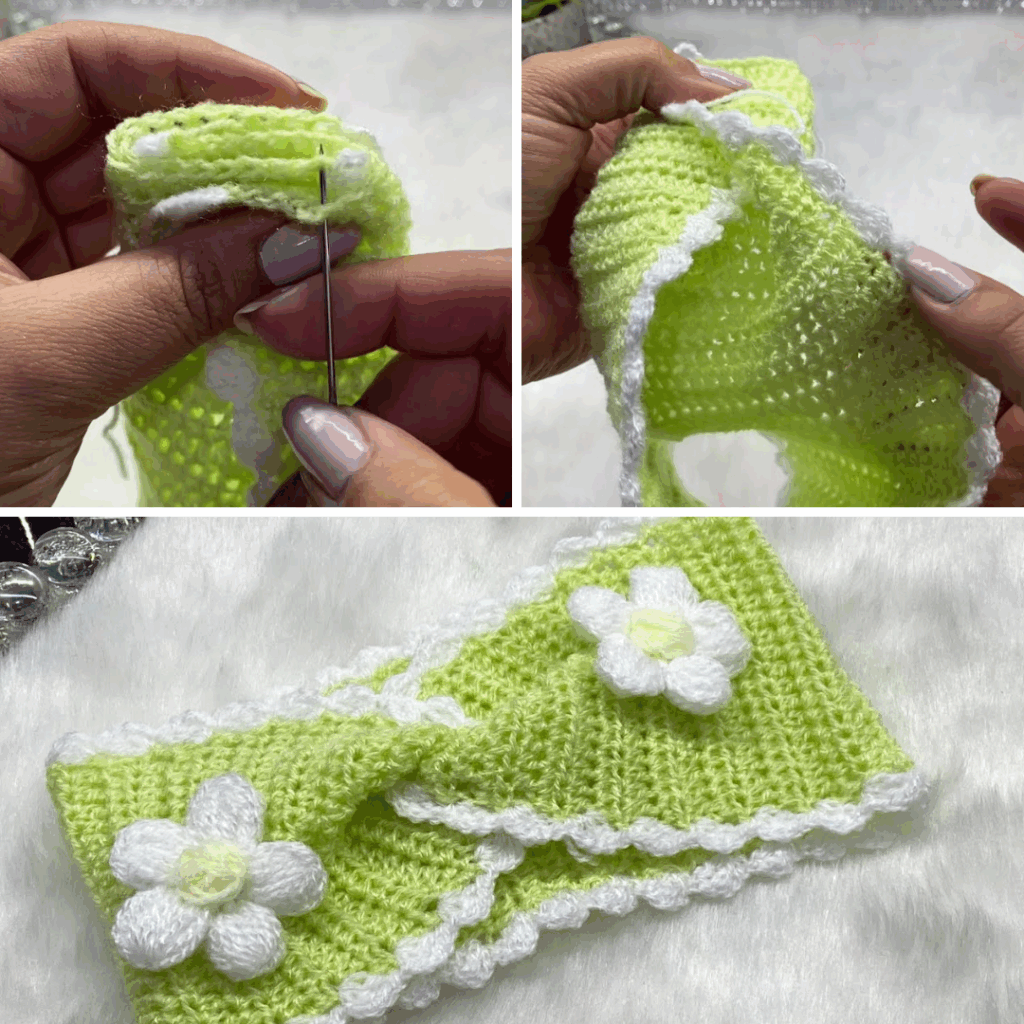
Part 3: Assembly & Finishing Touches
This is where your headband comes to life!
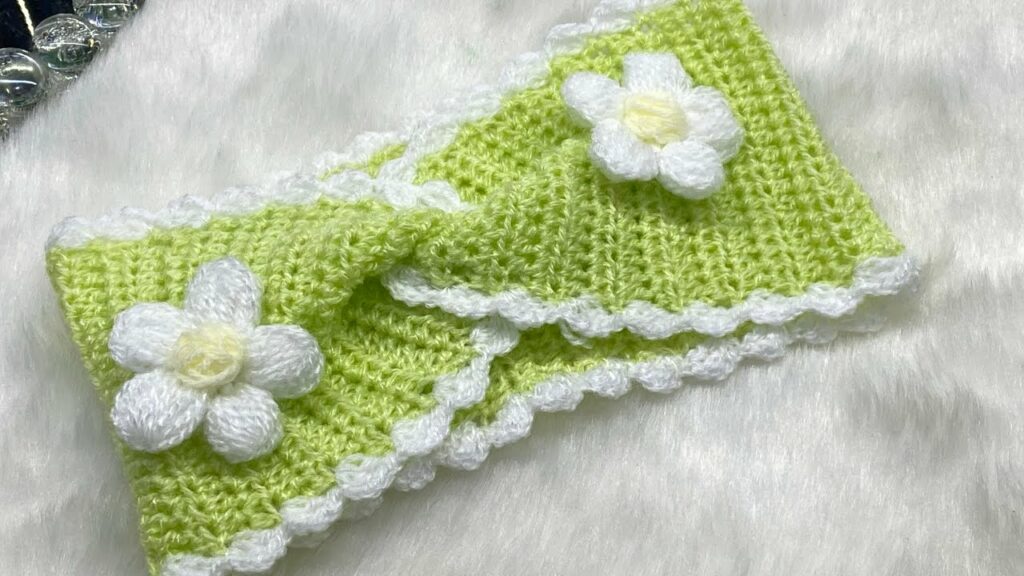
Step 1: Arrange Your Appliqués
Lay the finished headband band flat. Arrange your crocheted lemons and leaves in a pleasing cluster. You can put a few leaves peeking out from behind a lemon or stack them for a fuller look.
Step 2: Stitch Them On
Using your tapestry needle and the long yarn tails, stitch the lemons and leaves securely to the headband. Be careful not to pull the stitches too tightly, as this can distort the headband’s shape. Stitch them down firmly so they won’t come off.
Step 3: Weave in All Ends
Once everything is stitched on, meticulously weave in all remaining yarn ends on the back of the headband for a clean and comfortable finish.
Step 4: Final Blocking
Give your headband a gentle blocking to set the shape of the band and flatten your appliqués. Gently wet the headband, lay it flat, and pin it to its correct shape. Let it dry completely.
You’ll be delighted by how easy it is to create this bright and cheerful headband. The “Little Lemon” headband is a wonderful reminder that with a bit of yarn and creativity, you can stitch sunshine into any day.
Video Tutorial :