 by
by Crocheting Disney Magic: A Detailed Guide to a Minnie Mouse-Inspired Dress 🎀
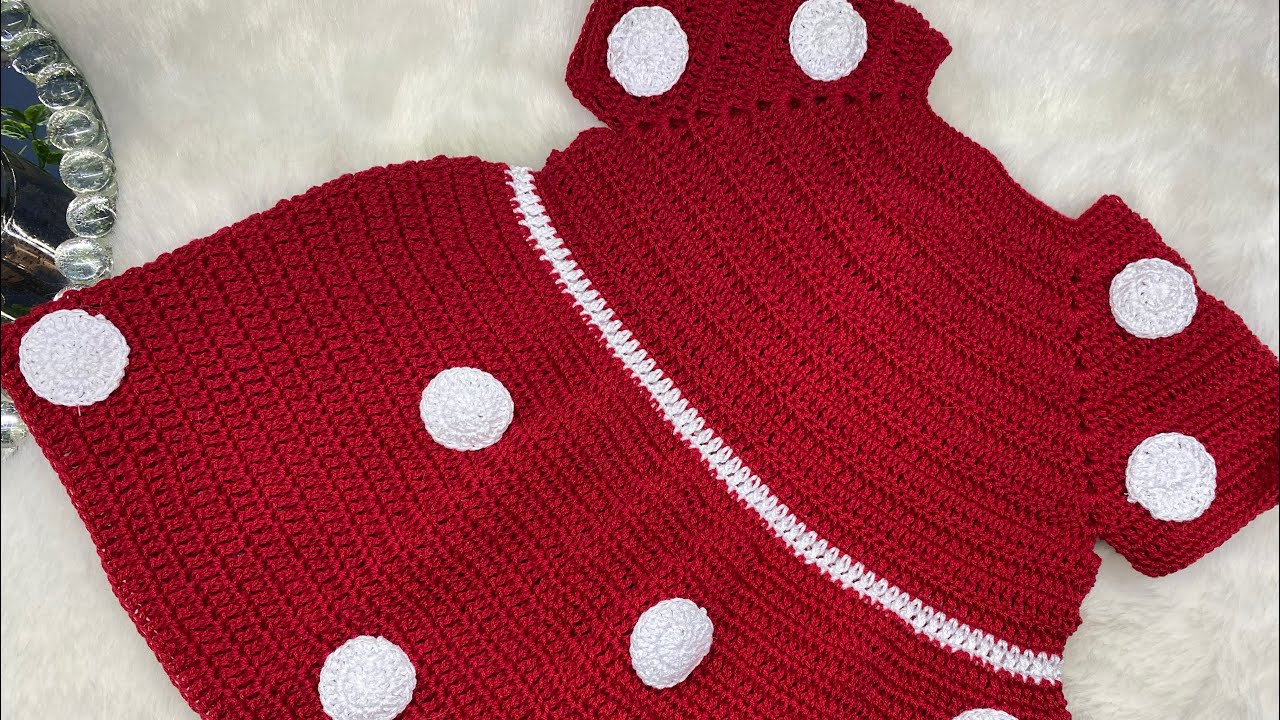
There’s a special kind of magic in creating a garment inspired by a beloved character, and a Minnie Mouse-inspired dress is as classic and charming as it gets. With its iconic polka dots, playful bows, and timeless silhouette, this dress is a dream project for any crocheter looking to create a whimsical piece for a little one. It’s a wonderful way to combine your crafting skills with the joy of a fairytale.
This detailed guide will walk you through the design elements, essential techniques, and step-by-step instructions to crochet a beautiful Minnie Mouse-inspired dress.
The Signature Elements of a Minnie Mouse Dress
To capture the essence of Minnie Mouse, your crocheted dress should include these key features:
- The Classic Color Palette: A bold combination of black and red, often with accents of white.
- The Polka Dots: These are the most recognizable detail. You can create them through colorwork, appliqués, or surface embroidery.
- The Puffed Sleeves: Short, sweet, and typically gathered to create a puffy shape.
- The Bow: A statement bow is essential, whether it’s part of the dress or a matching headband.
- The Silhouette: A fitted bodice with a full, flared skirt.
Designing Your Dress: Key Considerations
Before you pick up your hook, plan your design to ensure your dress turns out perfectly.
1. Yarn Choice: Comfort and Color
- Colors: You’ll need yarn in black, red, and white. You can also add a pop of yellow for shoes or other accents.
- Fiber: For a child’s garment, choose a yarn that is soft, durable, and washable. Cotton, cotton-acrylic blends, or baby acrylics are excellent choices. They are gentle against the skin and can handle frequent washes.
- Weight: DK (Double Knitting, Category 3) or Worsted (Category 4) are popular choices. They create a fabric that’s comfortable and works up at a good pace.
2. The Polka Dot Method: How to Create the Magic

You have a few options for creating the iconic polka dots, each suited to a different skill level:
- Method 1: Appliqués (Beginner-Friendly): This is the easiest method. You crochet small white circles separately and then stitch them onto the finished red skirt. This allows for perfect placement and is very forgiving.
- Method 2: Tapestry Crochet (Intermediate): You carry the white yarn with you as you crochet the red skirt, switching colors at specific stitches to create the dots within the fabric. This creates a seamless design but requires careful tension to keep the carried yarn from showing.
- Method 3: Surface Crochet (Easy to Intermediate): After the dress is finished, you can use surface slip stitches or simple embroidery stitches to “draw” the dots directly onto the fabric’s surface.
3. Construction Method: Top-Down for a Seamless Fit
For a seamless and easily adjustable dress, a top-down construction is highly recommended. You’ll work in continuous rounds from the neckline down, which is great for trying on the dress as you go and adjusting the length.
Essential Materials You’ll Need
- Yarn: Black, red, and white yarn in your chosen weight.
- Crochet Hook: The size recommended on your yarn label.
- Stitch Markers: For marking the beginning of rounds and key increase points.
- Tapestry Needle: For weaving in ends and sewing on appliqués or details.
- Scissors.
- Buttons or Snaps (Optional): For a back opening on the bodice.
- Ribbon (Optional): For a bow.
A Step-by-Step Guide to Crocheting the Dress
Follow these steps to crochet a Minnie Mouse-inspired dress using a top-down construction method.
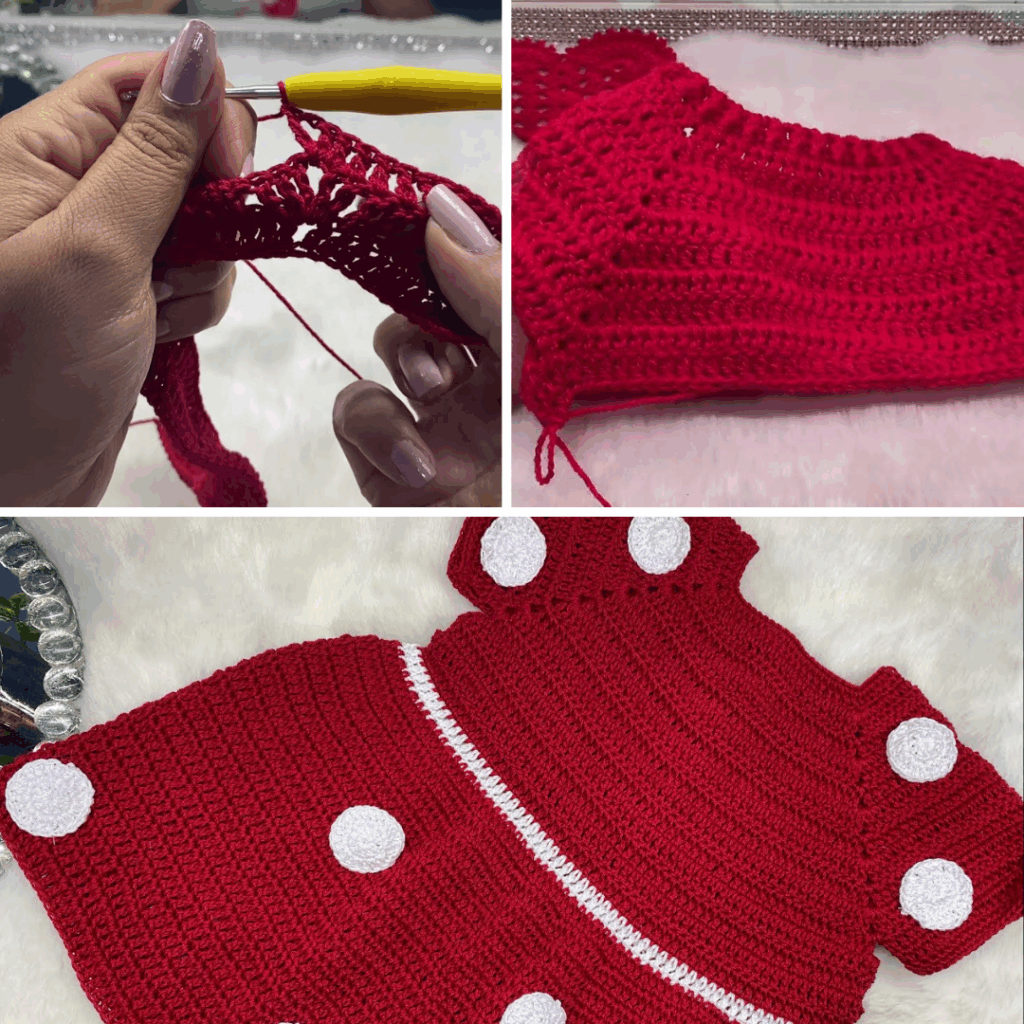
Step 1: The Black Bodice
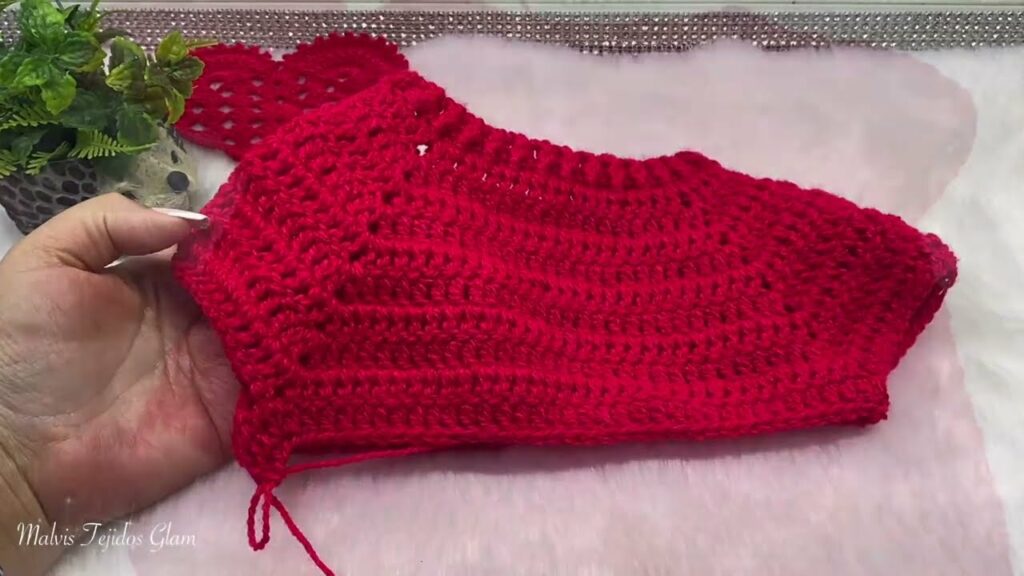
Start with your black yarn. Begin by crocheting a foundation chain and joining it into a circle, or using a magic ring. Work in rounds, using a stitch like double crochet (dc). You’ll need to increase stitches evenly in each round to form the yoke—the top part of the bodice that sits across the shoulders and chest. Continue increasing until the yoke measures the correct circumference for the child’s chest.
Step 2: Separate for Body and Sleeves
Once the yoke is complete, you’ll divide the stitches into sections: one for the back, one for the front, and two for the armholes. You’ll chain stitches to bridge the armholes, and then continue working in rounds on the front and back body sections. This forms the rest of the bodice, leaving the armholes open. Continue until the bodice reaches the child’s waistline.
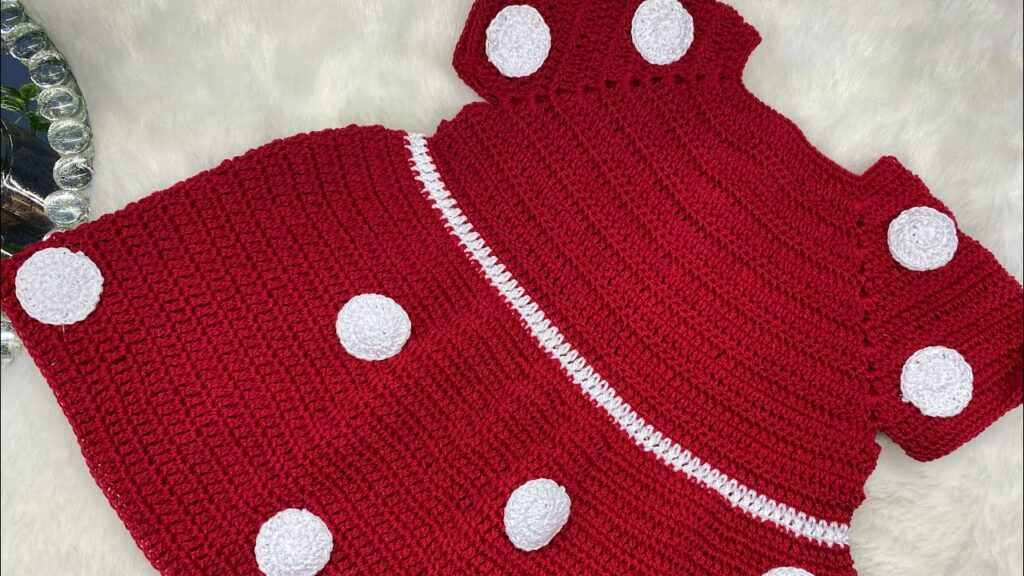
Step 3: The Red Skirt & Polka Dots
Switch to your bright red yarn. For the first few rounds of the skirt, you’ll need to add a significant number of increases to create a full, flared skirt. Work 2 stitches into every 2nd or 3rd stitch to make the fabric flare out. After the initial flare, you can work straight down in rounds until the skirt reaches your desired length.
Add the Polka Dots:
- Appliqué Method: Crochet many small white circles. Once the skirt is finished, lay the dress flat, arrange the dots in a random pattern, and stitch them on neatly with a tapestry needle.
- Colorwork Method: Follow a graph or chart to work the white dots into the red fabric as you crochet the skirt.
Step 4: Crochet the Sleeves
Go back to the armhole openings you left in Step 2. Attach your yarn and begin crocheting the sleeves. To create the puff, you’ll need to use increases in the first few rounds, then work straight, and finally, decrease at the cuff to bring the stitches back to a smaller circumference.
Step 5: Add Finishing Details
- The Bow: Create a crocheted bow in red or white and stitch it to the bodice or make a matching headband.
- Back Closure: Add buttons or snaps to a back opening on the bodice if needed.
- Neat Edges: Finish the neckline and sleeve cuffs with a round of single crochet to create a clean, crisp edge.
Step 6: Weave in Ends & Block
Your dress is almost done! Use your tapestry needle to meticulously weave in every yarn end. Finally, block the dress by gently wetting it, shaping it on a flat surface, and letting it dry completely. Blocking will even out your stitches and give the dress a beautiful drape, making the skirt look fuller and the bodice lay flat.
With a bit of planning and your crochet hook, you can create a magical Minnie Mouse-inspired dress that’s perfect for birthdays, photoshoots, or everyday fun. It’s a project that is sure to bring smiles and make lasting memories.
Video Tutorial :