 by
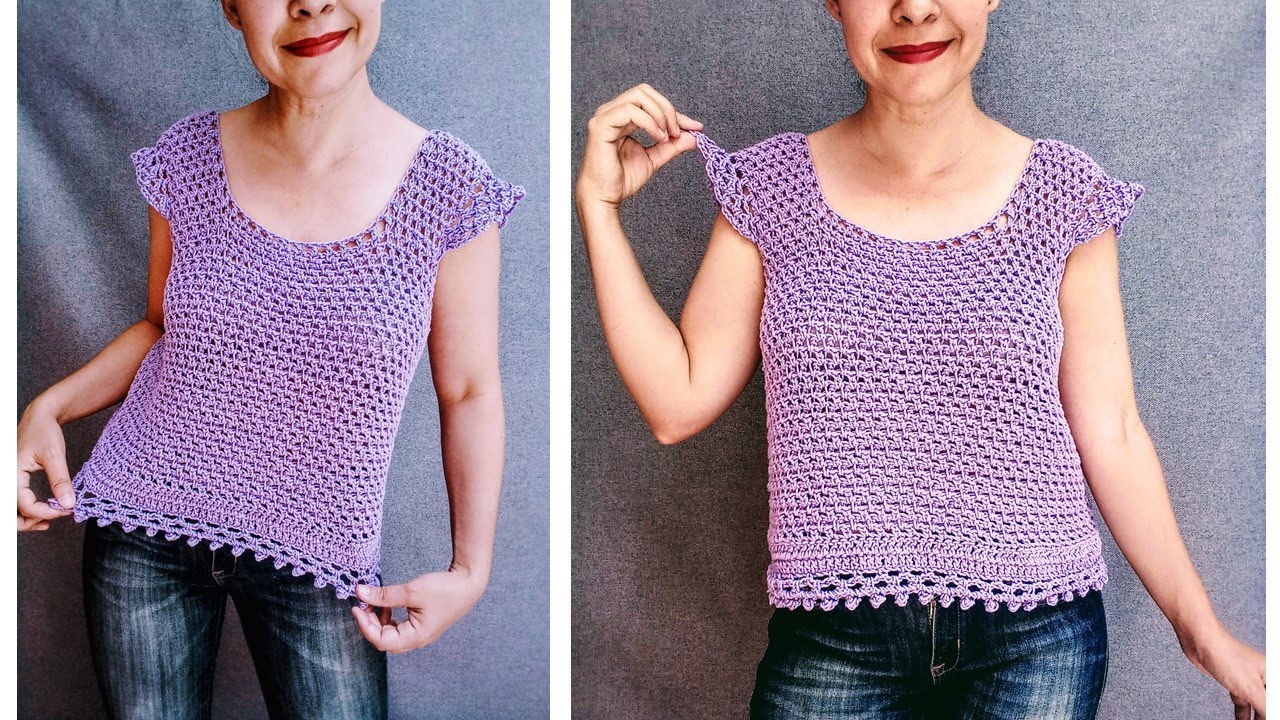
by Stitching Simplicity: A Super Easy, Step-by-Step Guide to a Crocheted Blouse or Top for Women
Thinking of crocheting your first wearable? Or maybe you’re an experienced crocheter looking for a quick, satisfying project? A crocheted blouse or top is the perfect choice! It might seem daunting, but with the right approach, it’s incredibly achievable. The key to making it super easy lies in its simple construction: we’ll create two flat panels—a front and a back—and then seam them together. This method avoids tricky shaping, complex stitch patterns, and working in the round, making it perfect for any skill level.

This detailed, step-by-step guide will walk you through everything you need to know, from choosing your materials to assembling a beautiful, custom-fit top you’ll be proud to wear.
1. Planning Your Blouse: Key Decisions for Success
A little planning goes a long way to ensure your project is a breeze and results in a top you love.
- Choose Your Yarn: The yarn dictates the blouse’s drape, weight, and overall feel.
- For a Breathable Summer Top: Cotton, cotton blends, or linen are fantastic. They’re comfortable against the skin, breathe well, and create a fluid fabric perfect for warm weather.
- For a Cozier or Structured Top: Acrylic, wool, or merino wool works great. These fibers offer more warmth or a bit more structure to the garment.
- Weight: DK (Double Knitting, Category 3) or Worsted (Category 4) are ideal. They work up quickly but still create a lovely, wearable drape.
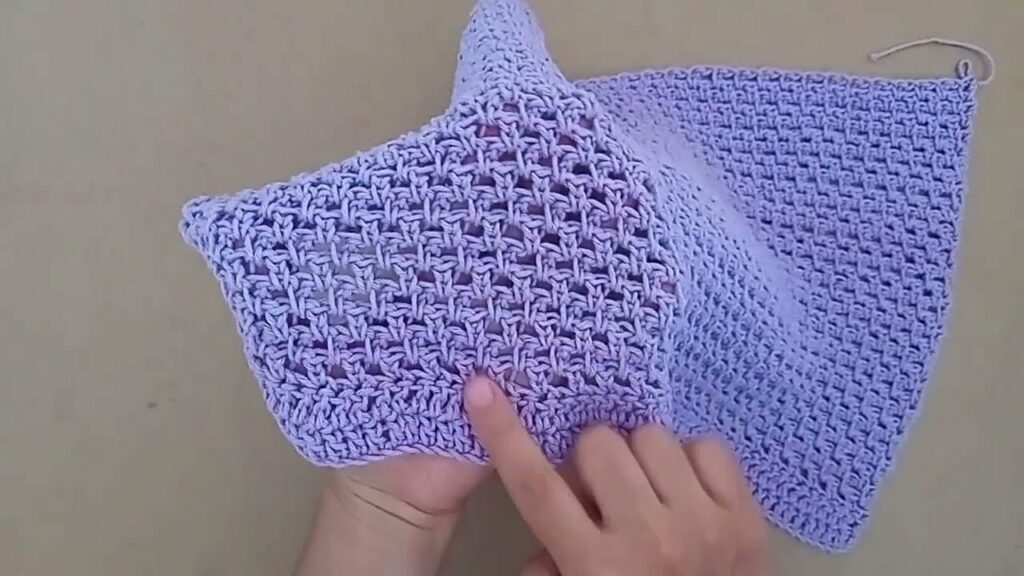
- Choose Your Stitch Pattern: A simple, repetitive stitch is your best friend for an easy project.
- Half Double Crochet (hdc) or Double Crochet (dc): These are foundational stitches that are easy to master, work up quickly, and create a soft, flexible fabric.
- Moss Stitch (or Linen Stitch): This alternates single crochet (sc) and chain stitches (ch) to create a dense, woven-like texture with no gaps.
- Granny Stripe: Made of clusters of double crochet stitches, this creates a beautiful, lacy, and open fabric. It’s very popular and surprisingly easy.
- Construction Method: We’ll use the two-panel method. You’ll crochet a simple rectangle for the front and another for the back, then seam them together.
2. Essential Materials and Tools
Gather your supplies before you begin to ensure a smooth crafting process.
- Yarn: The amount needed will depend on your size and chosen pattern.
- Crochet Hook: The size recommended on your yarn label for your chosen yarn weight.
- Stitch Markers: These are handy for marking rows or specific points.
- Tapestry Needle: Essential for seaming your panels and weaving in loose ends.
- Scissors.
- Measuring Tape: Crucial for checking your gauge and ensuring your blouse is the right size.
3. The Construction Journey: Step-by-Step
Follow these steps to crochet your panels and assemble the final garment.
Step 1: The Gauge Swatch (Don’t Skip This!)
This is the most critical step for any garment. Crochet a swatch (at least 6×6 inches / 15×15 cm) in your chosen stitch and yarn. Wash and block your swatch according to your yarn’s instructions—this shows you how the finished fabric will behave. Then, measure your stitches and rows per inch. Adjust your hook size until your gauge matches your pattern’s recommendation. This ensures your blouse will fit correctly.
Step 2: Crochet the Back Panel
- Start the Foundation: Chain a length that corresponds to the width of your back (from side seam to side seam) for your chosen size.
- Work in Rows: Work back and forth in rows using your chosen stitch pattern (e.g., hdc).
- Work Straight: Continue crocheting in straight rows without any shaping. Just keep going until the panel reaches the desired length, from the bottom hem to the top of your shoulder.
- Bind Off: Once the back panel is the correct size, cut your yarn and bind off your stitches.
Step 3: Crochet the Front Panel
- Start the Foundation: Chain the same number of stitches as you did for the back panel.
- Work in Rows: Continue working in straight rows, just as you did for the back. For this simple blouse, you will crochet the front panel to be the exact same size as the back. We’ll create the neckline during the seaming step, keeping it super easy!
- Bind Off: Once the front panel reaches the correct size, cut your yarn and bind off your stitches.
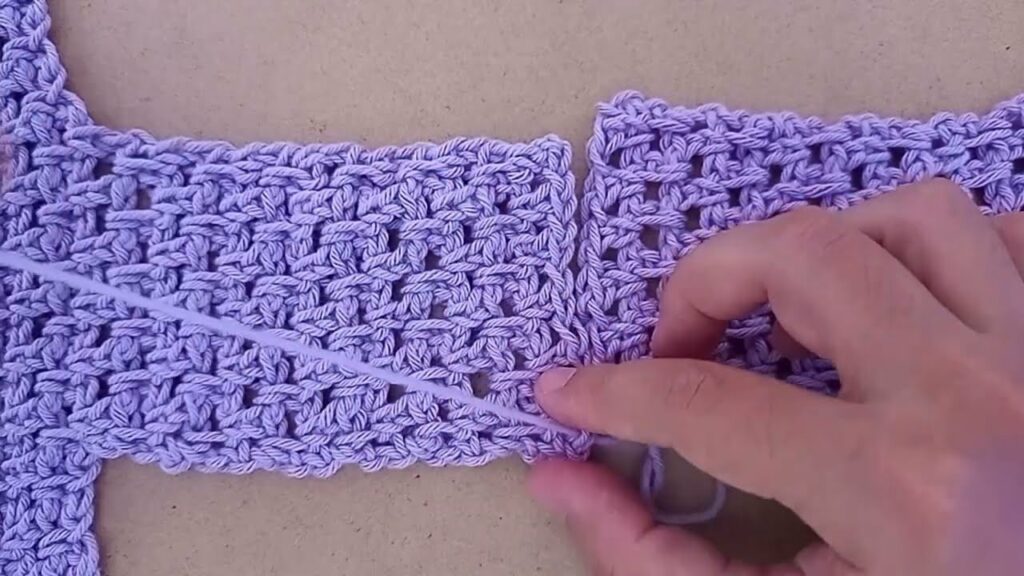
Step 4: Seam the Blouse Together
This is where your two flat rectangles transform into a wearable garment.
- Lay Out Panels: Lay your front and back panels flat with the wrong sides facing each other.
- Shoulder Seams: Use your tapestry needle and matching yarn to seam the top edges together. Start from the outer corner (your shoulder) and sew inward, leaving a gap of about 8-10 inches (20-25 cm) in the center unseamed. This unseamed gap will become your neck opening!
- Side Seams: Seam the side edges of the front and back panels together, from the bottom hem up to the underarm. Leave a gap of about 8 inches (20 cm) at the top for the armholes.
- Weave in Ends: Use your tapestry needle to meticulously weave in every yarn tail. A neat finish is key to a professional-looking garment.
Step 5: Add Finishing Touches (Optional but Recommended)
- Add a Border: You can add a simple border of single crochet (sc) or slip stitches (sl st) around the neckline and armholes to give them a clean, polished look. Simply work a round of sc evenly around each opening.
- Blocking: For a beautiful drape and to even out your stitches, block your finished blouse. Gently soak it in cool water, lay it flat on a towel, and pin it to your desired shape and measurements. Let it dry completely.
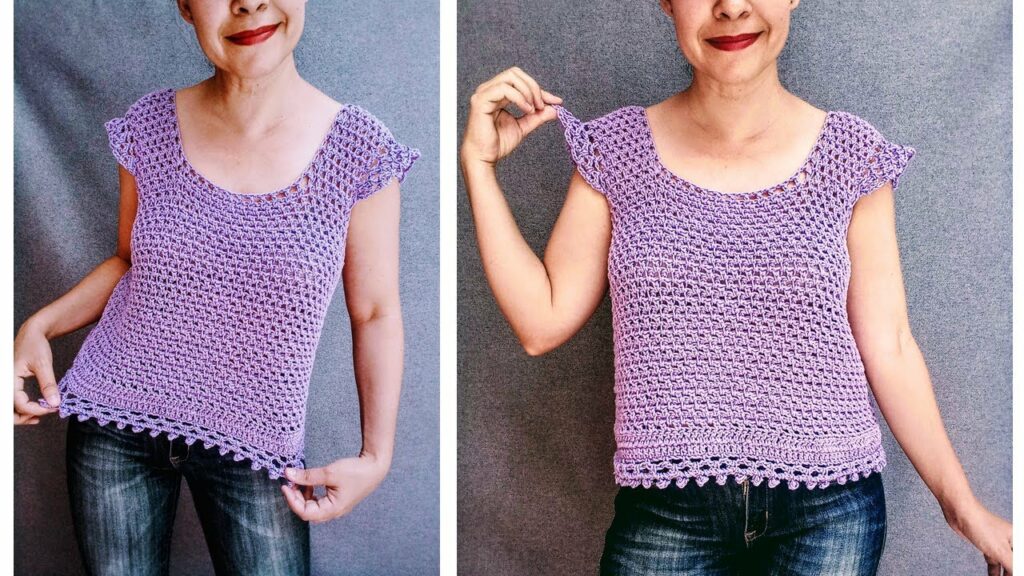
This simple construction method makes crocheting a beautiful blouse an achievable and fun project. You’ll love wearing a comfortable and stylish top that you made yourself!
Video Tutorial :