 by
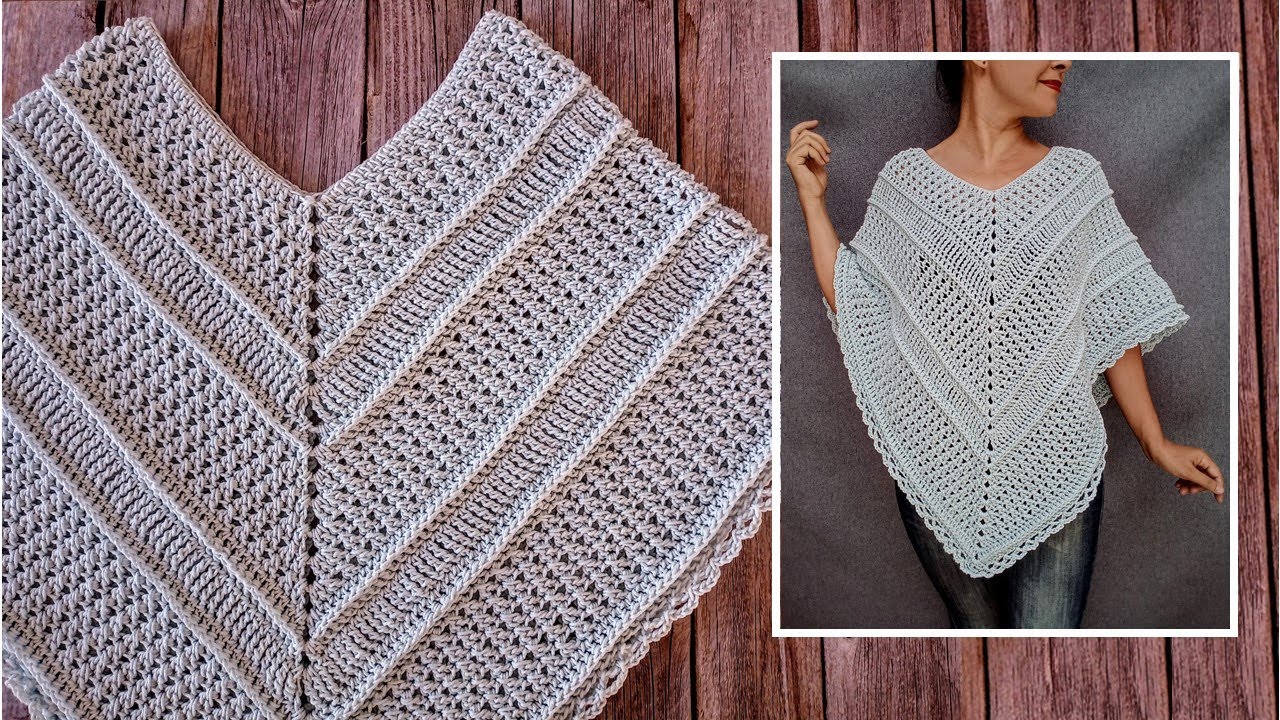
by Cozy & Chic: A Step-by-Step Guide to a Very Easy Crocheted Poncho for Women
A crocheted poncho is the ultimate cozy layering piece. It’s the perfect accessory to add a touch of effortless style and warmth to any outfit, from jeans to a dress. If you’re a beginner ready to make your first garment, a poncho is a fantastic place to start. Its simple construction—often just a single flat panel—makes it incredibly easy to create without any complicated shaping or sleeves.
This detailed, step-by-step guide will walk you through the entire process, from choosing your yarn to finishing your stylish new garment.
1. Planning Your Poncho: Key Decisions
A bit of planning ensures a smooth project and a beautiful result.
- Choose Your Yarn: The yarn will determine your garment’s weight, drape, and warmth.
- For Drape & Flow: Worsted (Category 4) or Aran (Category 4/5) weight yarns are perfect. They work up quickly and create a lovely drape that moves with you.
- For Texture & Warmth: A bulky (Category 5) yarn will create a wonderfully chunky and warm poncho that works up in a flash.
- Fiber: Wool and acrylic are great for warmth, while cotton or blends are excellent for a lighter, breathable garment.
- Choose Your Stitch Pattern: A simple, repetitive stitch is key for an easy, no-fuss project.
- Double Crochet (dc): A classic choice. It’s fast, simple, and creates a soft, drapey fabric.
- Granny Stitch: The famous cluster stitch is perfect for a bohemian, colorful poncho.
- Moss Stitch: An alternating single crochet and chain stitch that creates a dense, woven-like fabric.
2. Essential Materials and Tools
Gather your supplies to keep your crafting process smooth.
- Yarn: The amount needed will depend on your size and chosen pattern.
- Crochet Hook: The size recommended on your yarn label for your chosen yarn weight.
- Stitch Markers: Very helpful for marking rows or key corners.
- Tapestry Needle: For seaming and weaving in ends.
- Scissors.
- Measuring Tape: Crucial for checking your dimensions.
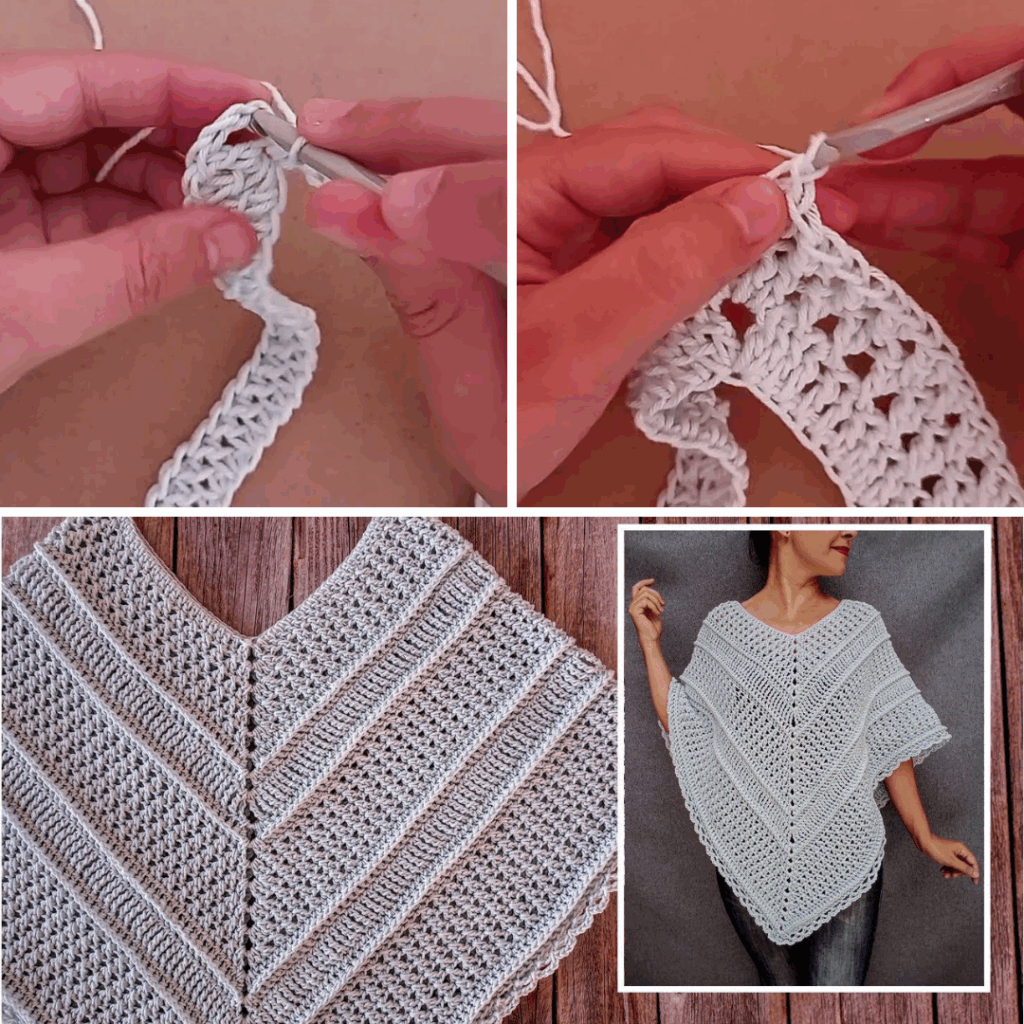
3. The Construction Journey: Step-by-Step
This guide focuses on the easiest method: crocheting a large rectangle that folds into a poncho shape.
Step 1: The Gauge Swatch (Do Not Skip!)
This is the most critical step for any garment. Crochet a swatch (at least 6×6 inches) in your chosen stitch and yarn. Wash and block the swatch according to your yarn’s instructions, as this will show you how the finished fabric will behave. Measure your stitches and rows per inch. Adjust your hook size until your gauge matches your pattern’s recommendation. This ensures your poncho will have the right dimensions.
Step 2: Crochet the Main Panel
- Start the Foundation: Chain a length that corresponds to the desired length of your poncho (from the back of your neck down to the hem).
- Work in Rows: Work back and forth in rows using your chosen stitch pattern (e.g., double crochet).
- Determine Dimensions: Continue crocheting in straight rows until the panel is wide enough to cover your shoulders and chest. A good rule of thumb is to make the width roughly equal to your bust circumference. A 35-inch x 60-inch rectangle can often work for a standard adult size.
Step 3: Create the Neck Opening
Once your rectangle is complete, you will fold it and seam it to create the poncho shape.
- Fold the Rectangle: Lay your large rectangle flat and fold it in half so the two short ends meet.
- Seam the Top: You will seam the top edge together, starting from the folded corner and working towards the center. Leave an opening for your head. For an adult, leaving about 10 to 12 inches unseamed at the top (the center of the folded edge) will create a comfortable neck hole.
- Stitch Together: Use a tapestry needle and a whip stitch or mattress stitch to sew the front and back portions of the folded rectangle together.
Step 4: Add Finishing Touches (Optional but Recommended)
- Neckline: Add a few rounds of single crochet or slip stitches around the neckline. This will give it a clean, finished edge. You can also add a cowl or collar to the neckline for extra warmth.
- Bottom Border: You can add a decorative border to the bottom edge of the poncho, such as a fringe, shells, or picot stitches, for a nice flourish.
- Side Seams (Optional): If you want to create armholes, you can seam the sides of the poncho from the hem up, leaving a large opening for your arms.
Step 5: Weave in Ends and Block

- Weave in All Ends: Use your tapestry needle to meticulously weave in all yarn tails. A neat finish is key to a professional-looking garment.
- Blocking: For a beautiful drape and to even out your stitches, block your finished garment. Gently soak it in cool water, lay it flat on a towel, and shape it to your desired dimensions. Let it dry completely.
A crocheted cape or poncho is a rewarding project that results in a beautiful, versatile, and cozy piece of clothing. With these simple, step-by-step instructions, you can create a garment that is both stylish and made with love.
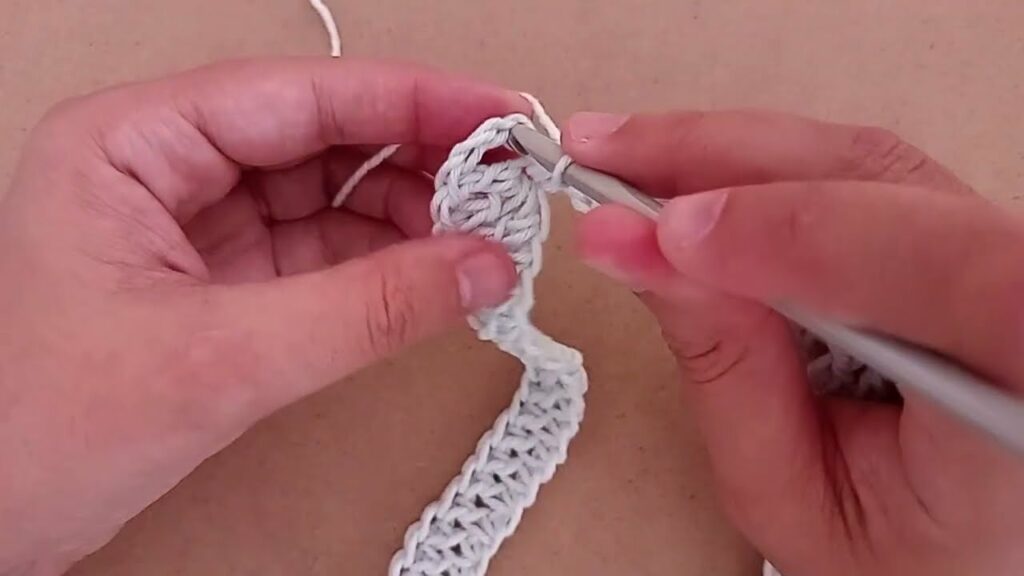
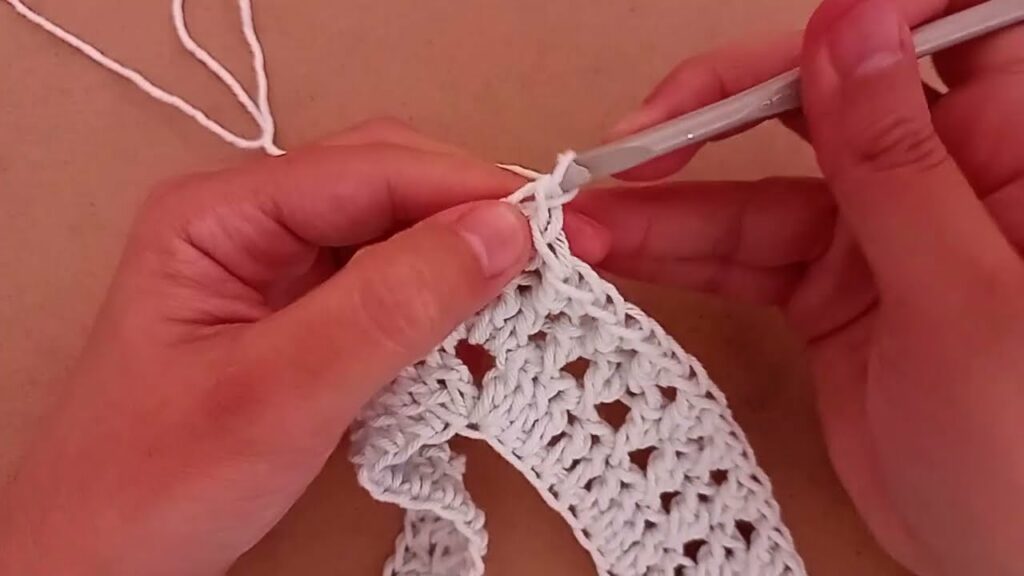
Video Tutorial :