 by
by Of course! Here is a detailed article about how to crochet a baby girl’s cardigan.
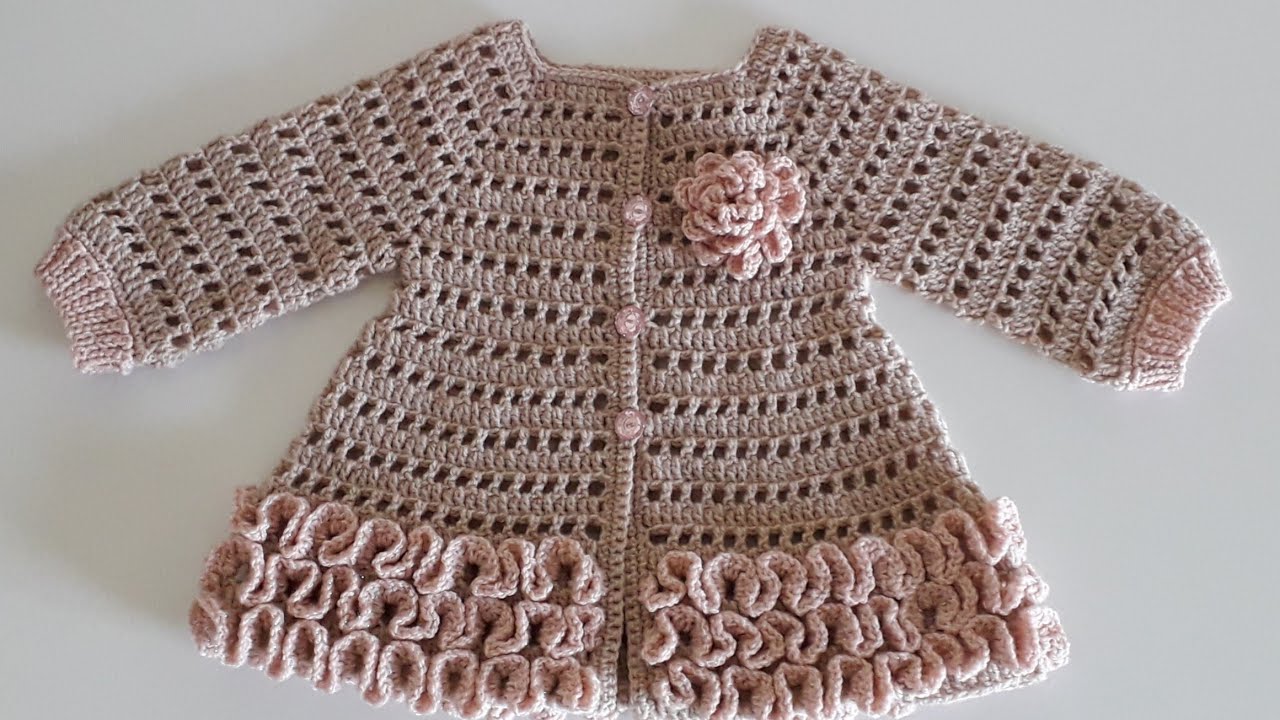
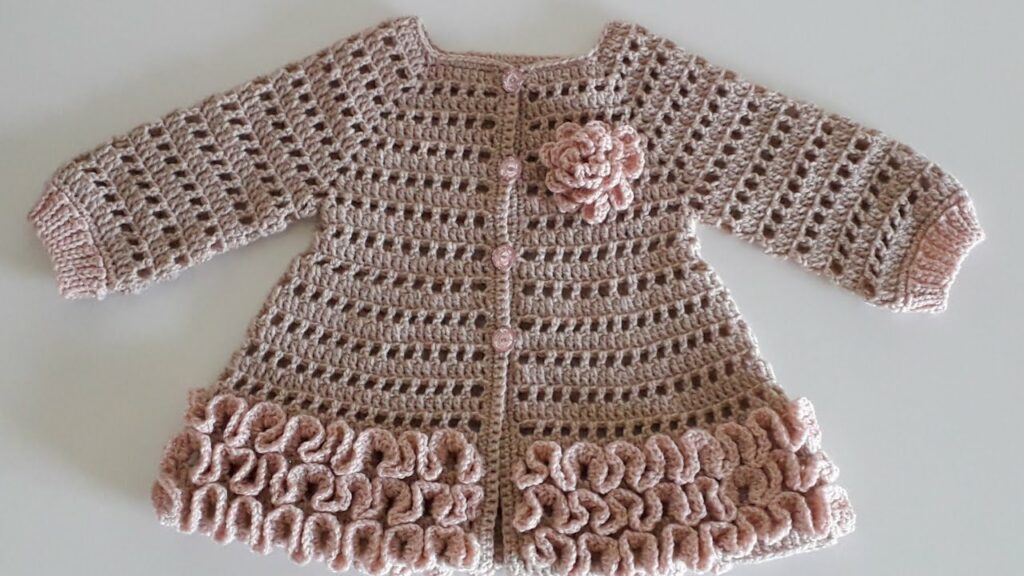
Sweet & Simple: A Step-by-Step Guide to Crocheting a Baby Girl’s Cardigan
A handmade crocheted cardigan is one of the most heartwarming gifts you can make for a baby girl. It’s a cozy, practical garment that’s perfect for layering and will be cherished for years. While a cardigan might seem like a project for an advanced crocheter, this guide breaks it down into a super easy, beginner-friendly process. We’ll focus on the simple and popular top-down seamless method, which means you’ll work the entire body of the cardigan in one piece, avoiding the hassle of seaming panels together at the end.
This detailed, step-by-step article will walk you through everything you need to know, from choosing the right yarn to finishing with buttons. You’ll be amazed at how quickly you can create a beautiful and professional-looking cardigan.
1. Planning Your Project: Key Decisions for a Perfect Fit
A little planning goes a long way to ensure your project is a breeze and fits just right.
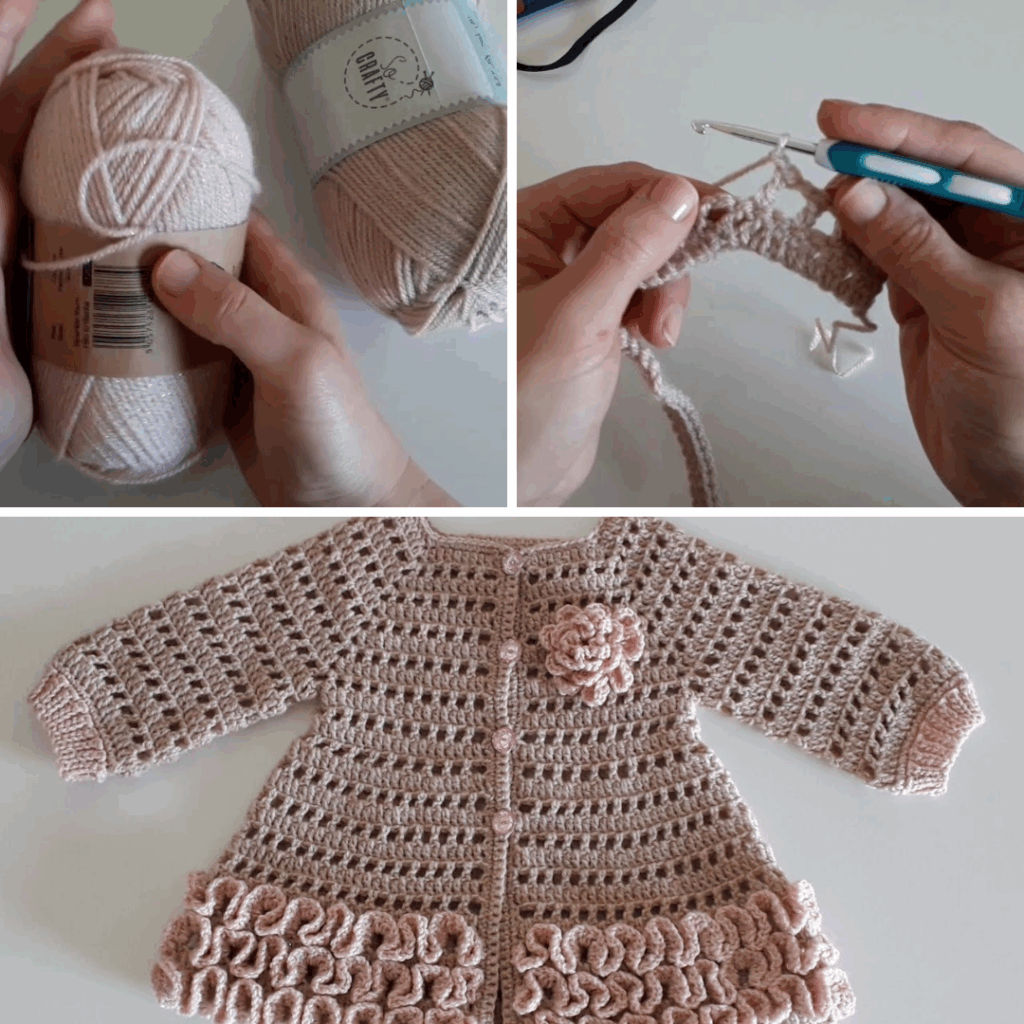
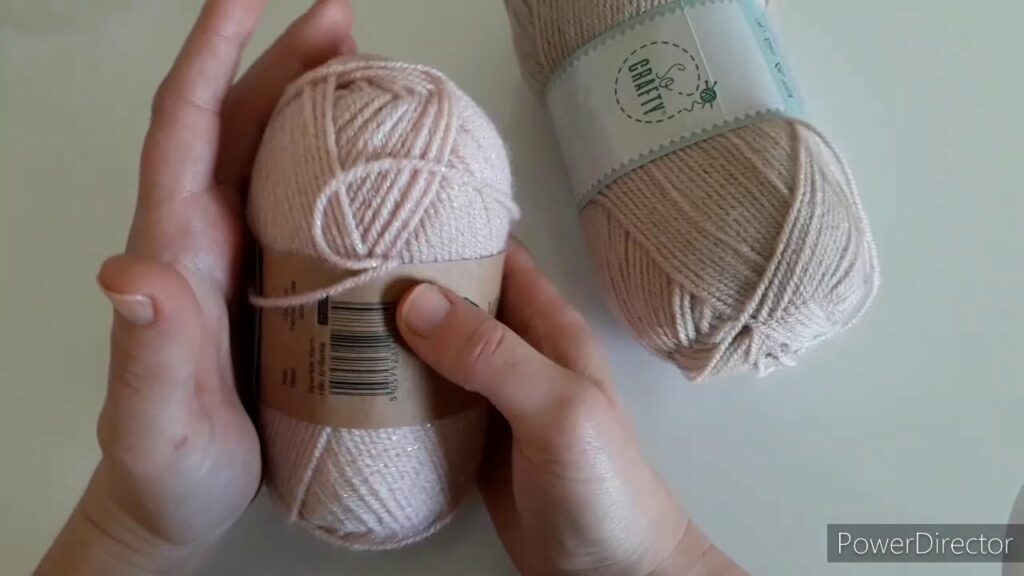
- Choose Your Yarn: The yarn is the most important factor. Since this garment will be worn against a baby’s delicate skin, choose a fiber that is soft, durable, and machine-washable.
- Fibers: Baby acrylics are a top choice for their softness and easy care. Cotton or cotton blends are also excellent, especially for warmer weather in Phnom Penh, as they are breathable and comfortable.
- Weight: DK (Double Knitting, Category 3) or Worsted (Category 4) weight yarn is ideal. It works up quickly but isn’t too bulky.
- Choose Your Hook Size: Check your yarn label for the recommended hook size. You might need to adjust your hook size to achieve the correct gauge.
- Choose Your Stitch Pattern: For a simple cardigan, a repetitive stitch is best.
- Half Double Crochet (hdc) or Double Crochet (dc): These are foundational stitches that work up quickly and create a soft, flexible fabric.
- Moss Stitch (or Linen Stitch): This alternates single crochet (sc) and chain stitches (ch) to create a dense, woven-like texture.
- Size and Gauge: This is a crucial step! To ensure the cardigan fits the baby you’re making it for, you must check your gauge.
- Gauge Swatch: Crochet a swatch (at least 4×4 inches / 10×10 cm) in your chosen stitch. Wash and block your swatch according to your yarn’s instructions. Then, measure your stitches and rows per inch. Adjust your hook size until your gauge matches your pattern’s recommendation.
2. Essential Materials and Tools
Gather your supplies to ensure a smooth crafting process.
- Yarn: The amount needed will depend on the baby’s size.
- Crochet Hook: The size determined by your gauge swatch.
- Stitch Markers: These are handy for marking the beginning of rows and increase points.
- Tapestry Needle: Essential for weaving in loose ends.
- Scissors.
- Measuring Tape: Crucial for checking the yoke and body dimensions.
- Buttons: 3-5 small, cute buttons for the front of the cardigan.
3. The Construction Journey: Step-by-Step
Follow these steps to crochet your cardigan from the top down.
Step 1: Crochet the Yoke (The Top Section)
The yoke is the top section of the cardigan that covers the shoulders and chest.
- Start the Foundation: Chain a length that corresponds to the neckline circumference. The number of stitches you cast on should be a multiple of 4, or however many increase points your pattern requires.
- Work the Yoke: You will now work back and forth in rows. In each row, you will make increases at specific points to create the two front panels, the back, and the two sleeves. This will cause the piece to grow outwards, forming a flat, roughly rectangular shape.
- Use Stitch Markers: Place stitch markers at the corners where you make your increases to help you keep track.
- Check the Yoke: Continue increasing in each row until the yoke is wide enough to fit comfortably across the baby’s chest and shoulders.
Step 2: Divide for Body and Sleeves
Once the yoke is wide enough, you will separate your stitches to form the body and armholes.

- Identify Sections: Your yoke will have four sections of stitches separated by your increase points: Front Panel 1, Sleeve 1, Back, and Front Panel 2.
- Separate: In the next row, you will work the stitches for Front Panel 1, then skip all the stitches for Sleeve 1. You will then chain a few stitches (this creates the underarm area) and continue working the stitches for the Back Panel.
- Join: Repeat the process, skipping the stitches for Sleeve 2 and chaining a few stitches before working the final Front Panel. The sleeve stitches are now left on a holder or scrap yarn for later.
Step 3: Crochet the Body
- Work Straight: You are now working in rows on one continuous piece (the two front panels and the back).
- Continue: Work back and forth in rows until the body of the cardigan reaches the desired length—to the waist or hips.
- Add a Border: You can finish the bottom edge with a few rows of ribbing (e.g., using front post/back post stitches) for a polished look.
Step 4: Crochet the Sleeves
Now, go back to the sleeve stitches you left on the yarn holders.
- Join Yarn: Attach your yarn to the armhole at the underarm section.
- Work in the Round: Work in continuous rounds around the armhole, creating the sleeve.
- Decrease for Shaping: You can add a few decreases every few rounds to taper the sleeve towards the wrist.
- Add Cuffs: Finish the end of the sleeve with a few rounds of ribbing for a cozy cuff.
Step 5: Add Finishing Touches
- Button Band: The final step for the body is adding a button band along the two front openings. Work a few rows of single crochet up each front edge. On one side, create buttonholes by chaining a few stitches and skipping the same number of stitches in the next row.
- Buttons: Sew cute buttons onto the opposite side of the buttonholes.
- Weave in Ends: Use your tapestry needle to meticulously weave in all yarn tails.
- Blocking: For a beautiful drape and to even out your stitches, block your finished cardigan. Gently soak it in cool water, lay it flat on a towel, and pin it to its desired shape. Let it dry completely.
This simple, top-down construction method makes crocheting a beautiful cardigan an achievable and fun project. You’ll be so proud to see it being worn!
Video Tutorial :