 by
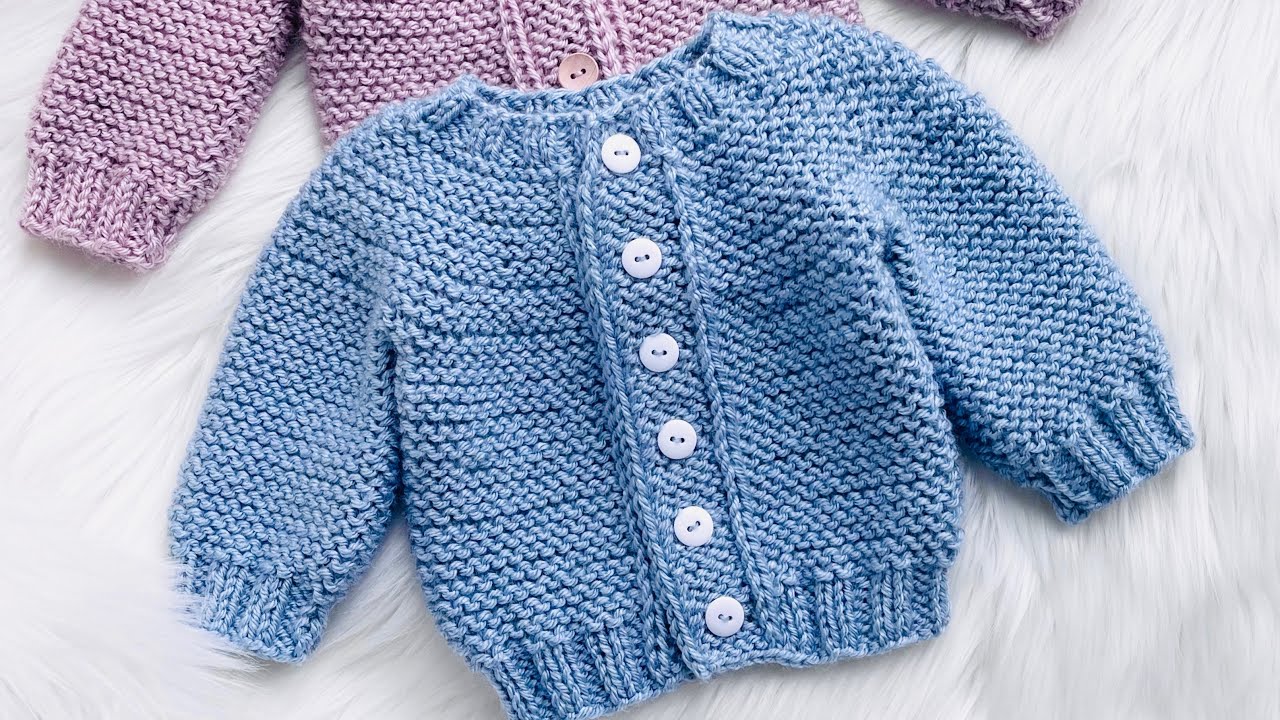
by You want to learn how to knit a cardigan sweater, but you’re not sure where to start. Don’t worry—knitting a sweater can seem intimidating, but with the right guidance, it’s a very achievable and rewarding project. This article will walk you through the essential steps to knit your very own cardigan, focusing on a popular and beginner-friendly top-down method.
Why a Top-Down Cardigan is Great for Beginners
Knitting a cardigan can be done in two main ways: in pieces that are sewn together or as a single, seamless garment. The top-down method, where you start at the neck and work your way down, is often preferred by knitters for a few key reasons:
- No Seaming: The biggest advantage is that you’ll have almost no sewing to do when you’re finished. This saves time and ensures a smooth, professional look.
- Easy to Try On: You can try on the sweater as you go to check the fit and adjust the length of the body or sleeves. This is a huge benefit, especially for a first-time garment knitter.
- Simple Construction: The shaping is done with a series of increases, which are straightforward and easy to track. This makes the entire process more manageable.
Step 1: Gather Your Supplies and Choose a Pattern
Before you cast on, you’ll need a few essentials. Choosing the right pattern and yarn is the most important part of this stage.
- Choose a Pattern: Look for a pattern specifically labeled as “beginner-friendly” or “easy.” Websites like Ravelry, LoveCrafts, and Yarnspirations have thousands of free and paid patterns with skill ratings. A good beginner pattern will likely use basic stitches like garter stitch or stockinette and will have clear instructions for shaping.
- Yarn: The pattern will recommend a specific yarn weight (e.g., worsted, DK, bulky) and fiber content. It’s best to use the recommended yarn or a very close substitute to ensure your finished project matches the pattern’s gauge. Using a chunky or bulky yarn is a great idea for your first sweater, as it knits up quickly.
- Needles: The pattern will tell you what size needles to use. For a top-down cardigan, you’ll need circular knitting needles. You may need a few different lengths as you work from the neckline down to the body.
- Other Notions: You’ll also need a tapestry needle for weaving in ends, a few stitch markers to keep track of your increases, and scissors.
Step 2: Knit a Gauge Swatch
This is a step many beginners are tempted to skip, but it is crucial for getting the correct size.
A gauge swatch is a small square you knit to check that your knitting tension matches the pattern’s tension. The pattern will specify the gauge (e.g., “16 stitches and 24 rows = 4 inches in stockinette stitch”).
- Cast on a few more stitches than the pattern’s gauge calls for.
- Knit in the specified stitch pattern for a few inches.
- Bind off your stitches.
- Measure your swatch to see if it matches the pattern’s gauge. If you have too many stitches per inch, your tension is too tight—try using a larger needle size. If you have too few stitches per inch, your tension is too loose—try a smaller needle size.
Video Tutorial part 1:
Step 3: Cast On and Work the Yoke
The yoke is the top part of the sweater, covering the neck and shoulders.
- Cast On: Follow your pattern’s instructions to cast on the correct number of stitches for the neckline.
- Knit the Neckband: Work the first few rows in a rib stitch (alternating knits and purls) or garter stitch (knitting every row) to create a neat, stretchy neckline.
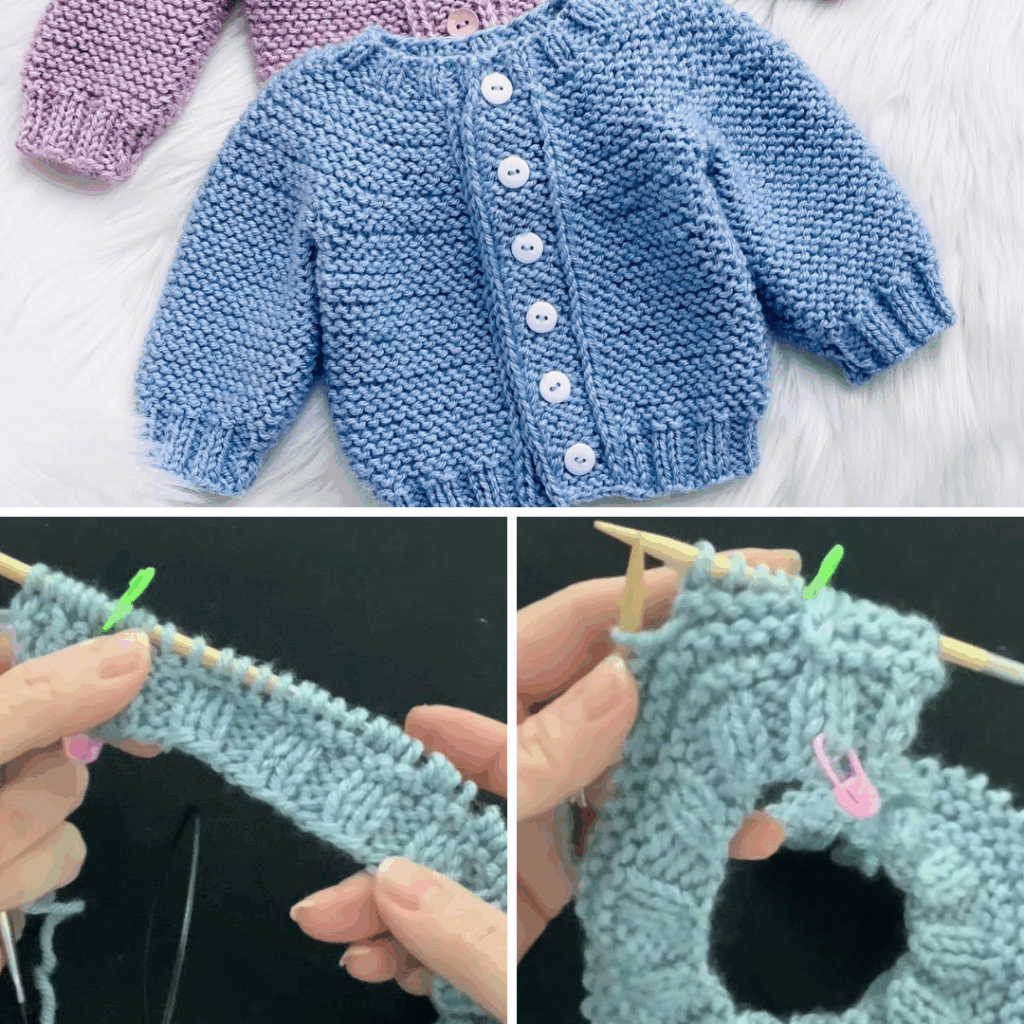
- Place Stitch Markers: The pattern will instruct you to place stitch markers at four points to divide the stitches for the two front panels, the back panel, and the two sleeves. These markers will be your guide for the increases.
- Work the Increases: In each increase row, you’ll add new stitches on either side of the stitch markers. This creates the classic raglan lines, which are the diagonal lines of increases that shape the shoulders and armholes. Continue knitting and increasing until the yoke reaches the size specified in your pattern.
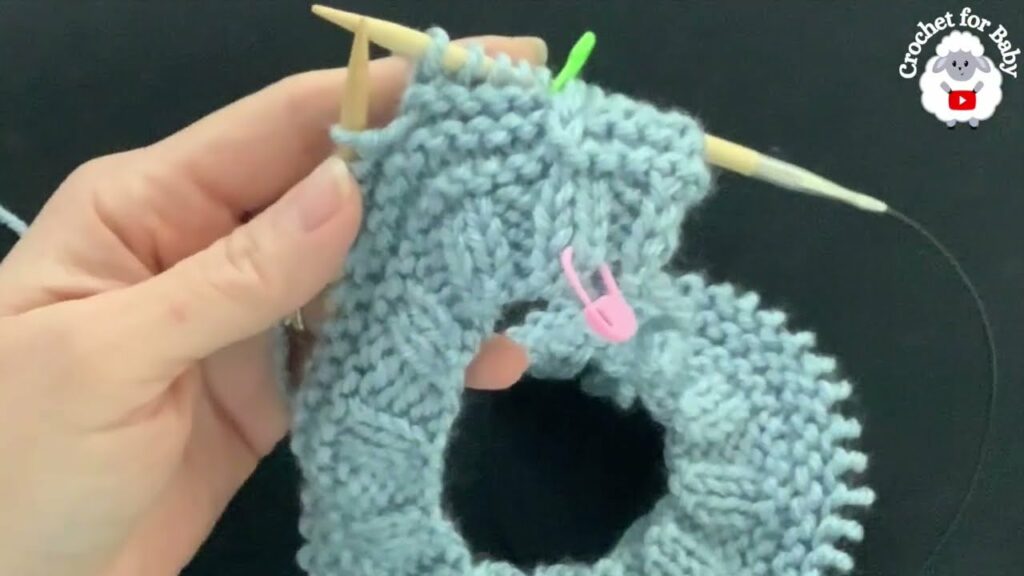
Step 4: Separate the Body and Sleeves
Once the yoke is the correct size, you’ll separate the stitches to work on the body and sleeves individually.
- Separate Stitches: The pattern will tell you to place the stitches for the two sleeves on a piece of waste yarn or a stitch holder. You’ll simply knit across the back and front panels, skipping over the held sleeve stitches.
- Join to Knit the Body: At this point, you’ll join your work to knit in the round, creating the body of the cardigan.
- Knit the Body: Continue knitting in the round until the body of the sweater reaches the desired length.
- Work the Hem: Finish the body with a few rows of ribbing or garter stitch, then bind off all stitches.
Step 5: Knit the Sleeves
- Rejoin Yarn: Place the held sleeve stitches back onto your needles.
- Knit the Sleeves: Join your yarn and knit in the round, working the sleeve in your chosen stitch pattern. You may need to decrease stitches periodically to taper the sleeve for a better fit.
- Create the Cuff: When the sleeve reaches the correct length, work a cuff in ribbing or garter stitch.
- Bind Off: Bind off all stitches and repeat the process for the second sleeve.
Step 6: Finishing Touches
You’re almost there! A few final steps will make your cardigan truly complete.
- Add a Button Band: The pattern will have you pick up and knit stitches along the front edges of the cardigan to create a button band. This is where you’ll also create your buttonholes.
- Weave in Ends: Use your tapestry needle to carefully weave in all of the loose yarn ends.
- Block Your Cardigan: Blocking is the process of wetting your finished garment and pinning it to its final shape to dry. This helps even out your stitches and makes your fabric look polished and professional.
Video Tutorial part 2 :