by
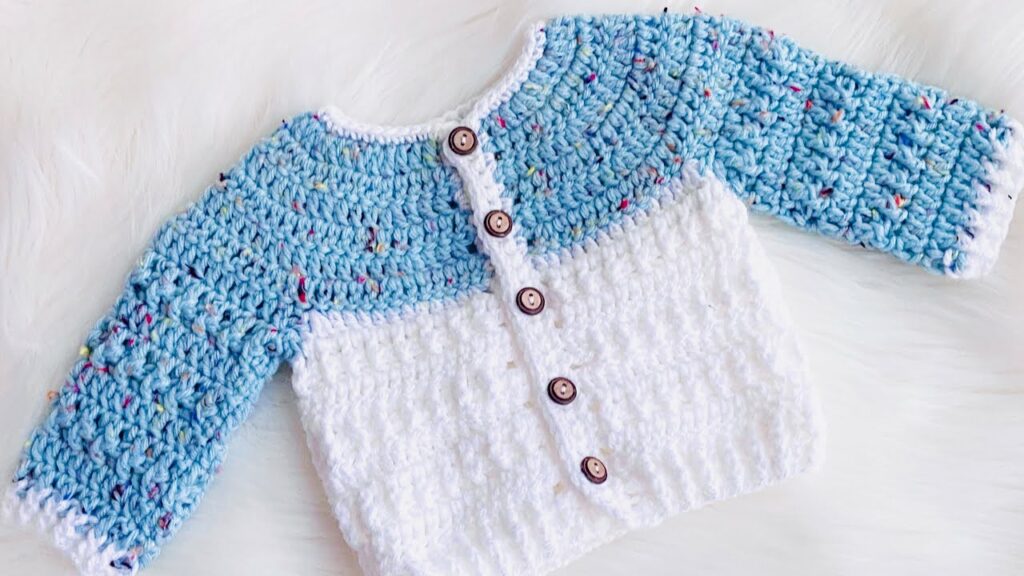
by A handmade crochet set is a classic gift for any baby, and the Thomas Set is a perfect project for creating a complete, coordinated, and stylish outfit. This detailed article will guide you through the process of crocheting this charming set, which includes a handsome jacket or cardigan and a pair of matching pants. The use of a simple yet elegant “fancy crochet” stitch gives this set a high-end, boutique feel that is perfect for special occasions or everyday wear.
This project is ideal for intermediate crocheters or confident beginners who are ready to create a treasured, heirloom-quality garment.
1. What Makes the Thomas Set So Special?
The Thomas Set stands out with its timeless design and beautiful texture:
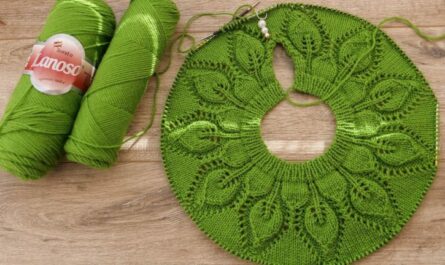
- Elegant Stitch Pattern: The “fancy crochet” stitch used in this set (often a variation of a shell stitch or a textured stitch) creates a rich, intricate-looking fabric. This gives the set a sophisticated, high-end feel without being difficult to master.
- Coordinated Outfit: The set includes a jacket or cardigan and a pair of pants, creating a complete, cohesive look. This makes it a fantastic gift for a baby shower or a coming-home outfit.
- Skill Building: This project is a great way to practice more advanced techniques, such as working with a textured pattern, creating a seamless yoke, and adding a polished border.
- Heirloom Quality: A handmade Thomas Set is a special gift that will be treasured for years to come. The classic design and beautiful texture ensure it will never go out of style.
Video Tutorial Part 1
2. Planning and Materials
Before you begin, gathering the right materials is the first step toward a beautiful finished set.
- Pattern: You will need a pattern for the “Thomas Jacket,” “Baby Jacket,” or a similar set. Look for a pattern from a reputable designer on platforms like Ravelry, Etsy, or popular crochet blogs. The pattern should include a size chart for newborns to 12 months.
- Yarn: A DK (light worsted) or worsted weight yarn is an excellent choice for this project. Soft acrylic yarn is a popular option for baby items as it is durable, easy to wash, and hypoallergenic.
- Crochet Hook: The pattern will specify the hook size. Make sure you use the recommended size to achieve the correct gauge.
- Gauge Swatch: Making a gauge swatch is crucial for any garment project. It ensures your finished set will be the correct size.
- Other Supplies: You will also need scissors, a tapestry needle for weaving in ends and seaming, stitch markers, and buttons for the jacket.
3. The Step-by-Step Construction
The Thomas Set is typically made from a few simple panels that are then joined together. Understanding this basic structure makes the project much more manageable.
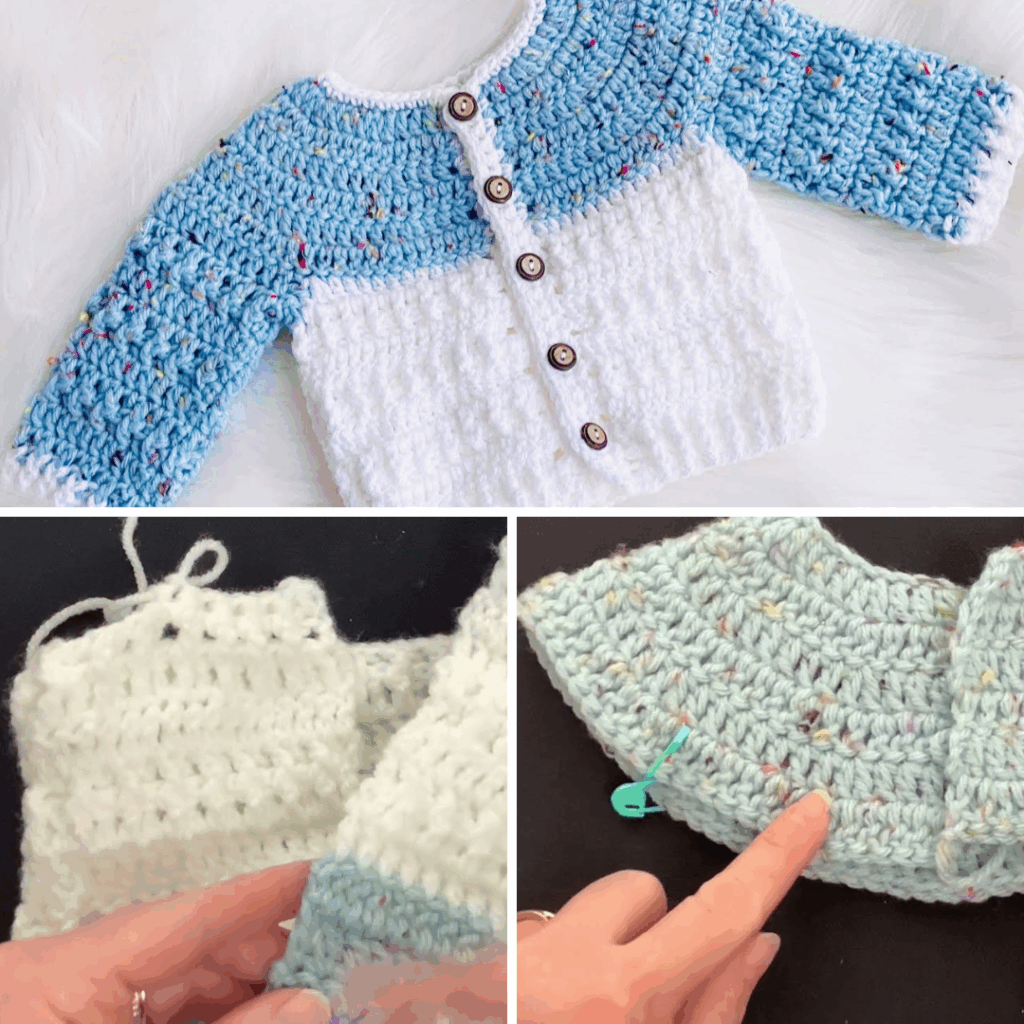
Part 1: The Jacket or Cardigan
The jacket is typically worked in one piece, from the top down. This seamless construction method is a popular choice for garments because it allows for easy size adjustments and a beautiful drape.
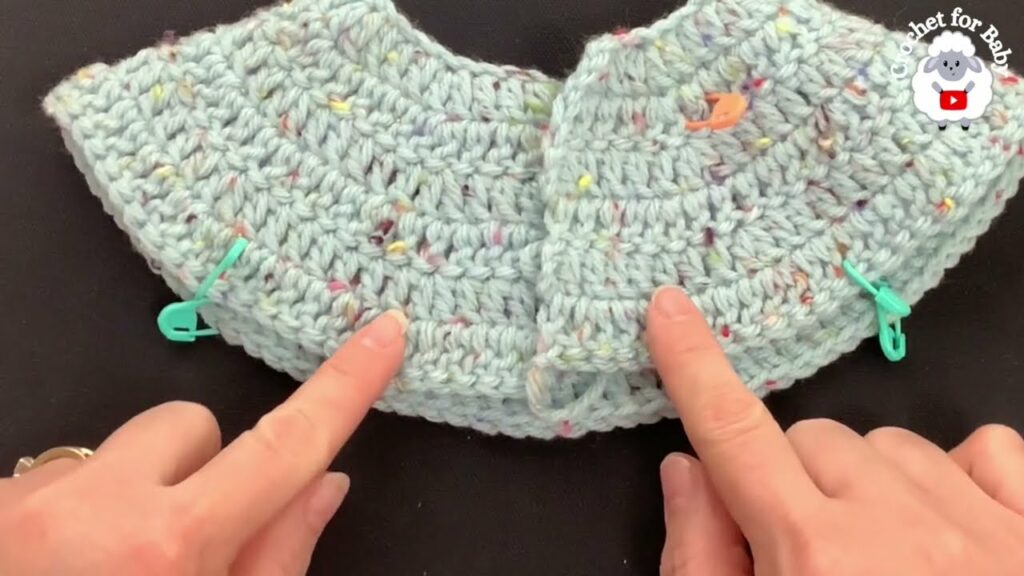
- The Yoke: Begin by chaining the required number of stitches for the neckline. The pattern will then instruct you on how to place increases in each round to create a flat, circular yoke. This is what will form the armholes and shape the top of the jacket.
- The Body: Once the yoke is the correct size, you will divide the stitches into four sections: two for the front panels, one for the back, and two armhole spaces. You will stop crocheting in the armhole stitches for the rest of the body. You will then work in rows, continuing with your “fancy” stitch pattern, until the body reaches the desired length.
- The Sleeves: Once the body is complete, you will join your yarn to one of the armhole openings. You can work the sleeves in the round to avoid seams. Continue with the “fancy” stitch pattern, decreasing a few stitches every few rounds to create a tapered sleeve shape.
- Finishing: Add a simple border of single crochet or ribbing to the neckline, bottom hem, and cuffs for a clean finish.
Video tutorial Part2
Part 2: The Pants
The pants are a simple, two-leg design that is then sewn together.
- Work the First Leg: You will work a simple rectangle in rounds, using your “fancy” stitch pattern. You will continue to work in rounds until the leg reaches the desired length.
- Work the Second Leg: You will work a second, identical leg.
- Join: Once both legs are complete, you will sew the inner leg seams together, leaving an opening for the waistband. You can then work a simple border of single crochet or a decorative border around the waist and leg openings.
Part 3: Finishing Touches
- Buttons & Buttonholes: A button panel is typically made by working a few rows of single crochet up one of the front panels of the jacket. You will create the buttonholes by chaining one and skipping a stitch in a row, creating a small hole for the button to pass through. You will then sew the buttons onto the opposite side.
- Weave in All Ends: Use your tapestry needle to carefully weave in every single loose end.
- Blocking: Blocking is highly recommended. It will even out your stitches, open up the lacy patterns, and give the set a beautiful, professional drape.
4. Final Thoughts
Crocheting the Thomas Set is a labor of love that results in a gorgeous, one-of-a-kind garment. By breaking the process down into manageable parts and choosing a pattern that suits your skill level, you can create a treasured set that will be a joy to make and an even greater joy to see on a special little one.
Video tutorial Part 3