 by
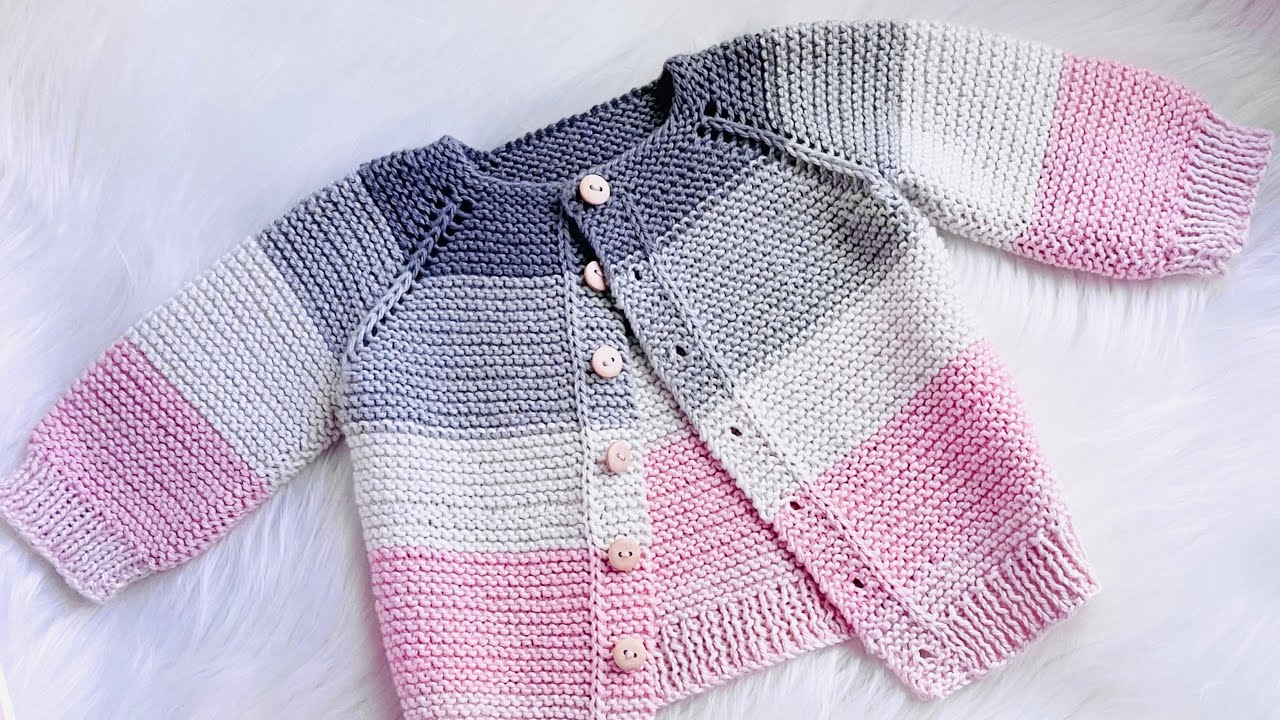
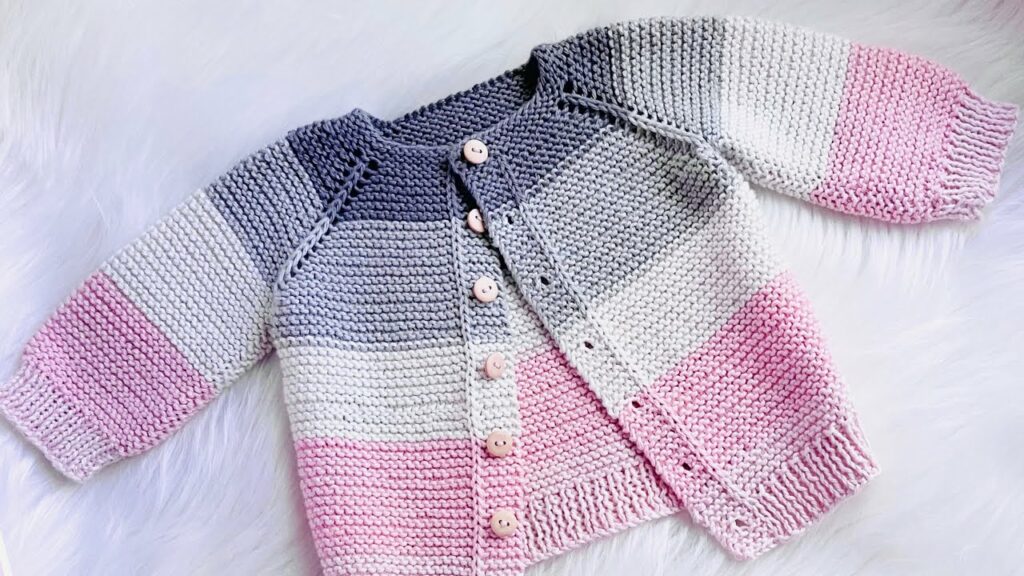
by A handmade crochet cardigan is a versatile and cozy layering piece that every wardrobe needs. While a full garment might seem intimidating, a classic cardigan is a great project for learning essential skills. This article will guide you through making a simple, beginner-friendly cardigan using a straightforward method that relies on basic crochet stitches and seaming.
1. Why This Cardigan Is Perfect for Beginners
- Simple Construction: This method uses flat panels (front, back, and two sleeves) that are crocheted separately and then sewn together. This eliminates the complexity of working in the round and allows you to focus on a single piece at a time.
- Skill Building: You’ll practice fundamental crochet techniques like working in rows, maintaining consistent tension, changing colors (if desired), and seaming.
- Customizable: Once you understand the basic panels, you can easily adjust the length of the body or sleeves to create a custom-fit garment.
Video tutorial Part1:
2. Planning and Materials
Choosing the right materials is the first step toward a beautiful and comfortable cardigan.
- Yarn: A medium-weight yarn (e.g., worsted or DK weight) is ideal. It works up quickly and creates a cozy, substantial fabric. Acrylic is a great choice as it’s durable, easy to wash, and comes in a huge range of colors. A wool or cotton blend can also be used for a different feel.
- Crochet Hook: The yarn label will recommend a hook size (e.g., 5.0mm for worsted weight yarn).
- Gauge Swatch: Making a gauge swatch is crucial for any garment project. This ensures your finished cardigan will be the correct size. The pattern you follow will specify a required gauge (e.g., “4 stitches and 4 rows = 1 inch”). Crochet a small square and measure it. Adjust your hook size accordingly (use a larger hook if your swatch is too small, or a smaller hook if it’s too large).
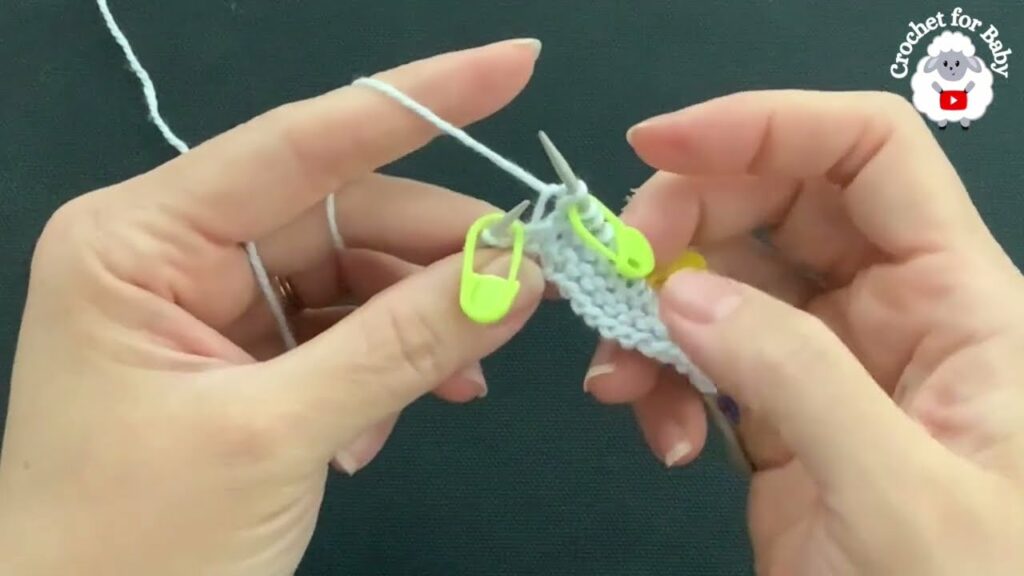
- Other Supplies: You will also need scissors, a tapestry needle for weaving in ends and seaming, and stitch markers.
3. The Step-by-Step Construction
A typical simple cardigan is made from four separate panels: a back panel, two front panels, and two sleeves.
Part 1: The Back Panel
This is a large, simple rectangle.
- Chain: Begin by chaining the number of stitches required for the width of the back panel, as specified in your pattern.
- Stitch: Work in rows using a simple stitch like half double crochet (HDC) or double crochet (DC). This creates a quick and uniform fabric.
- Repeat: Continue working in rows until the panel reaches the required length, from the waist to the top of the shoulder. Fasten off.
Part 2: The Front Panels
You will crochet two identical front panels.
- Chain: Begin by chaining the number of stitches required for the width of a front panel (usually about half the width of the back panel).
- Stitch: Work in rows, using the same stitch pattern as the back panel.
- Repeat: Continue working in rows until the panel reaches the same length as the back panel. Fasten off. Repeat for the second front panel.
Part 3: The Sleeves
The sleeves are also worked as flat panels.
- Chain: Begin by chaining the number of stitches for the width of the sleeve cuff.
- Increases: To create the arm shape, the pattern will likely have you increase a few stitches at the beginning or end of each row, or every few rows. This gradually widens the sleeve as you work up the arm.
- Repeat: Work until the sleeve reaches the required length. Fasten off and repeat for the second sleeve.
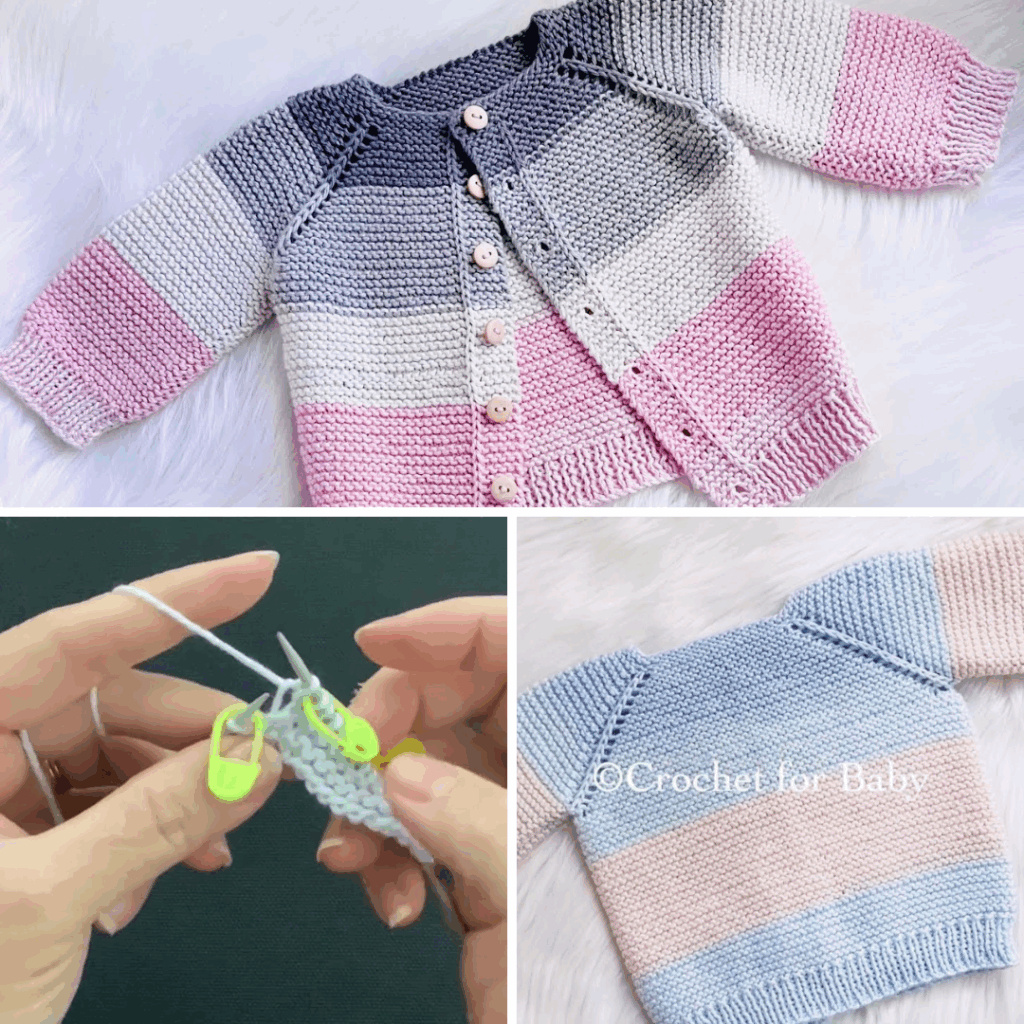
Part 4: Assembly
This is where your panels come together to form the cardigan.
- Block the Panels: Blocking is highly recommended. It evens out your stitches, helps the fabric drape nicely, and makes seaming much easier. Simply wet each panel, lay it flat, shape it to the correct dimensions, and allow it to dry.
- Sew Shoulder Seams: Lay the back panel flat, right side up. Place the two front panels on top, right side down, aligning the shoulder edges. Use a tapestry needle and yarn to sew the shoulder seams together.
- Attach Sleeves: Lay the main body flat, right side up. Position the sleeve along the armhole opening, aligning the center of the sleeve with the shoulder seam. Pin it in place and sew the sleeve to the armhole.
- Sew Side and Sleeve Seams: Fold the entire cardigan in half, right sides together. Sew the side seams, from the bottom hem all the way up to the armpit. Continue sewing from the armpit down the sleeve seam.
- Add a Border: You can crochet a simple border (e.g., a few rounds of single crochet or ribbing) around the cuffs, neckline, and bottom hem for a clean, finished look.
Part 5: Finishing Touches
- Button Panel & Buttonholes: A button panel is typically made by working a few rows of single crochet up one of the front panels. You will create the buttonholes by chaining one and skipping a stitch in a row, creating a small hole for the button to pass through.
- Weave in All Ends: Use your tapestry needle to carefully weave in every single loose end.
- Attach Buttons: Sew the buttons onto the opposite front panel.
With this simple, step-by-step method, you can create a beautiful, hand-crocheted cardigan. By breaking the project down into manageable parts, you’ll find that making a garment is much easier than it seems.
Video tutorial Part2: