by
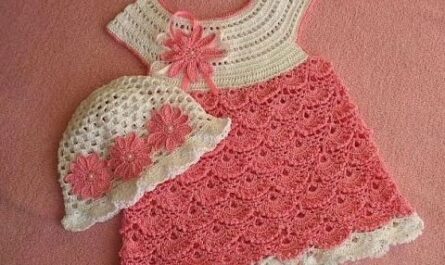
by A crochet baby dress is a beautiful, personalized item that’s both functional and sentimental. Whether you’re creating it as a gift, for a special occasion, or as part of a handmade baby wardrobe, this project is rewarding and enjoyable.
This guide walks you through how to make a basic crochet baby dress from start to finish, covering materials, sizing, pattern basics, construction, and finishing techniques.
🧶 Materials You’ll Need
Before getting started, gather the following supplies:
Yarn
- Type: Soft, lightweight, baby-friendly yarn (e.g., DK or sport weight).
- Fiber: Cotton, bamboo, or baby acrylic blends are best for comfort.
- Amount: Around 250–350 yards for a 0–6 month size (depends on pattern).
Crochet Hook
- Size: Usually 3.5 mm (E) to 4.5 mm (7), depending on yarn and pattern.
- Check your yarn label for the recommended hook size and adjust for gauge.
Notions
- Yarn needle (for weaving in ends)
- Scissors
- Measuring tape
- Stitch markers (optional but helpful)
- Buttons or ribbon for closure (optional)
📏 Size and Fit
Baby clothes are sized by age. Common baby dress sizes:
| Age | Chest Circumference | Dress Length |
|---|---|---|
| 0–3 months | 16 inches (40.5 cm) | 12 inches |
| 3–6 months | 17 inches (43 cm) | 13 inches |
| 6–12 months | 18 inches (46 cm) | 14 inches |
💡 Tip: Always measure the baby (if possible) or leave a bit of positive ease (extra room) for comfort.
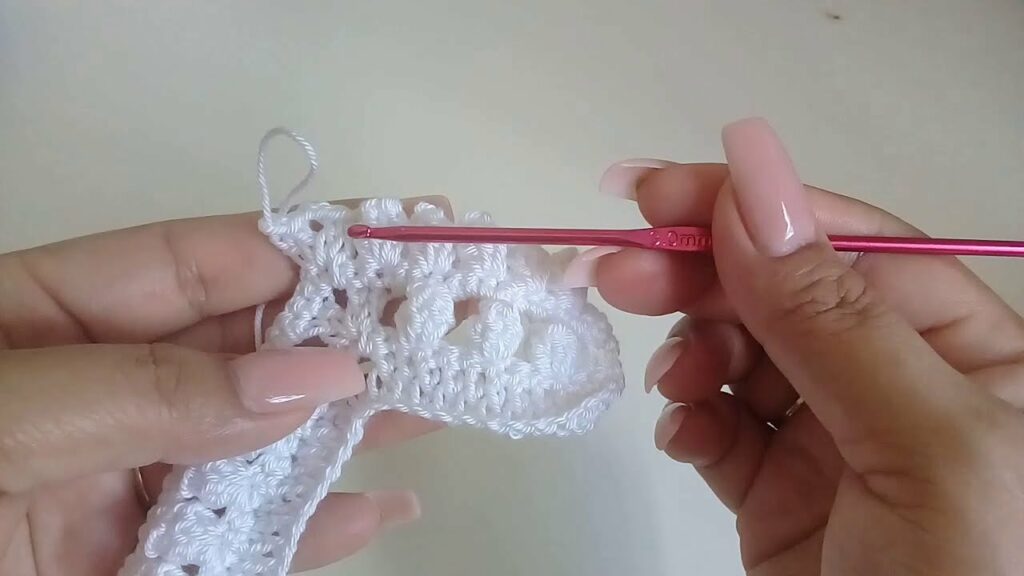
🧵 Basic Crochet Stitches Used
Before you start, familiarize yourself with these basic stitches:
- ch – chain
- sc – single crochet
- hdc – half double crochet
- dc – double crochet
- sl st – slip stitch
- Shell stitch – often 5 dc in one stitch (creates a fan/lacy effect)
🪡 How to Make a Crochet Baby Dress (Top-Down Method)
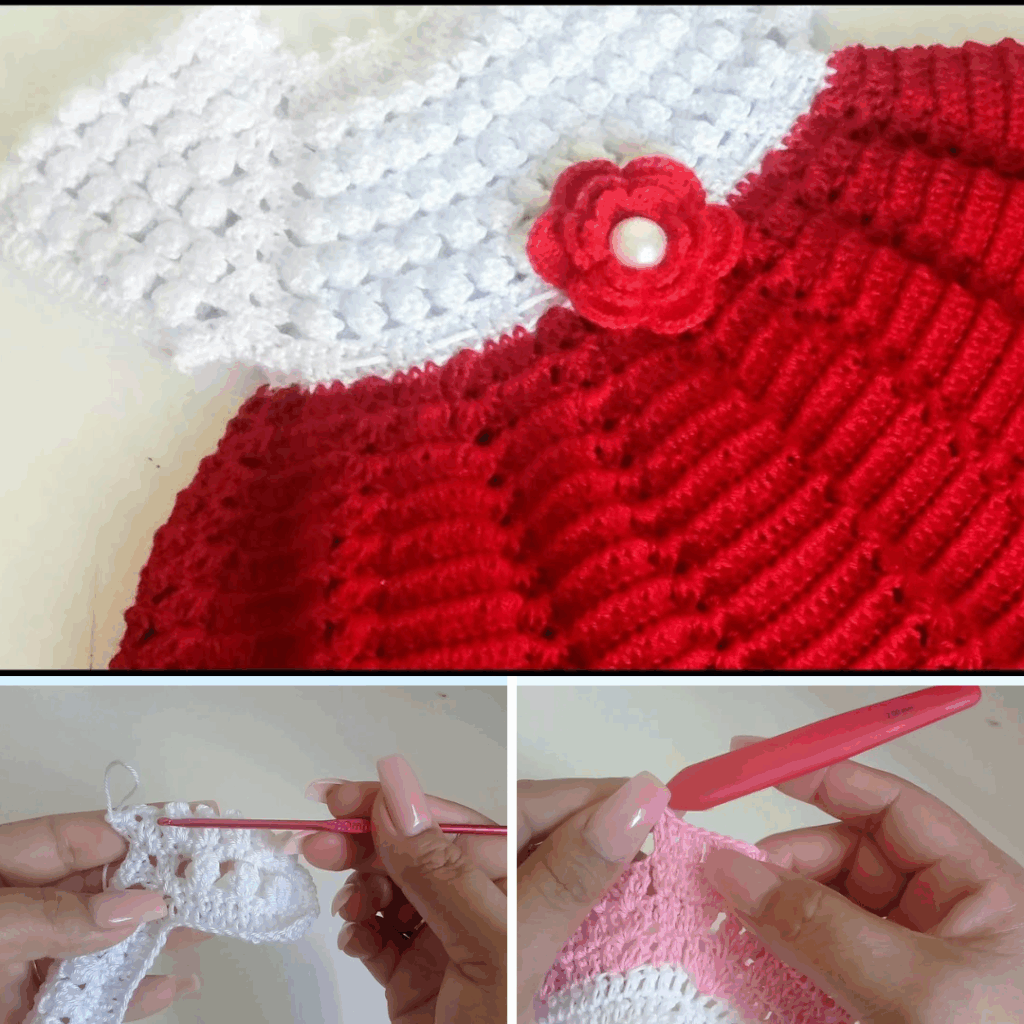
🔹 Step 1: Make the Yoke
The yoke is the top part of the dress that goes around the neck and shoulders.
Foundation Chain: Ch 52 (or as per pattern)

Row 1: Dc in 4th ch from hook and in each chain across. (49 dc)

Row 2: Ch 2, turn. (Dc, ch 1, dc) in 1st st (this is your increase corner). *Dc in next 11 sts, (dc, ch 1, dc) in next st*. Repeat between * 3 times more. Dc in last st.

Rows 3–8: Repeat row 2, increasing at the 4 corner points each time.
After a few rows, your yoke will begin to take on a rounded square shape.
🔹 Step 2: Form the Armholes
Separate the yoke into sections:
- Front
- Back
- 2 Armholes
Row 9:
Ch 2, dc across front section,
Skip stitches for armhole and ch the same number (usually 8–10 ch),
Dc across back section,
Skip stitches for second armhole and ch again,
Dc to end.
💡 Tip: Use stitch markers to help mark each section (front, armholes, back).
🔹 Step 3: Crochet the Skirt
Once the armholes are formed, you’ll work in rounds for the skirt.
Round 1: Join yarn under armhole, ch 2. Dc in each st and ch space around. Join with sl st.

Round 2+: Continue in dc or shell stitch pattern for as many rounds as needed to reach desired length.

Optional: For a lacy look, alternate shell stitches (5 dc in one st) and chain spaces.
Continue until the skirt reaches the length you want (usually 10–14 inches for a 0–6 month dress).
🔹 Step 4: Add Edging and Finish Neckline
- Neckline: Add a row of sc or a decorative edging (like picot or scallop stitch) around the neckline.
- Sleeves: You can leave armholes sleeveless, or add 1–2 rounds of sc or shells around the opening for cap sleeves.
- Hem: Finish the skirt with a scalloped or picot edge.
🔹 Step 5: Add Closure
If the neckline is too small to pull over the baby’s head, add a button loop and sew a small button at the back.
Alternatively, create a back opening with 2–3 buttonholes and sew on small buttons. You can also weave a ribbon through the yoke for a tied closure.
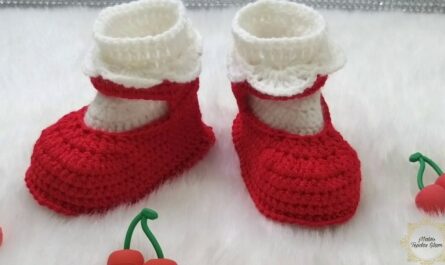
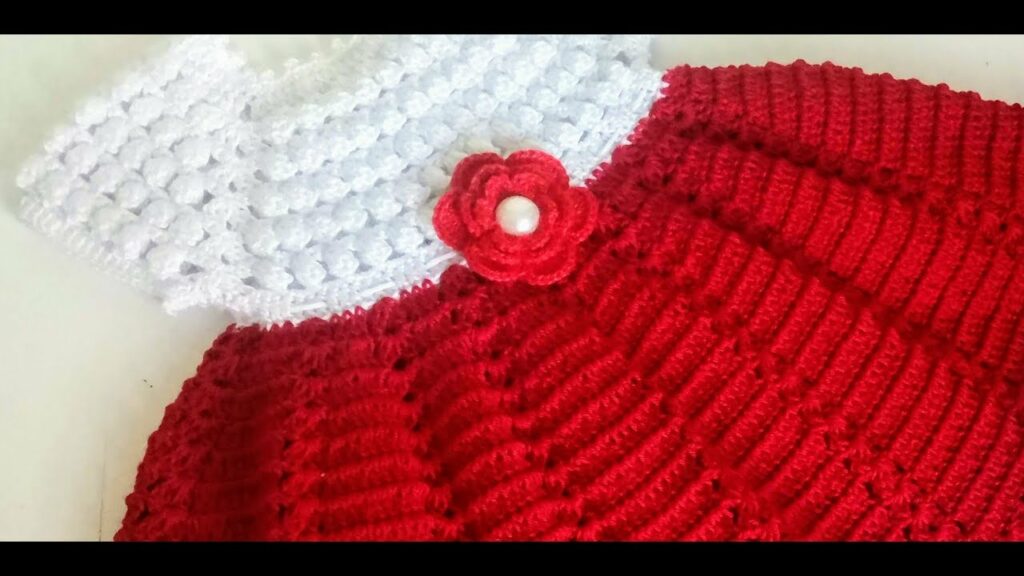
🎀 Optional Embellishments
Make your dress extra special with:
- Crocheted flowers or bows
- Ribbon at the waist
- Contrasting colored trim
- Appliqués or embroidered details
Just be sure everything is securely attached and baby-safe (no loose buttons or choking hazards).
✅ Final Steps
- Weave in all yarn ends neatly using a yarn needle.
- Wash and block the dress according to yarn instructions (usually gentle hand wash and lay flat to dry).
- Package it beautifully if gifting!
🧵 Tips for Success
- Gauge matters: Make a small swatch before starting to ensure your size matches the pattern.
- Use stitch markers to keep track of increases and rounds.
- Choose soft, washable yarn suitable for delicate skin.
- Keep it simple for your first project, then explore lacy or complex patterns.
🧡 Final Thoughts
Creating a crochet baby dress is a fun and fulfilling project that produces a handmade treasure. Whether you’re making it for your own child or as a gift, the care and attention you put into each stitch will shine through. With just basic skills and some patience, you can craft a beautiful garment that may become a family keepsake for years to come.
Video Tutorial: